
Work gloves
Use it for: Protects your hands from sharp sheet metal edges and packed lint.
Get work glovesTo clean a dryer vent exit and rear connection, unplug the dryer, pull it out carefully, disconnect the vent from the back, remove lint from the hose and wall or floor connection, clean the exterior vent exit, then reconnect everything without crushing the duct.
This is the right job when your dryer is taking too long to dry, feels hotter than usual, smells dusty, or shows weak airflow at the outside vent. The goal is to clear lint where it commonly packs in: the rear connection, the vent hose, and the exterior exit.
Before you start: Match the vent diameter, hose style, and exterior hood style before ordering any replacement parts. Most homes use 4-inch dryer vent parts, but check yours first. Stop if the repair becomes unsafe or unclear.
Use it for: Protects your hands from sharp sheet metal edges and packed lint.
Get work gloves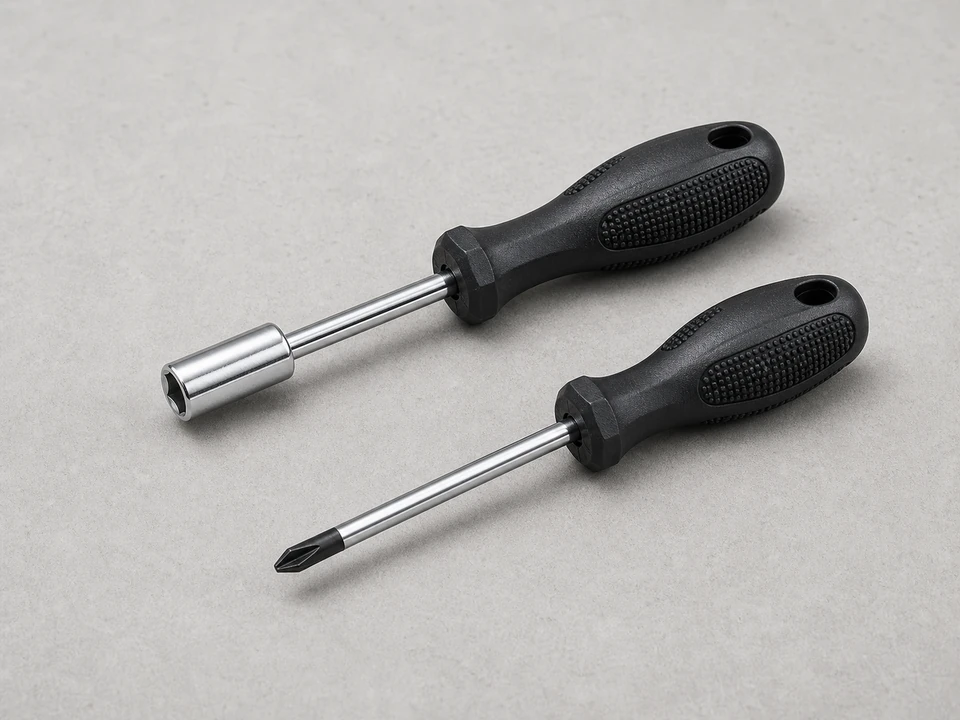
Use it for: Loosens and tightens the vent clamp at the back of the dryer.
Find a screwdriver or nut driver set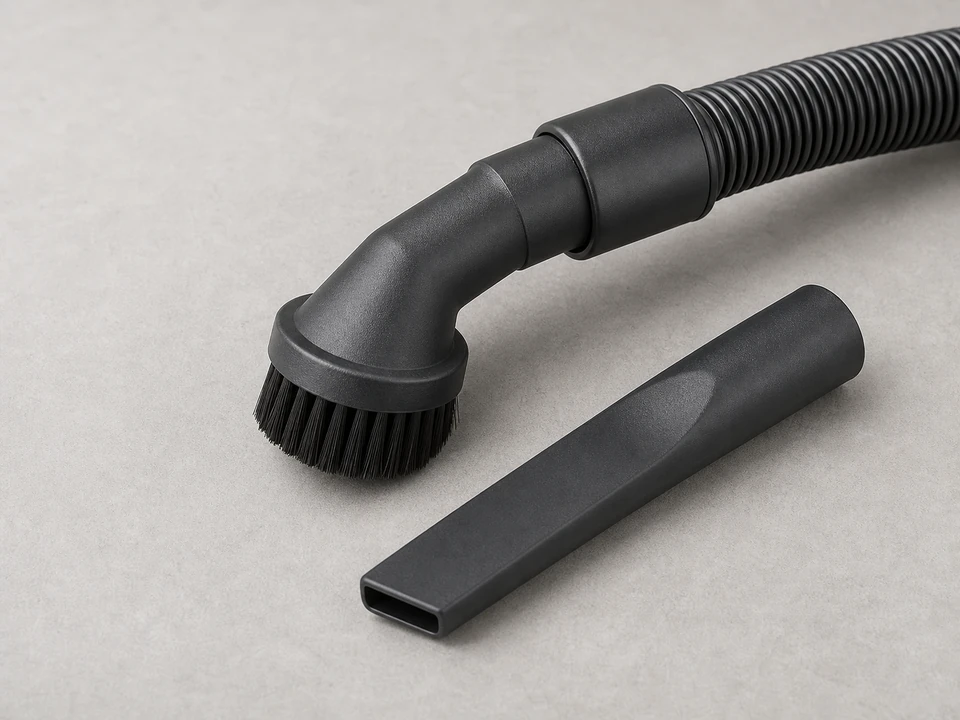
Use it for: Pulls loose lint out of the vent hose, rear outlet, and floor or wall opening.
Shop vacuums with hose attachments
Use it for: Reaches deeper into the vent run and helps break up lint that the vacuum misses.
Find a dryer vent cleaning brush kit
Use it for: Lets you inspect the rear connection, vent opening, and exterior hood clearly.
Get a flashlightAs an Amazon Associate I earn from qualifying purchases. Repair Riot may earn a commission at no extra cost to you.
If it works: You have signs of restricted vent airflow, and cleaning the rear connection and vent exit is a sensible next step.
If it doesn’t: If airflow outside seems strong and the dryer still will not dry properly, the problem may be inside the dryer instead of the vent path.
If it works: The dryer is safely disconnected from power, and the rear vent connection is open and accessible.
If it doesn’t: If the clamp is stuck, use a screwdriver or nut driver that fits properly and work slowly so you do not tear the duct.
If it works: The dryer outlet and vent hose are clear enough for air to move freely, and the hose is still in usable condition.
If it doesn’t: If the hose stays packed with lint or is flimsy and damaged, replace it instead of reinstalling it.
If it works: The interior connection and exterior vent exit are free of lint and debris, and the outside flap moves normally.
If it doesn’t: If the brush stops at a hard blockage deeper in the duct, you may need a longer vent cleaning kit or a professional cleaning for the full run.
If it works: The vent path is reconnected securely, and the hose is not crushed behind the dryer.
If it doesn’t: If the hose keeps kinking when you push the dryer back, shorten an overly long hose or replace it with a better-fitting vent section.
If it works: Airflow at the outside vent is strong, the flap opens well, and the dryer runs and dries more normally.
If it doesn’t: If airflow is still weak or dry times are still long, the blockage may be deeper in the vent run or the dryer may have an internal airflow or heating problem.
For many homes, checking and cleaning these areas about once or twice a year is a good baseline. Clean sooner if you do a lot of laundry, dry pet bedding, or notice longer dry times.
Sometimes that helps, but it usually misses lint packed at the rear dryer connection and in the first section of hose. Cleaning both ends gives you a better result.
No. Replace it only if it is torn, crushed, loose at the seams, or still badly restricted after cleaning. A sound hose can usually be reused.
The blockage may be farther down the vent run, or the dryer may have an internal problem such as poor airflow inside the cabinet, a heating issue, or a moisture sensing problem.
The vent cleaning steps are mostly the same. The main extra precaution with a gas dryer is shutting off the gas before moving it and stopping if you notice any sign of a gas leak or connector damage.