Direct answer: To clean a heat pump outdoor unit exterior, turn the system off, clear leaves and grass from the coil face and base, rinse gently with a garden hose, and keep water away from electrical areas. Do not use a pressure washer.
The goal is airflow, not a shiny cabinet. Work from the outside, use light pressure, and stop if you find damaged wiring, crushed coil sections, oil residue, or heavy ice.
Before you start: Turn the thermostat off and shut power off at the outdoor disconnect before cleaning. Stop if you see damaged wiring, a loose disconnect, oil residue, heavy ice, crushed coil sections, or breaker trips.
Last reviewed: 2026-05-31
Make sure cleaning is the right job
Exterior cleaning helps when airflow is blocked from the outside. It will not fix ice, refrigerant trouble, damaged wiring, a failing fan motor, or a crushed coil.
This page fits
This page fits when: Leaves, cottonwood, grass clippings, lint, mud, or dirt are visible on the outside coil face or packed around the base.
Check something else when: Clean from the outside only after the thermostat and outdoor disconnect are off.
Use gentle tools
This page fits when: A garden hose, soft brush, gloves, eye protection, and possibly a fin comb are enough for normal exterior debris.
Check something else when: Skip pressure washers, stiff brushes, harsh coil chemicals, and any tool path that opens electrical covers.
Stop for damage or ice
This page fits when: The cabinet is intact, the disconnect is sound, refrigerant lines look undamaged, and the coil is not iced over.
Check something else when: Stop and call an HVAC tech if you find burned wiring, oil residue, heavy ice, crushed coil sections, or breaker trips.
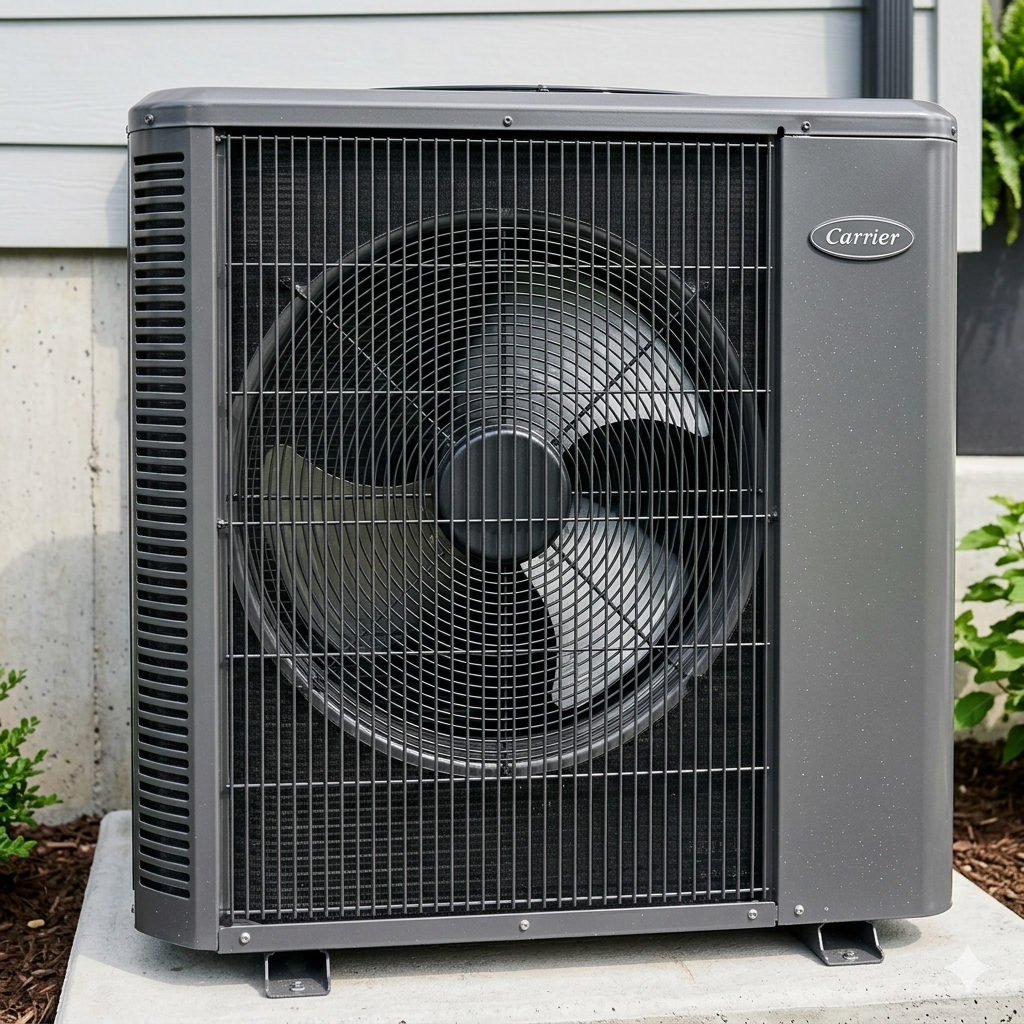
Clean the outdoor coil without damaging fins
Start with visible debris and clearance. The outdoor unit needs gentle rinsing and open airflow, not pressure washing or cabinet disassembly.
Clear leaves and grass from the coil face and base before rinsing. Keep water away from electrical covers and disconnects.The finished goal is open airflow around the cabinet and a coil face that is no longer matted with debris.
Safety first
Shut the system off before rinsing the outdoor unit.
Use only a gentle hose spray, not a pressure washer.
Keep water away from exposed electrical parts and damaged panels.
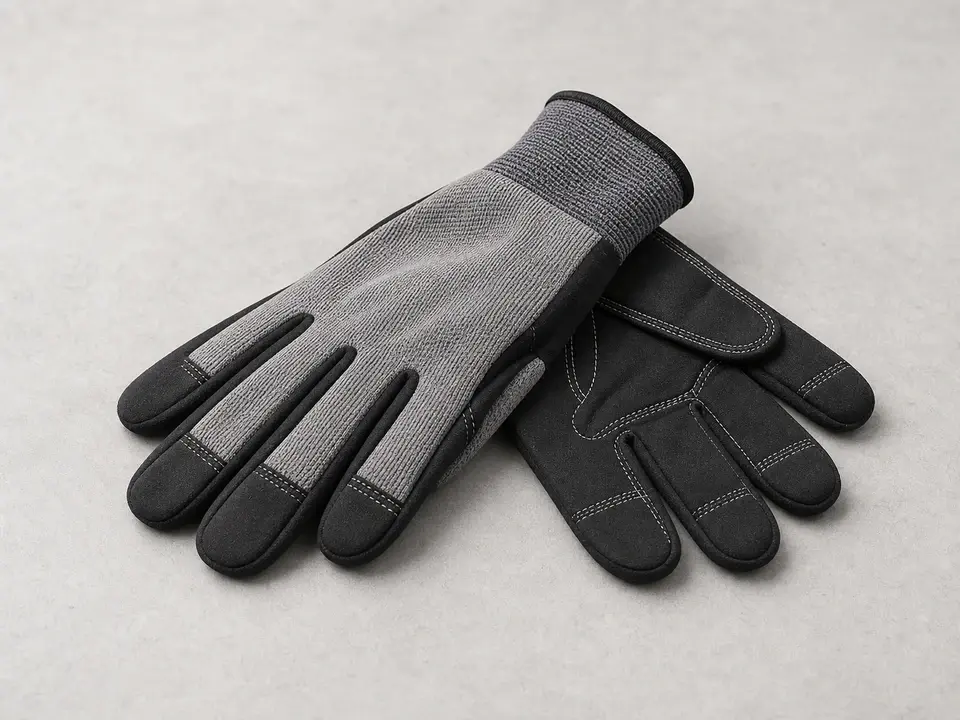
Wear gloves because coil fins and cabinet edges can be sharp.
Tools you may need
Work gloves
Use it for: Protects your hands from sharp cabinet edges, fins, and debris.
As an Amazon Associate I earn from qualifying purchases. Repair Riot may earn a commission at no extra cost to you.
Step-by-step fix
Step 1: Make sure exterior cleaning is the right fix
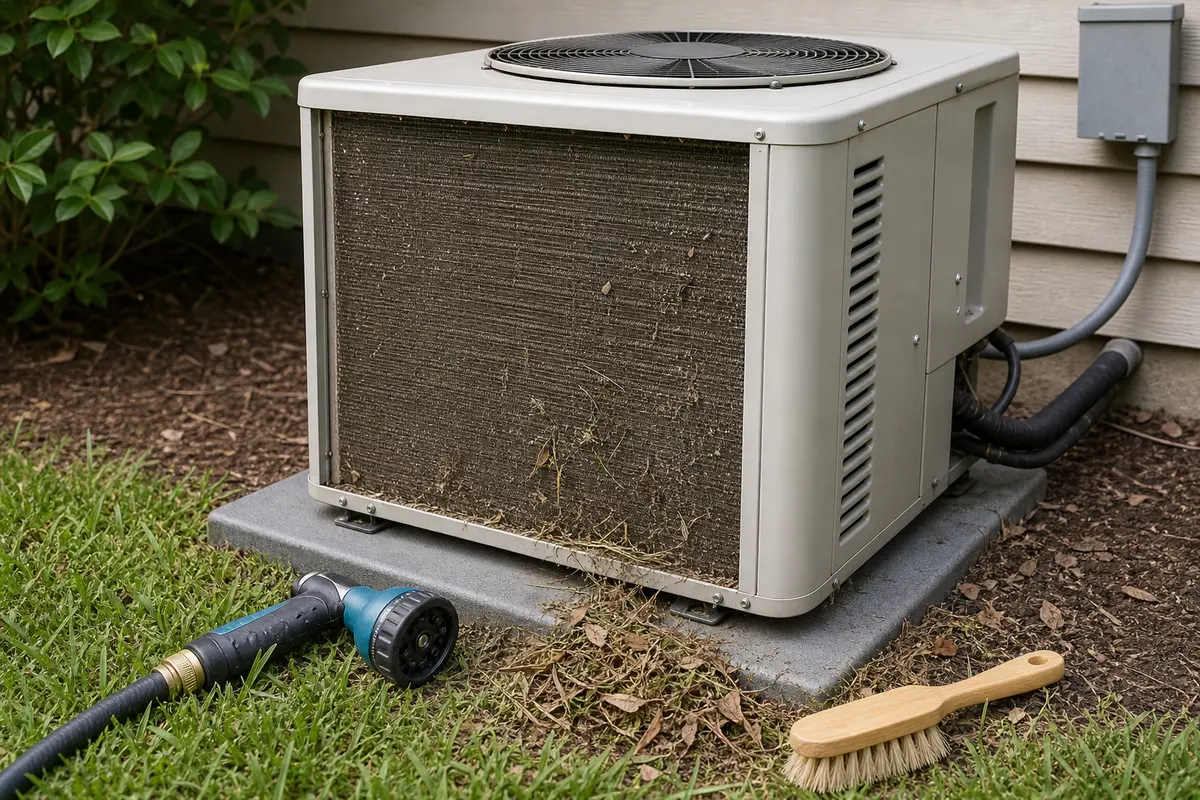
Walk around all four sides of the outdoor unit and look for leaves, cottonwood, grass clippings, lint, mud, or dirt packed on the coil face.
Check whether shrubs, weeds, stored items, or mulch are crowding the cabinet and blocking airflow.
Look at the top fan grille and base pan for loose debris you can remove by hand before rinsing.
Stop if the unit is iced over, the cabinet is crushed, refrigerant lines are damaged, or wiring/disconnect parts look burned or loose.
If it works: You can see outside dirt or debris restricting airflow, and there is no obvious electrical, refrigerant, or crushed-coil damage.
If it doesn’t: If the outside is already clean and clear, check the indoor filter, thermostat, and system operation instead of washing a clean coil.
Stop if:
The unit is iced over.
You see damaged wiring, a loose disconnect, or signs of burning.
The cabinet or coil is badly crushed or the refrigerant lines appear damaged.
Step 2: Shut the system off and set up the area
Turn the thermostat to off so the heat pump does not start while you are cleaning.
Shut off power at the outdoor disconnect or breaker if you can do so safely.
Look for a fully seated disconnect handle or breaker position before you put water near the cabinet.
Watch for loose conduit, cracked electrical covers, insects, or unstable ground before you set up the hose.
Pick up branches, leaves, and loose debris around the base so you are not washing more dirt back onto the coil.
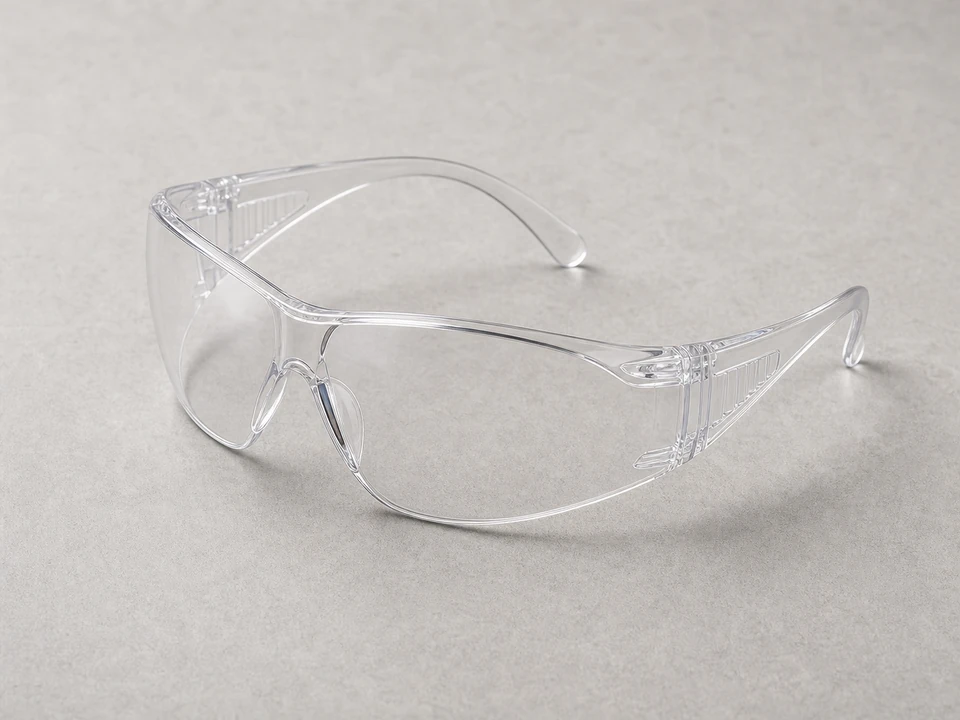
Put on gloves and eye protection before brushing or rinsing.
If it works: The unit is off, the disconnect area looks sound, and you can work around the cabinet without standing in unsafe footing.
If it doesn’t: If you cannot shut power off or the disconnect area looks damaged, stop and wait for a safe service setup.
Stop if:
Stop if the disconnect is loose, cracked, buzzing, wet inside, or hard to operate.
Stop if unstable ground, insects, or damaged electrical parts make the area unsafe.
Step 3: Clear debris from the outside surfaces
Pull leaves, seed fluff, grass, and twigs away from the coil face and base by hand before using water.
Look for matted debris at the bottom edge where airflow is often most blocked.
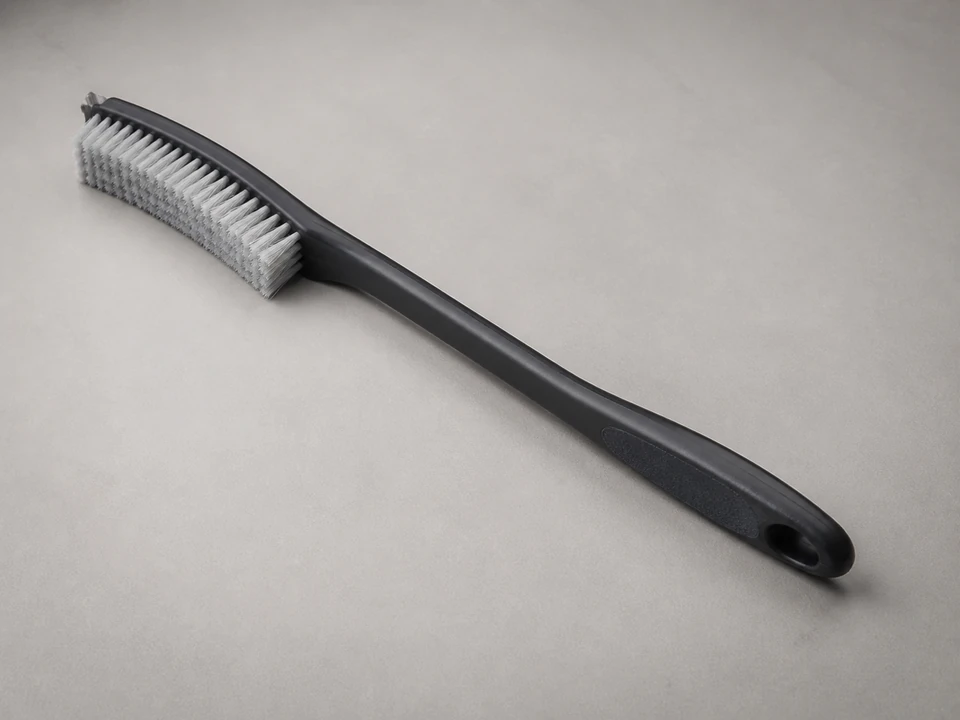
Use a soft brush to loosen buildup from the outside coil fins; brush with the fin direction instead of across it.
Compare each side of the cabinet so you do not leave one shaded or shrub-side face packed with dirt.
Trim weeds or plants back so the unit has breathing room on all sides.
Do not use a wire brush, scraper, or anything stiff enough to flatten the fins.
If it works: Loose debris is removed, the coil face is no longer matted, and you can see airflow openings around the cabinet again.
If it doesn’t: If debris is packed deep into the fins, rinse gently first, then recheck and brush lightly again.
Stop if:
Stop if fins crumble, separate, or fold over as you clean.
Stop if you uncover a nest, chewed wiring, oil residue, or damaged refrigerant lines.
Step 4: Wash the cabinet and coil face gently
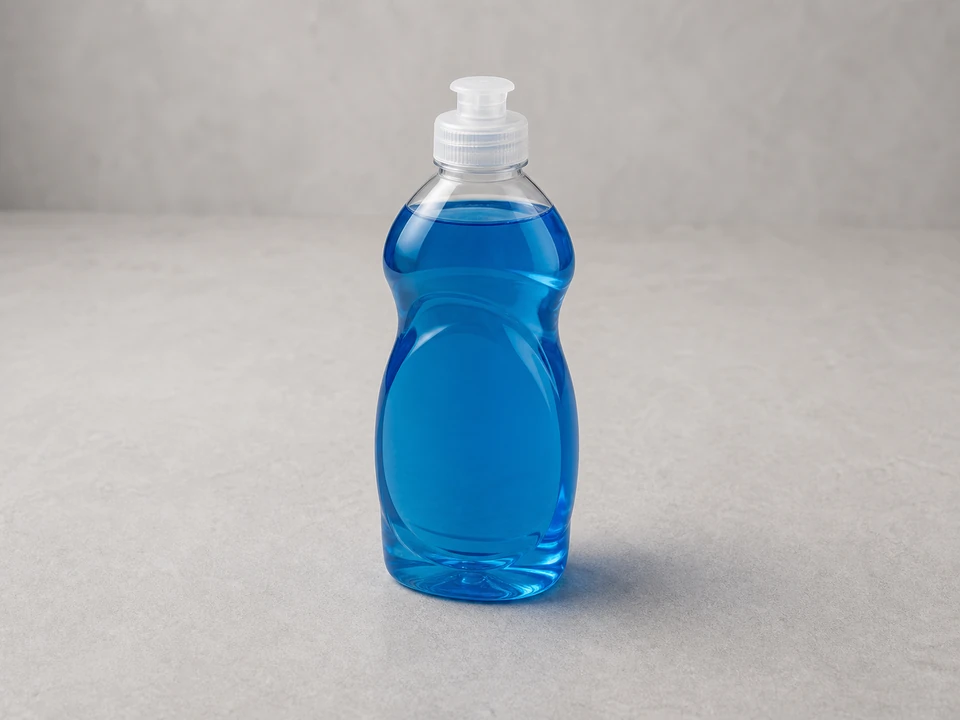
Mix a little mild dish soap with water if the cabinet is greasy or heavily soiled.
Wipe or brush the cabinet panels first so grime does not run back onto cleaned areas.
Use a garden hose with a gentle spray to rinse the outside coil surface from the outside in. Keep the spray soft and steady.
Work from top to bottom around the unit until dirt stops washing off.
Avoid spraying directly into the fan motor area, electrical compartment, or disconnect box.
Never use a pressure washer because it can fold the fins over and reduce airflow.
If it works: The outside surfaces are visibly cleaner and water can pass through the coil face without dirt continuing to sheet off.
If it doesn’t: If the coil still looks clogged after a gentle rinse, repeat with more brushing and another light rinse rather than increasing water pressure.
Stop if:
Water is entering an open electrical compartment or damaged panel area.
The fins are bending over from the spray.
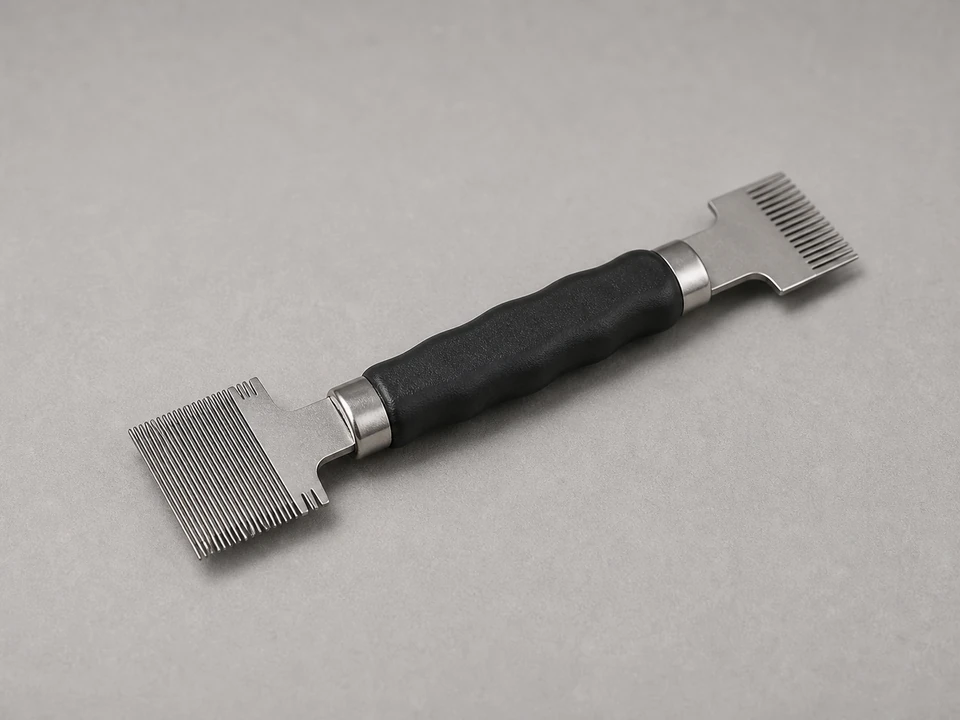
Step 5: Straighten only minor fin damage and let the unit dry
Inspect the coil face for small patches of bent fins after rinsing, especially where yard tools or branches may have hit it.
Use a fin comb only on small, lightly bent sections and match the comb spacing to the fins before pulling through.
Leave large crushed areas alone; forcing them can tear fins or make airflow worse.
Let the cabinet and coil face drip dry for several minutes before restoring power.
Make sure the hose, brush, weeds, and loose debris are clear of the pad and fan grille.
If it works: Air passages on the outside look more open, and the unit is clean, clear, and ready to run.
If it doesn’t: If large areas of fins are crushed flat, cleaning alone will not restore normal airflow and the unit may need professional coil repair.
Stop if:
A large section of coil is crushed or damaged.
You find oil residue on the coil or refrigerant lines, which can point to a leak.
Step 6: Restore power and confirm the cleaning helped in real use
Turn the disconnect or breaker back on and set the thermostat to call for heating or cooling, depending on the season.
Let the unit run for 10 to 15 minutes while you stay clear of the fan grille.
Confirm the fan moves air freely out the top and the side coil face no longer looks matted with dirt.
Listen for rubbing, harsh vibration, breaker trips, or startup noise that was not present before cleaning.
Recheck the coil face after mowing, cottonwood season, or heavy leaf drop if debris returns quickly.
If it works: The unit runs with clear airflow, no obvious blockage, and the cleaned exterior stays clear during normal operation.
If it doesn’t: If performance is still poor after cleaning, check the indoor air filter and thermostat next, or schedule service for a deeper airflow or refrigerant diagnosis.
Stop if:
The breaker trips, the unit will not start, or it makes harsh mechanical noise after power is restored.
The system ices up again or still cannot keep up after the exterior is cleaned.
Use only on small bent patches. Match the fin spacing.
As an Amazon Associate I earn from qualifying purchases. Repair Riot may earn a commission at no extra cost to you.
Verify the repair
The outside coil surface is free of leaves, lint, and packed dirt.
There is open space around the unit and debris is cleared from the base.
The fan runs and moves air normally after power is restored.
The system operates through a normal heating or cooling call without obvious airflow restriction.
FAQ
Can I use a pressure washer on a heat pump outdoor unit?
No. A pressure washer can bend the fins flat and make airflow worse. Use a garden hose with a gentle spray instead.
How often should I clean the outdoor unit exterior?
At least check it every season, and clean it whenever you see leaves, cottonwood, grass clippings, or dirt building up on the outside coil surface.
Do I need coil cleaner for this job?
Usually not for a basic exterior cleaning. Water, a soft brush, and a little mild soap for the cabinet are enough for normal dirt. If the coil is heavily impacted, a pro cleaning may be the better next step.
Is it normal for some fins to be bent?
A few lightly bent fins are common. You can straighten small areas carefully with a fin comb, but badly crushed sections usually need professional attention.
What if the heat pump still does not heat or cool well after cleaning?
Exterior cleaning helps airflow, but it will not fix every problem. Check the indoor filter and thermostat settings next. If performance is still poor, the system may have an indoor airflow, defrost, electrical, or refrigerant issue.
Sources and reference notes
Repair Riot keeps this heat-pump cleaning guide focused on outside airflow restoration, power-off safety, and stop points that should move to HVAC service.