Freezer troubleshooting

Freezer Frosting Up? Check the Door, Vents, and Drain

Photograph the frost before melting it. Fluffy frost near the door or on packages points first to humid-air entry. A broad rear-panel frost blanket moves the diagnosis to airflow and automatic defrost. A clear ice sheet on the floor points toward the defrost drain.

The usual first checks are a door held ajar, a dirty or distorted gasket, blocked interior vents, and food pressed against the rear wall.

Good clue: frost location is useful; one guessed component is not. Recheck the pattern only after the door seals, vents are clear, and the freezer has fully thawed.

Don’t start with: Do not chip ice with a knife or order a heater, sensor, fan, or control from the frost pattern alone. Unplug before cleaning, defrosting, or removing a panel.

Frost around the door edge?Check the gasket, door alignment, and anything keeping the door from closing fully.
Frost mainly on the back inside wall?Suspect a defrost or airflow problem before you buy anything.

Do this first

  • Photograph the frost pattern before moving food or melting ice. Door-edge frost, a rear frost blanket, and clear floor ice lead to different checks.
  • Put an appliance thermometer between frozen packages. FDA guidance uses 0°F (-18°C) as the freezer target.
  • Move food to another working freezer or an insulated cooler before a full thaw. Keep packages closed and track their temperature.
  • Unplug the freezer before cleaning near wiring, removing a panel, or starting a manual defrost.
  • Never chip ice with a knife, screwdriver, ice pick, or other sharp tool. Do not use a heat gun, open flame, or unattended heater.
  • Stop for a hot plug, damaged cord, burning smell, oily residue, hissing, exposed refrigeration tubing, or food-safety uncertainty.
Prepared by: Repair Riot Last updated: 2026-07-10 How we build and check guides

60-second frost-pattern sort

Is fluffy frost concentrated near the door or on packages?

Check for a package holding the door open, frequent opening, a dirty gasket, hinge sag, or a loose paper-test spot before considering parts.

Is a broad, even frost blanket covering the rear inside panel?

Clear blocked vents and confirm the door seals. If the pattern returns after a complete thaw, move to the fan and model-specific automatic-defrost checks.

Is there a smooth clear ice sheet under the bottom basket?

A clogged defrost drain moves up the list. Use only the access and clearing method in the owner manual for that model.

Is cooling weak with frost only in one small area?

Do not order a defrost heater or fan from that pattern. A partial coil pattern, oily residue, or hissing can point to sealed-system trouble.

Compare the door edge, rear panel, and compartment floor

These three patterns lead to different checks. Photograph yours before a full thaw so the original evidence is not lost.
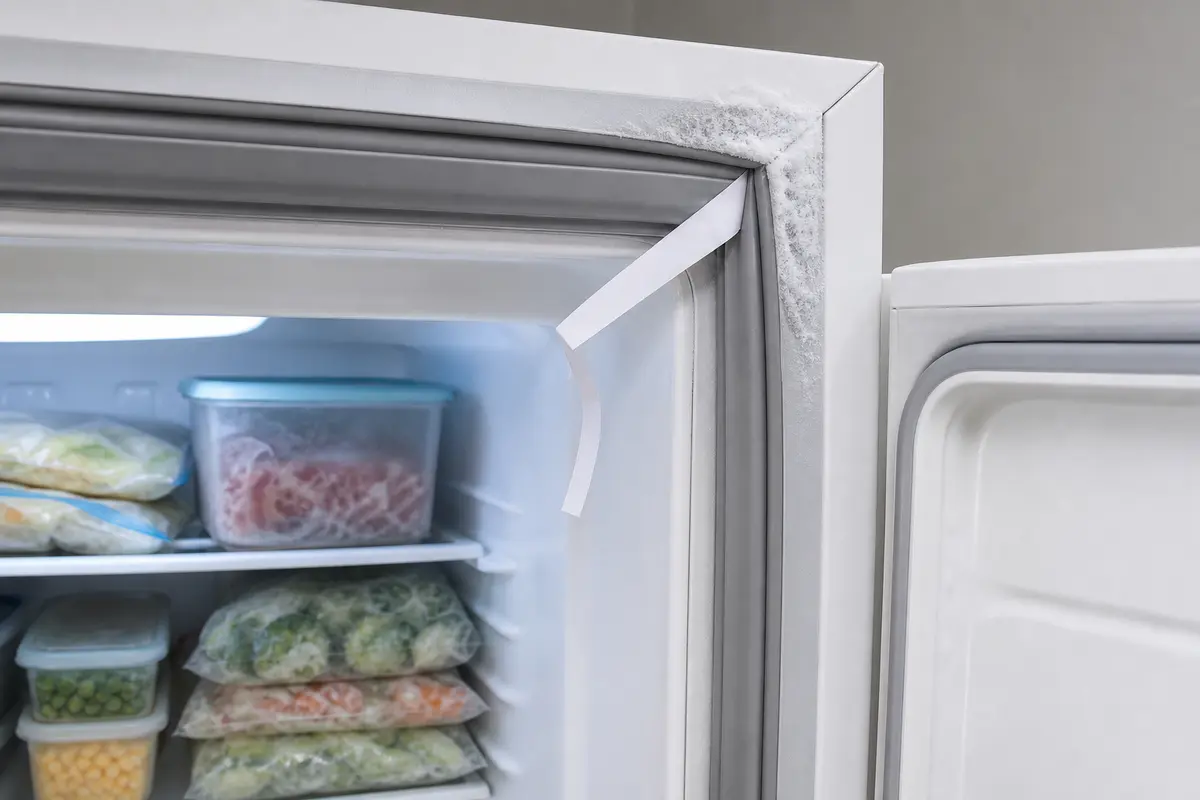
Localized fluffy frost at freezer gasket corner with loose paper strip showing weak seal area
Localized door-edge frost keeps humid-air entry first on the list. Remove obstructions, clean the gasket, check alignment, and compare paper drag around the perimeter.
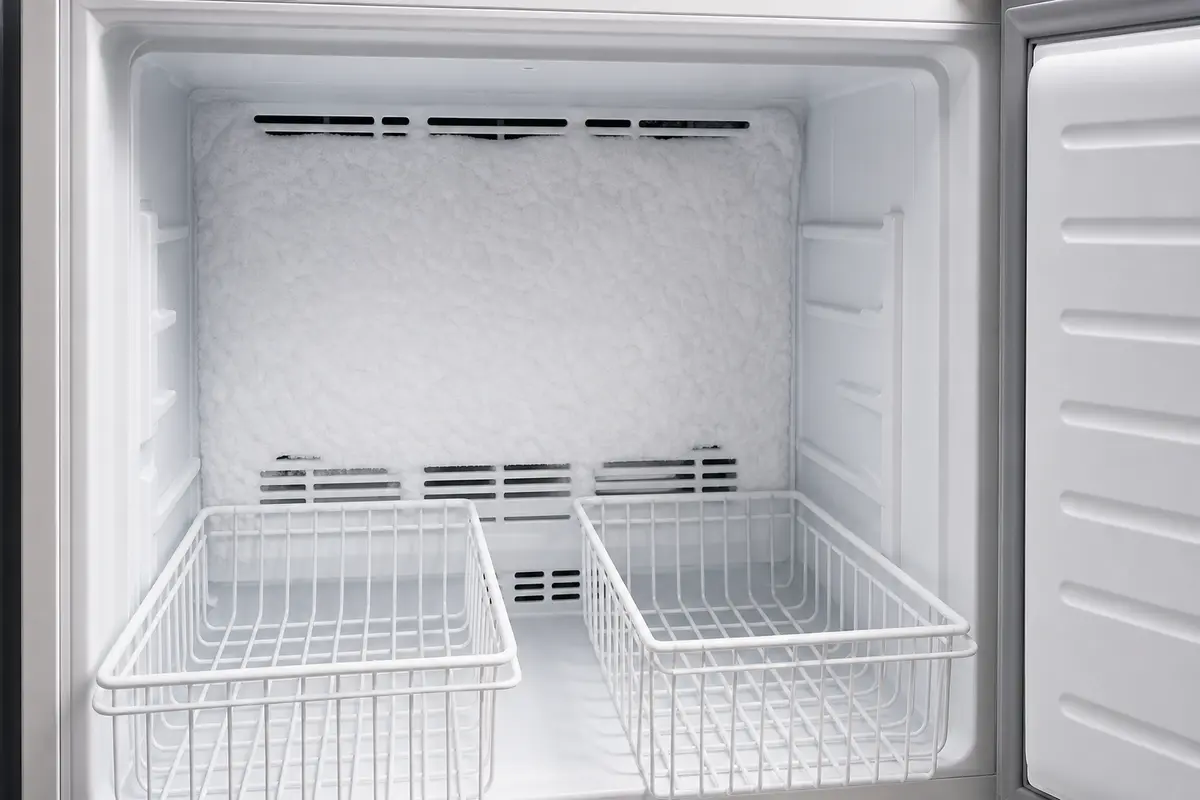
Broad even white frost blanket across rear inside panel of upright frost-free freezer
A broad rear-panel blanket moves the check to blocked vents, fan behavior, and automatic defrost—especially when it returns after a complete thaw.
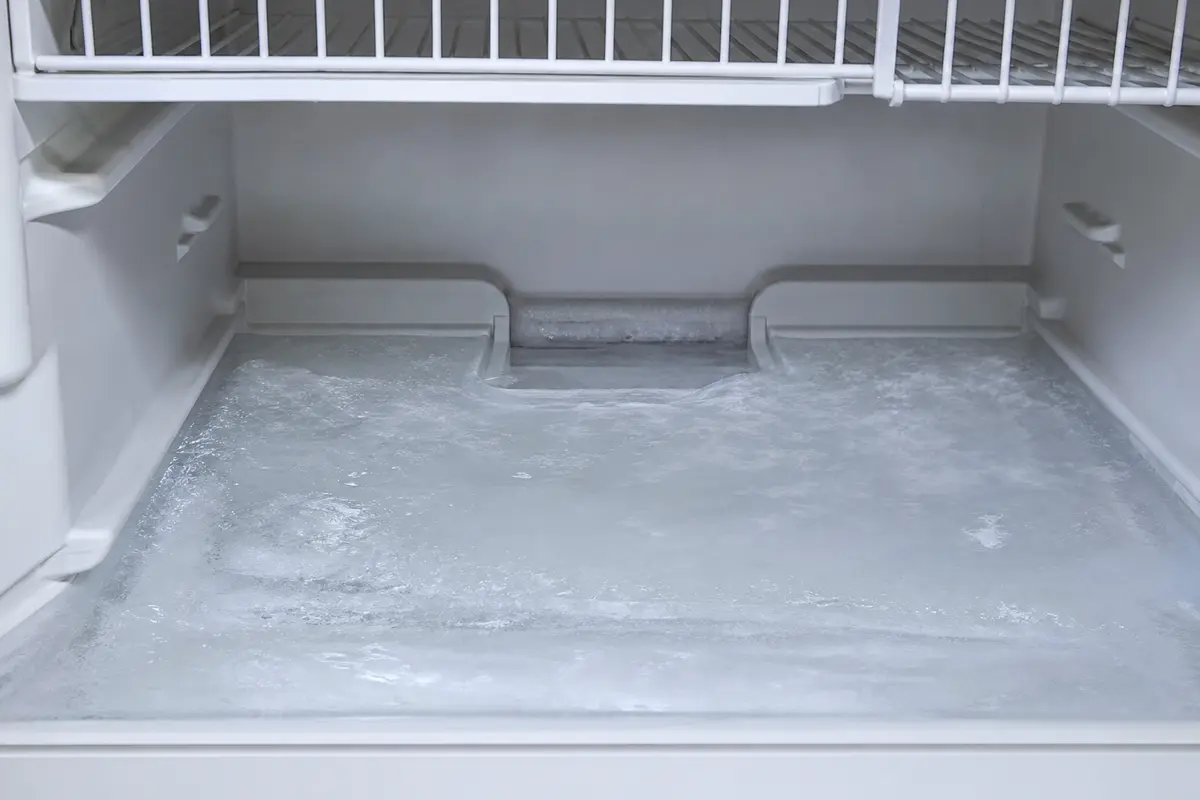
Smooth clear ice sheet across freezer floor below bottom basket near rear drain channel
Clear floor ice points toward defrost-water drainage. Use the exact model's access procedure; many designs do not expose a homeowner-clearable drain.

Before you buy anything

Record the model number, freezer style, exact frost location, gasket condition, vent clearance, thermometer reading, fan sound, and what returns after a complete thaw. A frost blanket narrows the system checks; it does not identify whether the failed item is the heater, sensor, wiring, fan, or control.

What not to do first

Keep the frost pattern intact long enough to read it, then choose the next safe check. The wrong first move can erase evidence, damage the liner, or waste money.

  • Do not chip or pry ice with a knife, screwdriver, or ice pick. Hidden refrigerant tubing and the plastic liner can be damaged before the ice breaks free.
  • Do not order a heater, thermostat, fan, or control board from a frosted rear panel alone. Photograph it and complete the seal, vent, fan, and full-thaw checks first.
  • Do not assume every freezer is frost-free. Check the model and owner manual; a manual-defrost freezer is expected to collect frost during normal use.
  • Do not use a heat gun, flame, or unattended space heater. Move food safely, unplug the appliance, open the door, and control meltwater.
  • Do not ignore a small isolated frost patch with poor cooling, oily residue, or hissing. That is not the classic even automatic-defrost pattern.

Door and gasket checks

Start here when frost is nearest the opening, top corner, drawer edge, or exposed food packages.

  • Remove packages, baskets, or ice ridges that keep the door from reaching the cabinet. Close it slowly and watch all four corners make contact.
  • Clean the gasket and cabinet mating surface with mild dish soap and warm water, then wipe both dry. Sticky residue can hold the bellows open.
  • Close a plain paper strip in several spots. Compare the drag around the perimeter; one loose section is useful evidence, but the test does not measure an exact sealing force.
  • Look for a torn magnetic edge, hardened rubber, a folded corner, hinge sag, door bounce, or a cabinet that rocks forward.
  • Replace the gasket only when the model and door profile match and the seal still has a visible or repeatable weak area after cleaning and correct door alignment.
What you seeWhat it suggestsNext move
Frost at one gasket corner.Localized humid-air entry.Clean, inspect, and compare paper drag at that corner.
Frost on packages across the compartment.Door ajar, frequent opening, or poorly wrapped food.Check closing obstructions and package seals.
Door bounces back or drawer will not seat.Load, rail, hinge, or alignment issue.Correct the obstruction before buying a gasket.
Paper drag is even and the opening stays clean.A gasket fault becomes less likely.Check vents, fan behavior, and rear-panel pattern.

Loading, vents, and fan clues

Cold air must circulate around food. A packed freezer can block a vent, keep a drawer proud, and imitate a component failure.

  • Pull packages away from the rear panel and every visible supply or return vent. Follow any loading limits molded into baskets or shown in the owner manual.
  • Check that drawers and baskets sit fully on their rails. A bag corner behind a drawer can hold the door open by only a few millimetres.
  • With the freezer running and the door switch safely held closed, listen for the evaporator fan only if the owner manual uses that check. Keep fingers and loose items away from vents.
  • A scrape or tick can be a fan blade touching frost. Complete a safe thaw before condemning the motor; ice can stop a healthy fan.
  • If the fully thawed fan still stays silent, use the model's diagnostic or wiring test. A silent fan does not prove the motor if the switch, wiring, or control is not sending power.

Safe full manual defrost and food handling

A complete thaw removes the symptom and creates a clean baseline. It does not repair the cause, so photograph the original pattern first.

  • Move food to another working freezer or an insulated cooler with frozen packs. Use a thermometer rather than judging safety by touch or smell.
  • Turn the control off if required, unplug the appliance, and keep the plug dry. Open the door and place absorbent towels and a shallow pan where the manual directs meltwater.
  • Let frost release on its own. Use only a plastic scraper if the exact manual allows one; never use a knife, screwdriver, ice pick, heat gun, or flame.
  • Wait until hidden ice around the rear panel, fan shroud, drain channel, drawer rails, and vents has melted. Wipe the interior dry before restoring power.
  • FDA guidance says frozen food that still contains ice crystals or is at 40°F or below may be refrozen or cooked. If time and temperature are uncertain, discard it.

After a full thaw: rear frost versus floor ice

Recheck only after the door seals and vents are clear. A returning rear frost blanket narrows the automatic-defrost checks; a clear floor sheet narrows the defrost-drain checks.

  • Run the freezer with a normal light load and an appliance thermometer. Keep food off the rear panel and minimize door openings.
  • Photograph the same panel each day. Watch for an even white blanket returning together with weaker vent airflow or a fan beginning to scrape.
  • If the fan works after the ice is gone but the blanket returns, use the model's service sheet to test the heater, defrost sensor or thermostat, wiring, and control sequence.
  • If a clear floor sheet returns instead, find the model's drain-access instructions. Some designs expose a homeowner-clearable hole; many bottom-freezer designs require more disassembly.
  • Use only the manual's warm-water mixture and delivery method. GE specifies hot—not boiling—water for listed clearable designs; never push wire or a sharp tool into an unseen tube.
  • Stop for live-voltage tests, sealed refrigeration tubing, an inaccessible drain, a partial coil pattern, oily residue, or hissing.

Tools You May Need

These tools support food-safety monitoring and a controlled thaw. They do not diagnose a defrost heater, sensor, or control board.

Paid links. As an Amazon Associate I earn from qualifying purchases. Repair Riot may earn a commission at no extra cost to you.
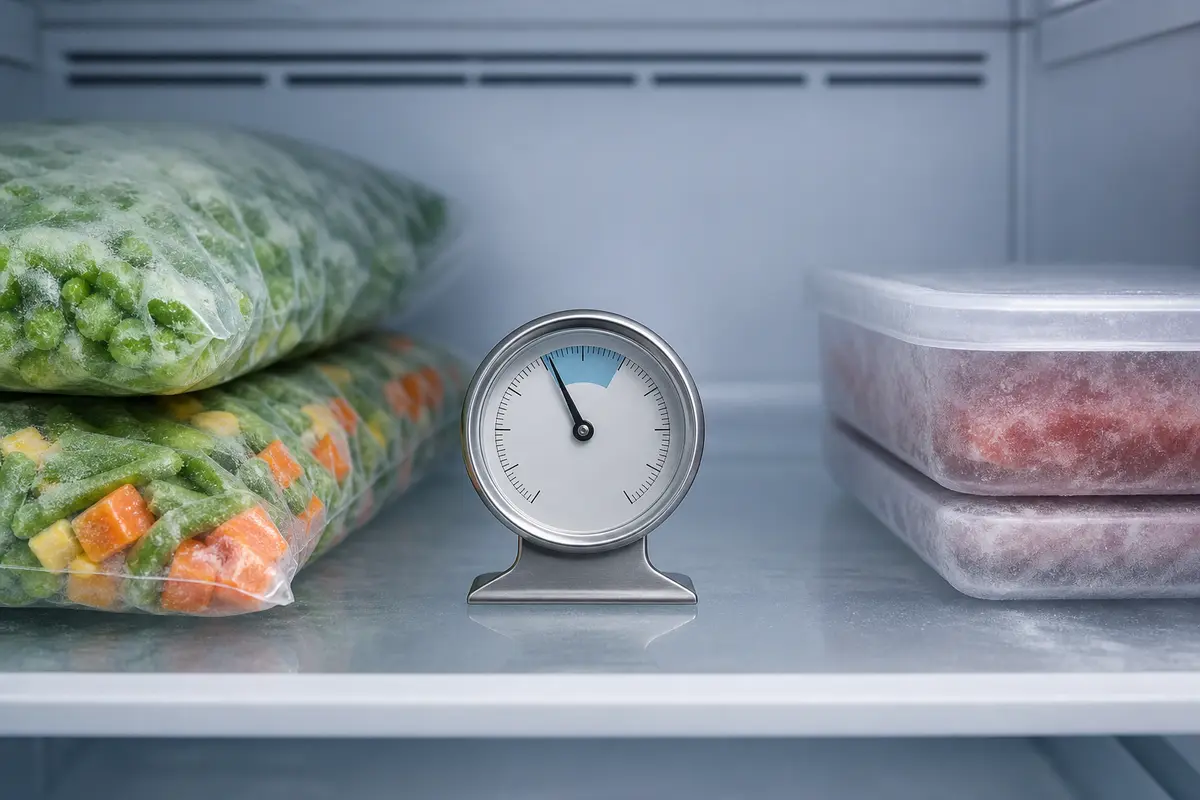
Freezer-safe analog appliance thermometer positioned between frozen food packages

Freezer-safe appliance thermometer

Helps when: You need an independent temperature reading before, during, and after the repair instead of relying on the control dial.

Skip it when: Skip a purchase if the appliance already shows a verified compartment temperature and you have a reliable backup thermometer.

Compare freezer appliance thermometers on Amazon
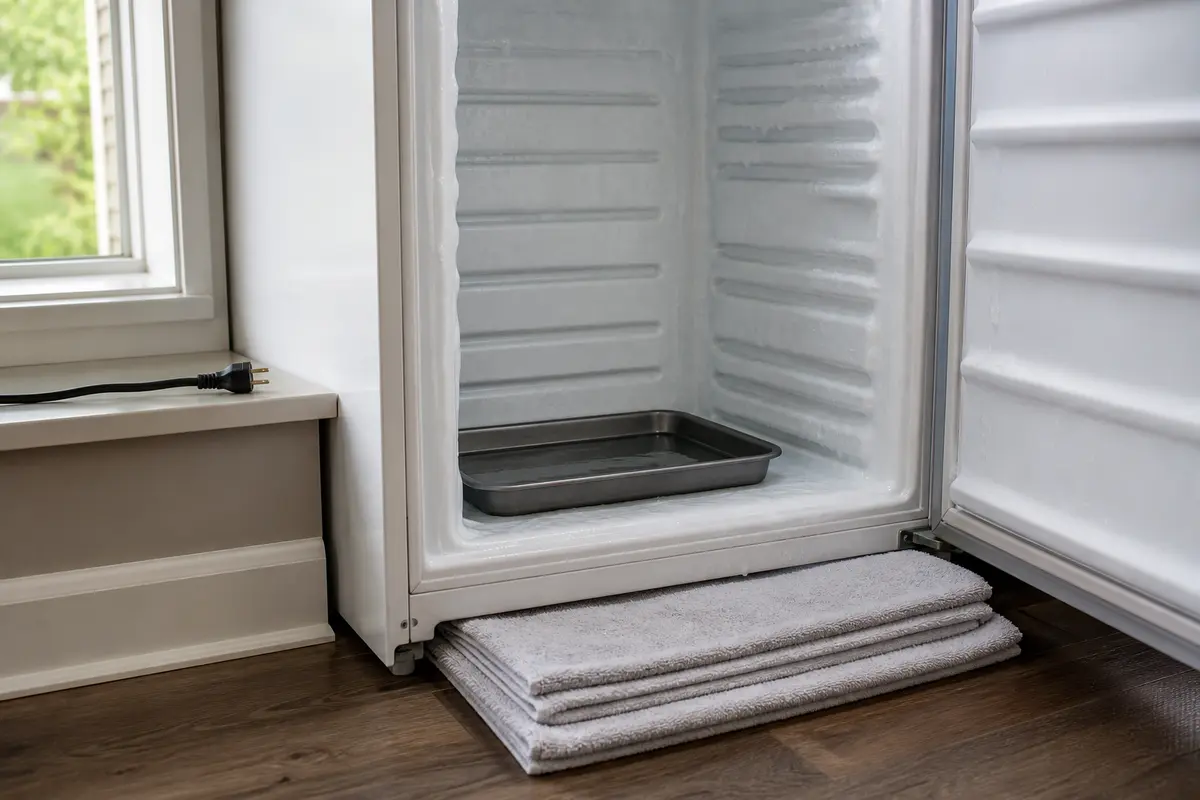
Absorbent towels and shallow pan at an unplugged open freezer during manual defrost

Absorbent defrost towels and shallow pan

Helps when: You need to contain meltwater at the freezer threshold while the unplugged compartment thaws naturally.

Skip it when: Skip buying a kit if clean absorbent towels and a low stable pan are already available.

Compare defrost cleanup supplies on Amazon

Replacement Parts

Buy only after the symptom, test result, and model number agree. A rear frost blanket by itself is not enough evidence for any electrical part.

Paid links. As an Amazon Associate I earn from qualifying purchases. Repair Riot may earn a commission at no extra cost to you.
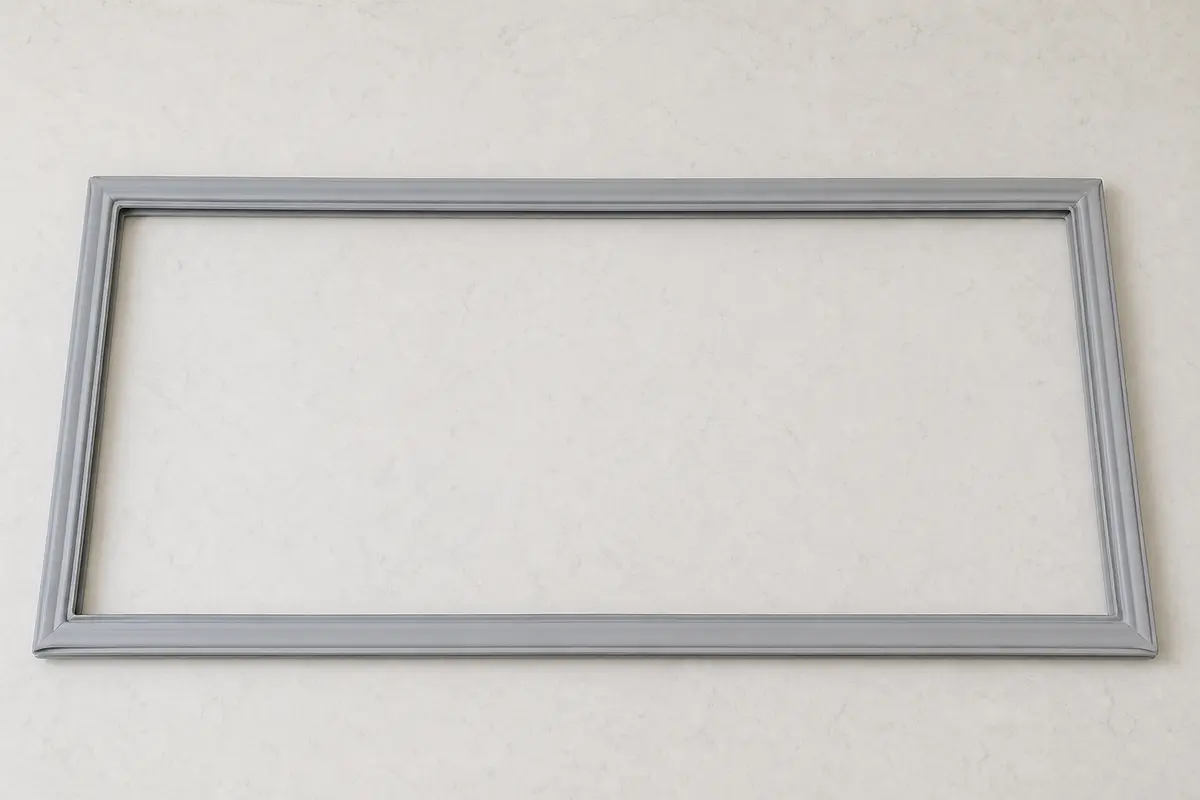
Complete magnetic freezer door gasket showing molded corners bellows and retainer profile

Model-matched freezer door gasket

Helps when: A cleaned, aligned door still shows a tear, hardened section, folded corner, visible gap, or repeatably weak paper-test area where frost begins.

Skip it when: Skip it when packages hold the door open, hinges sag, the cabinet rocks, or frost is confined to the rear panel or floor.

Find a model-matched freezer door gasket on Amazon
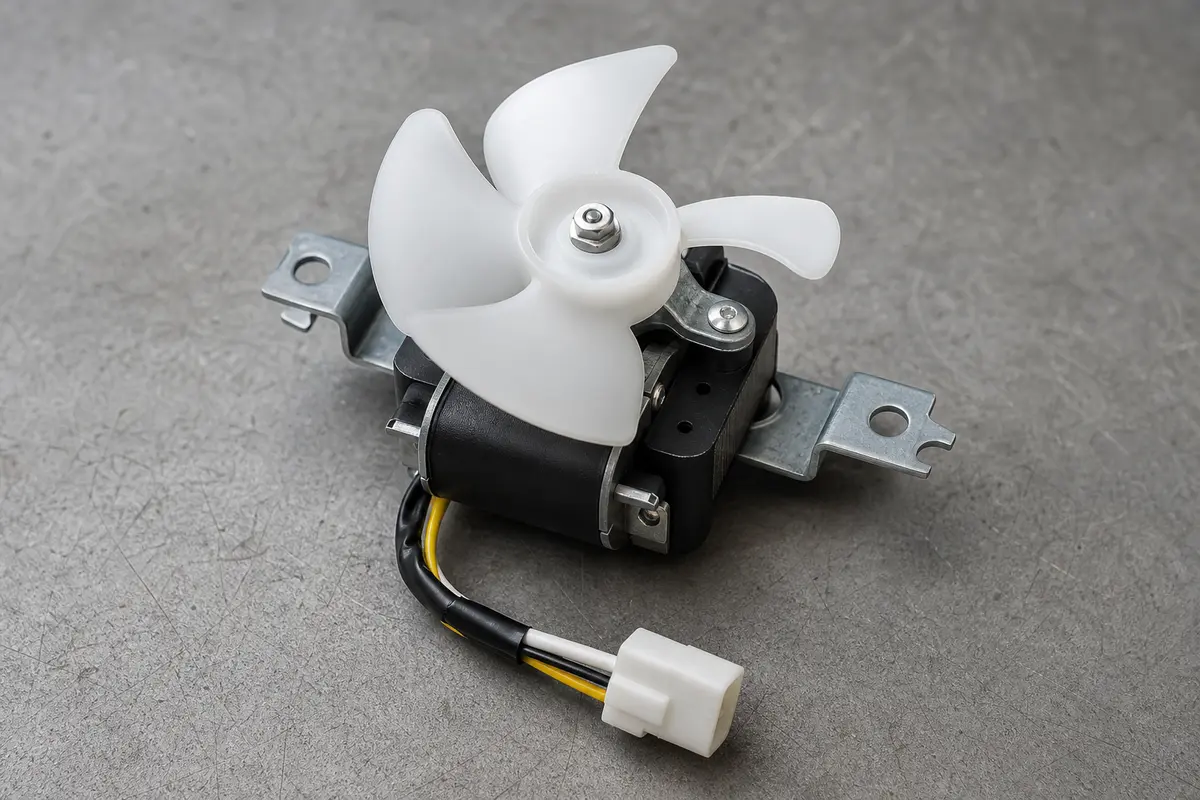
Freezer evaporator fan motor assembly with blade bracket harness and connector

Model-matched evaporator fan motor assembly

Helps when: The freezer is fully thawed, the fan blade turns freely, the door switch works, and the exact model diagnostic proves the motor is not running when commanded.

Skip it when: Skip it when ice is touching the blade, the rear panel has not fully thawed, or switch, wiring, and control output have not been separated from motor failure.

Find a model-matched evaporator fan motor on Amazon

Verify the repair and watch the same location

A good result is stable temperature, unobstructed airflow, and no return of the original frost pattern under normal use.

  • Set the appliance to its normal recommended control position and place the thermometer between packages, not against a wall or vent.
  • Confirm the door closes without bounce, every gasket corner contacts the cabinet, and baskets sit fully on their rails.
  • Verify steady vent airflow after pull-down. Keep packages away from vents and the rear panel.
  • Compare new photos with the original location over the next several days. A recurring rear blanket, floor sheet, or gasket-corner frost means the cause remains.
  • The freezer should hold 0°F (-18°C) or below. Use FDA food-safety guidance if packages warmed during the repair.

FAQ

Why is my freezer frosting up so fast?

Fast frost buildup usually means warm, humid room air is getting inside. The usual reasons are a weak freezer door gasket, a door left slightly open, or a load that blocks the door from sealing. If frost returns across the back wall after a complete thaw, check airflow and the automatic-defrost system.

Is a little frost in a freezer normal?

A light trace of frost after a long door-open session can happen. Thick white frost that keeps returning, frost on food packages, or a solid frosty back wall is not normal and points to an air leak or defrost problem.

Can a bad freezer door gasket really cause heavy ice buildup?

Yes. A small gasket gap can pull in a surprising amount of humid air every day. That moisture turns into frost, especially around the door opening first, then across shelves and food if the leak continues.

What does frost on the back wall of the freezer mean?

That pattern usually points away from the door seal and toward the evaporator area icing over behind the panel. In plain terms, the freezer is often not defrosting properly or is not moving air well with the evaporator fan.

Should I manually defrost the freezer before replacing parts?

Usually yes. A full manual defrost gives you a clean baseline and often makes the real pattern easier to see. If the freezer frosts up again quickly after that, you have much better evidence for a gasket, fan, or defrost-part failure instead of guessing.

Can overpacking a freezer cause frost?

Yes. When food blocks vents or pushes against the door, cold air cannot circulate right and the door may not seal fully. That can create uneven temperatures and recurring frost, especially in one section.

Why is there a clear ice sheet on the freezer floor?

On a self-defrosting design, an ice sheet under the bottom basket can mean defrost water is not reaching the drain pan. Fully thaw the appliance, then use only the drain access and clearing method listed for that exact model.

Does a frosted back wall prove the defrost heater is bad?

No. A returning rear frost blanket moves the diagnosis to airflow and automatic defrost, but the cause can be a fan, heater, sensor or thermostat, wiring, or control. Use the model's diagnostic sequence before ordering.

Manufacturer and food-safety references

Repair Riot built this page from manufacturer frost, airflow, drain, and electrical-safety guidance plus FDA freezer-temperature and food-safety guidance. The owner manual and service sheet for the exact model take priority where access or test procedures differ.