Does the first bead form under the hose nut?
Remove the hose and inspect the washer, coupling, flat sealing face, and thread start. Try one other sound hose before blaming the faucet.
Dry the faucet, connect the hose squarely, and watch the hose nut, vacuum-breaker cap, and wall flange as you open the valve slowly. Nut leak: check the washer and threads. Cap leak: identify the faucet model. Wall or indoor leak: shut it off.
The usual cause is the washer inside the female hose coupling: missing, hard, cracked, flattened, or sitting crooked in its recess.
Good clue: the first fresh bead—not the final drip—tells you which repair path fits. Blot every seam dry between short tests.
Don’t start with: Do not start by replacing the whole outdoor faucet. Most of these leaks are at the hose connection, not the valve body.
Remove the hose and inspect the washer, coupling, flat sealing face, and thread start. Try one other sound hose before blaming the faucet.
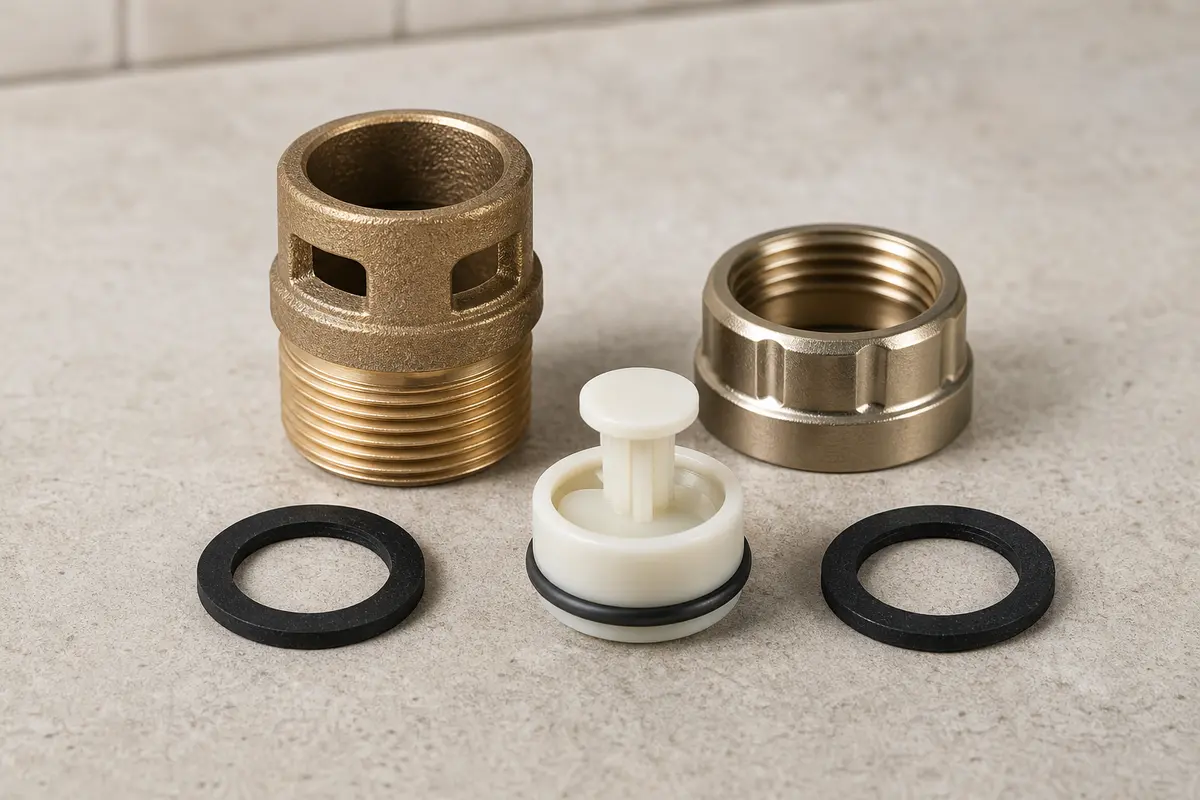
The vacuum-breaker assembly is the likely source. Photograph the faucet and identify its maker, model, cap style, and repair instructions before ordering.
Close the faucet and indoor shutoff. A frost-free tube or supply connection may be split, so do not keep testing water into the wall.
The hose washer, female coupling, or hose threads are the better suspect. Compare its fit with a known-good hose on the same faucet.
Blot the faucet dry and use a short, slow-flow test. The hose nut, vacuum-breaker cap, and wall flange lead to three different repair decisions.
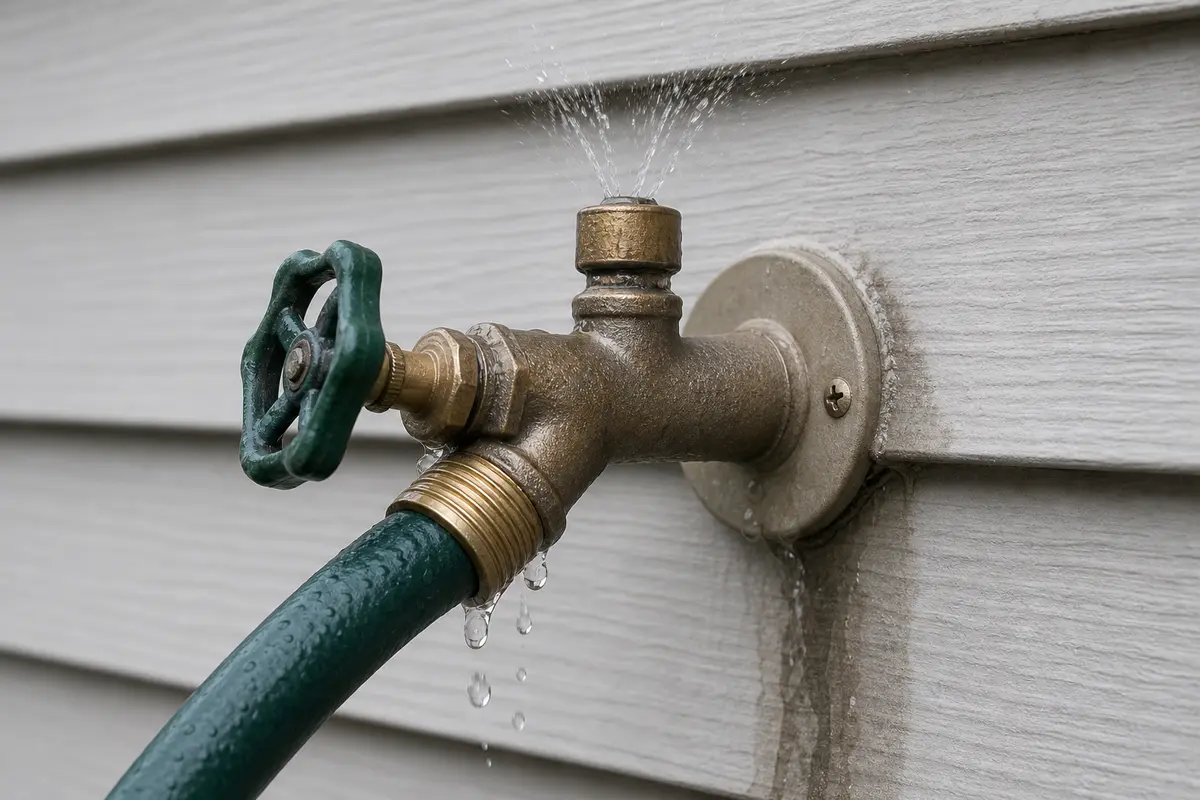
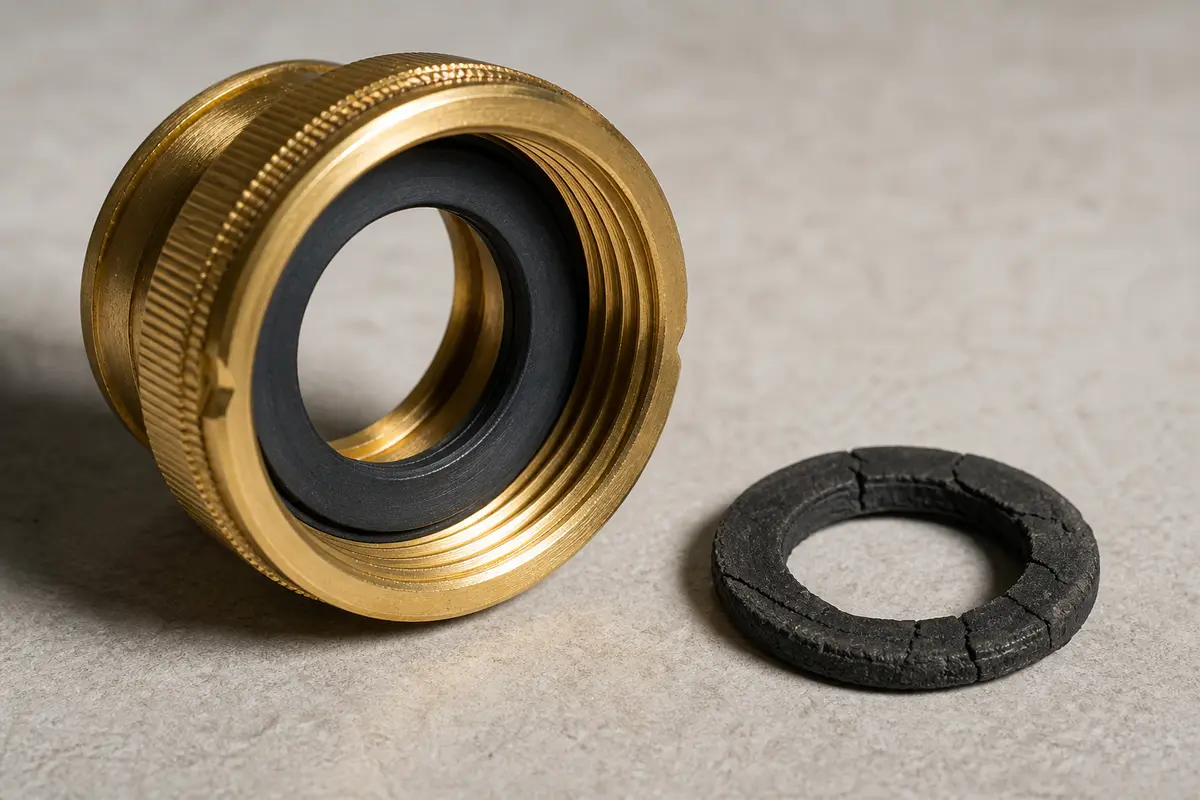
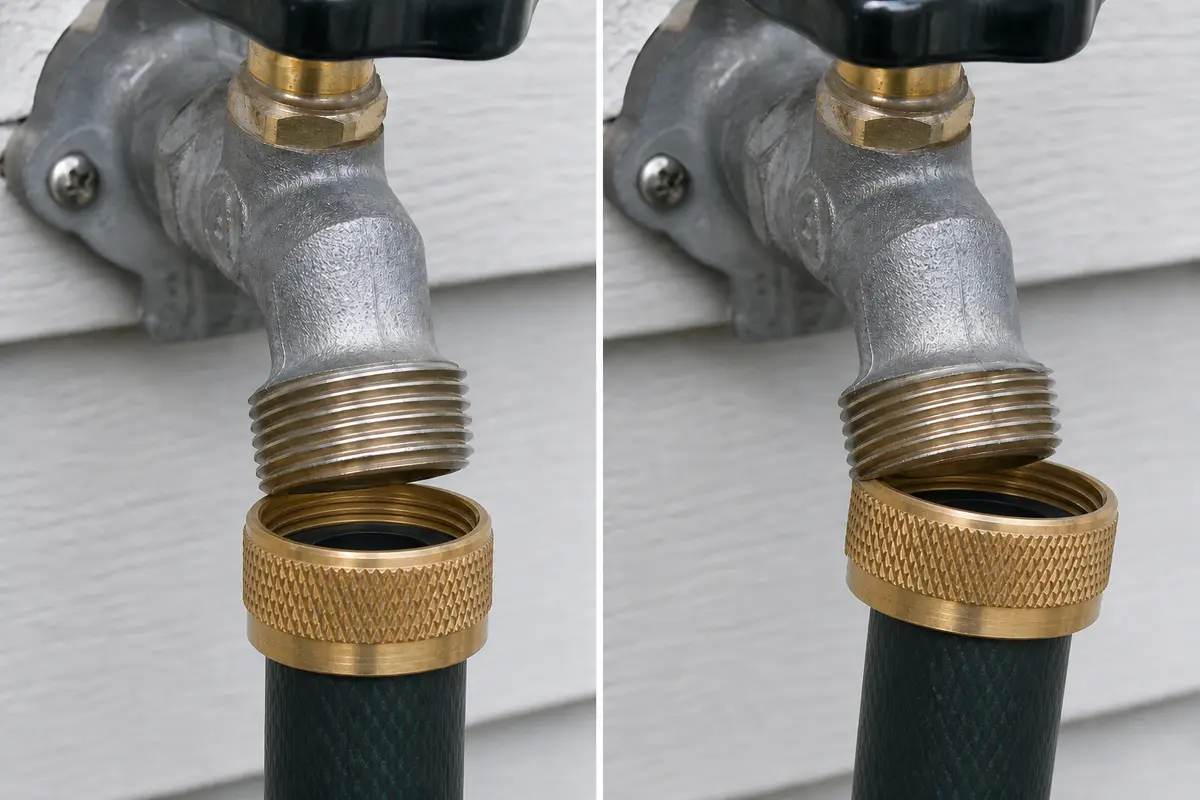
Write down the first wet point, whether a second hose behaves the same way, the faucet maker and model markings, cap shape, thread condition, and whether the wall stays dry. A hose washer is a face seal; a vacuum-breaker kit must match the faucet; a wall leak is not solved by either part.
The hose adds one new sealing joint. The first wet point separates that joint from a cap failure or a hidden frost-free body leak.
Start here only when the first fresh bead forms under the female hose coupling and the cap and wall stay dry.
| What you see | What it means | Next move |
|---|---|---|
| Washer is missing, cracked, hard, or flat. | The face seal cannot compress evenly. | Fit a washer that lies flat in the coupling recess. |
| Coupling tilts or binds on the first turn. | It is starting cross-threaded or the thread start is damaged. | Back it off; compare another sound hose by hand. |
| One hose leaks and a second hose stays dry. | The first hose end is faulty. | Repair or replace that hose coupling. |
| Two sound hoses leak on the same clean face. | The faucet threads or sealing face may be distorted. | Stop tightening and assess faucet replacement. |
Good threads guide the coupling on square; the flat end face and washer stop the water. Check both jobs separately.
A repeatable leak at the anti-siphon cap isolates the vacuum-breaker area, but it does not identify a universal replacement part.
These tools help locate and clean a minor external leak. They are not permission to force a seized cap or keep testing water into a wall.
Paid links. As an Amazon Associate I earn from qualifying purchases. Repair Riot may earn a commission at no extra cost to you.
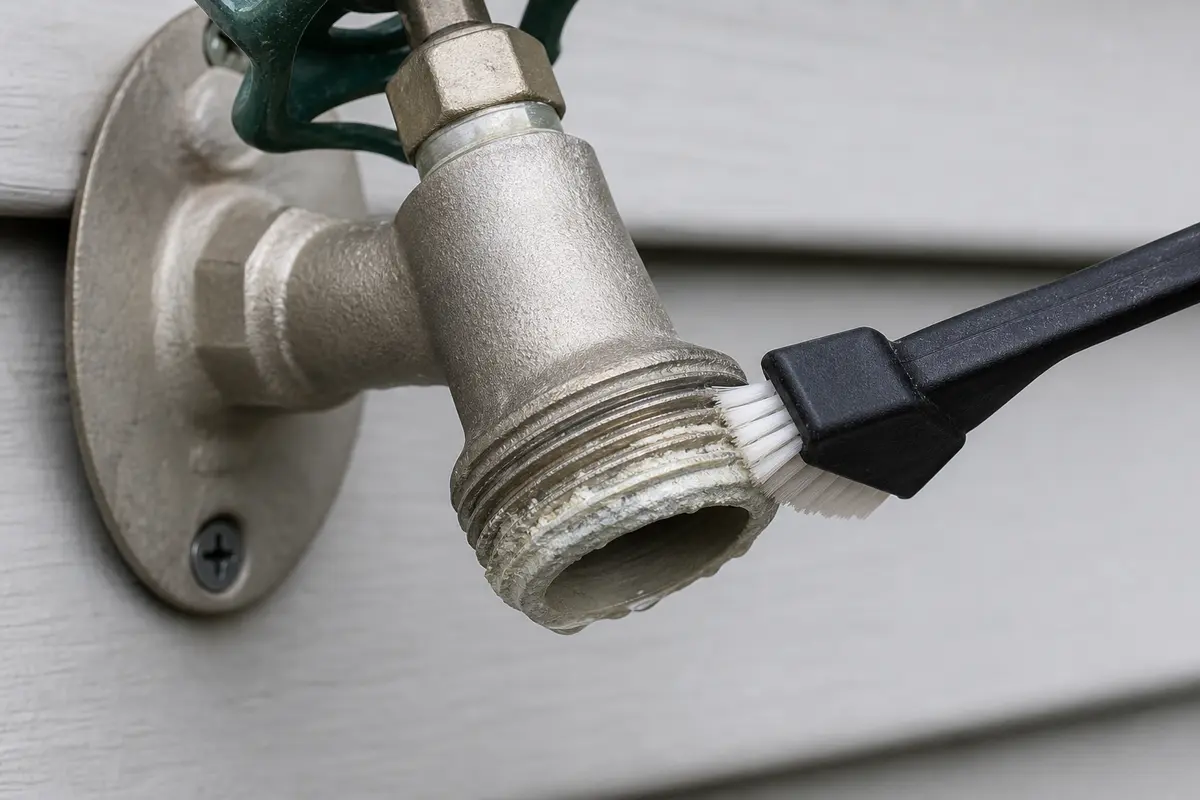
Helps when: Loose grit or mineral crust is sitting on the hose threads or flat sealing face.
Skip it when: Skip metal bristles, files, and aggressive scrubbing that can change the sealing surface.
Compare soft nylon detail brushes on Amazon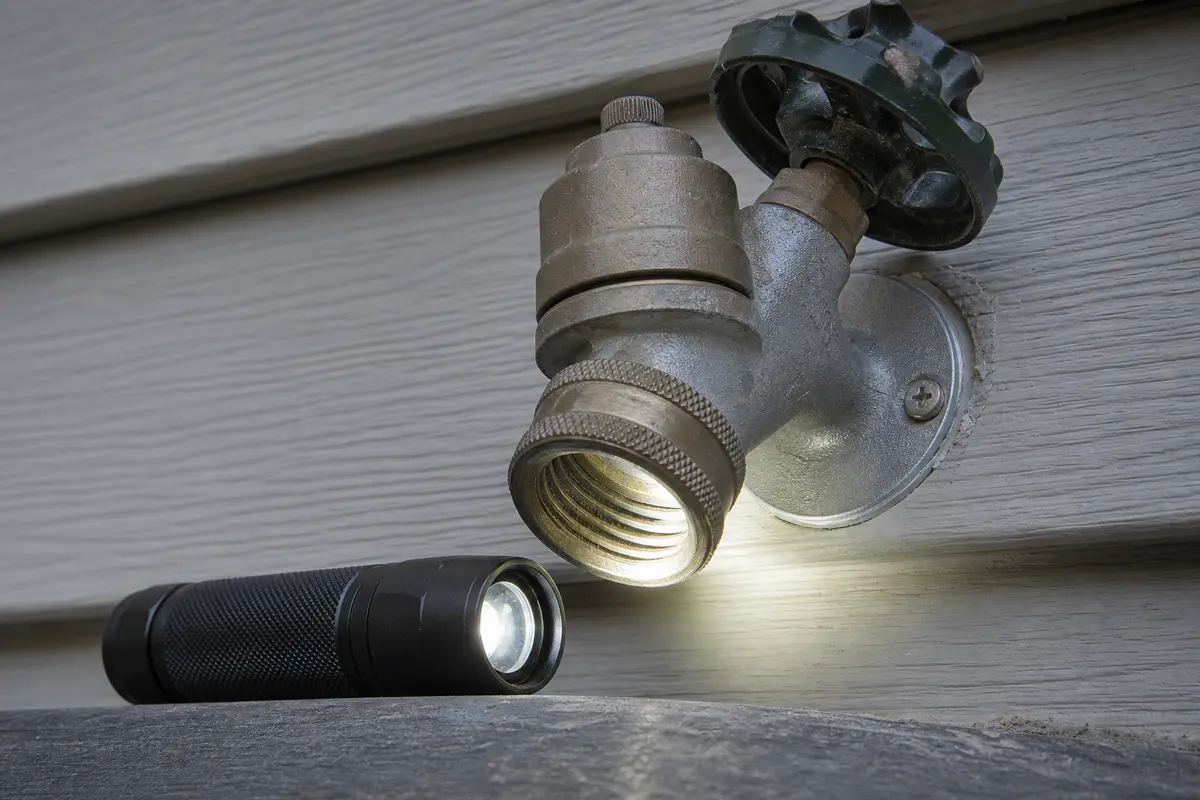
Helps when: The first bead is hidden under the coupling, cap, or wall flange.
Skip it when: Skip a purchase if daylight already shows every seam clearly.
Compare compact inspection flashlights on Amazon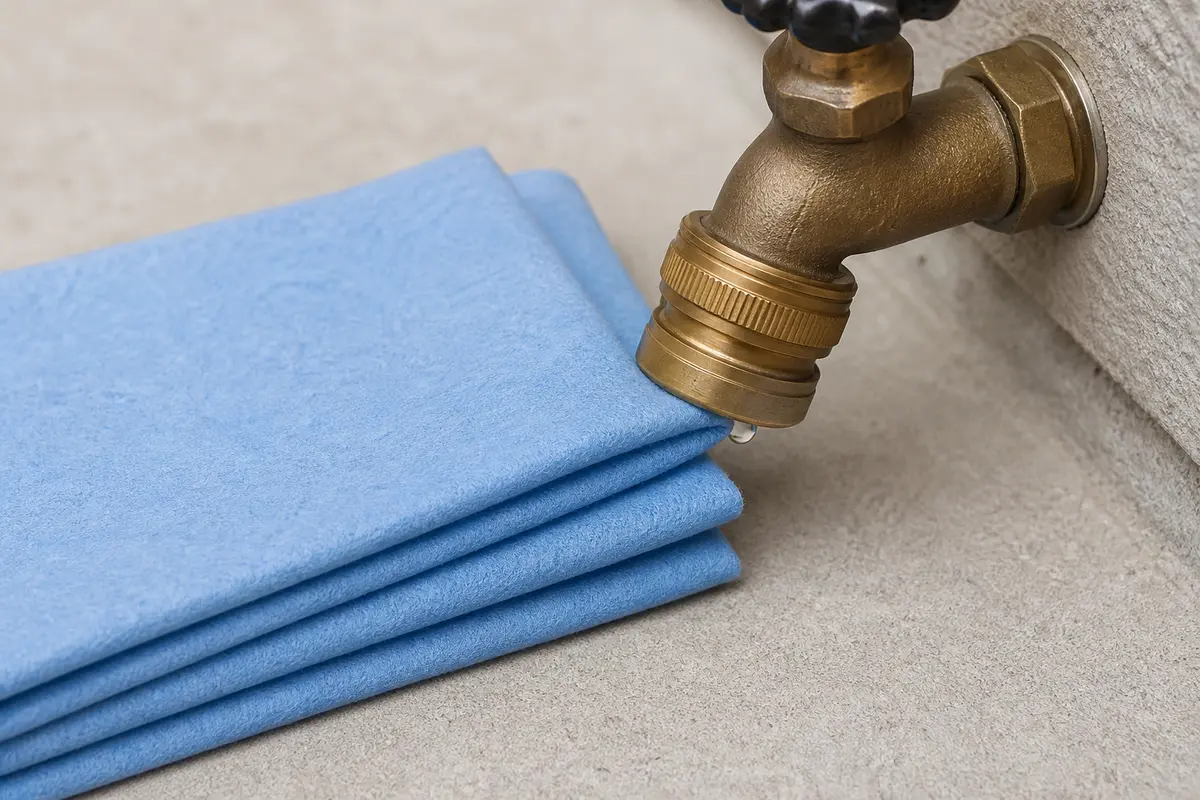
Helps when: You need to dry each seam between short tests and touch a narrow edge to a suspected leak point.
Skip it when: Skip them if clean absorbent cloths are already on hand.
Compare reusable shop towels on AmazonPut a part in the cart only after the first wet point and fit clues agree. Neither part below fixes water at the wall or indoors.
Paid links. As an Amazon Associate I earn from qualifying purchases. Repair Riot may earn a commission at no extra cost to you.
Helps when: The leak begins under the hose nut and the washer is missing, hard, split, flattened, or loose in its recess.
Skip it when: Skip them when the cap or wall becomes wet first, or when the coupling cannot start square on damaged threads.
Compare garden-hose washers on AmazonHelps when: The hose nut and wall stay dry while the cap seam or anti-siphon vents leak during a repeatable test.
Skip it when: Skip generic kits until the maker, faucet model, cap style, thread arrangement, and service method all match.
Compare model-specific vacuum-breaker kits on AmazonA hidden leak can stay dry while the faucet is off and open only when the valve sends water through a split frost-free tube.
Retest only the repaired path, then inspect all three leak zones once more. A dry minute under normal flow is more useful than extra tightening.
Attaching a hose introduces a washer-sealed joint that is not used when the outlet is bare. A missing or flattened washer, a crooked coupling, damaged threads, or a leak at the faucet's vacuum-breaker assembly can then become visible.
Yes. A missing washer, warped female coupling, or damaged hose threads can make it look like the faucet is bad. Try a second hose before blaming the hose bib.
That usually points to the vacuum-breaker area, not the hose washer. Confirm the first wet point, identify the faucet maker and model, and use its parts diagram before ordering; cap styles and repair kits are not universally interchangeable.
No. A standard garden hose seals with the washer at the end of the hose, not with thread seal tape on the hose threads. Tape will not fix a bad washer or damaged spout threads.
When multiple hoses leak at the same damaged spout threads, the faucet body is cracked, or water shows up at the wall or indoors. That is especially likely after freezing if a hose was left attached.
Not to start it or force it past a bind. A garden-hose coupling should thread on squarely by hand. If hand-tight does not seal with a sound washer, inspect the coupling, sealing face, and thread start instead of adding torque.
A short drain-down from the outlet can be normal because a frost-free faucet empties its outer tube after shutoff. Continued leakage at the nut, cap, wall, or indoor side is a different clue and needs diagnosis.
It can be. If the leak is at the wall, inside the house, or behind siding when the faucet is opened, suspect a split frost-free tube. Stop using it and isolate the line if you can.
Repair Riot built this page around manufacturer troubleshooting for vacuum-breaker leaks and frost-free wall-faucet failures. Exact faucet instructions take priority because drain designs, cap assemblies, and repair kits vary by model.