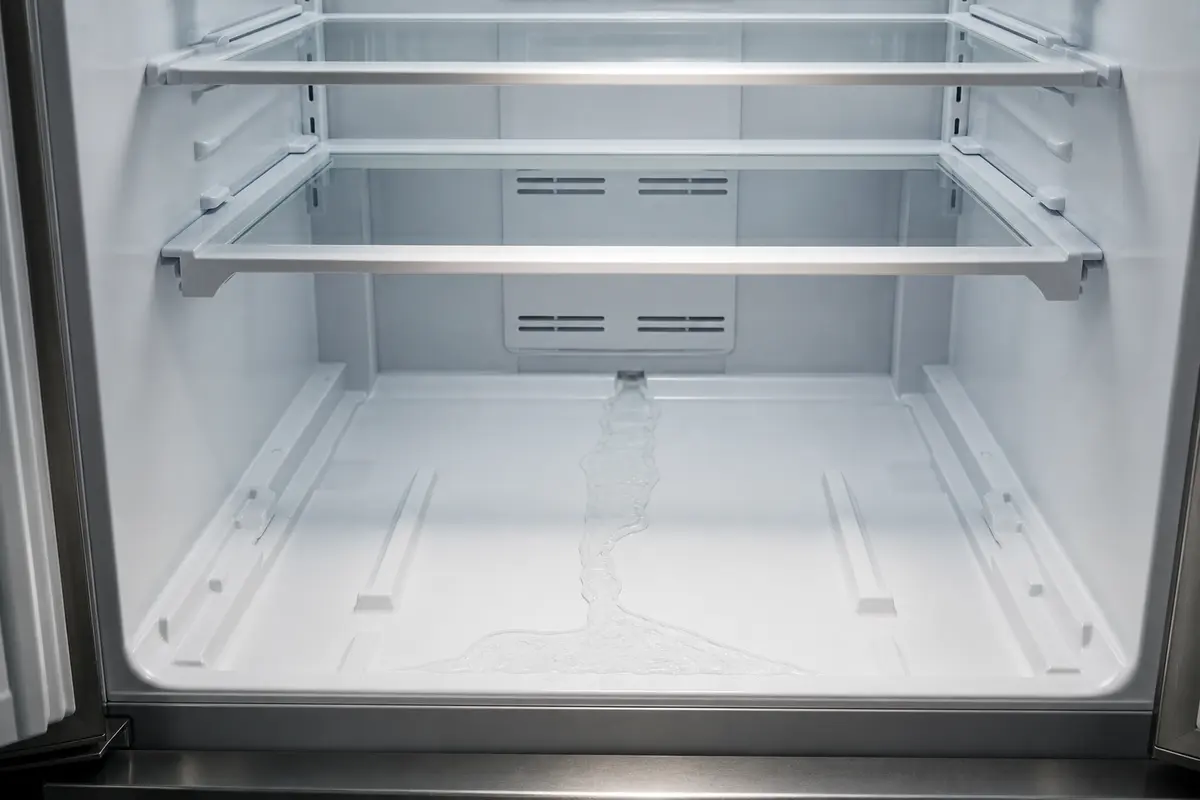
Does the first new water appear at the back center?
A narrow water track or ice ridge running forward supports defrost water backing up before it reaches the drain pan.
Start by pulling the drawers and drying the floor completely. If the first new water runs from the rear center, follow the defrost-drain path. If it drips from one side after dispensing, shut off the refrigerator water supply and inspect the visible reservoir, filter housing, tube, and coupling.
The drawers are usually innocent. They are simply the low point where water from several different failures comes to rest.
Treat the puddle as the last chapter. The first new drop is the clue.
Don’t start with: Do not chip the ice, pour chemicals into a mystery opening, or order a gasket because the floor is wet. Make the leak show you its starting point first.
A narrow water track or ice ridge running forward supports defrost water backing up before it reaches the drain pan.
Watch any visible reservoir, tube, filter housing, and coupling. A side-wall drip is a supply-water leak, not a defrost-drain symptom.
That is spill evidence. Check containers, wet produce, shelf channels, and cracked bins before opening the appliance.
Look for humid-air condensation: a door held open, dirty seal, warped gasket, or door that is not closing squarely.
Stop treating this as a simple puddle. A broader defrost or airflow fault can keep creating ice and needs model-specific diagnosis.
Once the floor is dry, look for the failure point—not more proof that the bottom of the refrigerator is wet.
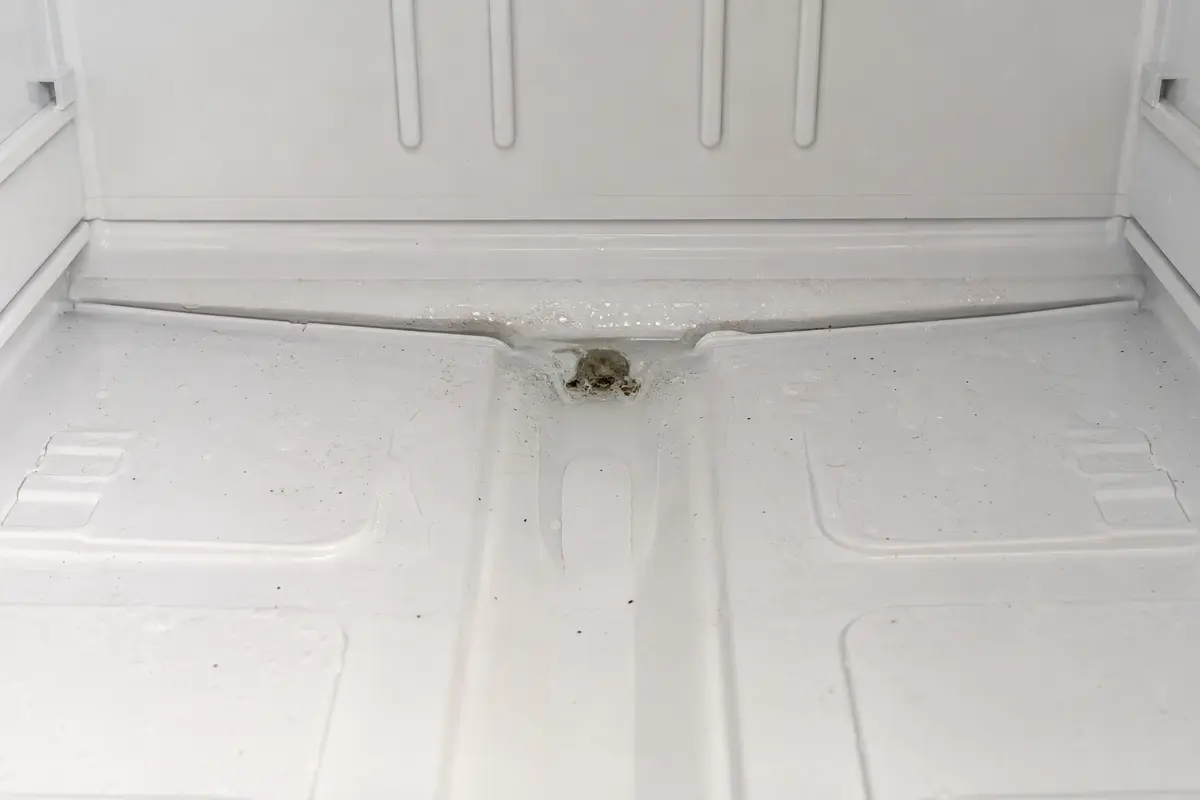
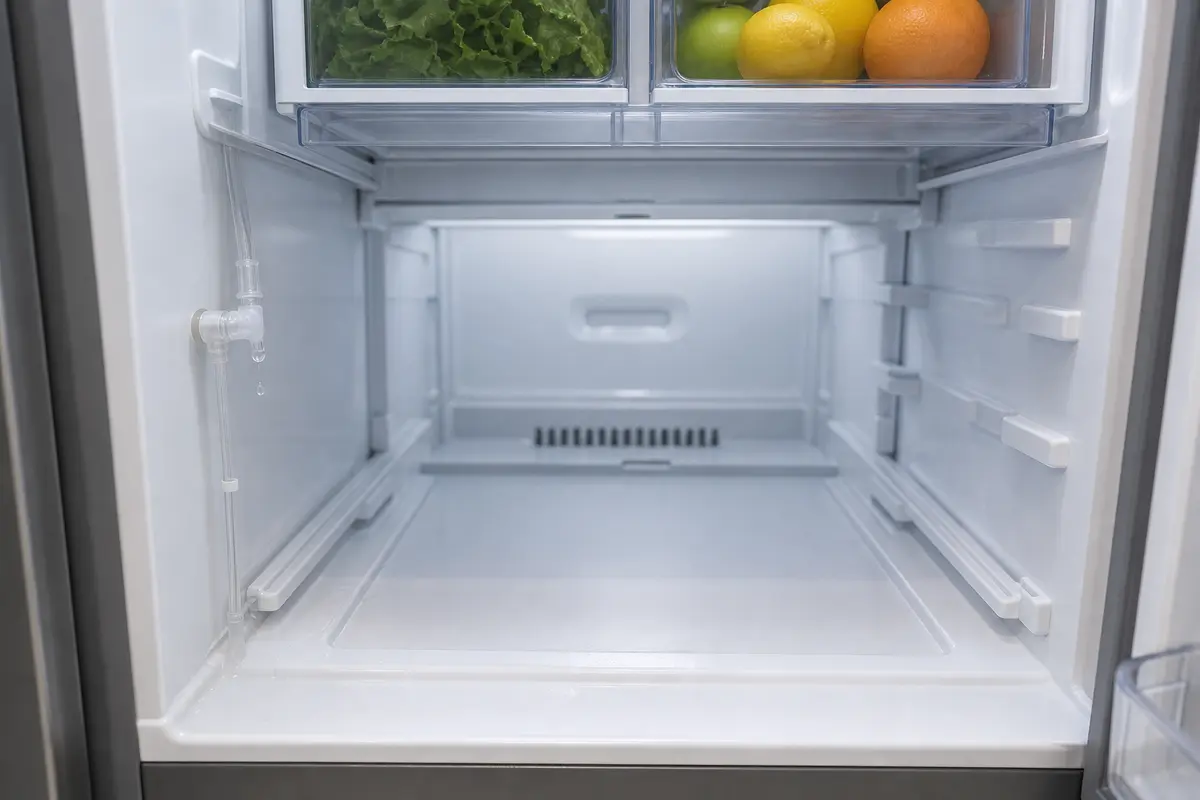
Do one controlled observation before buying anything: dry the compartment, photograph it, then note where the first new water appears and what the refrigerator was doing. Drain access, reservoirs, gaskets, and tubing vary by model, so copy the complete model number before comparing any part or disassembly instructions.
Water skates across the smooth liner and parks under the drawers no matter where it began. Drying everything turns the next appearance into a useful diagnostic event.
| First new clue | What it supports | Next move |
|---|---|---|
| Rear-center wet track or narrow ice ridge | Defrost water backing up along its drain path | Inspect only the model's accessible drain area and check for broader rear-panel frost |
| Drip from a side tube, filter housing, reservoir, or coupling | Pressurized supply-water leak | Close the water shutoff and inspect while dispensing only if the area stays safe and visible |
| Sticky or colored liquid below one shelf | Food spill, wet produce, or a cracked container | Clean, reseat the shelf and bins, then watch for a repeat |
| Fine droplets at the front edge or door opening | Humid air entering or a door held slightly open | Clean the gasket, clear obstructions, and check door closure |
| Rear panel bulged with snow or solid frost | Broader defrost or airflow fault | Protect food and stop repeated thaw-and-run cycles |
You are not waiting for another flood. You are setting a few simple witnesses in the places where each leak path would reveal itself.
A repeat trail from the rear center earns the defrost-drain diagnosis. It does not grant permission to pry into a refrigerator whose drain is hidden behind a frozen panel.
Many dispenser-equipped refrigerators hide chilled-water tubing or a reservoir beside the fresh-food compartment. One tiny fitting can feed a very convincing puddle under the drawers.
A thin rear-floor trail with normal cooling is a drain clue. A snowy, bowed, or solidly iced rear panel with weak airflow is the refrigerator asking for a different diagnosis.
The expensive mistakes begin when the visible water gets treated before its path is understood.
These are for drying and observing the leak pattern. They are not tools for forcing off a frozen panel.
Paid links. As an Amazon Associate I earn from qualifying purchases. Repair Riot may earn a commission at no extra cost to you.
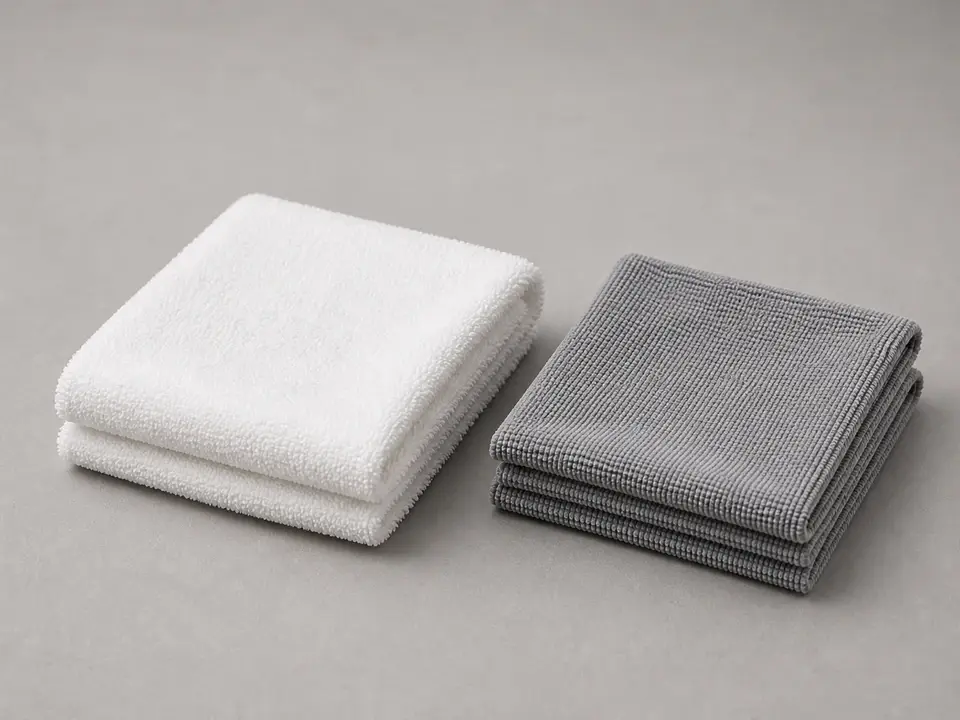
Helps when: You need to dry the entire crisper floor so the first new water track is easy to see.
Skip it when: You already have clean towels that can stay around meltwater without shedding lint.
Compare shop towels on Amazon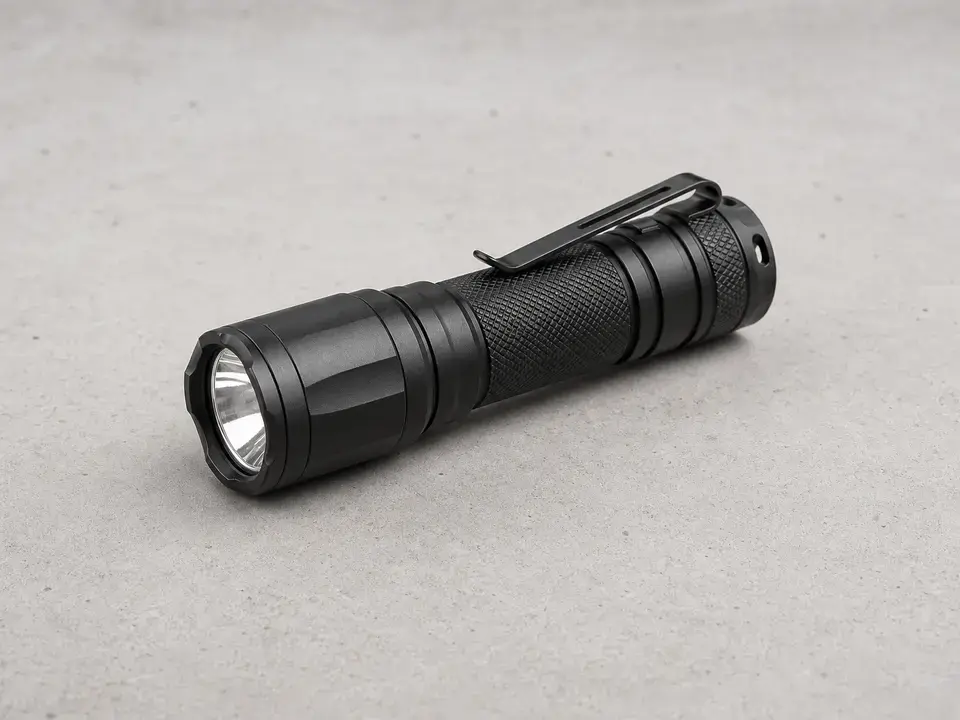
Helps when: You need to see water tracks, a thin ice ridge, gasket gaps, and the model label without probing a hidden opening.
Skip it when: The refrigerator's interior light gives a clear view of the rear floor and door seal.
Compare flashlights on Amazon
Helps when: Food needs a safe temporary place while the refrigerator is unplugged long enough for accessible ice to soften.
Skip it when: The check takes only a few minutes or you already have another refrigerator available.
Compare coolers on AmazonA blocked drain usually needs clearing, not a new part. The only common purchase on this page is a model-specific door gasket, and only when the seal itself is torn, hardened, warped, or loose after cleaning and alignment checks.
Paid links. As an Amazon Associate I earn from qualifying purchases. Repair Riot may earn a commission at no extra cost to you.
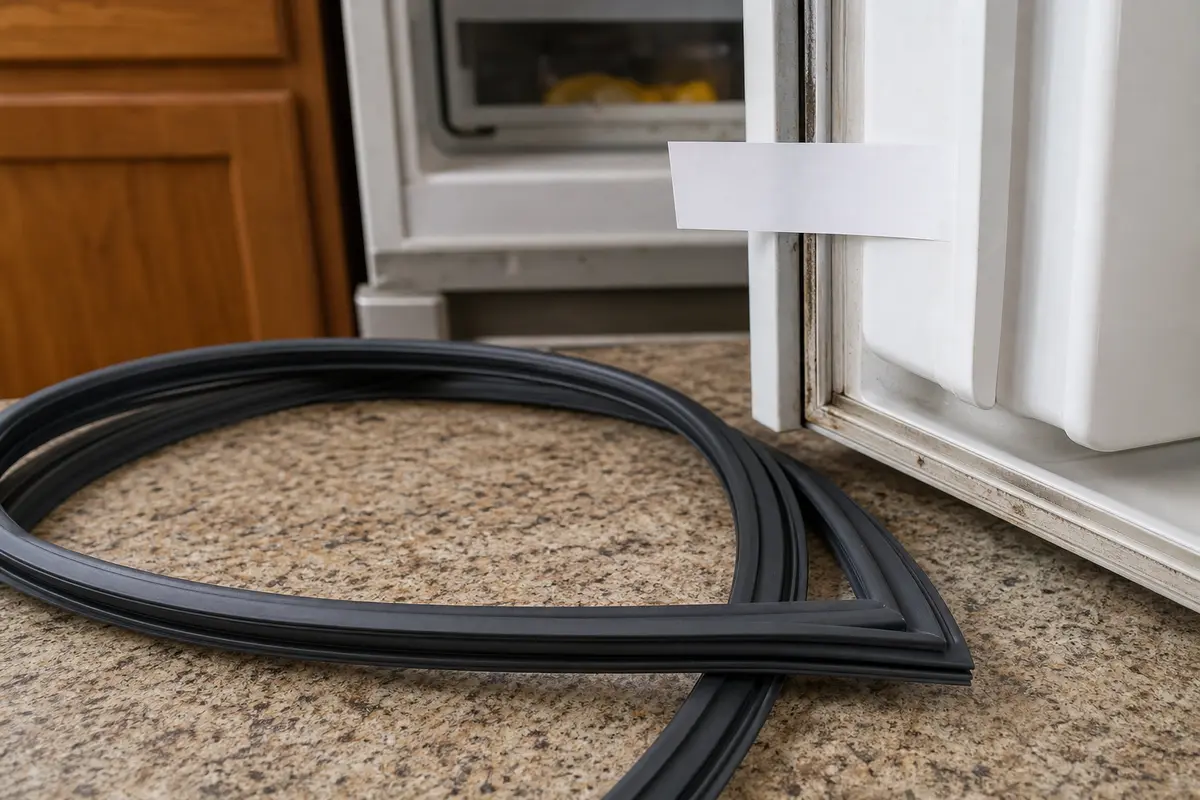
Helps when: The gasket is visibly damaged or repeatedly fails the paper-grip test in the same spots after cleaning, and the door is aligned.
Skip it when: The water starts at the back-center floor, the gasket grips normally, or you have not copied the full model number yet.
Compare refrigerator door gaskets on AmazonThe crisper floor is the low point inside the cabinet, so water from several sources can collect there without escaping to the kitchen. Dry the area and find the first new wet point: rear-center water supports defrost drainage, while a side-wall or filter-area drip supports a supply-water leak.
It can contribute by admitting warm, humid air that condenses or becomes frost, but a puddle alone does not prove the gasket is bad. Look for moisture near the door, a visible gap, repeat weak paper-strip grip, or actual gasket damage.
No. A drain problem fits a repeat rear-center water or ice trail. Spills, condensation, and leaks from a water reservoir, filter housing, or tube can end in the same place. Heavy rear-panel frost can also point to a broader defrost or airflow fault.
Do not use boiling water, drain chemicals, bleach, or a large blind pour. If the model has a clearly identified, user-accessible drain, follow its manufacturer instructions. If the path is hidden or a cover is frozen in place, stop before prying or probing.
Replace it only after you confirm the gasket is torn, hardened, warped, or not sealing in multiple spots even after cleaning. If the seal looks good and the leak starts at the back center, the drain or a frost issue is more likely than the gasket.
Thawing removes the current blockage, but it does not always remove debris from the drain or correct a defrost-system problem that is producing heavy frost. Where the ice returns tells you whether the drain path or the larger frost problem still needs attention.
Yes, but look for a visible path from a water tube, filter housing, reservoir, or ice-maker area. Water that begins at one of those parts follows a supply-leak diagnosis, while a back-center floor trail more often follows the defrost-drain path.
Check after several normal cooling cycles and again the next day. If the area stays dry through 24 to 48 hours of ordinary use, a one-time spill or door-closing problem is more likely than a continuing drain overflow.
Repair Riot starts with the first wet point, then separates no-parts checks from model-specific service work. Manufacturer guidance confirms that under-drawer water can come from different paths depending on refrigerator design, so this guide does not prescribe blind drain access or a universal part.