
Utility knife
Use it for: To score paint, cut drywall paper, and clean up edges before removal.
Find a utility knifeTo remove water-damaged drywall, first stop the water source and confirm the drywall is soft, swollen, stained, moldy, or crumbling. Then protect the area, cut back to solid drywall, remove the damaged section cleanly, and leave the wall cavity open until everything behind it is dry and sound.
This job is mostly about clean removal and good judgment. You are not trying to save soggy drywall. You are trying to remove the damaged section without making a bigger mess, while checking for hidden moisture, mold, or framing damage before any patch goes back in.
Before you start: Choose tools and supplies that match your wall thickness and the size of the damaged area. If the wall is still wet, solve the leak first before closing it back up.
Use it for: To score paint, cut drywall paper, and clean up edges before removal.
Find a utility knife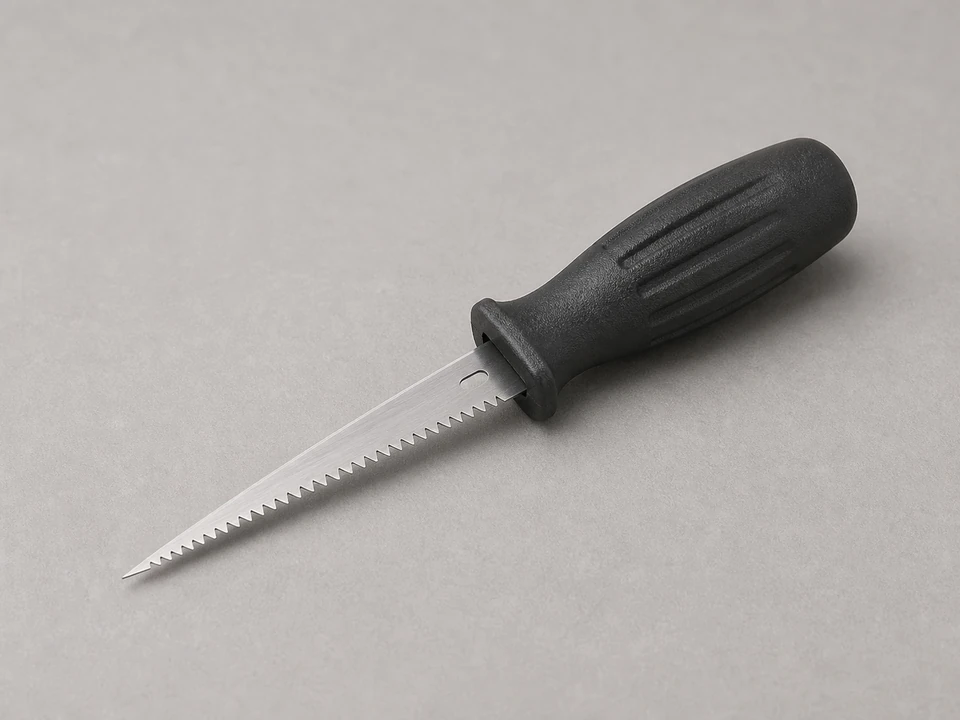
Use it for: To cut out the damaged drywall between studs or along your layout lines.
Find a drywall saw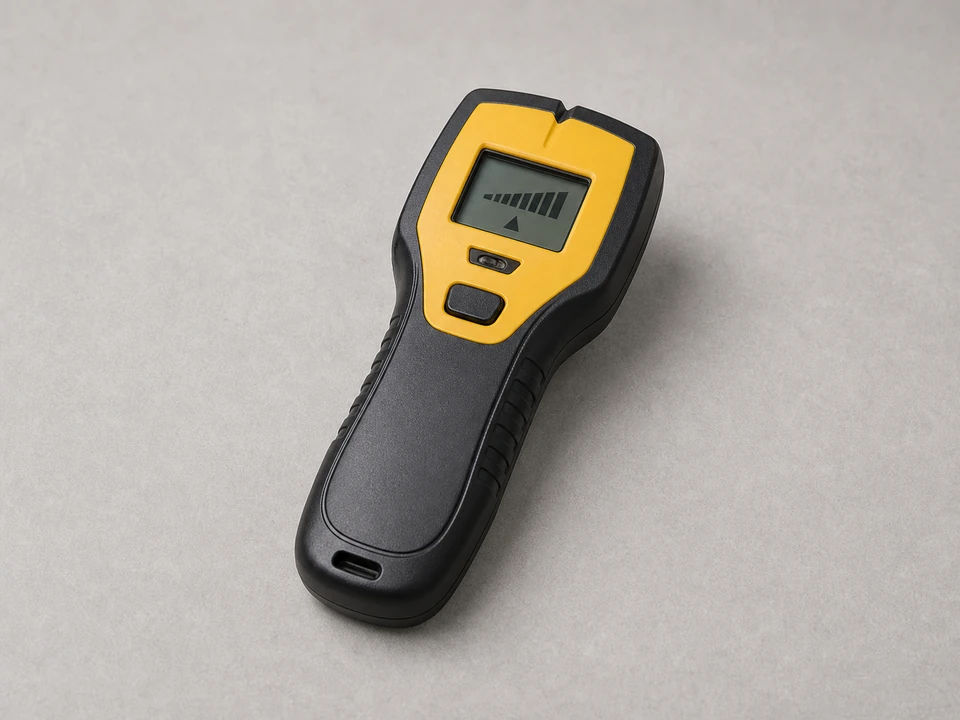
Use it for: To locate studs so you can cut neatly and leave backing for the future patch.
Find a stud finder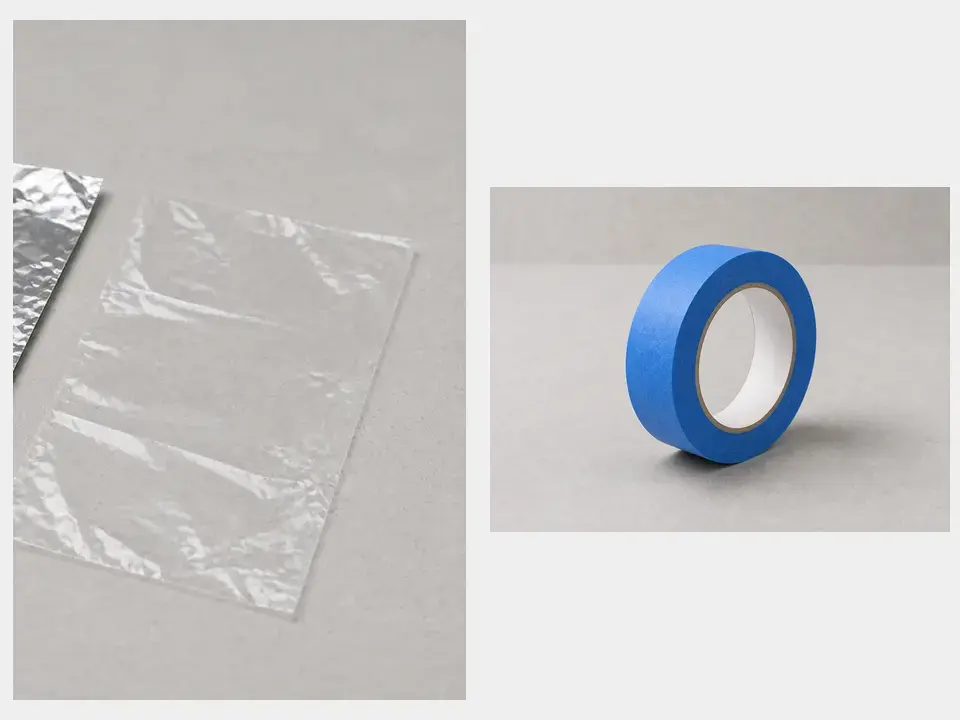
Use it for: To contain dust and debris, especially if the damaged area is dirty or musty.
Find plastic sheeting and tape
Use it for: To bag up wet drywall and insulation right away.
Find contractor bags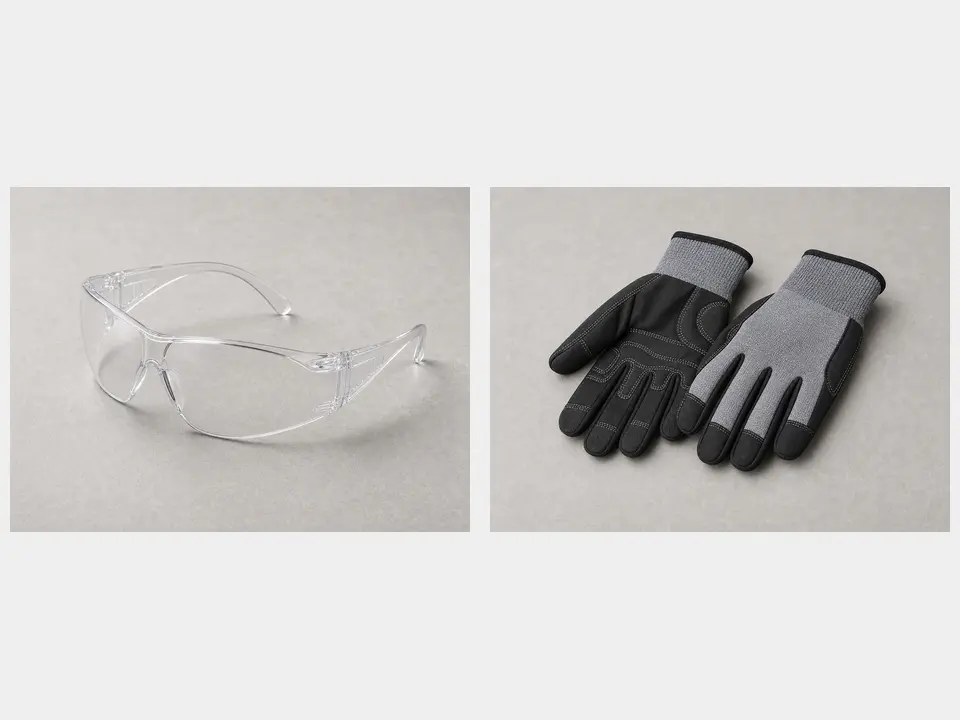
Use it for: To protect your eyes and hands from drywall dust, screws, and sharp edges.
Find safety glasses and glovesAs an Amazon Associate I earn from qualifying purchases. Repair Riot may earn a commission at no extra cost to you.
If it works: You have confirmed the drywall is actually damaged and the water source has been stopped or isolated.
If it doesn’t: If the drywall is only lightly stained but still firm and fully dry, you may not need removal. Let the area dry completely and reassess before cutting.
If it works: The area is protected, you can work safely, and you know where the framing is.
If it doesn’t: If trim or covers are stuck from paint, score the edges with a utility knife before prying gently.
If it works: The damaged drywall section is cut free with reasonably straight edges and solid material around the opening.
If it doesn’t: If the opening edge is ragged, trim it back to a cleaner line before moving on.
If it works: All obviously damaged drywall and wet insulation are out of the wall, and the cavity is open and clean enough to inspect.
If it doesn’t: If small damp scraps remain stuck to framing, pull them off now so they do not trap moisture.
If it works: The wall cavity is dry, the source of water is handled, and the area is ready for patching or the next repair step.
If it doesn’t: If the cavity still feels damp after drying time, keep air moving and recheck for a hidden leak before closing the wall.
If it works: The damaged drywall is fully removed, the area stays dry, and the wall is ready for the next repair.
If it doesn’t: If moisture returns, stop patch plans and track down the leak source before closing the wall.
If it is soft, swollen, sagging, crumbling, moldy, or the paper face is separating, removal is usually the right call. Firm, dry drywall with only a light old stain may not need to come out.
Yes, if it is wet, stained, moldy, or compressed. Wet insulation holds moisture in the wall and slows drying, which can lead to odor and hidden damage.
Cut back into solid drywall beyond the visibly damaged area. The goal is to remove all weak material and leave clean, sound edges for the future patch.
Usually not. The cavity needs time to dry fully, and you need to be sure the leak is fixed. Patching too soon can trap moisture and cause the problem to come back.
A small, localized area may be manageable during removal and drying, but widespread growth, strong odor, or repeated moisture is a good reason to stop and get the larger problem evaluated.