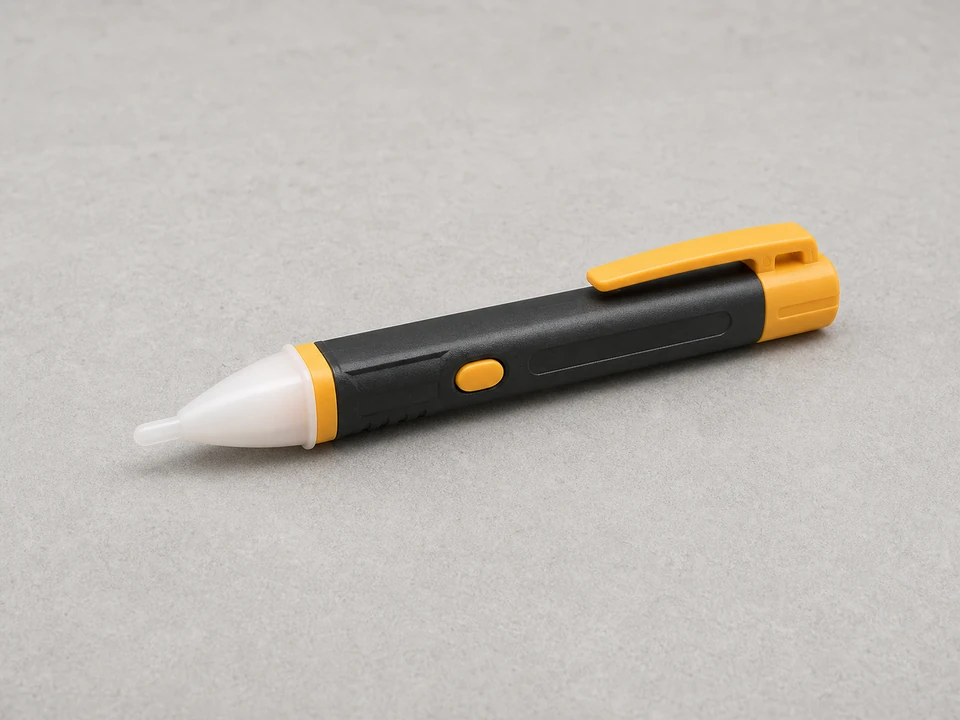
Non contact voltage tester
Use it for: To confirm the switch box is de-energized before you touch any wires.
Shop voltage testersTo replace a 3 way light switch dimmer, shut off the correct breaker, confirm the old device is actually a 3-way dimmer, label the common and traveler wires, move the wires to the matching terminals on the new dimmer, then test the light from both switch locations.
This job is manageable for many homeowners, but only if the wiring is identified correctly before anything gets moved. The most important part is keeping track of the common wire and making sure the new dimmer is made for a 3-way circuit and the type of light it controls.
Before you start: Match the switch type, 3 way function, amperage rating, load type, and wiring compatibility before ordering.
Use it for: To confirm the switch box is de-energized before you touch any wires.
Shop voltage testers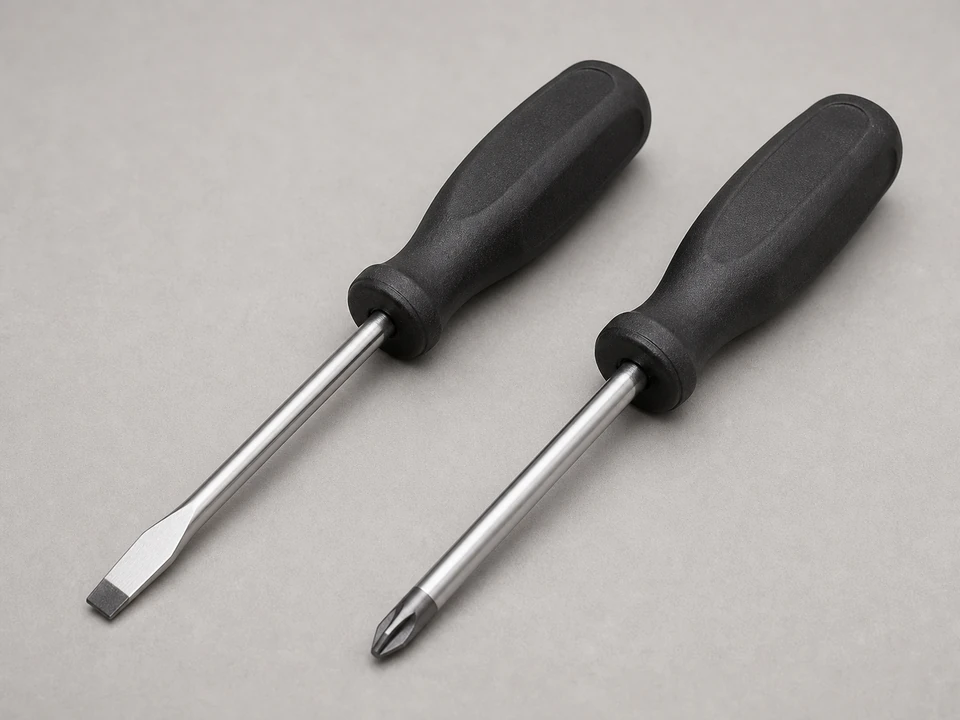
Use it for: To remove the wall plate, device screws, and terminal screws.
Shop screwdrivers
Use it for: To bend wire loops and guide wires onto terminals neatly.
Shop needle-nose pliers
Use it for: To mark the common wire and travelers before disconnecting the old dimmer.
Shop wire labels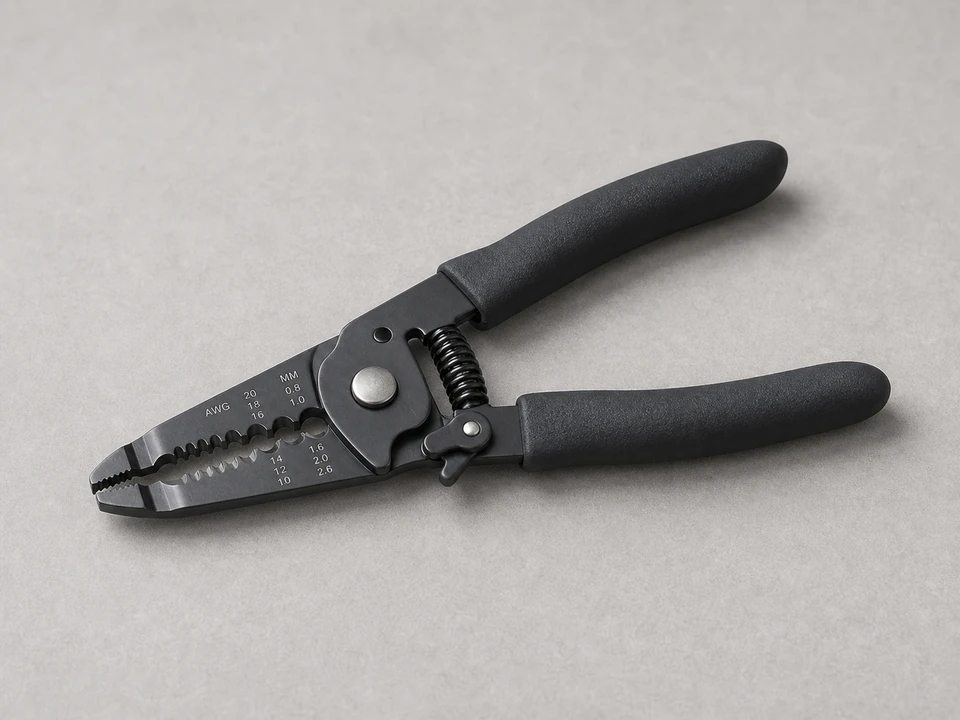
Use it for: To clean up damaged wire ends if a conductor needs to be re-terminated.
Shop wire strippersAs an Amazon Associate I earn from qualifying purchases. Repair Riot may earn a commission at no extra cost to you.
If it works: You have confirmed the circuit uses a 3-way dimmer and you have a compatible replacement ready.
If it doesn’t: If the light is controlled from only one location, or the replacement is not clearly rated for 3-way use, stop and get the correct device before continuing.
If it works: The dimmer is out far enough to inspect, and the tester shows the box is not energized.
If it doesn’t: If the tester still shows power, go back to the panel and identify the correct breaker before handling the wiring.
If it works: Every wire is identified, especially the common, and you have a photo to refer back to.
If it doesn’t: If you cannot confidently identify the common wire, reinstall the device as found and get help before proceeding.
If it works: The new dimmer is wired with the common on the correct connection, the travelers attached, and the ground secured.
If it doesn’t: If the wire layout on the new dimmer does not clearly match the old one, compare the terminal markings carefully before going further.
If it works: The new dimmer is mounted cleanly, the wall plate is back on, and power has been restored.
If it doesn’t: If the breaker trips right away, turn it back off and recheck for a misplaced common wire, a loose strand, or a short in the box.
If it works: The light works from both switch locations, the dimming is stable, and the new dimmer stays within a normal temperature range.
If it doesn’t: If the light only works in some switch positions, swap off the breaker and recheck that the common wire is on the common terminal and the replacement is truly a 3-way dimmer compatible with your bulbs.
Match the switch type, 3 way function, amperage rating, load type, and wiring compatibility before ordering.
As an Amazon Associate I earn from qualifying purchases. Repair Riot may earn a commission at no extra cost to you.
No. The replacement has to be rated for 3-way use. A single-pole dimmer will not work correctly in a 3-way setup.
Usually the two traveler wires can go on either traveler terminal, but the common wire must go on the common terminal. The common is the critical one to keep identified.
The most likely causes are the common wire being on the wrong terminal, a loose connection, or a dimmer that is not compatible with the bulbs or fixture.
A little warmth can be normal during use, especially with higher loads. It should not feel excessively hot, smell burned, or discolor the wall plate.
Some dimmers do and some do not. Check the wiring requirements on the replacement before you buy it. If the new dimmer needs a neutral and your box does not have one, choose a compatible device or get help.