How to Replace an Air Conditioner Condenser Fan Blade
First check for a cracked, bent, missing, loose, or rubbing external blade; look for shiny shroud rub marks and uneven tip gap with power isolated. Match the model/serial, OEM part, mounting method, orientation, and factory clearance before any replacement.
This guide does not diagnose a fan that will not start. A hum, slow start, no-spin symptom, damaged shaft, capacitor issue, wiring issue, or refrigerant clue is a service path, not a universal blade order.
Before you start: Match the blade to the exact outdoor unit before ordering. Stop if you find burned wiring, a swollen capacitor, oily refrigerant residue, a bent motor shaft, a cracked motor mount, or a top grille that cannot support the fan assembly.
A noisy outdoor unit does not automatically need a fan blade. Confirm visible blade damage first. Compare the fit details before ordering. Stop for electrical, refrigerant, or motor support damage.
Blade damage, not just noise
Look for: The blade is bent, cracked, missing a section, loose on the hub, or leaving rub marks. The motor shaft still looks straight, and the top grille supports the motor firmly.
Choose another repair if: The blade is intact and spins true. Check for debris, a loose top panel, fan motor shaft play, or a start problem before ordering a blade.
Match the fit first
Look for: You can match the outdoor unit model, blade diameter, blade count, bore size, hub depth, rotation arrow, pitch direction, and set-screw style.
Choose another repair if: The old blade is missing or the specs are uncertain. Use the unit model tag or parts diagram. Diameter alone is not enough for airflow or clearance.
Stop for system damage
Look for: Power can be shut off at the breaker and disconnect. Wiring insulation looks intact, the capacitor is not swollen, refrigerant tubing is undamaged, and the motor mount is solid.
Choose another repair if: Call an HVAC tech for burned wiring, a swollen capacitor, oily refrigerant residue, a bent motor shaft, damaged line set, or a cracked motor support.
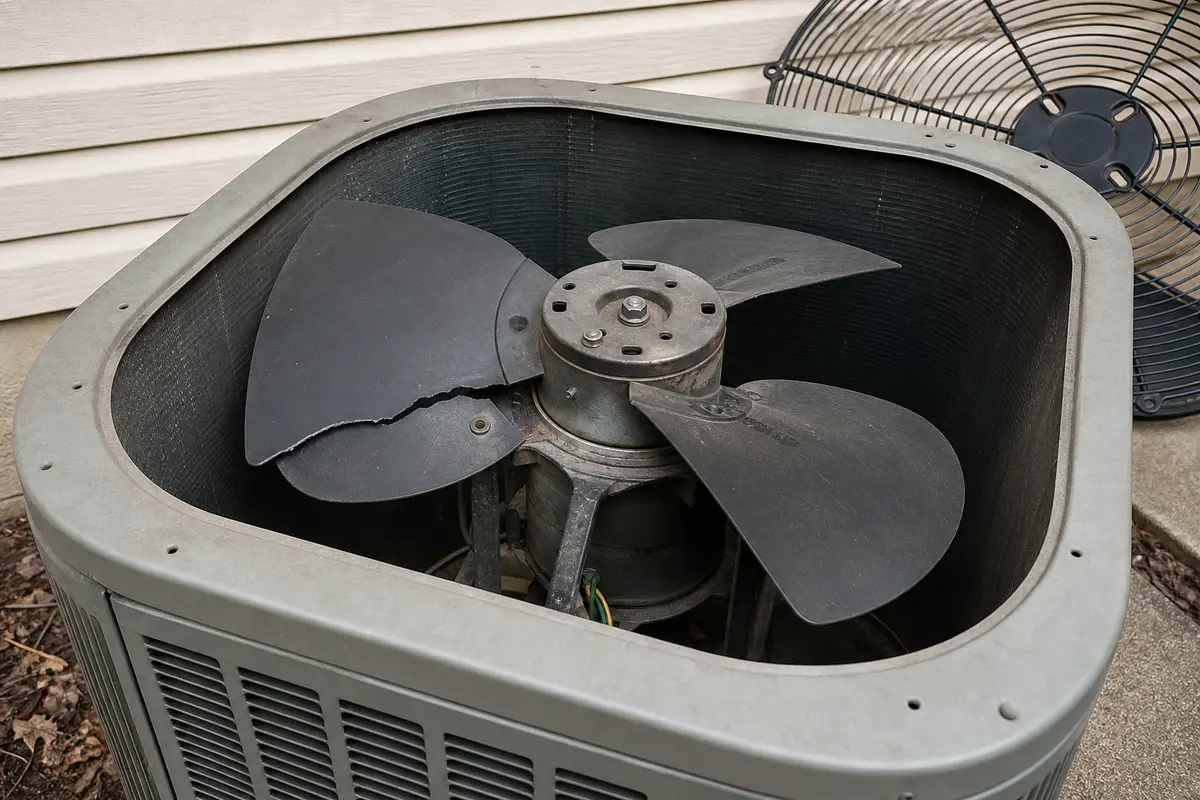
Check blade damage and dry-fit clearance before power returns
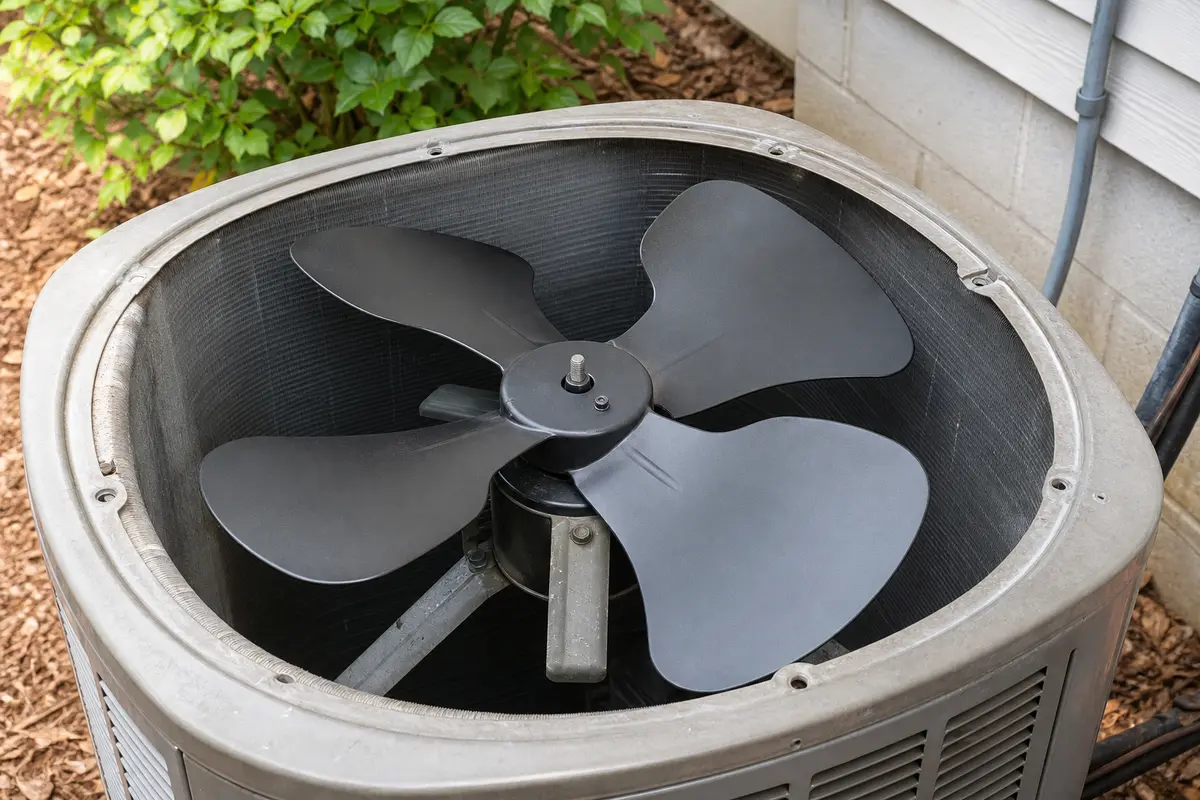
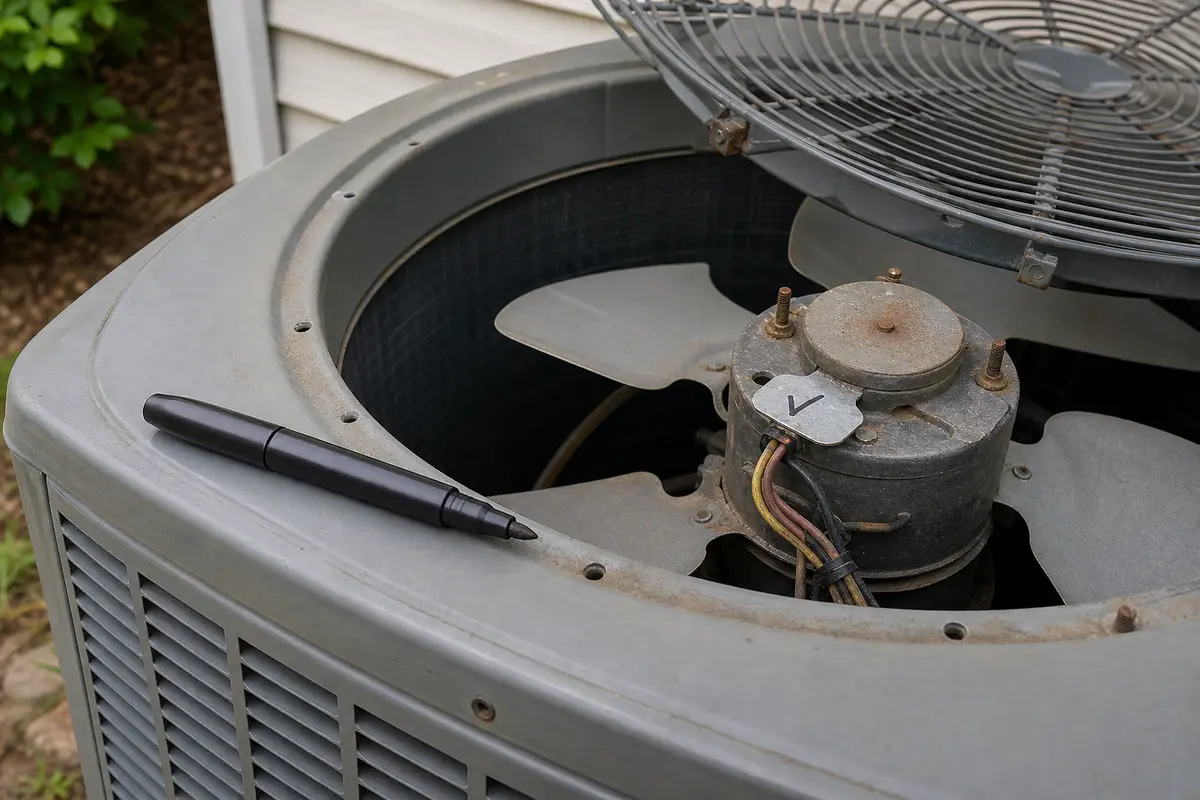
Use the photos to slow down at two points: visible blade failure and dry-fit clearance. Look for rub marks, shaft height, hub direction, wire clearance, and an even gap before the unit is energized again.
Move ahead when the blade itself shows the failure: bent tips, cracks, missing metal, wobble, or fresh rub marks on the shroud.Dry-fit before reassembly. The hub should sit at the original shaft height. The pitch should match the old blade, and the tip gap should stay even all the way around.
Safety first
Shut off power at both the outdoor disconnect and the breaker before opening the condenser.
Wear gloves because condenser cabinets and fan blades can have sharp edges.
Support the top fan assembly carefully so you do not strain wires or drop the motor.
Do not touch capacitor terminals or burned wiring. Stop and call an HVAC tech if you see a swollen capacitor, scorched insulation, or damaged refrigerant tubing.
Do not force a stuck blade off the shaft if it risks bending the motor shaft.
Tools you may need
Work gloves
Use it for: Protects your hands from sharp cabinet edges and the fan blade.
As an Amazon Associate I earn from qualifying purchases. Repair Riot may earn a commission at no extra cost to you.
Step-by-step fix
Step 1: Confirm the fan blade is the problem
Turn off the dedicated breaker and outdoor disconnect as the unit manual directs; thermostat off is not electrical isolation.
Look through the top grille and check the fan blade for bent tips, cracks, missing pieces, heavy rust, or shiny rub marks where it has been hitting the shroud.
With power off at the disconnect and the blade fully stopped, spin the blade by hand from the hub. Watch the tip gap at the shroud. Stop if it wobbles, scrapes, or ticks; check for a bent, loose, or warped fan blade.
Look for fresh rub marks on the grille, fan guard, or inside of the cabinet. Those marks often point to a warped or loose blade.
If the unit was rattling or vibrating, compare that symptom with what you see. A damaged blade usually causes visible wobble, uneven spacing, or contact marks.
If it works: You found clear blade damage, blade wobble, or rubbing that makes replacement a reasonable repair.
If it doesn’t: If the blade looks straight and solid, check for loose top panels, a failing fan motor, or debris in the fan area before ordering parts.
Stop if:
The fan motor shaft is badly bent.
The motor mount is broken or the top grille is cracked enough that it cannot safely support the fan assembly.
You see burnt wires, a swollen capacitor, or other electrical damage inside the unit.
Step 2: Shut off power and open the top safely
Turn off power at the outdoor disconnect and dedicated breaker as the unit manual directs. Do not rely on the thermostat alone.
Do not use a thermostat call as a power test. Keep the unit de-energized and follow the exact model's isolation procedure.
Remove the screws holding the top grille or fan assembly to the cabinet.
Lift the top carefully. On many units the fan motor is attached to this top panel, so support the weight and do not pull on the wires.
Support the top assembly as the manual directs without straining wires or resting the blade on the ground.
Look for wire clips, capacitor leads, and harnesses near the blade path. They need to stay clear when the top goes back on.
If it works: The fan assembly is exposed and stable, with power off and enough room to remove the blade safely.
If it doesn’t: If the top will not lift because wires are too short, reposition it gently and work with the assembly supported close to the cabinet.
Stop if:
You cannot verify that both the breaker and outdoor disconnect are off.
The top assembly is too heavy or awkward to support safely by yourself.
Wiring is so tight or brittle that moving the top risks breaking connections.
Step 3: Remove the old condenser fan blade
Take a photo of the blade orientation before removal. Capture the cupped side of the blade, the hub direction, and any rotation arrow stamped into the metal.
Use a marker to mark the shaft at the top of the hub and note the set screw position. That mark gives you the original blade height and a reference for the flat on the shaft.
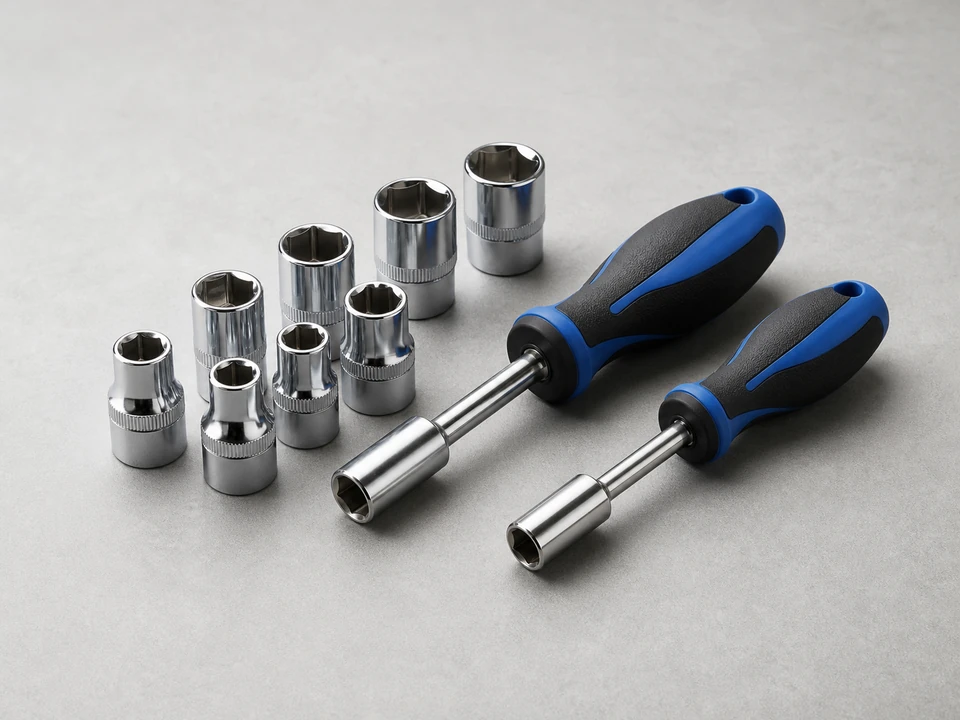
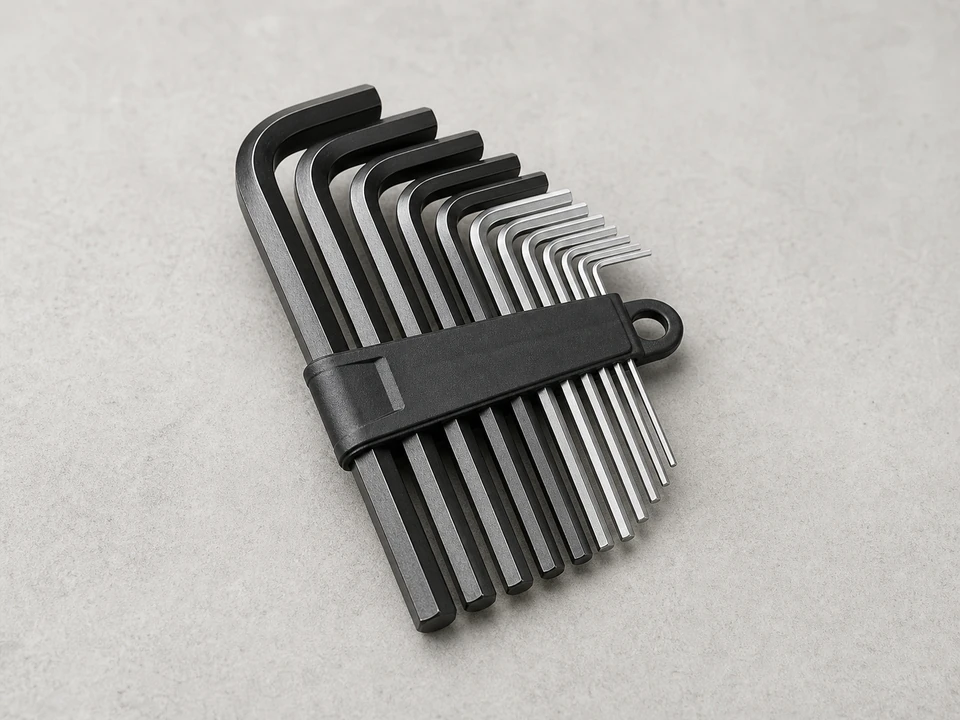
Find the hub set screw and loosen it with the correct Allen wrench or driver.
If the hub will not slide off with modest manual-approved effort, stop. Do not pry, hammer, force it, or use improvised pullers.
Keep the blade supported and clear of coil fins, wires, and refrigerant tubing.
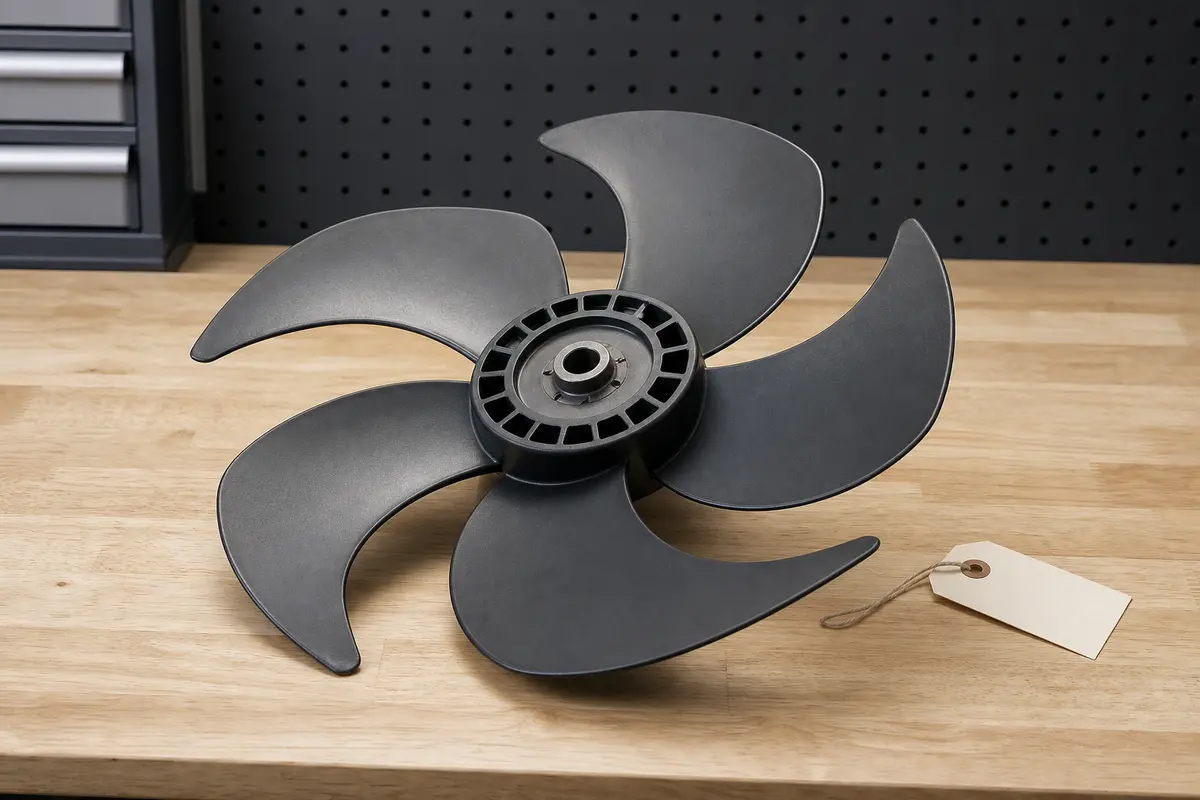
Once removed, compare the old blade to the new one for diameter, blade count, bore size, pitch direction, hub depth, and set-screw style before installation.
If it works: The old blade is off the shaft and the replacement matches the original in the ways that matter for fit and airflow.
If it doesn’t: Stop if the blade will not release without force or the replacement differs in part number, bore, hub, rotation, fastening method, or model-specified clearance.
Stop if:
The motor shaft is seized so tightly that removal would likely bend the shaft or damage the motor.
The replacement blade does not match the original well enough to install safely.
Step 4: Install the new blade in the same orientation
Compare the old and new blades one more time for diameter, blade count, bore size, hub offset, pitch, rotation arrow, and set-screw location.
Set the old and new blades the same way up and compare them from the same angle. The cupped side, pitch, and hub offset should face the same direction as the original, or the fan can move weak air even when the tips clear the cabinet.
Slide the new hub onto the motor shaft by hand. If it stops early, remove it and check the bore and shaft for rust or burrs instead of hammering on the motor.
Set the hub at the mark you made, or match the original distance from the motor face and top grille so the blade tips sit centered in the shroud opening.
Align the set screw with the shaft flat if there is one, then tighten it until the hub is locked without stripping the screw.
Spin the blade by hand from the hub and watch the tip gap all the way around. The blade should clear the grille, shroud, motor mount, and nearby wires without a wobble.
If it works: The new blade matches the original fit, is locked to the shaft, and spins freely with an even gap before power comes back on.
If it doesn’t: A rub usually means the height, orientation, or part match is wrong. Loosen the hub and reset it before reassembling. If it still will not clear, look for a bent shaft, bent grille, or wrong blade.
Stop if:
The replacement has a different pitch, rotation, blade count, bore size, or hub offset than the original.
The hub bottoms out, rocks on the shaft, or the set screw will not land securely.
You cannot get even clearance after resetting the blade height and orientation.
Step 5: Reassemble the condenser and restore power
Lower the top assembly back onto the cabinet carefully, keeping wires away from the blade path.
Before installing screws, look through the grille and recheck the gap between the blade tips, shroud, wire harnesses, and motor mount.
Line up the screw holes and reinstall all top screws so the grille sits flat and tight. A twisted top panel can move the blade closer to the shroud.
Do a final visual check that no tools, screws, leaves, or debris are left inside the unit.
Turn the breaker and disconnect back on.
Set the thermostat to call for cooling and watch the fan start up while standing clear of the top grille.
If it works: The unit reassembles cleanly and the fan starts without striking the cabinet or grille.
If it doesn’t: If the fan does not start, shut power back off and recheck for a loose connection, a blocked blade, or another failed part such as the capacitor or fan motor.
Stop if:
The fan hits the grille or cabinet when power is restored.
You hear loud humming, smell overheating, or see the motor struggling to start.
A wire is pinched, cut, or pulled into the blade path during reassembly.
Step 6: Verify the repair holds during normal operation
After every guard and panel is reinstalled, make one normal cooling call from a clear position.
Listen for rattling, scraping, or rhythmic thumping that would suggest the blade is still out of position.
Watch for smooth, steady rotation without visible wobble.
Check that airflow out the top feels strong and consistent. Weak airflow after a blade swap can mean the blade pitch or orientation is wrong.
After the test run, shut the thermostat off and inspect the blade area one more time for fresh rub marks, a shifted hub mark, or a loose set screw.
If it works: The condenser runs smoothly, the vibration is gone or greatly reduced, and the blade stays clear during real operation.
If it doesn’t: If vibration or noise remains, the root cause may also include a worn fan motor, bent motor shaft, loose cabinet panel, or compressor-related vibration.
Stop if:
The new blade loosens, wobbles, or starts rubbing again during the test.
The unit still shakes hard enough to move the cabinet or make the top grille visibly bounce.
Buy this only after you see a bent, cracked, loose, or rubbing blade and the motor shaft still runs true. Match the outdoor unit model and blade diameter. Check blade count, bore size, hub depth, pitch, rotation, and set screw style.
As an Amazon Associate I earn from qualifying purchases. Repair Riot may earn a commission at no extra cost to you.
Verify the repair
The new blade matches the old blade's diameter, blade count, bore size, hub depth, pitch, rotation, and set-screw style.
The blade spins by hand without scraping before power is restored.
The fan starts and runs without wobble, rattling, or contact marks.
The condenser completes a normal cooling cycle with steady airflow and reduced vibration.
FAQ
How do I know the condenser fan blade is bad?
Common signs are visible bends or cracks, missing pieces, wobble while spinning, scraping marks, or strong vibration from the top of the outdoor unit. If the blade looks fine, the fan motor or cabinet may be the real cause.
Can I straighten a bent condenser fan blade instead of replacing it?
No. Do not straighten or rebalance a bent blade. Visible damage, rub marks, or missing material requires an exact-model blade or professional assessment.
Do I need to replace the fan motor too?
Not always. Replace the motor only if the shaft is bent, the bearings are failing, the motor overheats, or the blade damage happened because the motor developed excessive play.
Why does the new blade need to sit at the same height on the shaft?
Blade height affects clearance and airflow. If it sits too high or too low, it can hit the grille or move air poorly even if the blade itself is new.
What if the old blade is stuck on the motor shaft?
Stop if it will not release with modest manufacturer-approved effort. Do not use oil, heat, prying, hammering, or an improvised puller near the shaft, wiring, coil, or refrigerant tubing.
Sources and reference notes
Repair Riot cross-checks this how-to against related outdoor-unit symptom pages. The blade replacement advice stays tied to visible damage, vibration clues, fit checks, and safe stop points.
Outdoor AC rattling diagnosis - Reference page for blade rub marks, loose top hardware, and vibration clues that can look like a bad fan blade.
Outdoor AC vibration diagnosis - Reference page for separating a damaged condenser fan blade from cabinet, motor, pad, and compressor-related vibration.