
Adjustable wrench
Use it for: To loosen and tighten compression nuts and supply line connections.
Shop adjustable wrenchesIf the hot-side shutoff under your bathroom sink drips from the valve body, stem, or connection and tightening does not stop it, replacing the bathroom sink hot shutoff valve is usually the right fix.
This is a manageable under-sink plumbing repair if you can shut off the home water supply and work in a tight space. The key is to confirm the valve itself is leaking, then install a new valve that matches the pipe and faucet supply connection.
Before you start: Match the connection type, outlet size, and valve orientation before ordering.
Use it for: To loosen and tighten compression nuts and supply line connections.
Shop adjustable wrenches
Use it for: To hold the valve or pipe steady while you loosen stubborn fittings.
Shop tongue-and-groove pliers
Use it for: To catch water left in the line when the old valve comes off.
Find a drain pan or bucket
Use it for: To dry the area so you can spot fresh leaks during testing.
Shop absorbent shop towels
Use it for: To see the back side of the valve and the pipe connection under the sink.
Find a work flashlight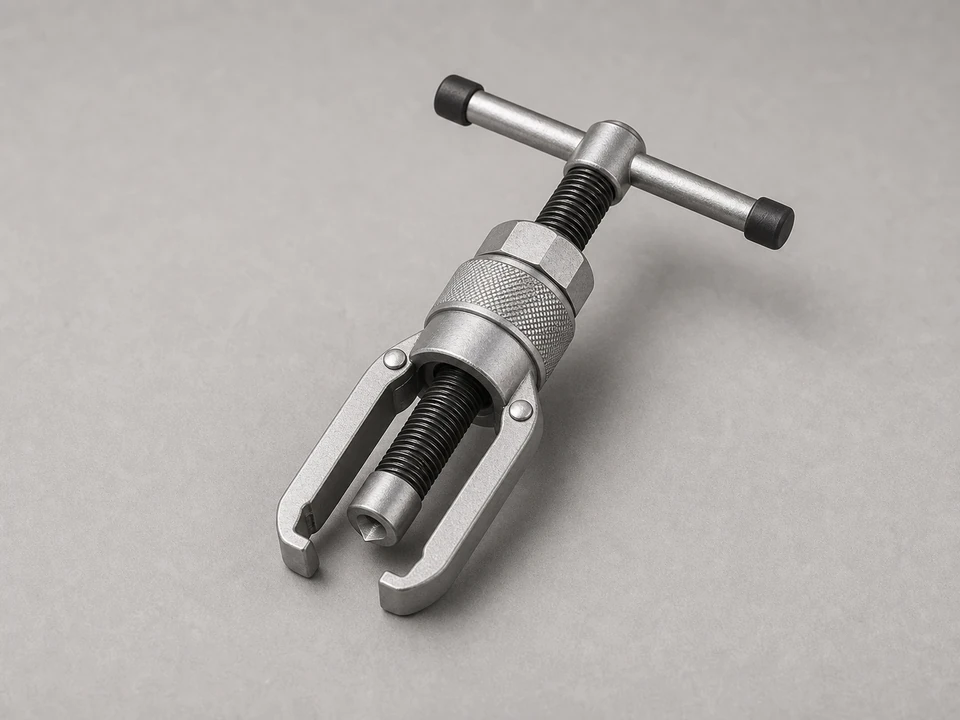
Use it for: Helpful if the old compression ferrule is stuck on the pipe and you are reusing the stub-out.
Shop compression sleeve pullersAs an Amazon Associate I earn from qualifying purchases. Repair Riot may earn a commission at no extra cost to you.
If it works: You have traced the leak to the hot shutoff valve itself or its direct connection.
If it doesn’t: If the water starts higher up on the supply tube or at the faucet, replace or tighten that part instead of the shutoff valve.
If it works: The water is off, pressure is relieved, and the area is ready for removal.
If it doesn’t: If the faucet keeps running steadily, the main shutoff may not be fully closed or another valve is feeding the line.
If it works: The old hot shutoff valve is off and the pipe stub-out is clean and accessible.
If it doesn’t: If the compression sleeve is stuck, use a compression sleeve puller rather than prying against the pipe.
If it works: The new hot shutoff valve is installed squarely on the pipe and aligned for the supply line.
If it doesn’t: If the valve will not seat fully or the nut will not start by hand, remove it and recheck the connection type and pipe size before tightening further.
If it works: The supply line is reconnected cleanly and the valve is ready for testing.
If it doesn’t: If the supply nut will not thread on smoothly by hand, back it off and realign it before using a wrench.
If it works: The valve opens and closes normally, and the hot-side connections stay dry during use and after the sink sits.
If it doesn’t: If a connection still seeps after careful tightening, shut the water back off and inspect for a mismatched valve, damaged ferrule, or worn supply line.
Match the connection type, outlet size, and valve orientation before ordering.
As an Amazon Associate I earn from qualifying purchases. Repair Riot may earn a commission at no extra cost to you.
Dry both parts completely and watch where fresh water starts. If the first moisture shows at the valve stem, valve body, or where the valve meets the pipe, the shutoff valve is the likely problem. If it starts higher up at the supply tube nut or along the tube, the supply line may be the issue.
Usually yes, unless there is another reliable upstream shutoff for that branch. Since you are removing the valve from the pipe, you need the line fully depressurized before taking it apart.
Sometimes, but only if the new valve is designed for that and the old parts are clean and undamaged. If there is any doubt, replacing them is the safer choice for a better seal.
Not on standard compression connections. Compression fittings seal by the ferrule and mating surfaces, not by thread tape. Follow the valve's connection style and use only what that style requires.
Light surface discoloration can often be cleaned, but deep pitting, cracks, or a pipe that bends or moves in the wall is a real warning sign. In that case, stop and address the pipe condition before installing a new valve.