
Screwdriver set
Use it for: Removes and reinstalls the overflow plate screws.
Shop screwdriver setsTo replace a bathtub overflow plate gasket, remove the overflow plate, pull out the old gasket, clean the opening, install the new gasket in the same orientation, then reinstall the plate and test with water running into the overflow.
This repair is usually the right fix when water shows up on the wall or ceiling below only during bathing or showering, especially when water reaches the overflow opening. It is a manageable homeowner job if the screws come out cleanly and the overflow elbow stays in place behind the tub wall.
Before you start: Match the gasket shape, thickness, and overflow opening size before ordering. Some tubs use a tapered gasket, and the thick side usually installs at the bottom.
Use it for: Removes and reinstalls the overflow plate screws.
Shop screwdriver sets
Use it for: Helps pull out an old gasket or hold small screws safely.
Shop needle-nose pliers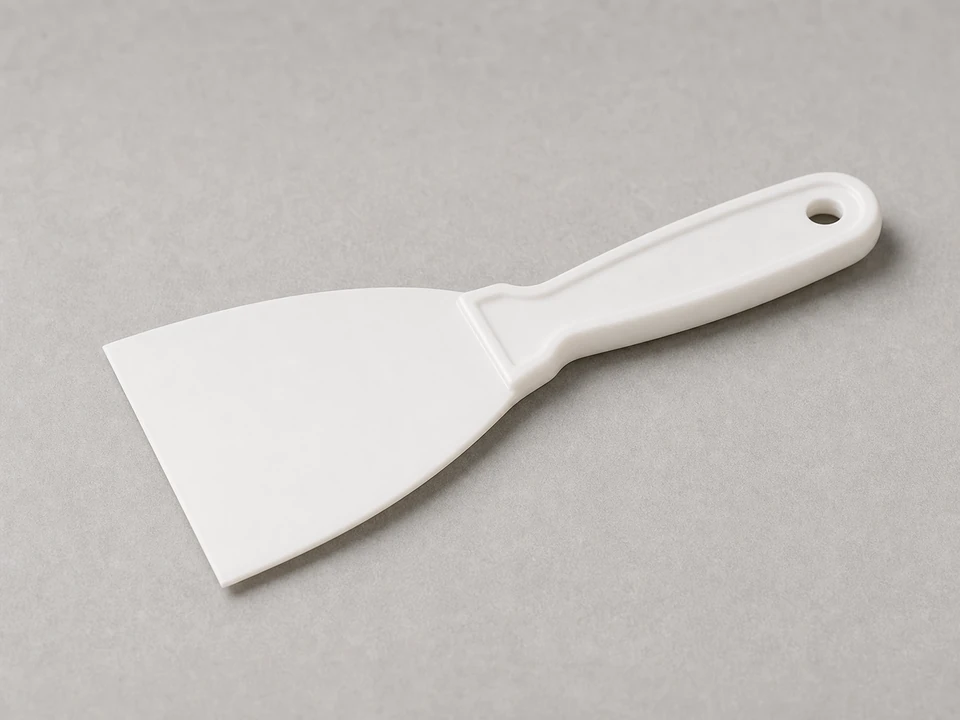
Use it for: Scrapes off old residue without scratching the tub finish.
Shop plastic putty knives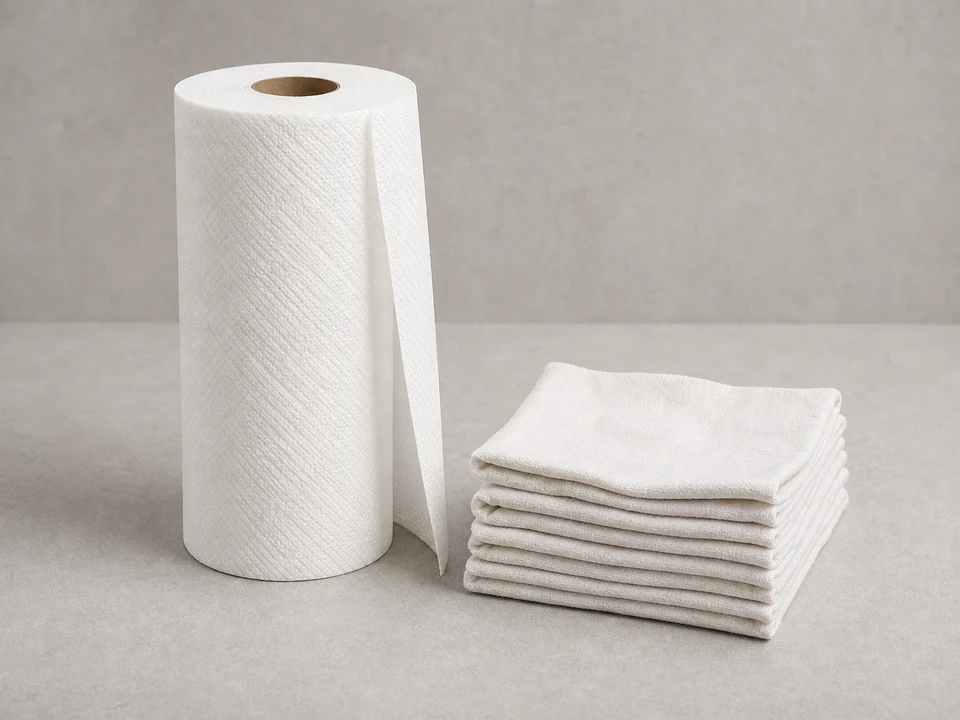
Use it for: Wipes the opening dry so the new gasket seats properly.
Shop cleaning rags
Use it for: Lets you see the overflow opening and gasket position clearly.
Shop flashlightsAs an Amazon Associate I earn from qualifying purchases. Repair Riot may earn a commission at no extra cost to you.
If it works: The leak pattern points to water getting past the overflow plate gasket.
If it doesn’t: If the tub leaks even when the water level stays well below the overflow, check the drain shoe, waste-and-overflow connections, tub spout, or caulk instead.
If it works: The overflow plate is off and you can see the old gasket or the overflow opening behind it.
If it doesn’t: If the plate is stuck from paint, soap buildup, or old seal residue, work around the edges gently with a plastic putty knife instead of prying with metal.
If it works: The old gasket is out and the overflow opening is clean and dry.
If it doesn’t: If the gasket breaks apart, remove all leftover pieces before installing the new one so the new seal is not distorted.
If it works: The new gasket is seated evenly and matches the opening without distortion.
If it doesn’t: If the gasket will not sit flat, remove it and recheck the orientation, size, and whether old debris is still trapped behind it.
If it works: The plate is secure, centered, and the gasket stayed in place during tightening.
If it doesn’t: If the plate sits crooked or the gasket squeezes out, remove the plate and reset the gasket before trying again.
If it works: No water shows up behind, below, or around the tub during or after the overflow test.
If it doesn’t: If it still leaks, remove the plate and confirm the gasket orientation, fit, and seating. If those look correct, the leak may be from the overflow elbow connection or another part of the waste-and-overflow assembly.
Match the gasket shape, thickness, and overflow opening size before ordering. Some tubs use a tapered gasket, and the thick side usually installs at the bottom.
As an Amazon Associate I earn from qualifying purchases. Repair Riot may earn a commission at no extra cost to you.
It seals the gap between the tub wall and the overflow elbow behind the overflow plate. Without a good gasket, water entering the overflow opening can leak into the wall or ceiling below.
Usually no. The gasket is meant to seal by compression when the plate is tightened. Extra sealant can make the fit messy and may not solve a bad orientation or wrong-size gasket.
Match the original orientation if possible. Many overflow gaskets are tapered, and the thicker side often goes at the bottom because the tub wall is angled there.
Usually yes. Most overflow plate gaskets can be replaced from inside the tub by removing the overflow plate. You only need wall access if the overflow elbow is loose, damaged, or drops out of position.
That pattern often points to the overflow area. Splashing or a high water level sends water into the overflow opening, and a worn gasket lets that water escape behind the tub.