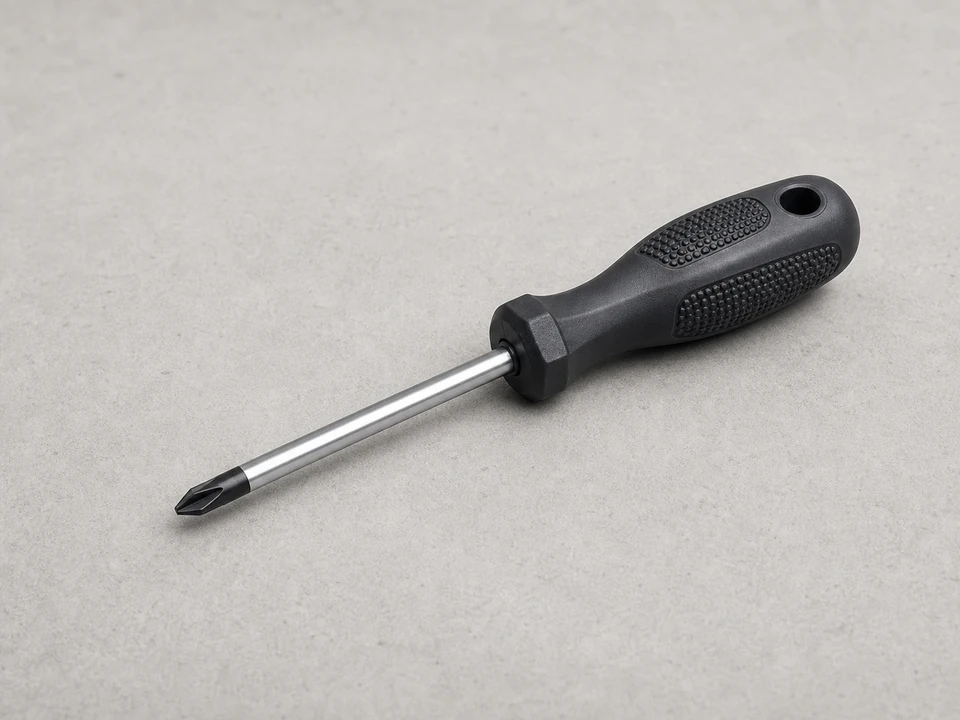
Phillips screwdriver
Use it for: Removes top panels, burner hardware, or control-area screws on many cooktops.
Shop Phillips screwdriversTo replace a cooktop burner ignition switch, shut off power to the cooktop, confirm the bad switch is the reason that burner will not spark or keeps clicking, access the switch behind the control knob, move the wires to the new switch one at a time, then reassemble and test ignition.
This is a manageable homeowner repair if you can safely reach the switch without disturbing gas tubing. The main goal is to replace only the failed switch and put every wire back in the same place.
Before you start: Match the switch style, shaft fit, wire terminal layout, and your cooktop fuel type before ordering.
Use it for: Removes top panels, burner hardware, or control-area screws on many cooktops.
Shop Phillips screwdrivers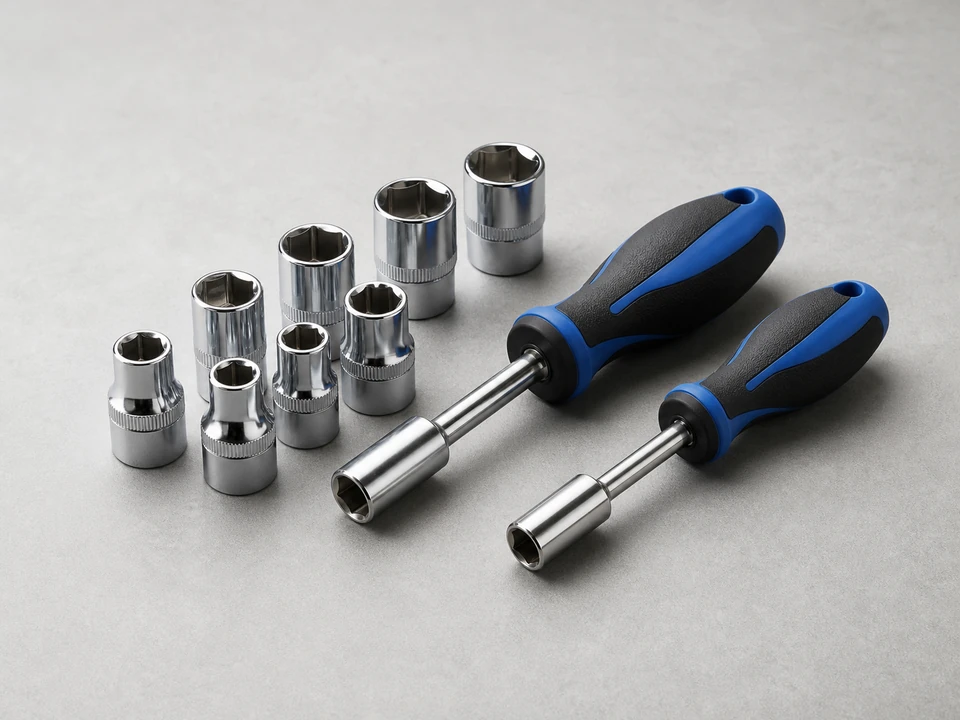
Use it for: Some cooktops use hex-head screws instead of Phillips screws.
Shop nut driver sets
Use it for: Helps pull wire terminals off the old switch without yanking on the wires.
Shop needle-nose pliers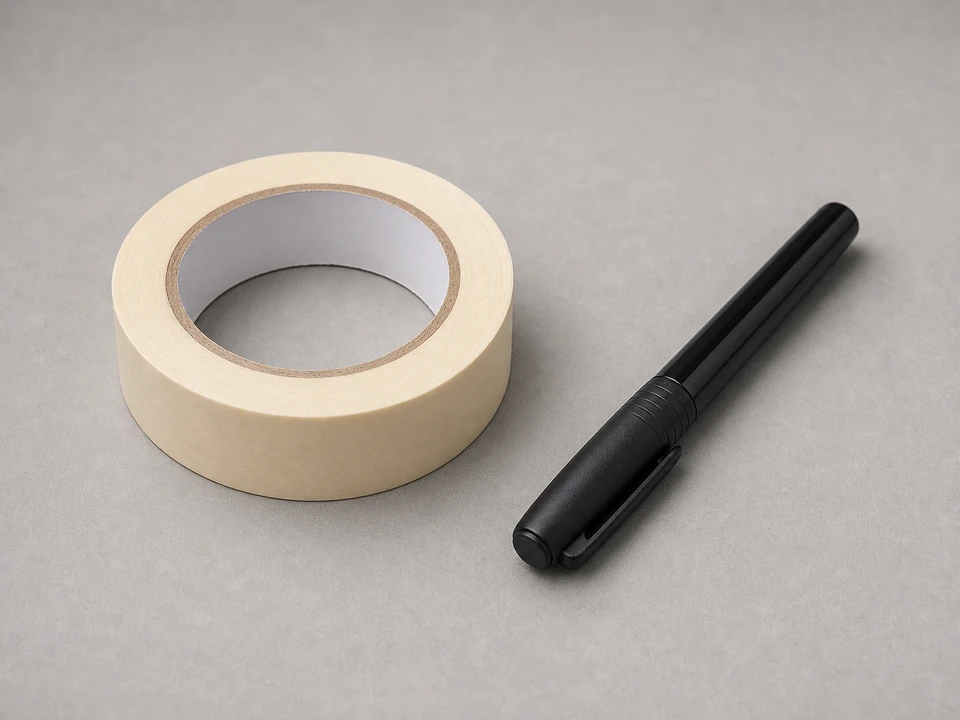
Use it for: Lets you label wires before moving them so the new switch is wired the same way.
Shop masking tape
Use it for: Protects your hands from sharp sheet-metal edges under the cooktop top.
Shop work glovesAs an Amazon Associate I earn from qualifying purchases. Repair Riot may earn a commission at no extra cost to you.
If it works: You have a strong reason to suspect the ignition switch for that burner is faulty, not just a dirty cap or wet igniter area.
If it doesn’t: If all burners fail to spark, the problem may be with the spark module, power supply, or incoming power rather than one ignition switch.
If it works: You can clearly see and reach the ignition switch attached to the problem burner control shaft.
If it doesn’t: If the top will not lift after the visible screws are removed, look again for hidden fasteners under burner caps or along the front edge.
If it works: The old switch is out and every wire position is documented so you can transfer them correctly.
If it doesn’t: If a terminal is stuck, rock it gently side to side with pliers instead of pulling harder on the wire.
If it works: The new switch is mounted securely and wired the same way as the original.
If it doesn’t: If the new switch does not match the old one closely enough to mount and wire with confidence, pause and verify the replacement part before reassembling.
If it works: The cooktop is back together, the knob feels normal, and all burner parts are seated correctly.
If it doesn’t: If the knob binds or sits crooked, pull it back off and make sure the switch and stem are aligned before testing.
If it works: The repaired burner sparks and lights normally, and the clicking behavior is normal during actual use.
If it doesn’t: If the burner still does not spark or the cooktop keeps clicking, recheck wire placement, burner cap alignment, electrode cleanliness, and whether the real fault is the spark module instead of the switch.
Match the switch style, shaft fit, wire terminal layout, and your cooktop fuel type before ordering.
As an Amazon Associate I earn from qualifying purchases. Repair Riot may earn a commission at no extra cost to you.
If only one burner knob position causes the problem, the ignition switch for that burner is a common suspect. If all burners stop sparking at once, the spark module or power supply is more likely.
Yes, if the switches are separate and only one has failed. Some cooktops use grouped switch assemblies, so compare your original part before ordering.
A stuck or shorted ignition switch can keep sending a spark signal. Moisture, grease, or a cracked switch body can also cause constant clicking.
Usually this repair is electrical and done in the control area, so the key first step is disconnecting power. If your access requires disturbing gas tubing or fittings, stop and get qualified help.
Only if the mounting style, shaft fit, terminal layout, and function match your original switch closely. A close visual match matters more than a generic description.