
Work gloves
Use it for: Protects your hands from sharp sheet metal edges around the door opening.
Shop work glovesIf your dryer door pops open, will not stay shut, or feels loose at the latch point, replacing the dryer door catch and strike kit is often the right fix.
This is usually a straightforward repair. You will confirm the latch parts are worn or broken, remove the old catch and strike, install the new pieces, and test the door in real use.
Before you start: Match the replacement part to your exact dryer before ordering.
Use it for: Protects your hands from sharp sheet metal edges around the door opening.
Shop work gloves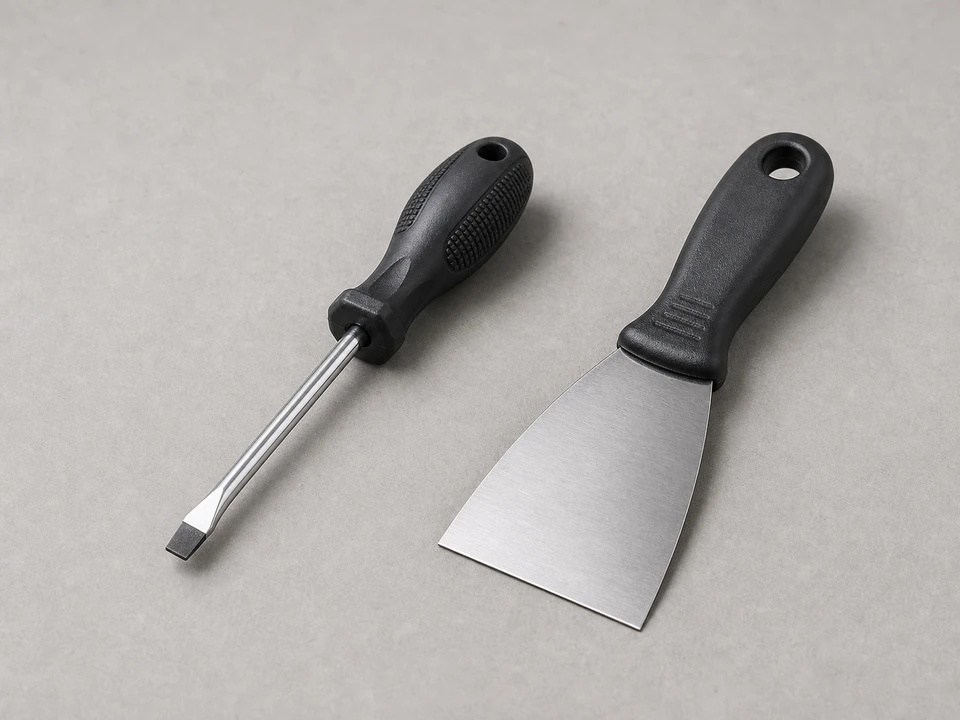
Use it for: Helps pry out some catch pieces without damaging the surrounding panel.
Shop a thin putty knife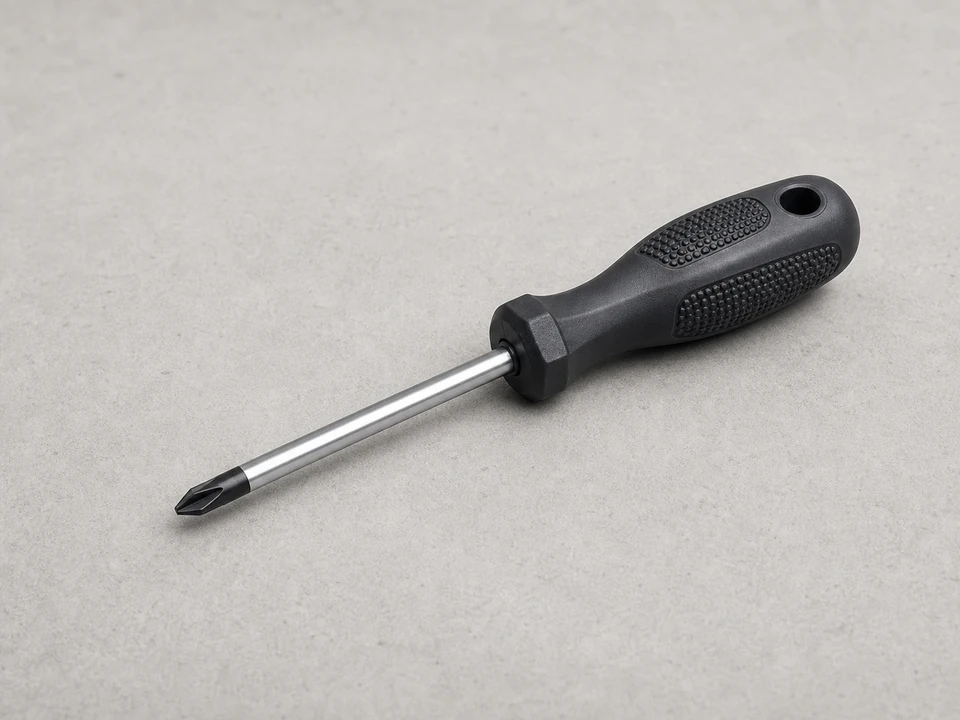
Use it for: Removes screws if the strike or inner door panel is fastened with screws.
Shop a Phillips screwdriver
Use it for: Helps pull out stubborn latch pieces and handle small clips safely.
Shop needle-nose pliers
Use it for: Lets you inspect the catch opening, strike, and door alignment clearly.
Shop a flashlightAs an Amazon Associate I earn from qualifying purchases. Repair Riot may earn a commission at no extra cost to you.
If it works: You found visible wear or weak latching at the catch and strike area, and replacing the kit makes sense.
If it doesn’t: If the door is badly sagging, rubbing, or misaligned at the hinges, fix the hinge or door alignment problem first.
If it works: The dryer is safely disconnected and you have the new parts ready at the door.
If it doesn’t: If you cannot reach the plug safely, stop and move the dryer enough to access it before continuing.
If it works: The old strike is off the door and the mounting area is clear.
If it doesn’t: If the strike will not come free, look again for a hidden screw or retaining tab instead of forcing it.
If it works: The old catch is removed and the mounting area is clean and ready for the new part.
If it doesn’t: If the opening is dirty or packed with lint, clean it thoroughly before installing the new catch so the latch can line up correctly.
If it works: Both new latch pieces are installed securely and the door closes with a clear, firm latch feel.
If it doesn’t: If the door still does not line up with the latch, inspect the hinges and door alignment before assuming the new kit is defective.
If it works: The door closes normally, stays latched during a cycle, and opens with a normal pull.
If it doesn’t: If the door still pops open or needs to be lifted to latch, recheck door alignment and hinge wear because the latch kit was not the only problem.
Match the replacement part to your exact dryer before ordering.
As an Amazon Associate I earn from qualifying purchases. Repair Riot may earn a commission at no extra cost to you.
The most common signs are a door that will not stay shut, a weak or missing latch click, visible cracks in the catch, or a bent or worn strike on the door.
Sometimes yes, but replacing both together is usually the better repair when they wear against each other. A full kit helps restore a solid latch fit.
The door may be sagging on worn hinges, the door panel may be misaligned, or the replacement parts may not match your dryer correctly. Check alignment before replacing more parts.
Usually no. On many dryers, the catch and strike are accessible from the front at the door opening and door edge. Some designs may use screws or snap-in parts, but this is still typically a front-access repair.
It is better to fix it before regular use. A weak latch can let the door pop open during operation, interrupt the cycle, and put extra stress on the door and hinges.