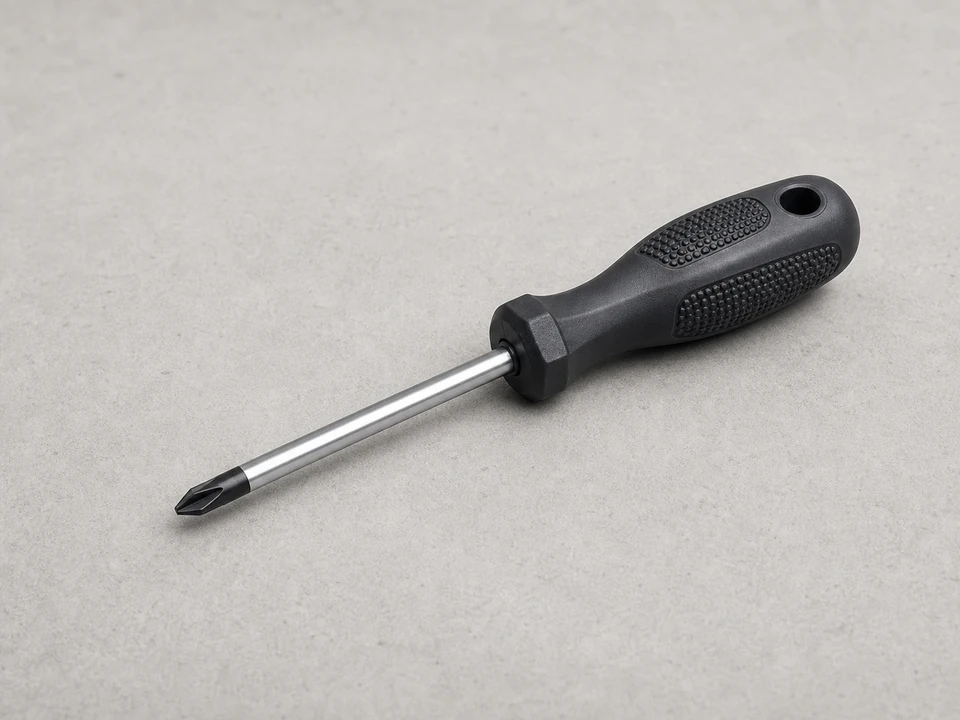
Phillips screwdriver
Use it for: Removes common cabinet and panel screws.
Shop Phillips screwdriversTo replace a dryer drum belt, unplug the dryer, open the cabinet, remove the drum, route the new belt around the drum and motor pulley system, then reassemble and test the dryer under load.
A worn or broken dryer drum belt can leave the drum unable to turn, cause a burning rubber smell, or make the dryer run without tumbling clothes. This repair is manageable for many homeowners if you work carefully, keep track of screws, and confirm the belt path before closing the dryer back up.
Before you start: Match the belt profile, length, and dryer compatibility before ordering.
Use it for: Removes common cabinet and panel screws.
Shop Phillips screwdrivers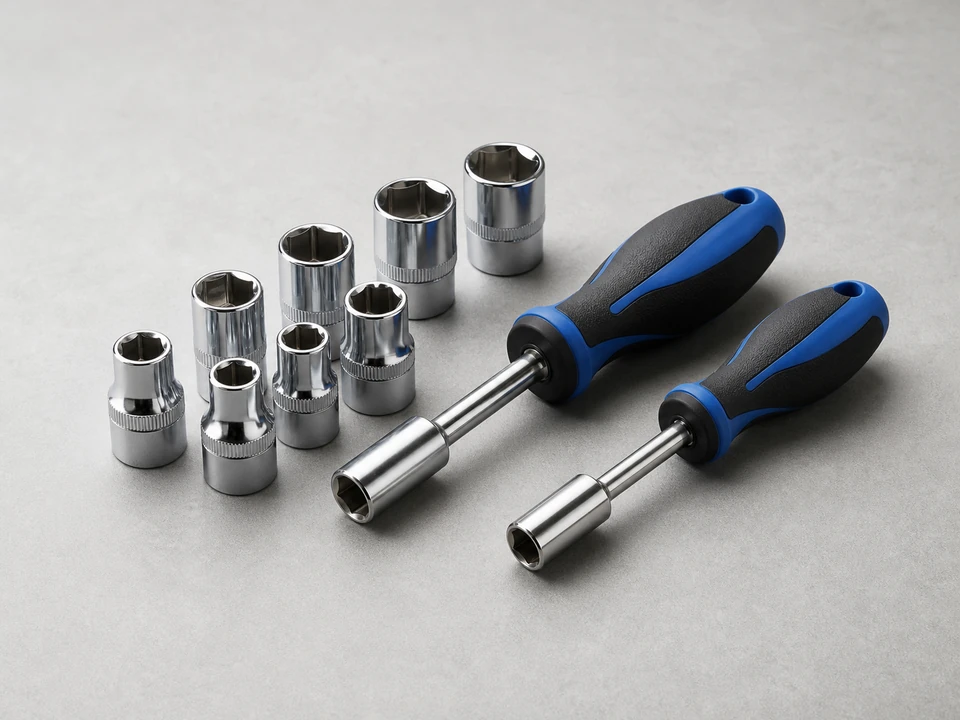
Use it for: Removes hex-head screws used on many dryer panels and brackets.
Shop nut driver sets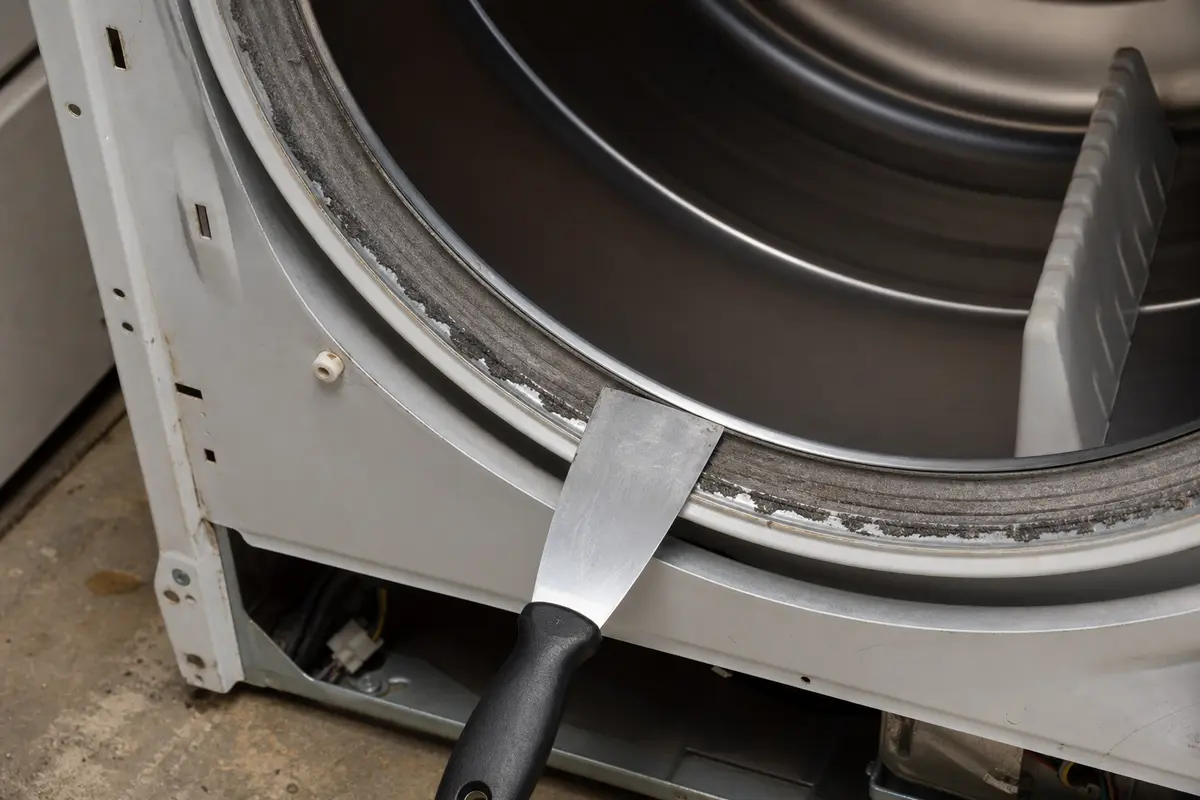
Use it for: Releases spring clips on some top panels without damaging the finish.
Shop putty knives
Use it for: Protects your hands from sharp sheet-metal edges inside the cabinet.
Shop work gloves
Use it for: Helps you see the belt path, idler pulley, and motor pulley clearly.
Shop flashlightsAs an Amazon Associate I earn from qualifying purchases. Repair Riot may earn a commission at no extra cost to you.
If it works: You have a strong reason to replace the dryer drum belt instead of guessing.
If it doesn’t: If the drum is hard to turn, scraping badly, or the motor only hums, another failed part may also be involved. Inspect the support rollers, idler pulley, and drum before ordering parts.
If it works: The drum is out and you can fully access the old belt and belt path.
If it doesn’t: If the drum will not come out, look again for hidden screws near the lint housing, lower front panel, or door opening.
If it works: The new belt fits the drum correctly and the cabinet is clean enough for reassembly.
If it doesn’t: If the new belt is clearly too loose, too short, or the profile does not match, stop and get the correct replacement before reassembling.
If it works: The belt is tensioned, aligned, and the drum turns by hand with steady resistance.
If it doesn’t: If the belt walks off the drum, twists, or slips loose, remove it and reroute it before closing the cabinet.
If it works: The dryer is fully reassembled and ready for a test run.
If it doesn’t: If a panel will not sit flush, reopen the dryer and check that the drum is seated correctly and the front bulkhead is aligned.
If it works: The dryer tumbles normally, the belt holds tension, and the repair works during an actual drying cycle.
If it doesn’t: If the dryer still will not tumble or makes new noises, inspect the idler pulley, drum rollers, motor pulley, and drum supports for a second failed part.
Match the belt profile, length, and dryer compatibility before ordering.
As an Amazon Associate I earn from qualifying purchases. Repair Riot may earn a commission at no extra cost to you.
Common signs are a dryer that runs but does not tumble, a drum that spins too freely by hand, sudden loss of tumbling, or a hot rubber smell from a slipping belt.
Many homeowners can handle it if they are comfortable removing panels and working around sharp metal edges. The main challenge is opening the cabinet and routing the belt correctly around the idler and motor pulley.
It is smart to inspect the idler pulley, drum rollers, and support surfaces. If any of those parts are seized, badly worn, or noisy, a new belt may fail early unless the root cause is fixed.
Age and normal wear are common, but belts also fail faster when an idler pulley binds, drum rollers drag, the drum is overloaded often, or the belt has been slipping from poor alignment.
It should be snug once routed through the idler pulley, with enough tension to turn the drum without slipping. It should not be twisted, hanging loose, or riding outside its normal wear track.