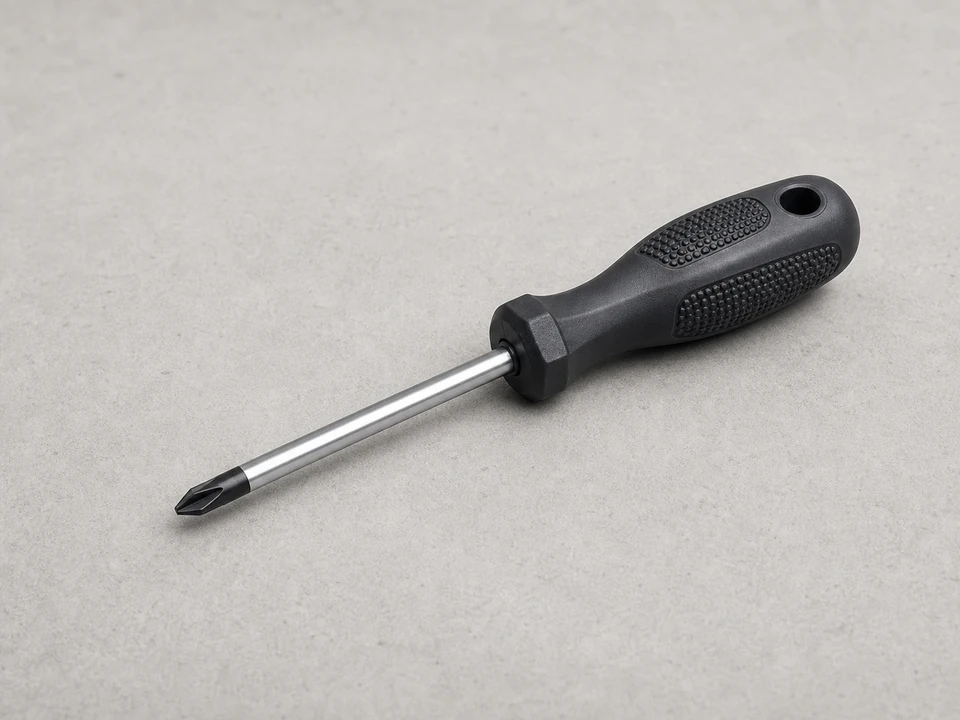
Phillips screwdriver
Use it for: Removes common top, front, and support panel screws.
Shop Phillips screwdriversTo replace a dryer drum glide, unplug the dryer, open the cabinet, remove the drum, replace the worn glide on the front support, then turn the drum by hand before running a test cycle.
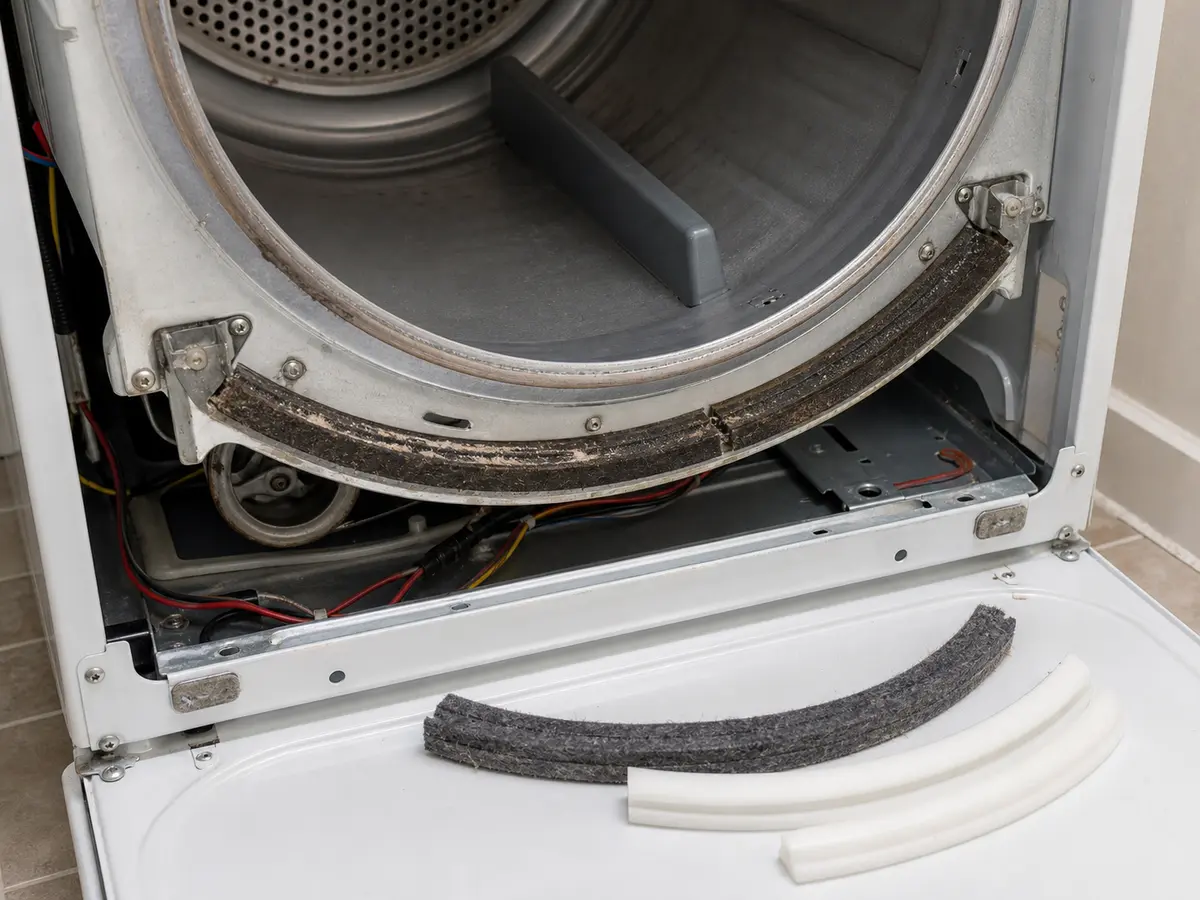
A bad drum glide lets the front edge of the drum drag instead of riding smoothly. The clues are front-edge scraping, grinding, thumping, black dust, or a drum that feels rough when you turn it by hand. Work slowly, photograph the belt route, and do not force the cabinet apart.
Before you start: Match the dryer model and front support style before ordering.
The glide sits on the front support or bulkhead where the drum lip rides. If that strip is worn through, the drum starts dragging on the support.
Use it for: Removes common top, front, and support panel screws.
Shop Phillips screwdrivers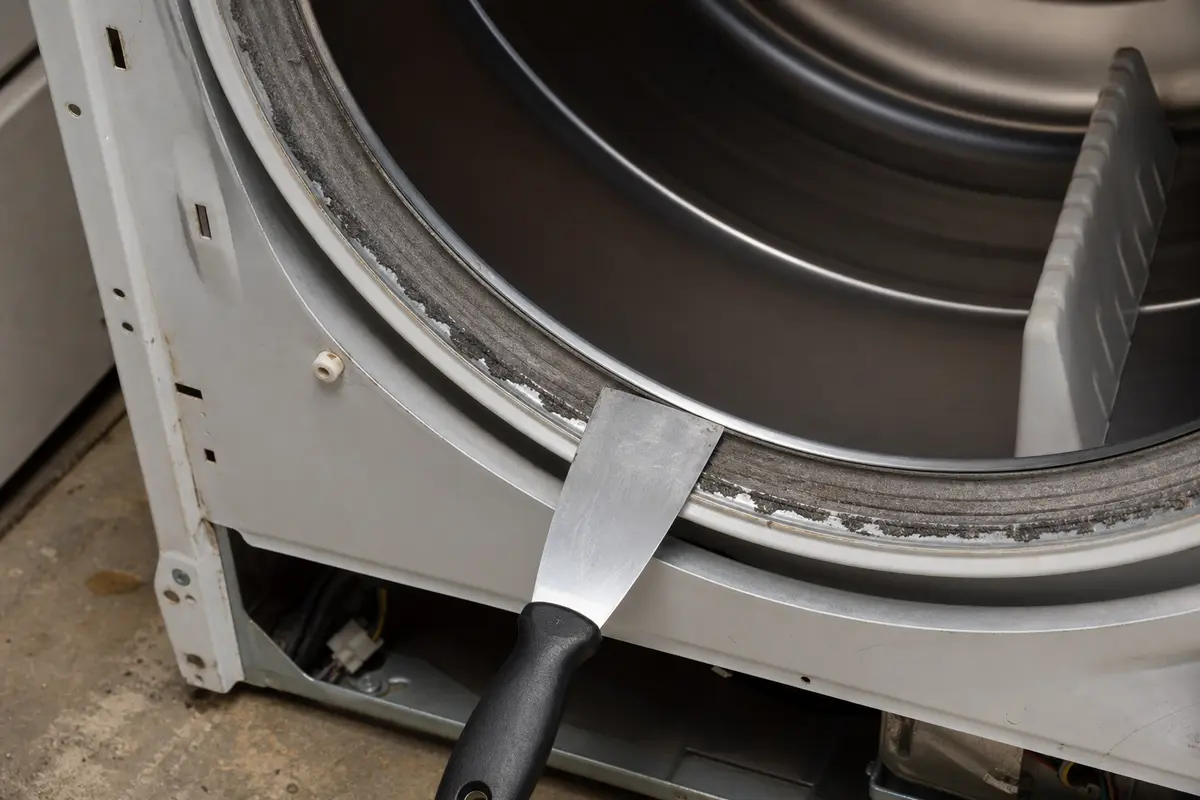
Use it for: Helps release spring clips on some dryer tops without bending the panel.
Shop putty knives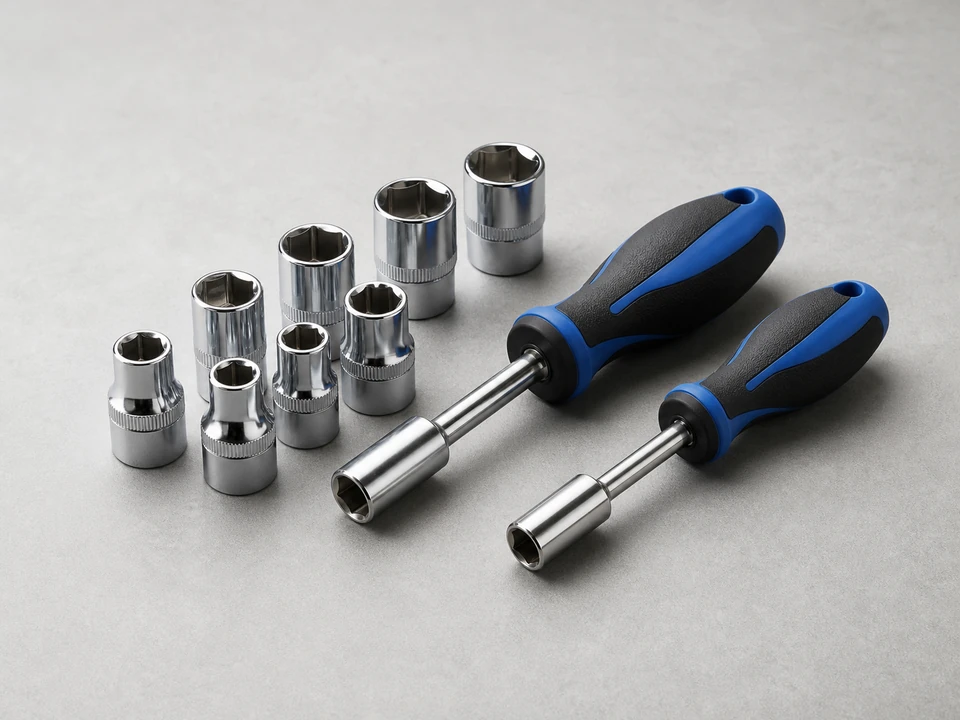
Use it for: Removes hex-head screws often used on dryer panels and supports.
Shop nut driver sets
Use it for: Protects your hands from sharp sheet-metal edges inside the cabinet.
Shop work gloves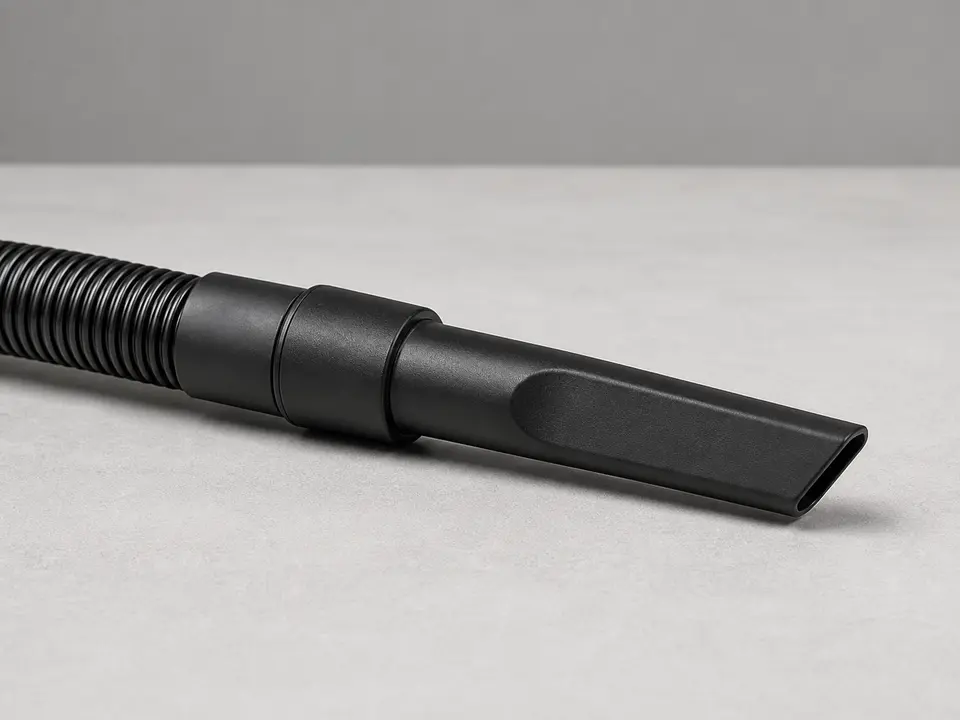
Use it for: Cleans lint while the dryer is open so the new glide seats on a clean surface.
Shop vacuums with crevice toolsAs an Amazon Associate I earn from qualifying purchases. Repair Riot may earn a commission at no extra cost to you.
If it works: The symptoms point to a worn front drum glide and the repair path makes sense.
If it doesn’t: If the drum feels rough at the rear or the noise is deeper in the cabinet, inspect the rear support rollers, idler pulley, and blower area instead.
If it works: The drum is out and you can clearly reach the front support area where the glide mounts.
If it doesn’t: If the drum will not lift out, check again for hidden screws, attached wires, or belt tension still holding it in place.
If it works: The old glide is removed and the mounting surface is clean and ready for the replacement.
If it doesn’t: If the new glide does not match the old one closely, stop and verify the dryer model before installing anything.
If it works: The new glide is secure, aligned, and ready to support the drum smoothly.
If it doesn’t: If the glide rocks, slips, or will not seat fully, remove it and check for debris, a bent retainer, or the wrong replacement part.
If it works: The dryer is reassembled and the drum turns by hand without scraping or binding.
If it doesn’t: If the drum binds or the belt walks out of place, reopen the cabinet and correct the drum position or belt routing before running the dryer.
If it works: The dryer runs smoothly, the front-edge noise is gone or greatly reduced, and the drum stays properly supported during use.
If it doesn’t: If the noise remains, inspect the rear rollers, idler pulley, drum felt seal, and blower wheel for a second worn part causing the same symptom.
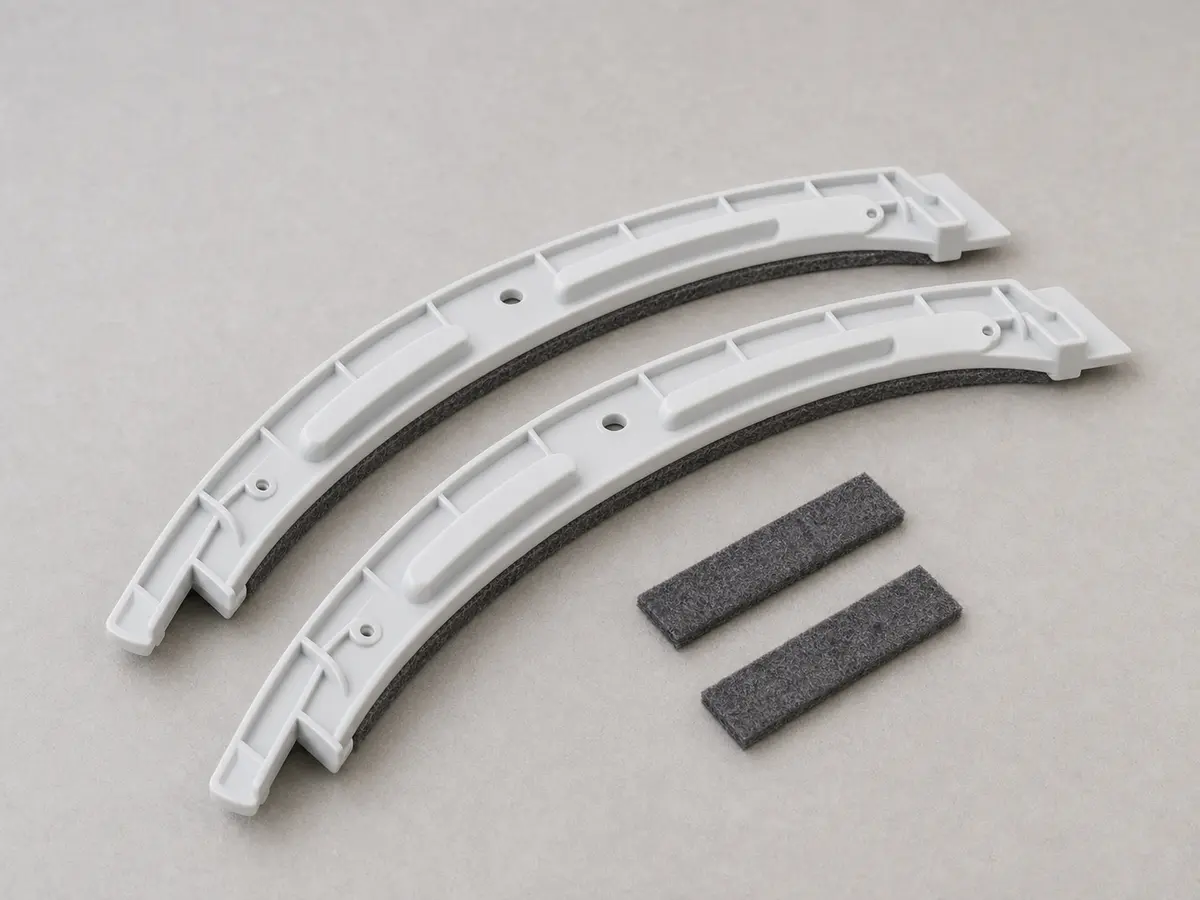
Match the dryer model and front support style before ordering.
As an Amazon Associate I earn from qualifying purchases. Repair Riot may earn a commission at no extra cost to you.
It often sounds like scraping, grinding, or a light metal-on-metal rub from the front of the dryer. Some dryers also make a rhythmic thump if the drum is no longer riding evenly.
It is better to stop using it until you fix it. A worn glide can let the drum rub the support, damage the drum edge, wear other parts faster, and create more noise and dust.
Yes, if your dryer uses multiple front glide pieces, replace the full worn set. Mixing a new glide with a badly worn one can leave the drum unevenly supported.
Not usually. Many glides are held by clips, retainers, or screws. Use only the mounting method your dryer is designed for and avoid improvising with glue unless the correct part setup specifically calls for it.
The glide may not have been the only worn part. Rear drum rollers, the idler pulley, drum seals, or the blower wheel can make similar noises, so inspect those next.