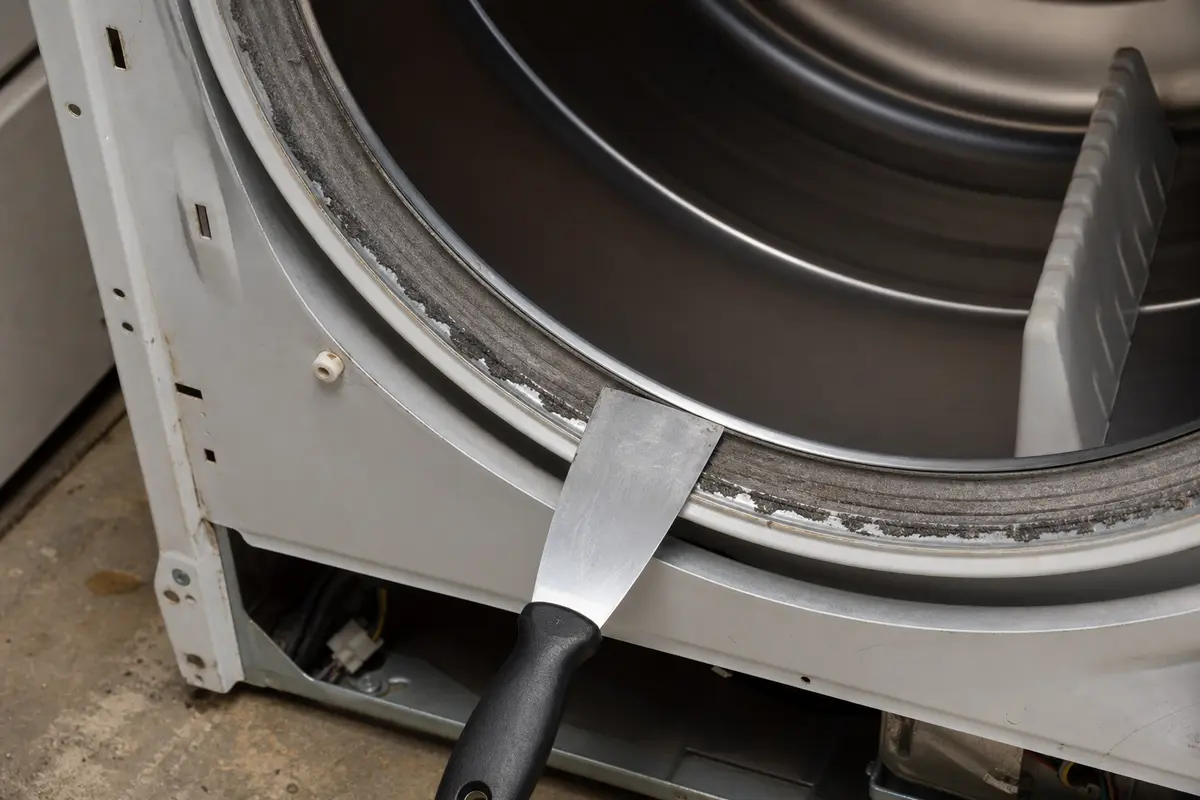
Putty knife
Use it for: To lift out loose filler and press new filler firmly into the damaged area.
Shop putty knivesTo replace a floor repair filler, remove all loose or cracked filler, clean the damaged spot down to solid material, pack in fresh filler in thin passes, then sand it flush after it cures.
This repair works when the old filler has shrunk, cracked, popped loose, or no longer sits level with the floor. The key is not just adding more on top. New filler holds better when the old failed material is fully removed and the surrounding floor is clean, dry, and solid.
Before you start: Match the replacement part to your exact equipment before ordering.
Use it for: To lift out loose filler and press new filler firmly into the damaged area.
Shop putty knives
Use it for: To score around cracked filler and trim loose edges before removal.
Shop utility knives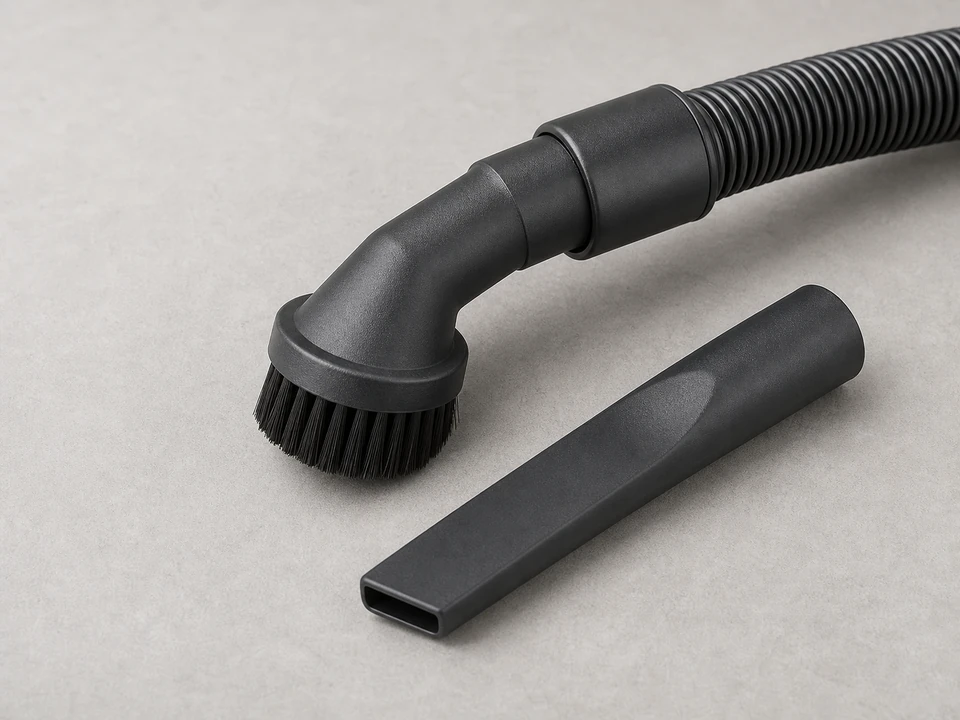
Use it for: To remove dust and crumbs so the new filler can bond better.
Shop shop vacs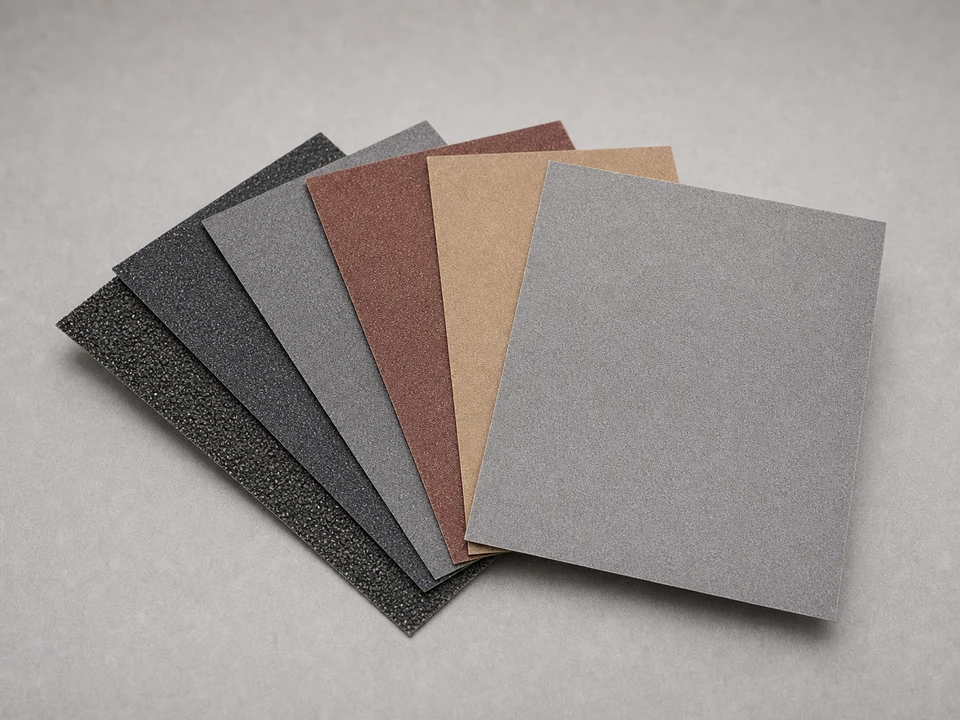
Use it for: To smooth the repair flush after the filler cures.
Shop sandpaper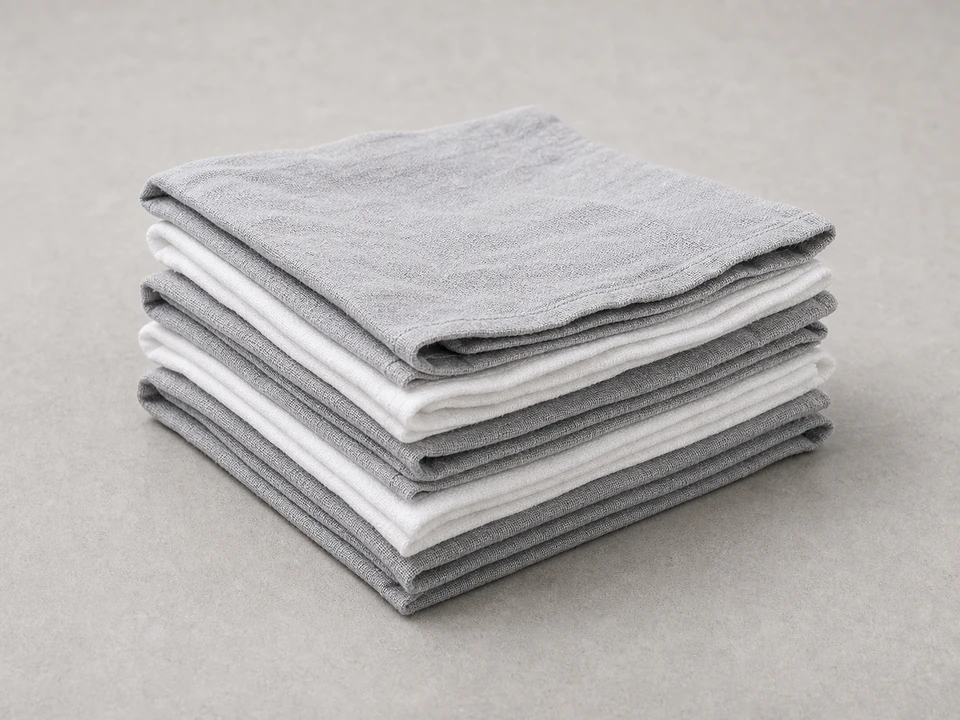
Use it for: To wipe away fine dust and keep the repair area clean.
Shop cleaning ragsAs an Amazon Associate I earn from qualifying purchases. Repair Riot may earn a commission at no extra cost to you.
If it works: You have confirmed the floor itself is solid and the failed filler is the main problem.
If it doesn’t: If the floor moves, feels soft, or shows signs of ongoing moisture, fix that root cause before replacing the filler.
If it works: The damaged spot is cleared down to solid material with no loose filler left behind.
If it doesn’t: If some filler will not come out but is firmly bonded and not cracked, you can leave that solid base in place and feather the new repair into it.
If it works: The repair area is clean, dry, and ready for fresh filler.
If it doesn’t: If dust keeps coming out of the gap, vacuum again and scrape back to firmer material before filling.
If it works: The damaged area is fully filled, well packed, and shaped slightly proud of the floor surface.
If it doesn’t: If the filler slumps, shrinks badly, or pulls away from the edges, remove the weak material and refill in thinner passes after the area is clean and dry.
If it works: The repair feels smooth and sits level with the surrounding floor.
If it doesn’t: If you sand into a low spot or pinholes appear, add a thin finish layer of filler, let it cure, and sand again.
If it works: The filler stays in place, remains level, and holds up during normal foot traffic.
If it doesn’t: If the repair opens back up, the floor is likely moving or getting wet, and the underlying cause needs repair before another filler replacement will last.
Match the replacement part to your exact equipment before ordering.
As an Amazon Associate I earn from qualifying purchases. Repair Riot may earn a commission at no extra cost to you.
Only if the old filler is still solid and well bonded. If it is cracked, loose, hollow, or crumbly, remove it first. New filler usually fails early when it is applied over weak material.
The usual causes are movement in the floor, moisture, filling too deep in one pass, or leaving loose material underneath. Replacing the filler helps only after the root cause is addressed.
Follow the cure time on the filler you used. Some fillers set quickly but still need more time before they can handle normal foot traffic without denting or pulling loose.
Usually yes. Slight overfill is normal, and sanding brings the repair flush with the surrounding floor so it feels smoother and looks more even.
Build the repair in layers instead of trying to fill the whole depth at once. Thick fills are more likely to shrink, crack, or stay soft in the middle.