
Outdoor plumbing repair

How to Replace a Frost Free Hose Bib Packing Kit

If your frost free hose bib leaks around the handle or stem when the water is on, replacing the frost free hose bib packing kit is often the right fix.

This repair is usually straightforward if the valve body is still solid and the leak is coming from the stem area, not from a cracked body or split pipe inside the wall. Work slowly, shut the water off first, and bring the old parts with you if you need help matching the kit.

Before you start: Match the replacement part to your exact hose bib before ordering.

Prepared by: Repair Riot Last updated: 2026-06-05 How we build and check guides

Safety first

  • Shut off the water before loosening the packing nut or removing the stem.
  • Hold the valve body steady so you do not twist the pipe inside the wall.
  • Work gently around older outdoor valves, which can crack if forced.
  • If you find leaking inside the wall, stop and address that before using the hose bib again.

Tools you may need

Adjustable wrench tool

Adjustable wrench

Use it for: To loosen the packing nut and remove the stem assembly without rounding the flats.

Shop adjustable wrenches

Screwdriver set tool

Screwdriver set

Use it for: To remove the handle screw and any retaining screws on the stem assembly.

Shop screwdriver sets
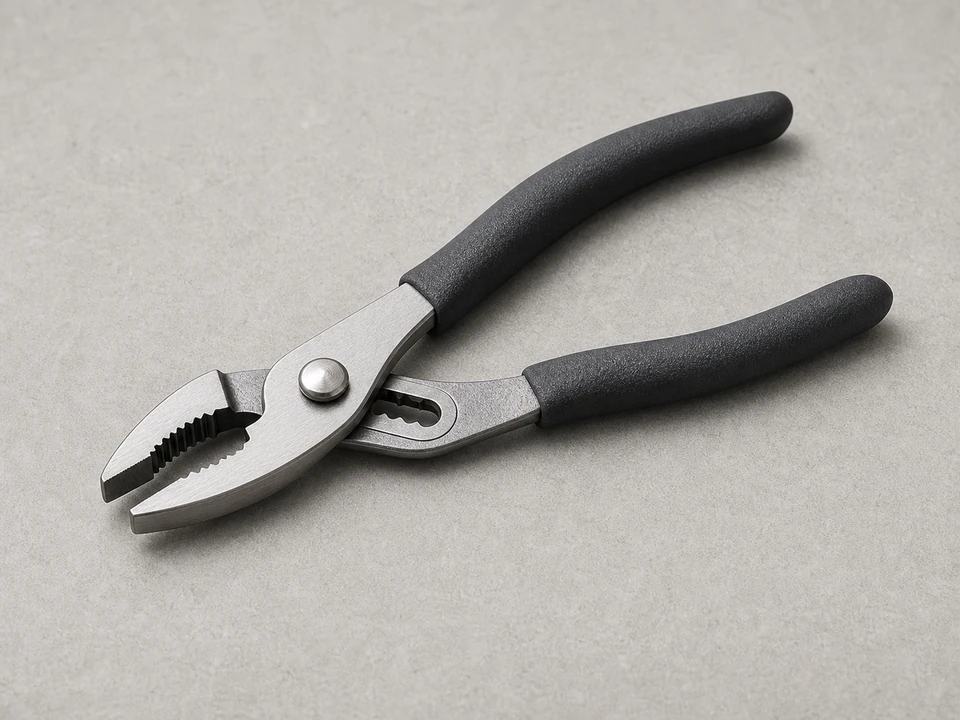
Slip-joint pliers tool

Slip joint pliers

Use it for: To hold the valve body steady while you loosen other parts.

Shop slip-joint pliers
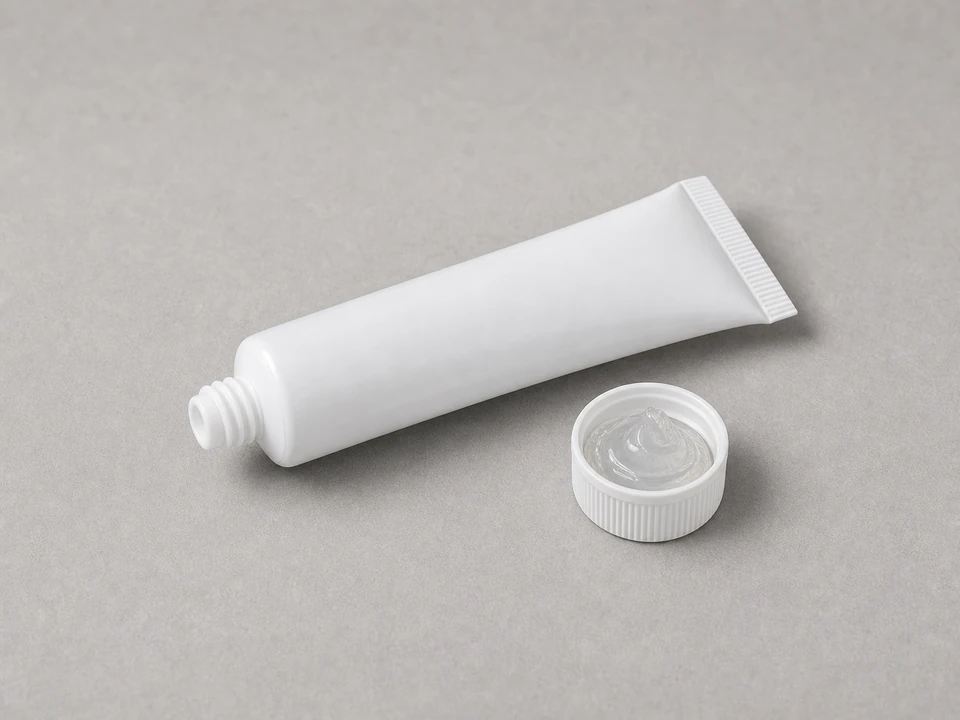
Plumber's grease tool

Plumber's grease

Use it for: To lightly lubricate the stem and packing parts during reassembly.

Shop plumber's grease
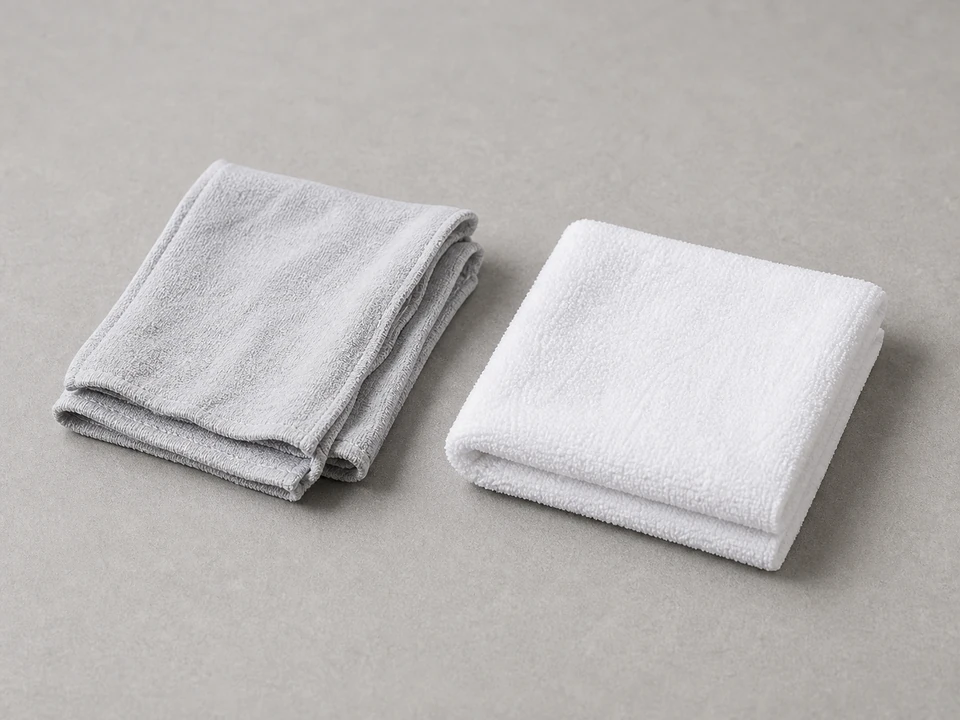
Small towel or rags tool

Rag or small towel

Use it for: To catch drips and wipe old debris off the stem and packing area.

Shop shop towels

Flashlight tool

Flashlight

Use it for: To inspect the stem, packing nut, and wall area for cracks or hidden leaks.

Shop flashlights

As an Amazon Associate I earn from qualifying purchases. Repair Riot may earn a commission at no extra cost to you.

Step-by-step fix

Step 1: Make sure the packing kit is the right repair

  1. Turn the hose bib on and watch where the water appears.
  2. Confirm the leak is coming from around the handle, stem, or packing nut area.
  3. Check that the spout itself is not split and the valve body is not cracked or loose at the wall.
  4. Look inside the house or crawlspace, if you can safely access it, for signs that the pipe feeding the hose bib is leaking in the wall.

If it works: You have a stem-area leak and the hose bib body appears intact, so a packing kit replacement is a reasonable repair.

If it doesn’t: If water is dripping from the spout only, the washer or internal seat may be the issue instead. If the body or pipe is leaking, plan for a larger hose bib repair or replacement.

Stop if:
  • The valve body is cracked, badly corroded, or loose in the wall.
  • You find active leaking inside the wall, basement, or crawlspace.
  • You cannot identify where the leak is actually starting.

Step 2: Shut off the water and remove the handle

  1. Close the shutoff valve that feeds the hose bib. If there is no local shutoff, turn off the home's main water supply.
  2. Open the hose bib to relieve pressure and drain off any remaining water.
  3. Place a rag under the valve area.
  4. Remove the screw holding the handle, then pull the handle off the stem.

If it works: The water is off, pressure is relieved, and the handle is removed so you can reach the packing parts.

If it doesn’t: If the handle is stuck, wiggle it gently and pull straight off. A little penetrating oil on the handle connection can help, but avoid forcing the valve body.

Stop if:
  • The shutoff will not fully stop the water.
  • The stem or valve body starts twisting in the wall when you try to remove the handle.

Step 3: Remove the old packing parts

  1. Hold the hose bib body steady with pliers or a second wrench so you do not stress the pipe in the wall.
  2. Loosen the packing nut carefully.
  3. Pull out the old packing material, packing washer, or stem seal parts included in the old kit.
  4. If your frost free hose bib design requires the stem assembly to come out, unscrew it and slide it out gently.
  5. Lay the old parts out in order so you can match them to the new kit.

If it works: The old packing parts are out and you can clearly compare them to the replacement kit.

If it doesn’t: If the old packing is brittle or stuck, pick it out carefully in small pieces without scratching the stem or valve body.

Stop if:
  • The stem is bent, deeply scored, or heavily corroded.
  • Threads on the packing nut or valve body are stripped.
  • The valve body moves in the wall while you loosen parts.

Step 4: Clean the stem area and install the new packing kit

  1. Wipe the stem, packing nut, and opening clean with a rag.
  2. Remove any old debris, mineral buildup, or fragments of the old packing.
  3. Match the new parts to the old ones by size and shape before installing anything.
  4. Apply a light film of plumber's grease to the stem if needed.
  5. Install the new packing parts in the same order as the originals, then thread the packing nut back on by hand first.
  6. Tighten the packing nut until it is snug, but do not overtighten it.

If it works: The new packing kit is installed cleanly and the packing nut is snug without binding the stem.

If it doesn’t: If the new parts do not match the old ones closely, stop and get the correct kit before reassembling fully.

Stop if:
  • The replacement parts clearly do not fit your hose bib.
  • The packing nut will not thread on smoothly by hand.

Step 5: Reassemble the handle and restore water

  1. Slide the handle back onto the stem and reinstall the handle screw.
  2. Close the hose bib fully.
  3. Turn the water supply back on slowly.
  4. Watch the stem and packing nut area as pressure returns.
  5. Open and close the hose bib a few times to seat the new packing.

If it works: The hose bib operates normally and there is no immediate leak around the handle or stem.

If it doesn’t: If you see a slight seep at the packing nut, tighten the packing nut a little more and test again.

Stop if:
  • Water sprays or runs steadily from the stem area after a small adjustment.
  • The handle is very hard to turn after reassembly, which usually means the packing nut is too tight or parts are misassembled.

Step 6: Verify the repair under real use

  1. Attach a hose if you normally use one there.
  2. Run water for a minute or two with the valve fully open.
  3. Shut the valve off and check again around the handle, packing nut, spout, and wall area.
  4. If possible, check the interior side of the wall once more for any hidden leaking after the test.

If it works: The hose bib stays dry at the stem during use and after shutoff, and there are no signs of leaking inside.

If it doesn’t: If the stem area still leaks, recheck the packing nut tension and part fit. If the leak is from the body, spout, or inside the wall, the hose bib likely needs a different repair or full replacement.

Stop if:
  • You find water inside the wall or building after the test.
  • The leak source has shifted to a crack, split body, or another failed part.

Replacement Parts

As an Amazon Associate I earn from qualifying purchases. Repair Riot may earn a commission at no extra cost to you.

Verify the repair

  • No water appears around the handle or packing nut with the valve on or off.
  • The handle turns smoothly without excessive force.
  • The hose bib delivers water normally and shuts off cleanly.
  • No moisture shows up on the interior side of the wall after testing.

FAQ

What does the packing kit fix on a frost free hose bib?

It fixes leaks around the stem or handle area. If water is coming from the spout only, the problem may be a different internal sealing part.

Can I just tighten the packing nut instead of replacing the kit?

Sometimes a small tightening stops a minor seep, but if the packing is worn, dried out, or damaged, the leak usually comes back. Replacing the packing kit is the more reliable fix.

How tight should the packing nut be?

Snug enough to stop seepage, but not so tight that the handle becomes hard to turn. Make small adjustments and test under pressure.

Do I need to remove the whole hose bib from the wall?

Usually no. A packing kit repair is normally done from the outside by removing the handle and working on the stem area.

What if I still have a leak after replacing the packing kit?

Recheck that the new parts match the old ones and that the packing nut is adjusted correctly. If the leak is from the body, spout, or inside the wall, you are likely dealing with a different failure.