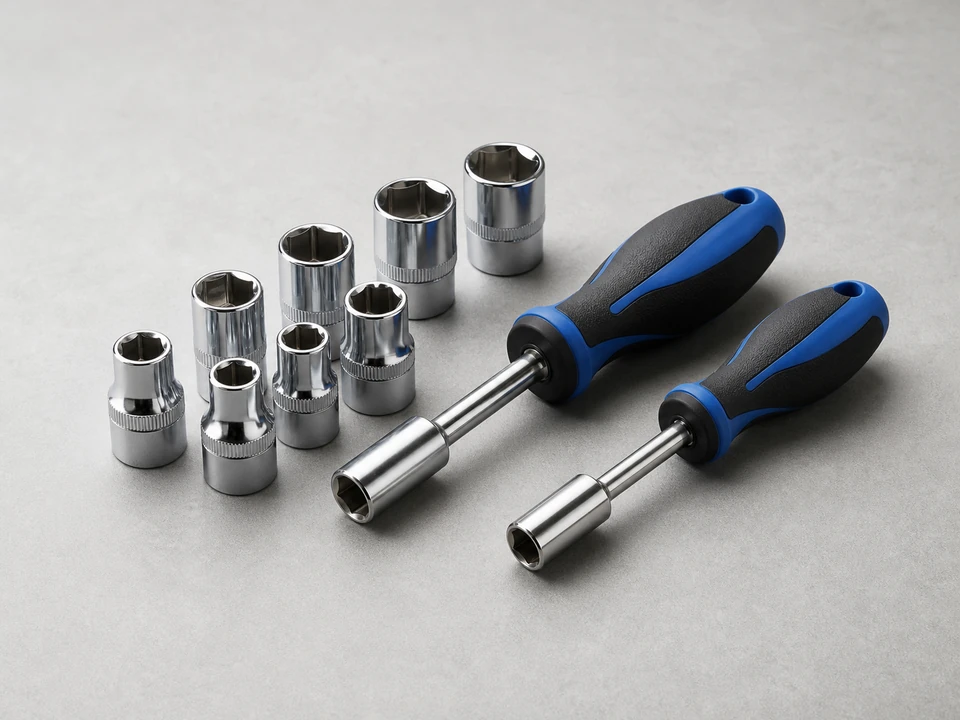
Nut driver set
Use it for: Removes the access panel, burner cover, and coil bracket screws.
Shop nut driver setsReplace the gas dryer gas valve coil set when the igniter glows but the burner does not light reliably, or the dryer heats once and then stops heating as it runs.
This is a moderate repair because you will open the dryer cabinet and work near the gas burner assembly. The job is usually straightforward if you unplug the dryer, shut off the gas supply, and swap the coils one at a time so the wiring and brackets go back the same way.
Before you start: Match your dryer's model number and compare the coil count, bracket style, and wire connector layout before ordering.
Use it for: Removes the access panel, burner cover, and coil bracket screws.
Shop nut driver sets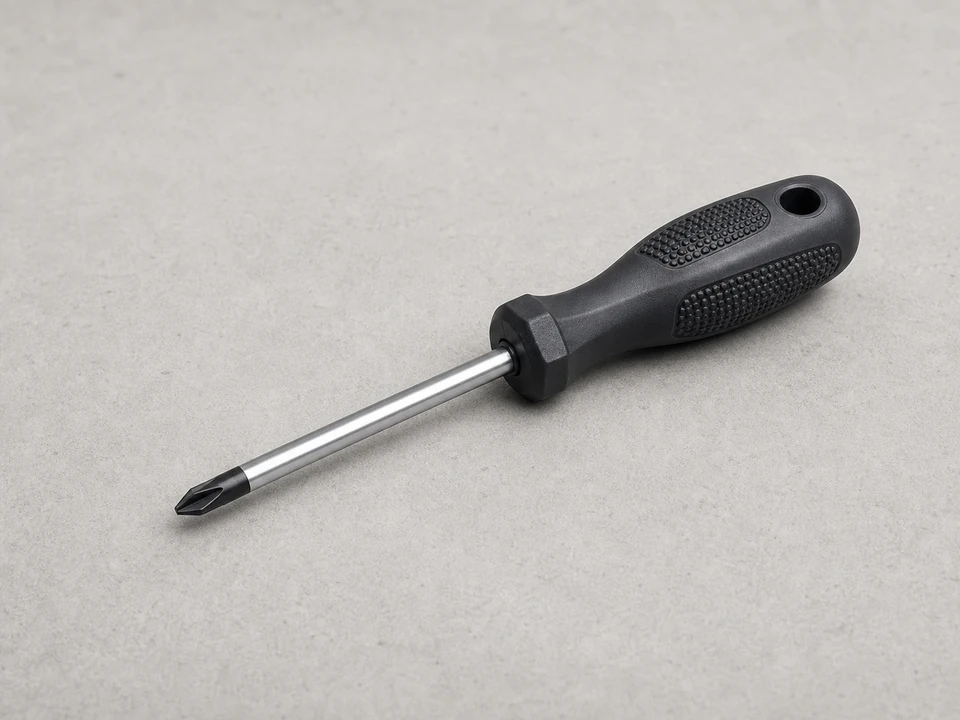
Use it for: Removes screws on some dryer panels and brackets.
Shop Phillips screwdrivers
Use it for: Helps lift retaining clips and handle small wire connectors carefully.
Shop needle-nose pliers
Use it for: Protects your hands from sharp sheet-metal edges inside the dryer.
Shop work gloves
Use it for: Lets you see the burner assembly, coil bracket, and wire connections clearly.
Shop flashlightsAs an Amazon Associate I earn from qualifying purchases. Repair Riot may earn a commission at no extra cost to you.
If it works: The symptoms point to weak gas valve coils rather than a no-power or no-airflow problem.
If it doesn’t: If the igniter never glows, the dryer will not start, or airflow is poor, this is probably not the right repair path. Check the thermal fuse, igniter, flame sensor, or vent restriction first.
If it works: You can clearly reach the gas valve and coil set with the dryer safely disconnected.
If it doesn’t: If you cannot access the burner area without forcing panels or disconnecting parts you cannot identify, look up your model's panel removal layout before continuing.
If it works: The old coils are off and you know how the new parts need to sit on the valve.
If it doesn’t: If a connector is stuck, wiggle it gently with needle-nose pliers on the connector body. Do not yank the wires.
If it works: The new coil set is seated flat, secured by the bracket, and fully reconnected.
If it doesn’t: If the new parts do not sit down properly or the connectors do not match, stop and verify the replacement by model number before reassembling the dryer.
If it works: The dryer is back together and ready for a live heat test.
If it doesn’t: If a panel will not sit flat, reopen the cabinet and check for a misplaced screw, wire, or bracket.
If it works: The burner lights reliably through repeated cycles and the dryer heats normally again.
If it doesn’t: If the igniter still glows without flame, or the dryer still loses heat after the first cycle, the problem may also involve the flame sensor, igniter, gas supply, high-limit controls, or restricted venting.
Match your dryer's model number and compare the coil count, bracket style, and wire connector layout before ordering.
As an Amazon Associate I earn from qualifying purchases. Repair Riot may earn a commission at no extra cost to you.
The most common sign is an igniter that glows but no flame appears, or a dryer that heats once and then stops heating until it cools down. Weak coils often fail after they warm up.
Yes. Coil sets are meant to be replaced together because one weak coil can cause the same no-heat symptom and the parts wear as a pair.
Usually yes. On many dryers you can reach the burner assembly by removing an access panel while leaving the gas connector attached. You still need to shut off the gas supply before working.
If the new coils are installed correctly, the no-heat problem may be caused by the igniter, flame sensor, thermal fuse, high-limit thermostat, gas supply issue, or a badly restricted vent.
For a first-time homeowner, it often takes about 30 to 90 minutes depending on how easily your dryer opens and how accessible the burner assembly is.