
Adjustable wrench
Use it for: To loosen and tighten the packing nut without rounding it off.
Shop adjustable wrenchesIf your hose bib leaks around the handle or stem when the water is on, replacing the packing nut and packing material is often the right fix.
This repair is usually straightforward if the faucet body is still solid and the leak is coming from the stem area, not from a cracked body or a split pipe in the wall.
Before you start: Match the replacement part to your exact hose bib before ordering.
Use it for: To loosen and tighten the packing nut without rounding it off.
Shop adjustable wrenches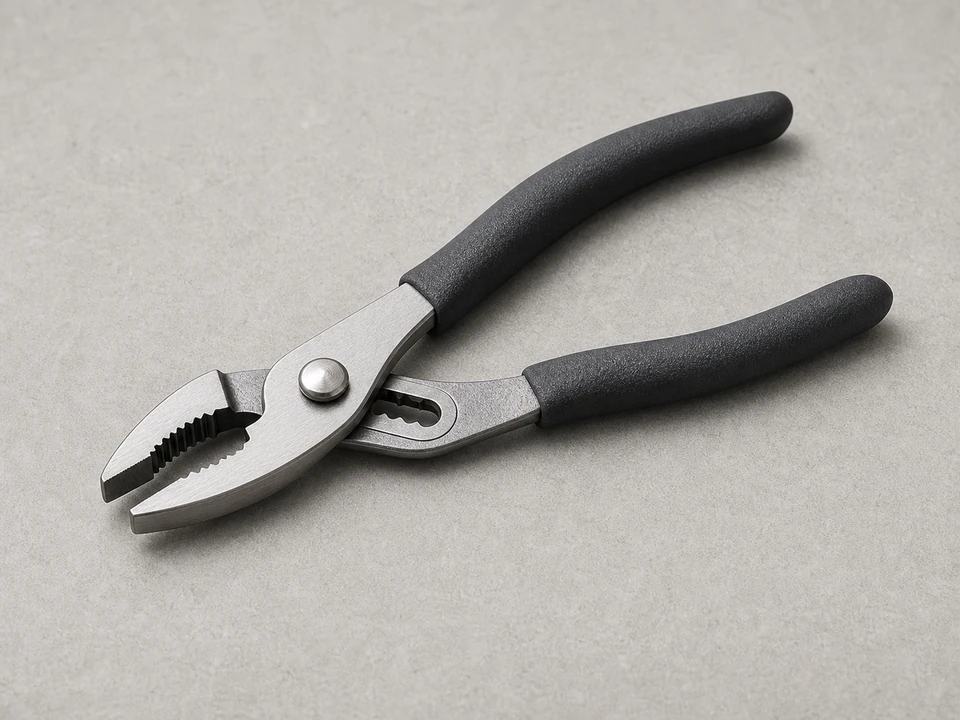
Use it for: To hold the faucet body steady if needed while you work the nut loose.
Shop slip-joint pliers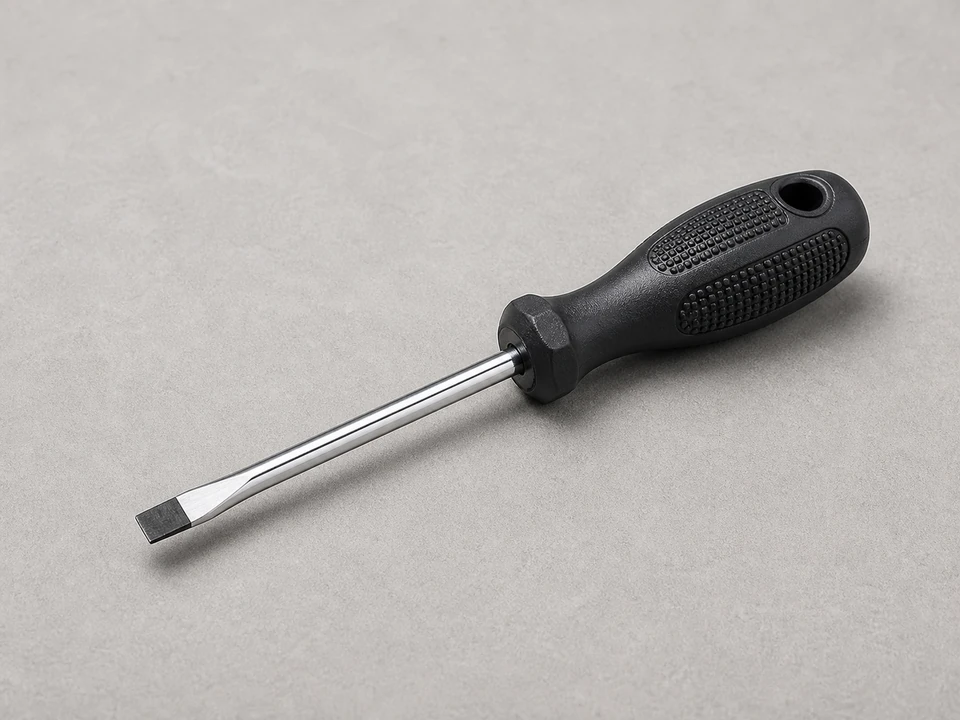
Use it for: To remove the handle screw and help lift out old packing material.
Shop flat screwdrivers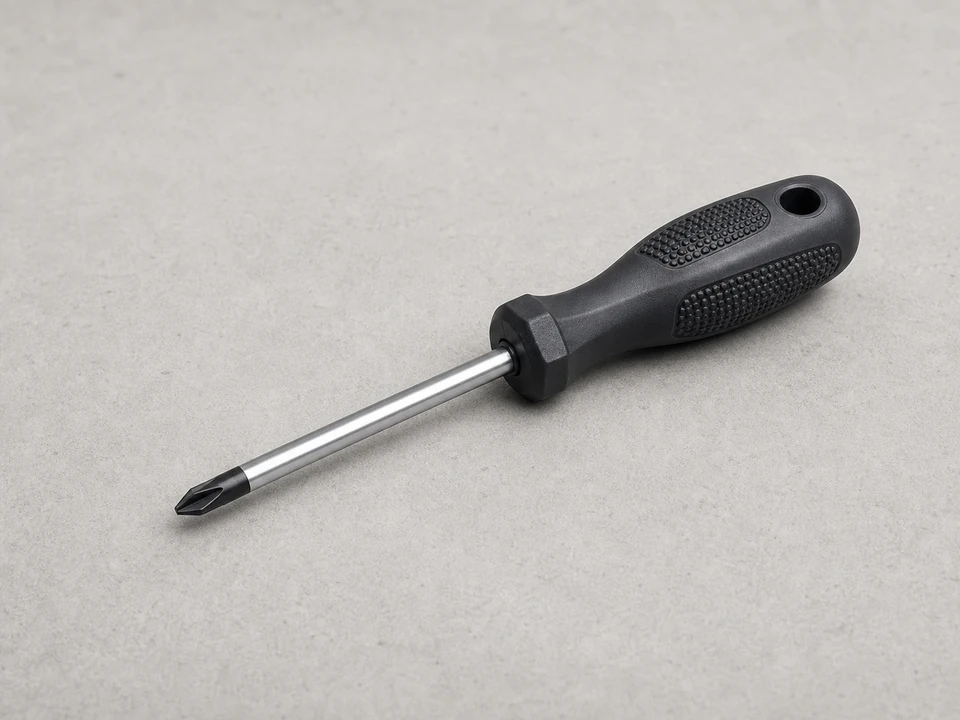
Use it for: Some hose bib handles use a Phillips screw instead of a flat screw.
Shop Phillips screwdrivers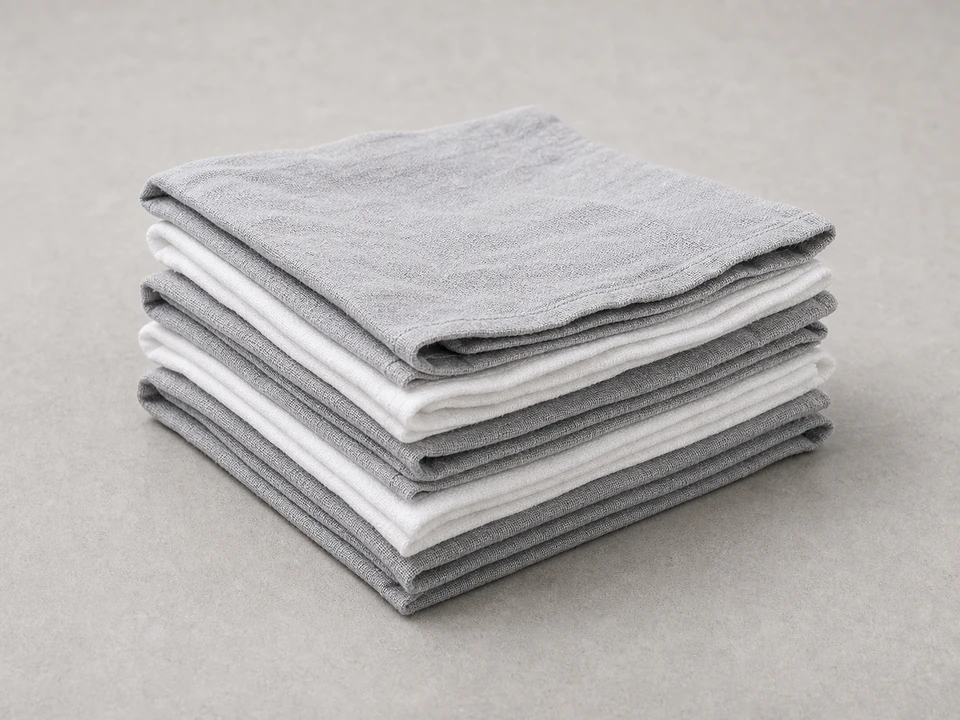
Use it for: To wipe away grit, old packing, and water so you can see the stem clearly.
Shop cleaning rags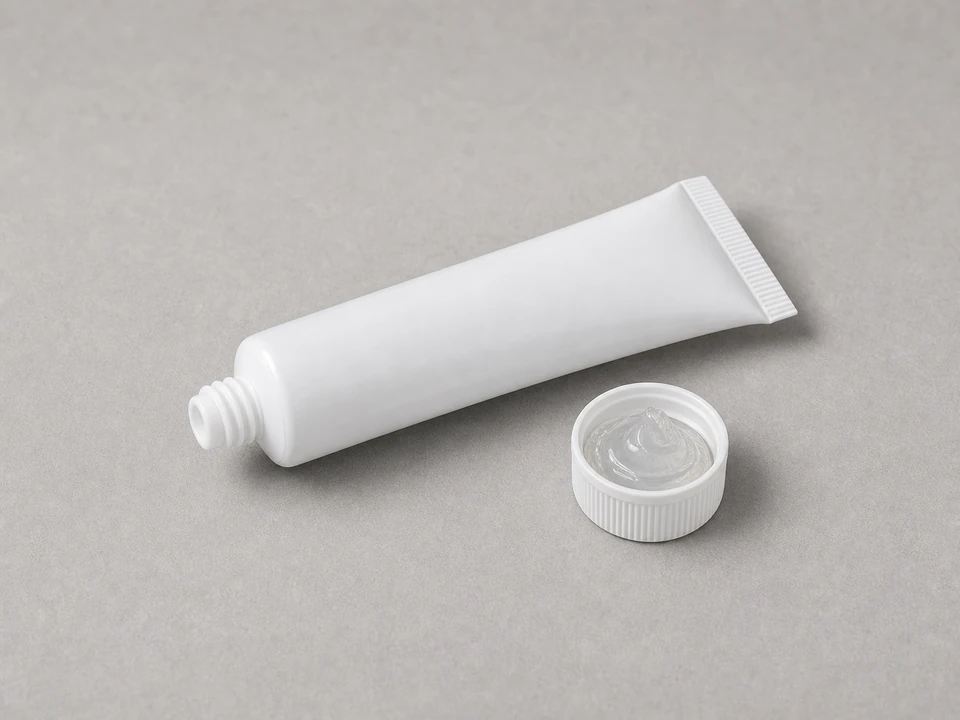
Use it for: To lightly lubricate the stem and help the new packing seat smoothly.
Shop plumber's greaseAs an Amazon Associate I earn from qualifying purchases. Repair Riot may earn a commission at no extra cost to you.
If it works: You have confirmed the leak is at the stem area, where the packing nut and packing material seal the valve.
If it doesn’t: If the leak is from the spout, the valve seat or washer may be the real issue. If the leak is from the wall or faucet body, stop and inspect for a cracked pipe or failed connection.
If it works: The water is off, pressure is relieved, and the handle is removed so you can reach the packing nut.
If it doesn’t: If the handle will not come off, apply gentle back-and-forth pressure and clean around the stem. If it is badly seized, you may need to replace the entire hose bib instead of only the packing parts.
If it works: The old packing nut and worn packing material are removed, and the stem area is clean.
If it doesn’t: If the nut will not loosen, apply steady pressure while supporting the faucet body. Avoid jerking the wrench, which can damage the pipe in the wall.
If it works: The new packing is seated and the packing nut is installed snugly on the stem.
If it doesn’t: If the nut will not thread on by hand, back it off and realign it. Cross-threading will ruin the repair.
If it works: The handle is back on, the water is restored, and the stem area stays dry or improves with minor adjustment.
If it doesn’t: If the stem still leaks after a small adjustment, the packing may be mis-seated, the wrong size, or the stem may be too worn for this repair alone.
If it works: The hose bib works normally, the handle turns without excessive force, and the stem area stays dry during and after use.
If it doesn’t: If the leak returns, remove the packing and confirm the replacement matches the faucet. If the stem or valve body is worn, replacing the full hose bib is the better next step.
Match the replacement part to your exact hose bib before ordering.
As an Amazon Associate I earn from qualifying purchases. Repair Riot may earn a commission at no extra cost to you.
Sometimes yes. A small stem leak can stop with a slight tightening. If the leak comes back or the nut is already snug, the packing material is usually worn and should be replaced.
A spout leak usually points to an internal washer, seat, or stem problem rather than the packing around the handle. The packing repair mainly fixes leaks at the stem area.
Tight enough to stop seepage around the stem, but not so tight that the handle becomes hard to turn. Start snug, then make small adjustments with the water back on.
Not always, but it is often the next step if the stem is worn, the threads are damaged, or the faucet body is cracked or heavily corroded.
Only if you have a working shutoff that isolates that hose bib. You should not remove the packing nut with the line still pressurized.