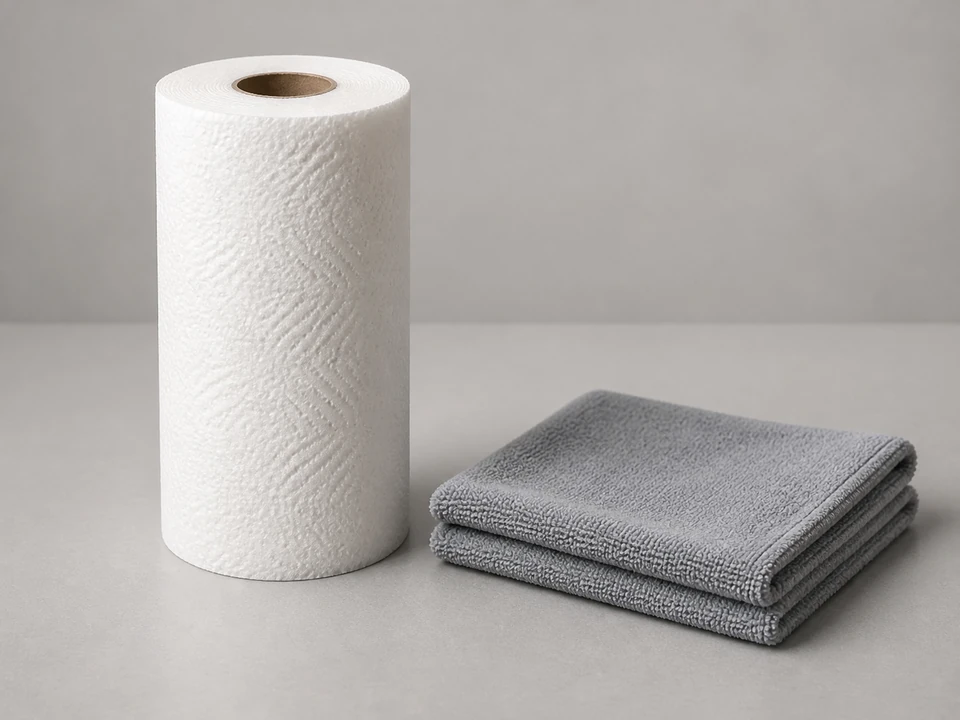
Soft cloth or paper towels
Use it for: To wipe grease and debris off the burner area before installing the new cap.
Shop cleaning clothsTo replace a range burner cap, make sure the old cap is the real problem, let the burner cool, lift off the old cap, clean the burner head, set the new cap in the correct position, and test for an even flame.
A burner cap that is warped, cracked, heavily rusted, or sitting crooked can cause weak flame, uneven heating, delayed ignition, or clicking without a steady flame. This is usually a quick repair as long as the burner base underneath is not damaged.
Before you start: Match the replacement part to your exact range stove before ordering.
Use it for: To wipe grease and debris off the burner area before installing the new cap.
Shop cleaning cloths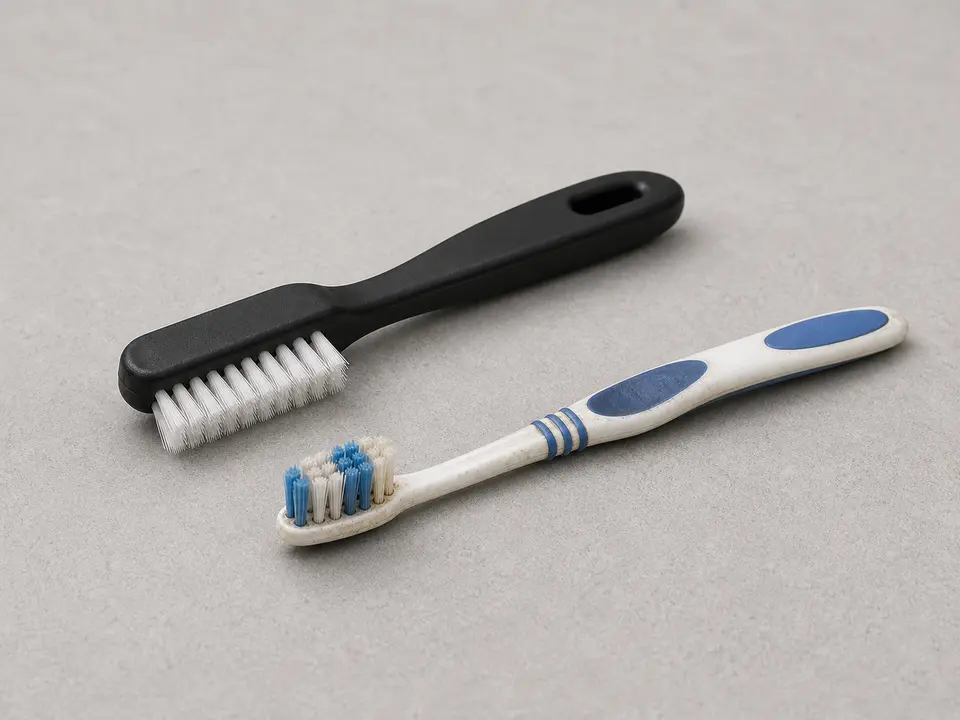
Use it for: To loosen cooked-on residue around the burner head without damaging it.
Shop non-scratch scrub pads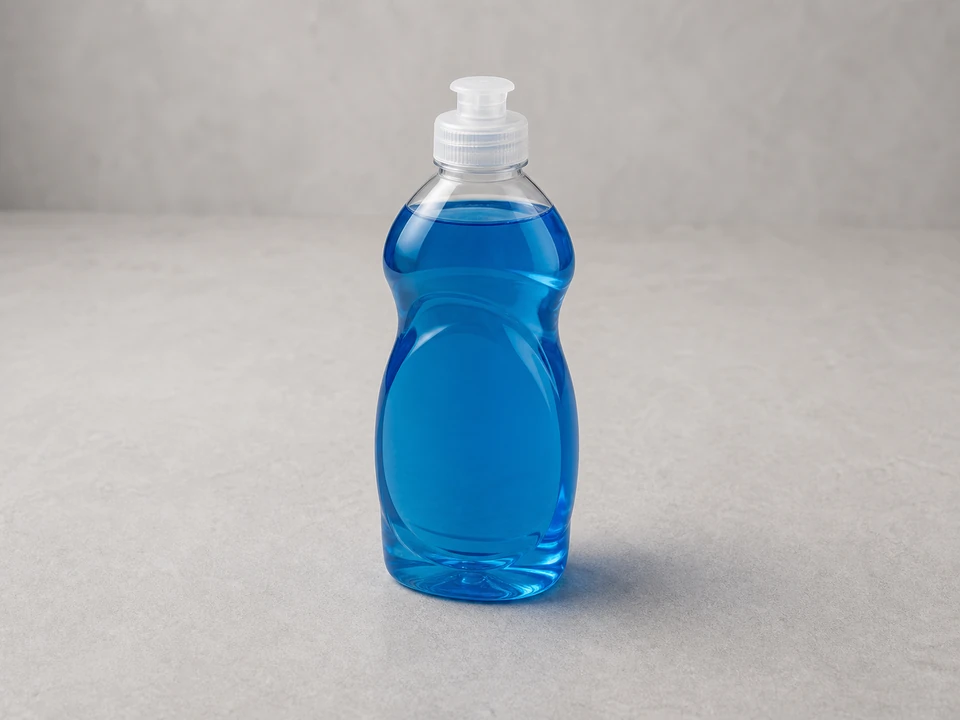
Use it for: To clean grease from the burner cap seat so the new cap sits flat.
Shop dish soap
Use it for: To check the burner head slots and make sure the cap is centered correctly.
Shop flashlightsAs an Amazon Associate I earn from qualifying purchases. Repair Riot may earn a commission at no extra cost to you.
If it works: You found visible cap damage or a cap that will not sit flat and centered on the burner head.
If it doesn’t: If the cap looks fine and sits properly, clean the cap and burner head first. If the burner still will not light or the flame stays uneven, the problem may be with the burner head, igniter, or gas flow instead of the cap.
If it works: The old cap is off and the burner area is clean enough to inspect clearly.
If it doesn’t: If the cap seems stuck from baked-on residue, work it gently side to side by hand instead of prying hard against the cooktop.
If it works: The burner head is clean and the cap seating surface is flat and free of debris.
If it doesn’t: If residue is still built up, repeat the cleaning until the cap seat is fully clear. A new cap will not work well if it sits on grease or carbon.
If it works: The new cap sits level, centered, and stable on the burner head.
If it doesn’t: If the new cap rocks, sits high, or does not align with the burner head, remove it and recheck the fit. You may have the wrong replacement or the burner head may also need attention.
If it works: The burner lights normally and the flame looks even and steady around the cap.
If it doesn’t: If the burner still clicks without a steady flame, lights unevenly, or goes out on low, remove the cap and reseat it once more. If the problem continues, inspect the burner head and igniter next.
If it works: The burner works normally in real use and the cap stays seated correctly.
If it doesn’t: If the problem returns after heating up, the cap may still be the wrong fit or the burner head may be worn or warped.
Match the replacement part to your exact range stove before ordering.
As an Amazon Associate I earn from qualifying purchases. Repair Riot may earn a commission at no extra cost to you.
A bad burner cap may be cracked, warped, chipped, heavily rusted, or coated with buildup that keeps it from sitting flat. Any of those can disrupt the flame pattern.
No. The cap helps spread flame correctly over the burner head. Running the burner without a proper cap can cause poor ignition and uneven or unsafe flame behavior.
The cap may not be seated correctly, or the real problem may be a dirty burner head, a wet burner area, or a failing igniter. Reseat the cap and inspect the burner head next.
Usually no special tools are needed. Most burner caps lift off and drop into place by hand. Cleaning supplies and a flashlight are often enough.
The replacement should match your exact range stove and should sit flat on the burner head without rocking. If the size or underside shape is off, it is not the right fit.