
Adjustable wrench
Use it for: To loosen the old shower head and snug the new one if hand-tightening is not enough.
Shop adjustable wrenchesTo replace a shower rain head, confirm the head itself is the problem, unscrew the old head, clean and reseal the shower arm threads, then thread on the new rain head and test for leaks and even spray.
This is usually a straightforward swap if the shower arm is solid and the threads are in good shape. Work slowly so you do not twist the arm inside the wall or crack a finish while removing the old head.
Before you start: Match the replacement part to your exact shower before ordering.
Use it for: To loosen the old shower head and snug the new one if hand-tightening is not enough.
Shop adjustable wrenches
Use it for: To protect the finish on the shower arm or head while turning it.
Shop strap wrenches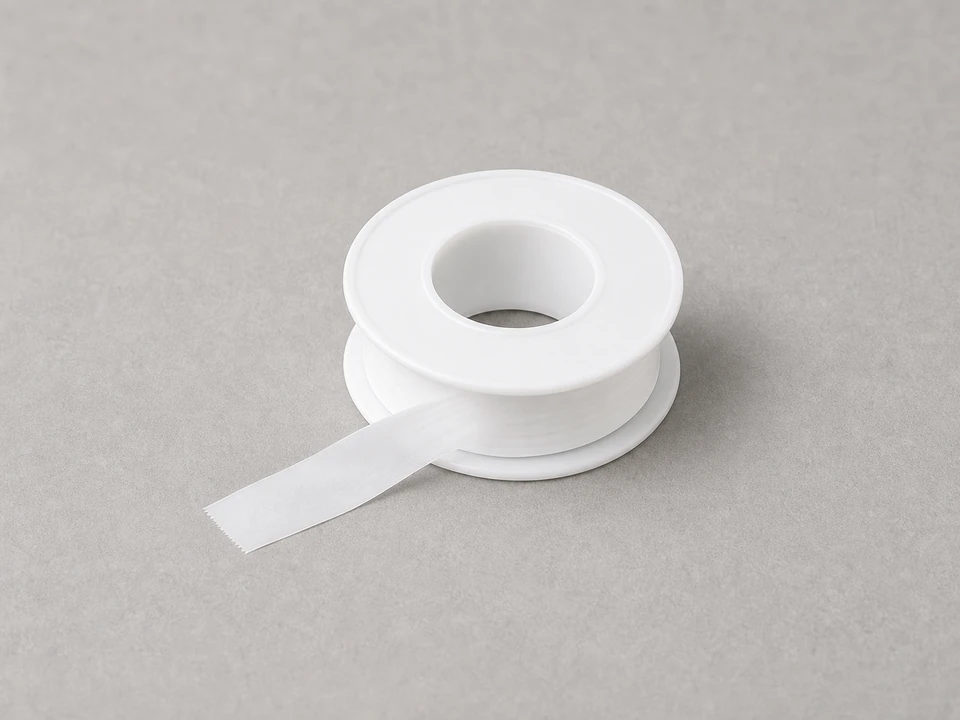
Use it for: To seal the shower arm threads so the new head does not leak at the connection.
Shop plumber's thread seal tape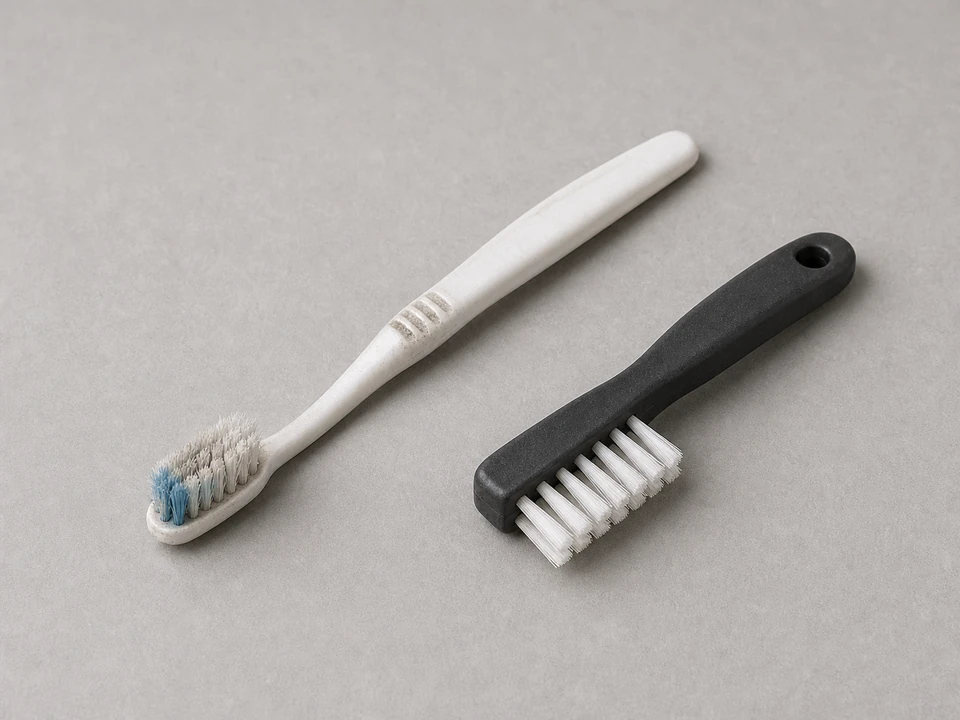
Use it for: To clean mineral buildup and old tape from the threads before installation.
Shop small cleaning brushes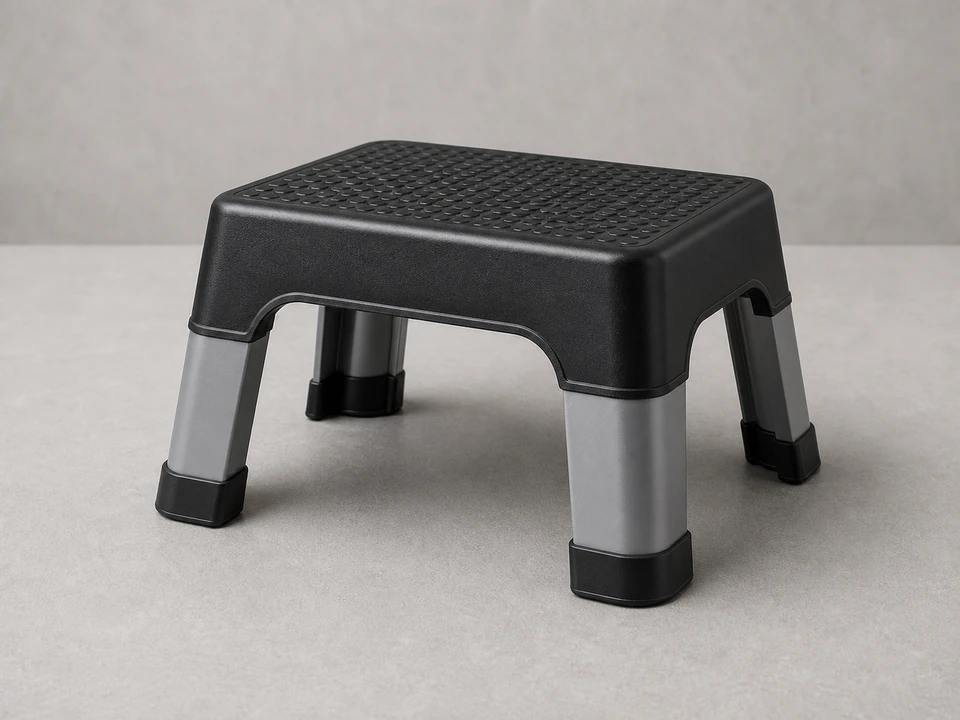
Use it for: To reach an overhead rain head safely without overreaching.
Shop step stoolsAs an Amazon Associate I earn from qualifying purchases. Repair Riot may earn a commission at no extra cost to you.
If it works: You have confirmed the rain head is the likely problem and the shower arm appears solid enough for a normal replacement.
If it doesn’t: If the issue is clearly inside the valve, behind the wall, or at the shower arm elbow in the wall, this is not the right repair path.
If it works: The old shower rain head is off without twisting the shower arm or damaging the finish.
If it doesn’t: If the head will not loosen, apply steady pressure instead of jerking it, and make sure you are turning only the head and not the arm in the wall.
If it works: The shower arm threads are clean and in usable condition for the new head.
If it doesn’t: If the threads are dirty or rough, keep cleaning until the new head can start by hand without resistance.
If it works: The new shower rain head is installed straight, snug, and supported without strain on the shower arm.
If it doesn’t: If the head will not thread on smoothly, back it off and restart by hand to avoid cross-threading.
If it works: The connection stays dry and the new head sprays normally.
If it doesn’t: If the spray is poor but the connection is dry, remove the head and check for a missed washer, packing material, or debris in the inlet before reinstalling.
If it works: The new shower rain head works normally in real use with no leaks, no movement at the arm, and a steady spray.
If it doesn’t: If the head loosens, leaks, or shifts after use, remove it and reinstall it carefully. If the arm itself moves or the leak appears at the wall, the repair likely needs a plumber.
Match the replacement part to your exact shower before ordering.
As an Amazon Associate I earn from qualifying purchases. Repair Riot may earn a commission at no extra cost to you.
Usually no. You can normally replace the head with the shower turned off at the valve. Just make sure the shower is not running before you remove the old head.
Snug, not forced. Hand-tight plus a small final turn with a protected wrench is usually enough if the threads are taped properly.
The most common causes are too little thread seal tape, tape wrapped the wrong direction, debris on the threads, or cross-threading. Remove it, clean the threads, retape, and reinstall by hand first.
No. Remove the old tape completely and apply fresh tape before installing the new head.
Stop and support the arm carefully. If the arm is turning in the wall, forcing it can damage hidden plumbing. That is a good time to call a plumber.