
Flashlight
Use it for: Helps you see under the spout for a set screw and inspect the pipe opening.
Shop flashlightsTo replace a tub spout with diverter, first confirm the spout itself is the problem, then remove the old spout based on whether it is threaded or held by a set screw, install the matching replacement, and test for leaks and proper shower flow.
This is usually a manageable repair if the pipe stub-out is solid and the new spout matches the way the old one mounts. The key is not forcing the old spout off or guessing on the replacement style.
Before you start: Match the replacement part to your exact equipment before ordering.
Use it for: Helps you see under the spout for a set screw and inspect the pipe opening.
Shop flashlights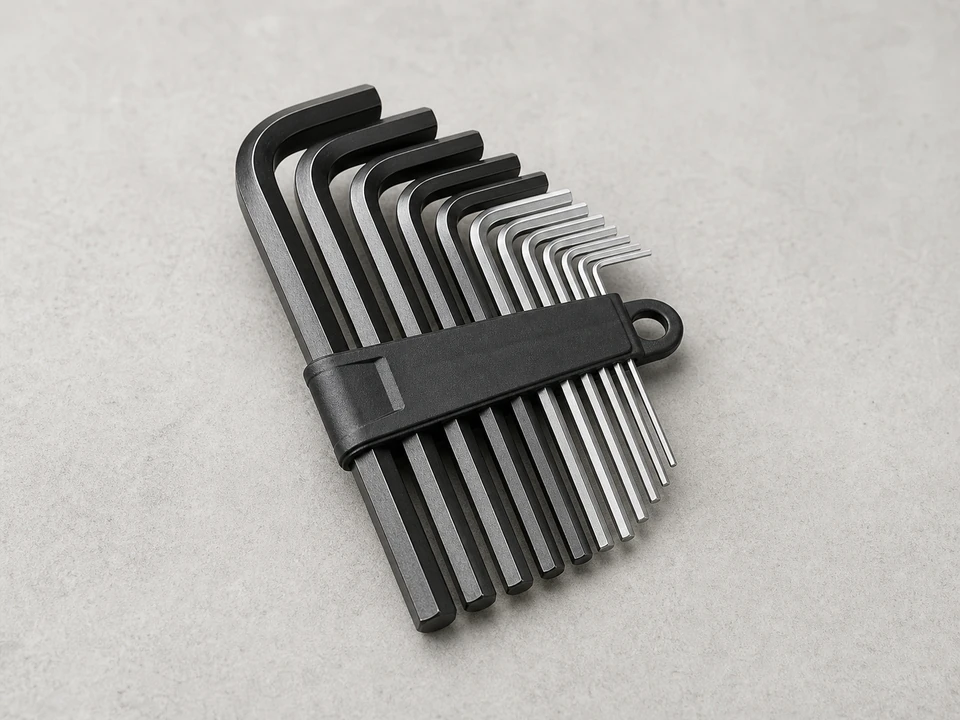
Use it for: Used to loosen the set screw on slip-on tub spouts.
Shop hex key sets
Use it for: Helps remove or snug a threaded spout without over-tightening.
Shop adjustable wrenches
Use it for: Useful for gripping the old spout if it is stuck.
Shop tongue-and-groove pliers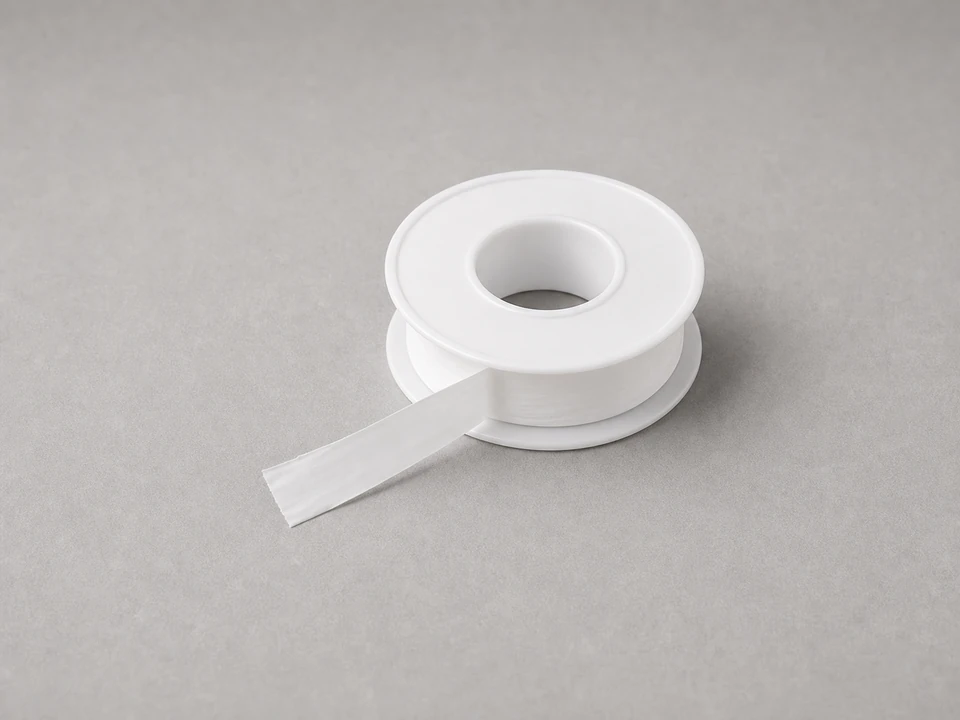
Use it for: Used on threaded connections when the new spout installs onto a threaded pipe nipple.
Shop plumber's tape
Use it for: Protects finishes, wipes debris, and helps clean the pipe before installation.
Shop cleaning ragsAs an Amazon Associate I earn from qualifying purchases. Repair Riot may earn a commission at no extra cost to you.
If it works: You have a good reason to replace the tub spout with diverter and a basic idea of how it mounts.
If it doesn’t: If shower flow is normal and the issue is only low pressure everywhere, the problem may be elsewhere in the valve, showerhead, or supply.
If it works: The old spout is off and the pipe stub-out is exposed.
If it doesn’t: If the spout will not budge, apply steady pressure instead of jerking it. Recheck for a hidden set screw before forcing anything.
If it works: You know whether the new spout should slide on or thread on, and it appears to match the existing pipe setup.
If it doesn’t: If the new spout does not match the pipe type or required length, pause and exchange it for the correct style instead of trying to adapt it by force.
If it works: The pipe is clean, ready, and in good shape for the new spout.
If it doesn’t: If buildup or rough spots keep the new spout from fitting smoothly, clean the pipe again before installing.
If it works: The new spout is secure, aligned, and seated properly against the wall.
If it doesn’t: If the spout stops short, sits crooked, or will not tighten correctly, remove it and recheck the pipe type, thread condition, and required pipe length.
If it works: The tub spout with diverter switches cleanly, the shower flow is improved, and there are no leaks at the spout or wall.
If it doesn’t: If the diverter still does not send most of the water to the showerhead, or if you see leaking at the wall, remove the spout and recheck fit and connection style. If the fit is correct and the problem remains, the valve or piping may need repair.
Match the replacement part to your exact equipment before ordering.
As an Amazon Associate I earn from qualifying purchases. Repair Riot may earn a commission at no extra cost to you.
Look underneath near the wall. A small set screw usually means slip-on. If there is no set screw, the spout often threads off counterclockwise, though you should still check carefully before forcing it.
Usually no, as long as the tub valve shuts the water off fully. If the faucet will not stop flow completely, shut off the water supply before removing the spout.
A little leftover water can be normal, but a strong stream usually means the diverter is worn, the new spout is not the right type, or there is another issue in the valve or piping.
On many tub spouts, the practical repair is replacing the whole spout. Internal diverter parts are often not meant to be serviced separately by homeowners.
That usually means the replacement does not match the existing connection style or required pipe length. Remove it and verify whether you need a different threaded or slip-on spout.