Replace the bypass valve when the first wet spot, crack, stuck handle, or flow restriction is at the valve body, handle stem, or port seals. If the drip starts at a union, pipe, or tank connection, fix that source first.
Wipe the valve dry, move the handle gently, and compare service mode with bypass before you loosen a collar. Stop if the water will not shut off, old piping twists with the valve, or the new valve does not match the old ports.
Before you start: Find a working shutoff before any collar or clip moves. Do not rely on the bypass valve itself as the only shutoff while replacing it. Wipe the valve dry. Compare the new valve with the old one for pipe size, port spacing, clips, collars, and O ring layout. Stop if water will not shut off, a pipe moves with the valve, or the replacement does not sit squarely.
Last reviewed: 2026-06-14
Make sure this is the right repair
Wipe the valve dry and find the first wet spot. Replace the bypass valve only when the leak, stuck handle, or flow change points to that assembly. Dry-fit the new valve before pressure comes back on.
This page fits
This page fits when: The valve body is cracked. The handle stem leaks. The port seals drip after drying. Flow changes clearly between service and bypass.
Check something else when: If the first wet spot is a union, flex connector, control-head connection, or pipe joint, repair that source first.
Confirm the fit first
This page fits when: You can match the softener model if available. The pipe size, port spacing, connection style, clip grooves, and O-ring or gasket layout line up.
Check something else when: If the old valve is missing, identify the softener model before ordering. If you have the old valve, compare it side by side with the listing photos.
Stop for plumbing damage
This page fits when: Water shuts off fully. The nearby piping stays still. The valve can be reached with normal hand tools.
Check something else when: Stop if a shutoff valve will not close or hard pipe must be cut. Also stop if a fitting cracks or the softener plumbing moves when you turn the collar.
Find the leak, then dry-fit the valve
Use the photos to separate a bad bypass valve from a loose nearby fitting. The useful checks are the first wet spot, port spacing, clip alignment, and whether the valve seats without bending the plumbing.
Wipe the area dry and watch for the first wet spot. If water starts at the handle stem, valve body, or port seal, move to the fit check. If it starts at a union or pipe joint, repair that joint first.Dry-fit before pressure comes back on. Compare port spacing, O-ring position, and clip grooves. The valve should seat without forcing the softener or house piping sideways.
Safety first
Shut off water and relieve pressure before disconnecting the bypass valve.
Keep one hand on nearby plumbing while loosening connections so you do not twist or crack older pipes.
Do not keep loosening the valve if water is still spraying or running under pressure.
Use only a light coat of silicone plumber's grease on O-rings if needed; avoid petroleum grease.
Do not glue, tape, or clamp a cracked bypass valve body as a pressure repair.
Turn water back on slowly to reduce the chance of a pressure shock leak.
Call a licensed plumber if the main shutoff will not close, hard pipe needs to be cut or soldered, or a pipe or fitting cracks while you work.
Tools you may need
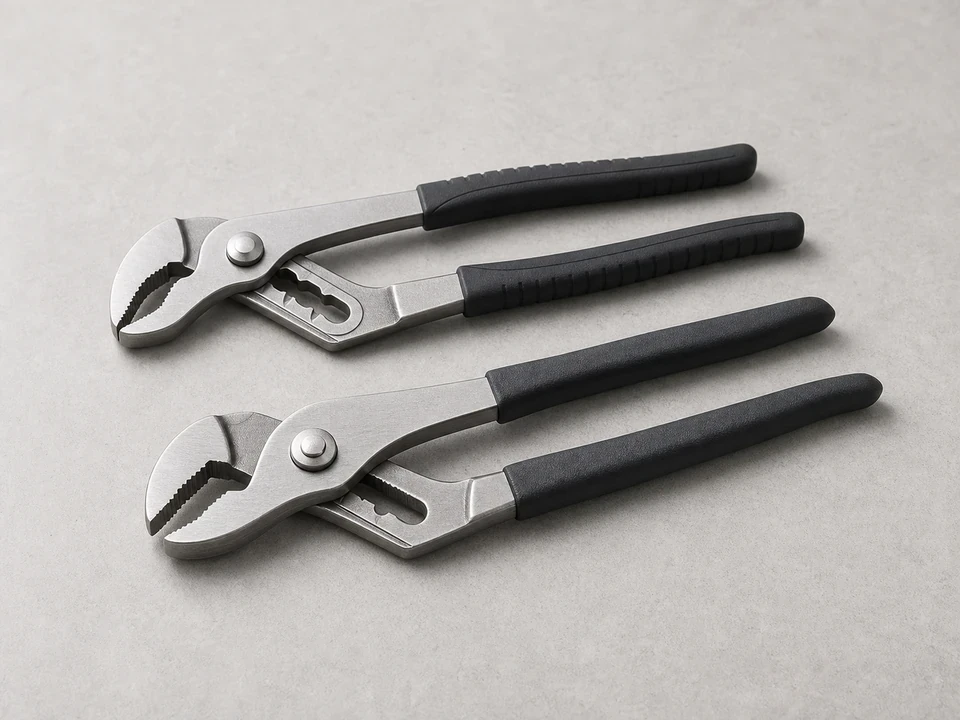
Adjustable pliers
Use it for: Holds the collar or union steady while you loosen threaded or clip-style bypass connections.
As an Amazon Associate I earn from qualifying purchases. Repair Riot may earn a commission at no extra cost to you.
Step-by-step fix
Step 1: Make sure the bypass valve is really the problem
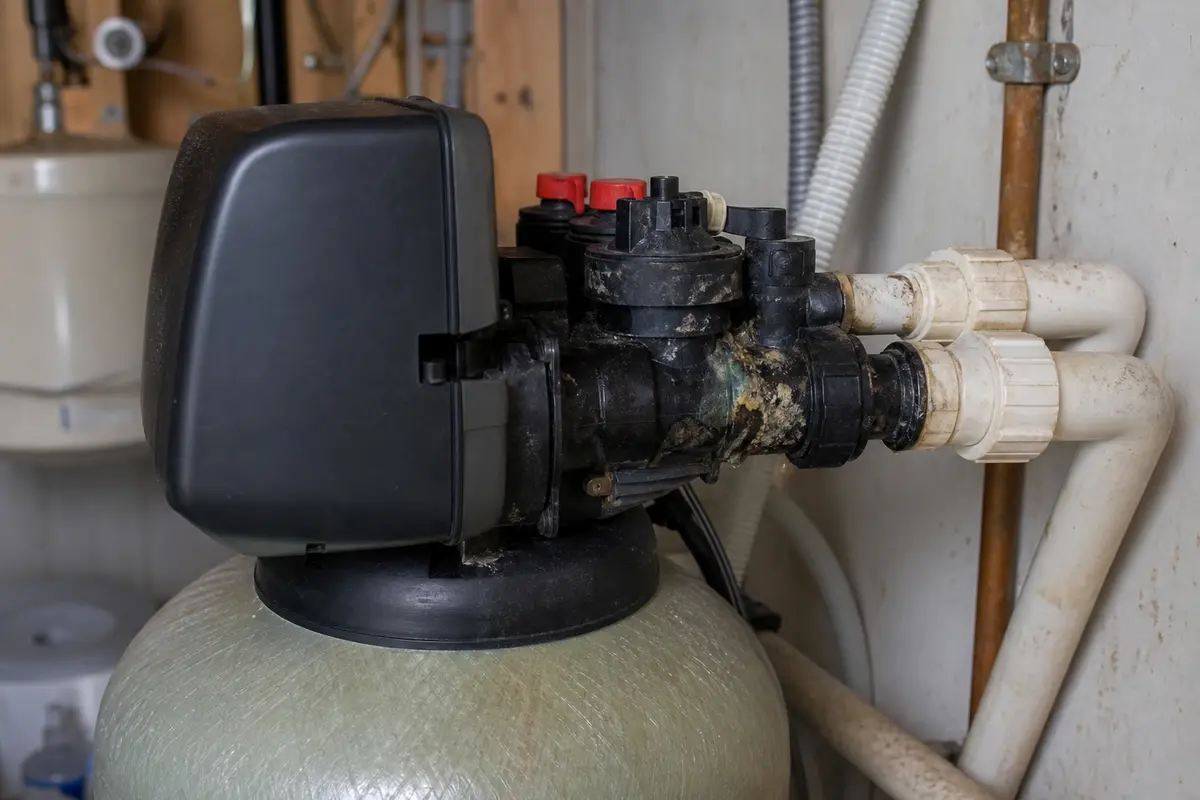
Look at the bypass area where the softener connects to the house plumbing.
Wipe the valve body, handle stem, and port connections dry. Press a dry paper towel under each spot and look for the first fresh bead of water.
Move the handle gently between service and bypass if it still moves. A stuck handle, visible crack, or drip from the stem points back to the valve.
Compare flow at a nearby cold faucet in service mode and bypass mode. Normal flow in bypass with weak flow through the softener points to the bypass valve area or the control head, not the house supply.
Recheck the valve after the faucet test. A seep that appears only when the handle moves still counts as a valve clue.
Check nearby unions, flexible connectors, and pipe joints before blaming the valve body.
If it works: You have a clear reason to replace the bypass valve instead of guessing.
If it doesn’t: If the leak is coming from a nearby fitting, hose, or the softener tank connection instead, fix that issue first before replacing the valve.
Stop if:
The plumbing around the softener is badly corroded, cracked, or loose in the wall or floor.
Water is leaking from multiple places and you cannot clearly identify the source.
The softener connection style does not match the replacement valve you have.
Step 2: Shut off water and relieve pressure
Set the old valve to bypass if it still moves. This may keep house water available on some setups, but do not treat it as the shutoff for this repair.
Turn off the main water supply or the nearest isolation valves feeding the softener.
Open a nearby cold water faucet and wait until the stream drops to a trickle. Leave the faucet open while you break the bypass connection loose.
Unplug the softener if its power cord is in the way or the unit may cycle while you work.
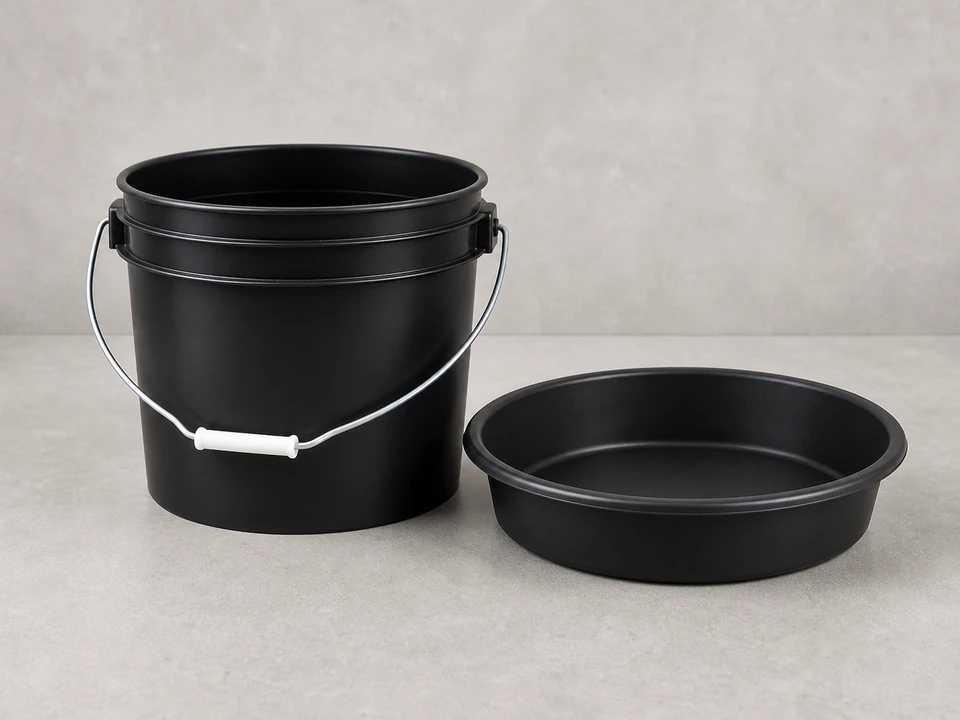
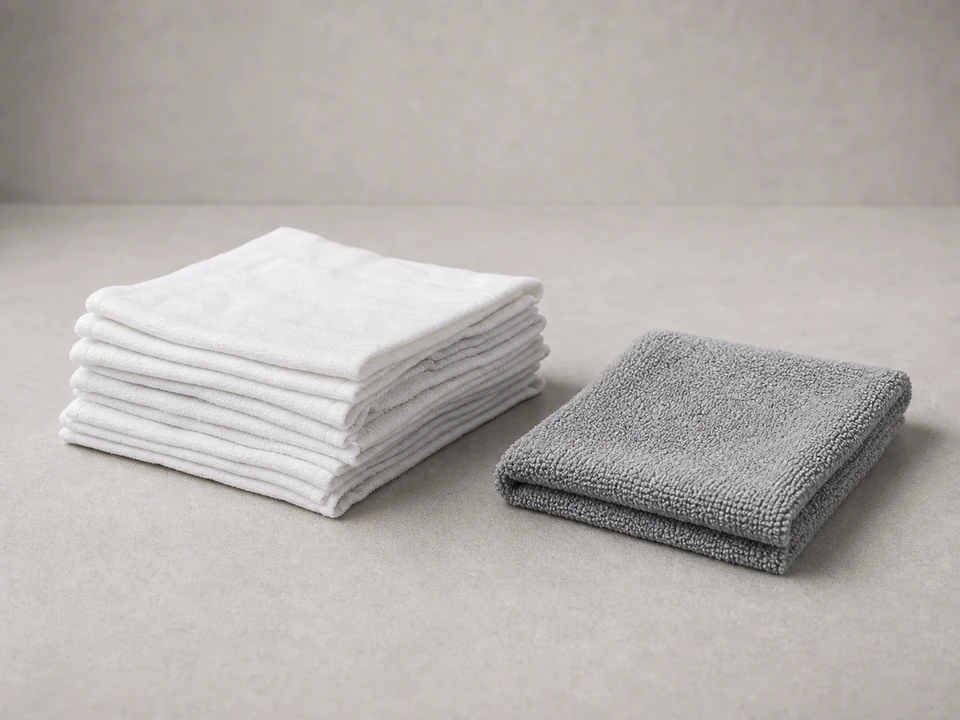
Place a bucket and towels under the bypass area.
If it works: Water flow to the softener is off and line pressure is relieved at the open faucet.
If it doesn’t: If water keeps running strongly after shutoff, close the main house valve and confirm the faucet pressure drops before continuing.
Stop if:
You cannot fully shut off water to the softener area.
The bypass valve is under pressure and spraying or leaking heavily when touched.
Step 3: Remove the old bypass valve
Take a photo of the valve, handle position, flow arrows, clips, collars, and pipe layout before anything moves.
Hold the new valve next to the old one and compare overall length, center-to-center port spacing, clip grooves, thread or collar style, and O-ring locations.
Label the inlet and outlet sides with tape if the layout is easy to mix up.
Loosen the bypass connections carefully. Depending on the setup, pull retaining clips straight out, back off threaded collars by hand first, or separate union-style fittings evenly.
Support the nearby plumbing while you disconnect the valve. The pipe should stay still while only the collar, clip, or valve moves.
Pull the old bypass valve straight out and catch the water left in the valve body and ports.
Look for O-rings, sleeves, screens, or plastic adapters that stayed in the ports or stuck to the old valve, then wipe the sealing surfaces clean.
If it works: The old bypass valve is out and the connection points are clean and ready for the new part.
If it doesn’t: If the valve will not come free, recheck for hidden clips, locked collars, or an adapter sleeve before you pry against the control head.
Stop if:
A pipe, fitting, or the softener connection starts twisting, cracking, or separating.
The sealing surfaces are damaged, gouged, or broken where the new valve needs to seat.
A retaining clip is rusted in place or breaks while you remove it.
The old valve only comes out if you bend hard pipe or pull the softener out of alignment.
Step 4: Install the new bypass valve
Dry-fit the new valve with no pressure on the system, and compare the handle direction and any flow arrows to the photo you took before removal.
Lightly coat new O-rings with silicone plumber's grease if the replacement uses O-rings. Keep grease off tapered pipe threads.
Slide or seat the new bypass valve straight into the ports. A seated valve should close the gap evenly and expose the clip grooves or collar threads.
Reinstall clips, collars, or threaded connections evenly. Start threaded parts by hand so cross-threading shows up before tools are involved. Use thread tape only on tapered pipe threads that used tape before.
Tug gently on clip-style connections and check that each clip is fully through its groove.
Move the handle before turning water back on. It should move through its normal range without grinding, binding, or lifting the valve out of the ports.
Leave the valve in the safest starting position for repressurizing, usually bypass first if your setup allows it.
If it works: The new bypass valve is installed squarely and all connections are secure.
If it doesn’t: If the valve does not seat fully or the clips will not align, pull it back out. Recheck the fit, O-ring placement, and orientation before pressure comes back on.
Stop if:
The replacement valve does not match the connection points, port spacing, or retaining hardware.
You have to force the valve into place to make it fit.
An O-ring pinches, rolls out of its groove, or tears during installation.
Step 5: Turn the water back on slowly and check for leaks
Close the faucet you opened for pressure relief.
Crack the water supply open slowly, about a quarter turn at first, so the valve and plumbing fill without a hard pressure surge.
Watch the bypass valve closely as pressure returns.
Wipe every connection dry, then touch a dry paper towel under the body, handle stem, O-ring ports, and fittings to find small drips.
If your setup uses bypass and service positions, move the valve from bypass to service slowly and watch again for leaks.
If it works: The system repressurizes without dripping, spraying, or shifting out of place.
If it doesn’t: If you see a small drip, shut the water back off, relieve pressure, and reseat the connection or O-ring before testing again.
Stop if:
A connection sprays water or leaks heavily under pressure.
The valve body cracks, shifts, or will not hold pressure in either position.
Step 6: Confirm normal flow in real use
Run cold water at a nearby sink or tub for several minutes and check that flow is steady, not pulsing or dropping off.
If your setup uses both bypass and service positions, operate the valve through each position and compare flow again.
Check the softener area one more time with a flashlight after the system has been under pressure for a few minutes.
Come back later the same day and look for slow drips or dampness under the valve.
If it works: Water flow is normal, the valve works smoothly, and the repair is holding dry under real use.
If it doesn’t: If flow is still poor or the leak returns, the problem may also involve the softener control head, a clogged line, or another plumbing restriction nearby.
Stop if:
Water pressure remains abnormally low even with the new valve installed and no visible leaks.
You find hidden leaking behind the unit or damage to surrounding plumbing.
Match the softener model if available, pipe size, port spacing, connection style, and O-ring or clip layout before ordering. Skip universal listings unless the maker names your valve style.
As an Amazon Associate I earn from qualifying purchases. Repair Riot may earn a commission at no extra cost to you.
Verify the repair
No water is dripping from the bypass valve body or its connection points.
The valve moves between positions normally without sticking, binding, or lifting out of the ports.
Cold water flow is steady in bypass and in service mode if your setup has both positions.
A dry paper towel stays dry around the handle stem, port seals, clips, collars, and nearby fittings.
The area under and behind the valve stays dry after several hours of normal use.
FAQ
Can I replace a water softener bypass valve myself?
Usually yes, if you can shut off the water, relieve pressure, and the replacement matches your connection style. Stop and bring in a plumber if the valve is hard-piped without service unions or the nearby plumbing moves when you loosen the valve.
How do I know the bypass valve is bad?
Wipe the area dry first. Water at the valve body, handle stem, or port seals points to the bypass valve. Visible cracks, a stuck handle, or flow that changes between bypass and service point the same way. If those signs are absent, check nearby unions and flex connectors first.
Do I need seal tape on the new bypass valve?
Not always. Check how the old connection sealed. If O-rings or flat gaskets did the sealing, keep thread tape off those surfaces; tape belongs only on tapered pipe threads that used it before.
Why is my water pressure still low after replacing the bypass valve?
The restriction may be elsewhere, such as the softener control head, a clogged prefilter, a partially closed shutoff valve, or another plumbing issue near the unit.
Can I leave the softener in bypass until I get the new part?
Yes, if bypass stops the leak and house water flows normally. Leave the softener bypassed until the new valve arrives, but expect hard water at the taps until the repair is finished.
Sources and reference notes
Repair Riot uses related field pages and source references to keep the fit, safety, and stop-condition guidance grounded in real repair situations.