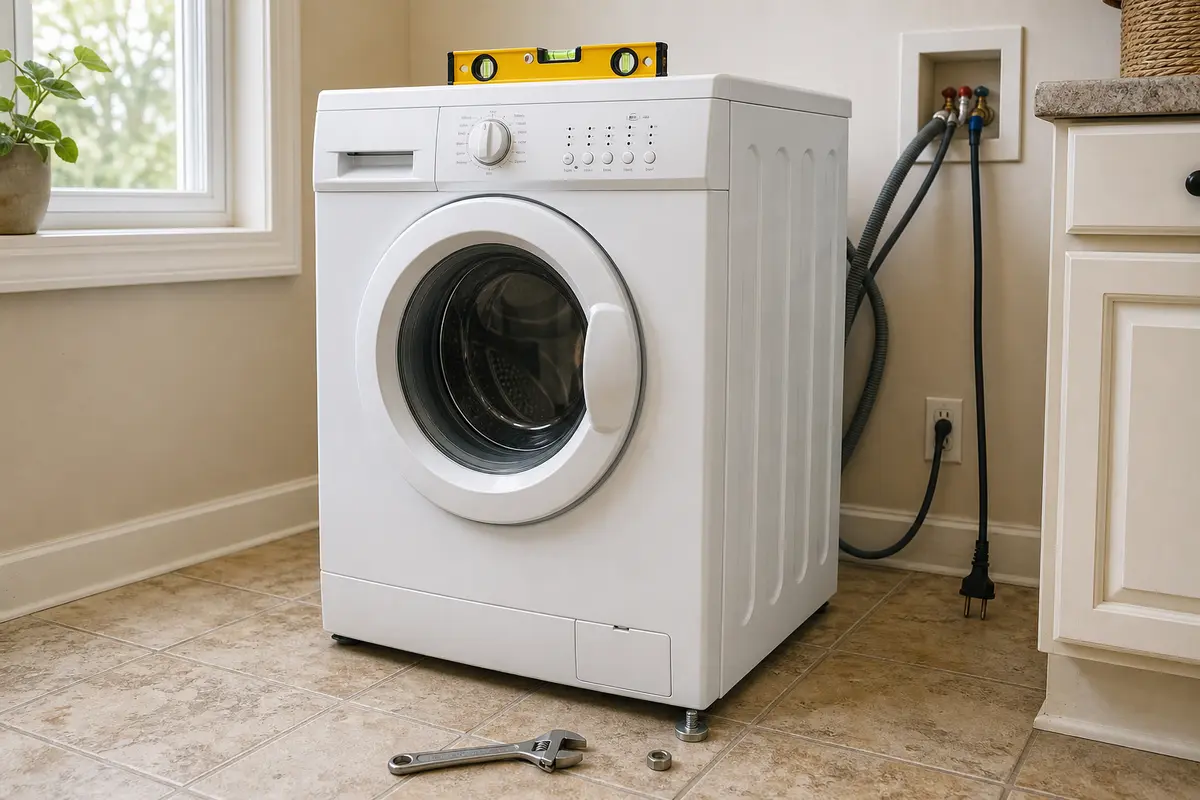
Does the empty washer rock when you press opposite top corners?
Set the leveling feet until all four make firm floor contact, then tighten the locknuts. Do this before judging the suspension.
Start with the load and the floor, not a parts order. A washer that moves only with bedding usually has a balance problem. One that rocks when empty needs its feet set. If both checks pass, identify the model-specific suspension before going further.
Most of the time, one foot is light on the floor or a heavy wet item has pulled the basket off-center.
Watch the first hard spin. When the movement starts—and whether the cabinet rocks while empty—usually tells you which check comes next.
Don’t start with: Do not buy rods, shocks, or rubber pads from the symptom alone. First prove the cabinet is planted and the problem happens with a small mixed load.
Set the leveling feet until all four make firm floor contact, then tighten the locknuts. Do this before judging the suspension.
Treat the load as the clue. Redistribute it or test with a small mixed load of similar-weight items before buying anything.
Recheck setup. On a front-loader, confirm the shipping bolts and spacers were removed. On any washer, check feet, locknuts, hoses, and final position.
Use the full model number to confirm a suspension-rod design. Then inspect the rods, cups, and mounts before comparing a matched kit.
Stop repeated spin tests. Confirm the model's shock design, but arrange service if there is major play, scraping, leakage, or a damaged mount.
After the load and leveling checks pass, use the model number and washer design to choose the right inspection path.
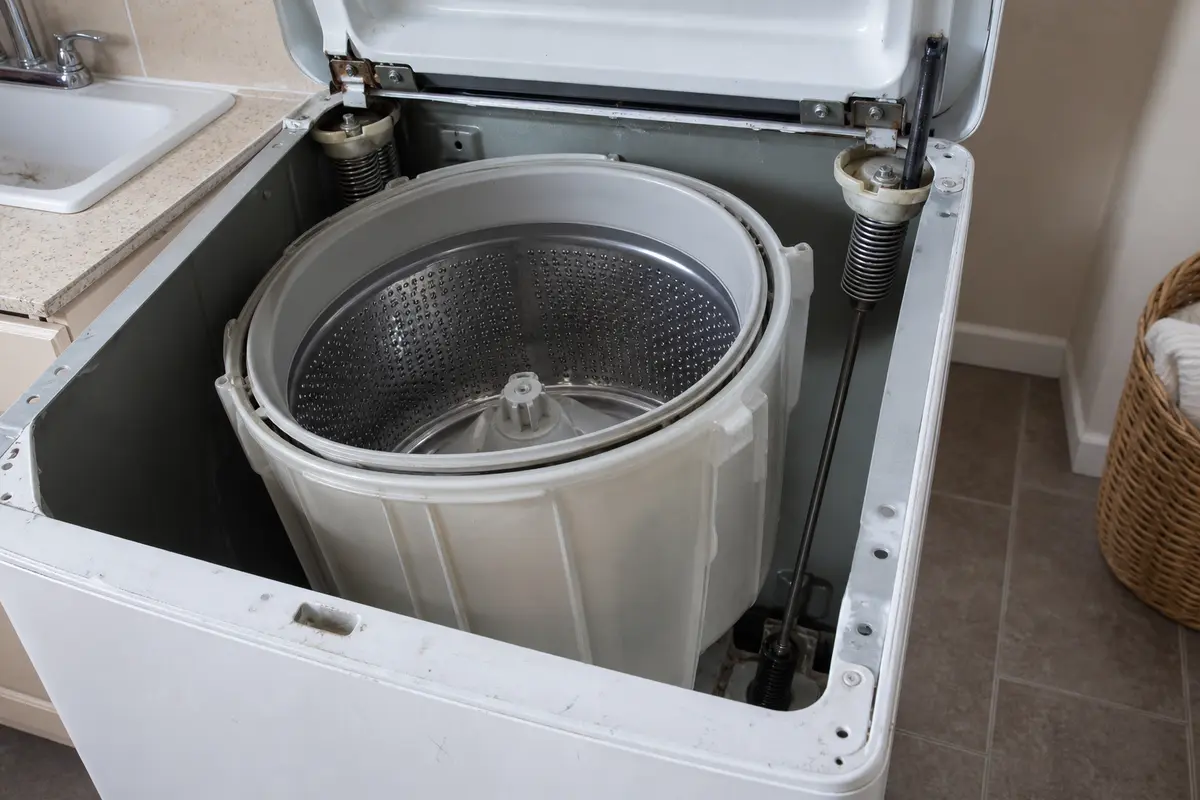
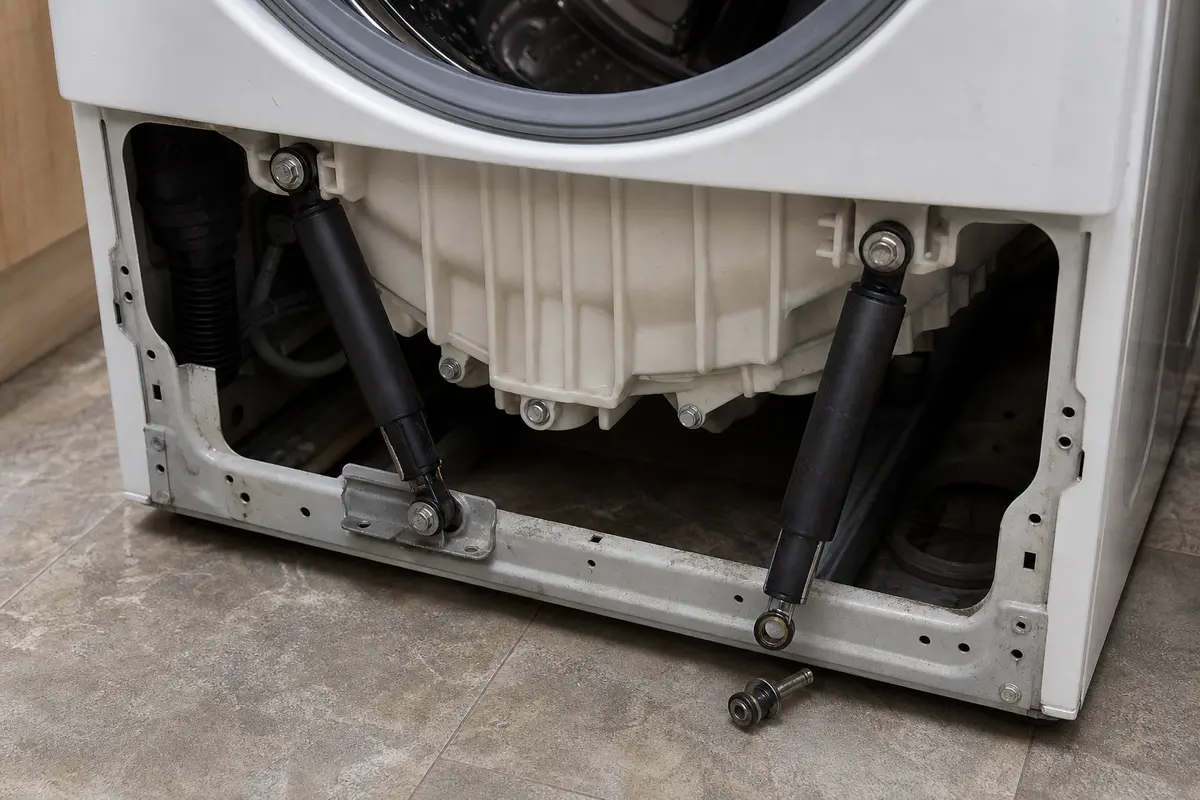
Photograph the full model number. Then match the support design, mounting ends, length, count, and kit contents. A top-load rod kit and a front-load shock set solve different problems and are not interchangeable.
The timing matters more than the drama. A machine that walks only with one soaked comforter needs a different next step from one that shifts with a small everyday load.
Work outside-in. Each check should either solve the movement or earn the right to inspect the next layer.
Use the repeatable result, not one loud spin. This table keeps a setup problem from turning into an unnecessary parts order.
| What you see | What it usually means | Next move |
|---|---|---|
| The empty cabinet rocks corner to corner | One or more feet are not carrying the washer firmly | Level the cabinet, plant all four feet, and tighten the locknuts |
| Only one bulky or absorbent item makes it move | The load is pulling the basket off-center | Redistribute it or wash it with suitable similar-weight items per the manual |
| A newly installed front-loader is extremely rigid and violent | Shipping bolts or spacers may still restrain the tub | Stop and follow the model's installation instructions before another cycle |
| A top-load basket leans or bounces several times | A rod, spring, cup, or mount may not be controlling one corner | Confirm the rod-style design and compare the model-matched set |
| A front-load drum swings hard after setup checks pass | A shock or its mount may be weak, broken, detached, or leaking | Confirm the shock-style design and inspect accessible mounts with power off |
| The basket scrapes, has major side play, leaks, or grinds | The fault may involve bearings, tub support, or structural damage | Stop repeated testing and arrange model-specific service |
A walking washer tempts people into quick fixes. The wrong shortcut can hide the clue, damage the floor, or let the cabinet pull on a water hose.
These are for safe setup and visual checks. None of them justify live electrical testing or reaching into a moving machine.
Paid links. As an Amazon Associate I earn from qualifying purchases. Repair Riot may earn a commission at no extra cost to you.
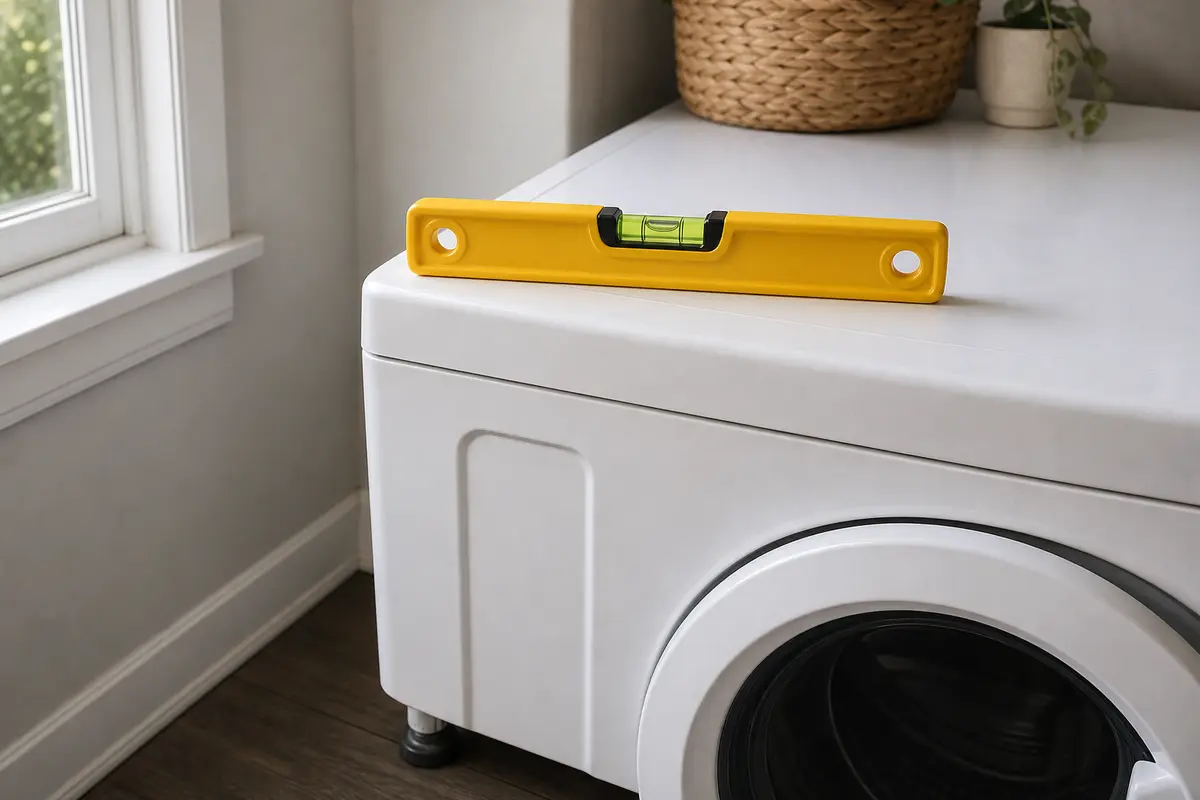
Helps when: You need to check the washer side to side and front to back without a long level overhanging a tight laundry alcove.
Skip it when: The cabinet is already level but still rocks; find the foot that is light on the floor instead of chasing the bubble alone.
Compare torpedo levels on Amazon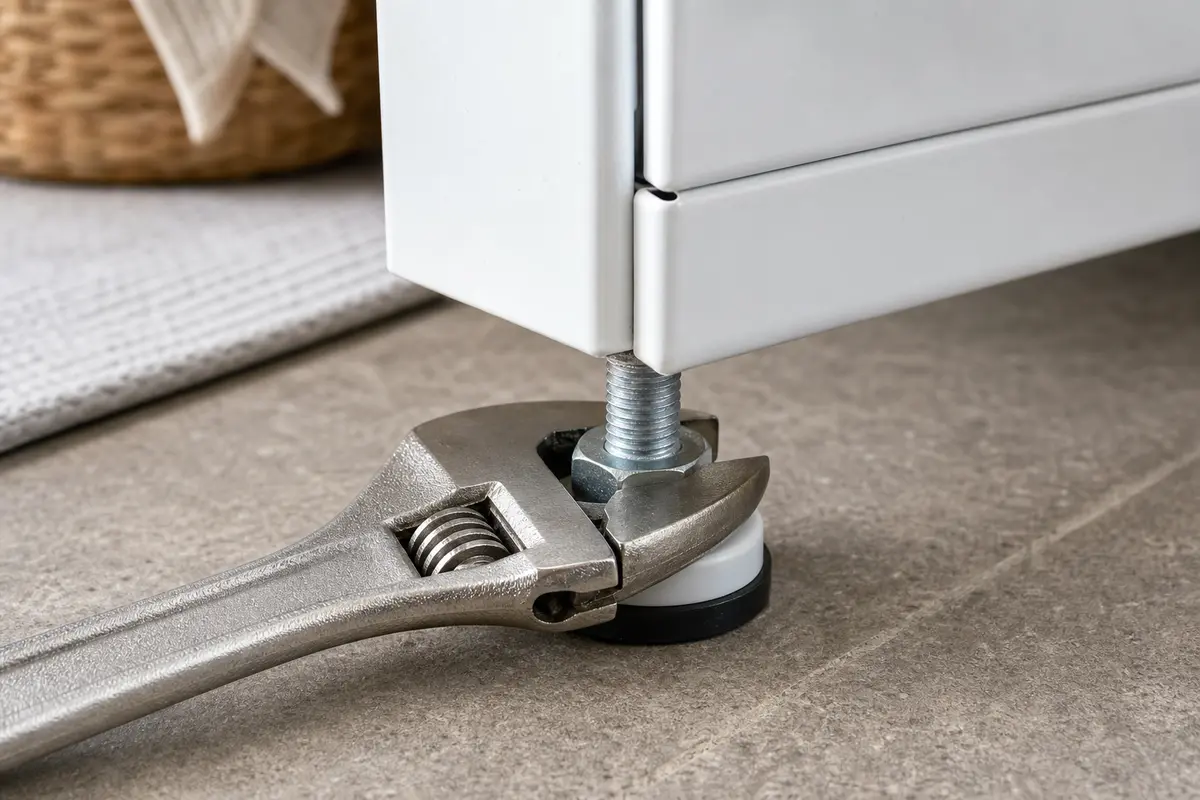
Helps when: The leveling feet or their locknuts need adjustment and the model instructions do not specify a dedicated wrench size.
Skip it when: The foot is seized, bent, or stripping, or moving the machine would strain a hose. Correct that problem first.
Compare adjustable wrenches on Amazon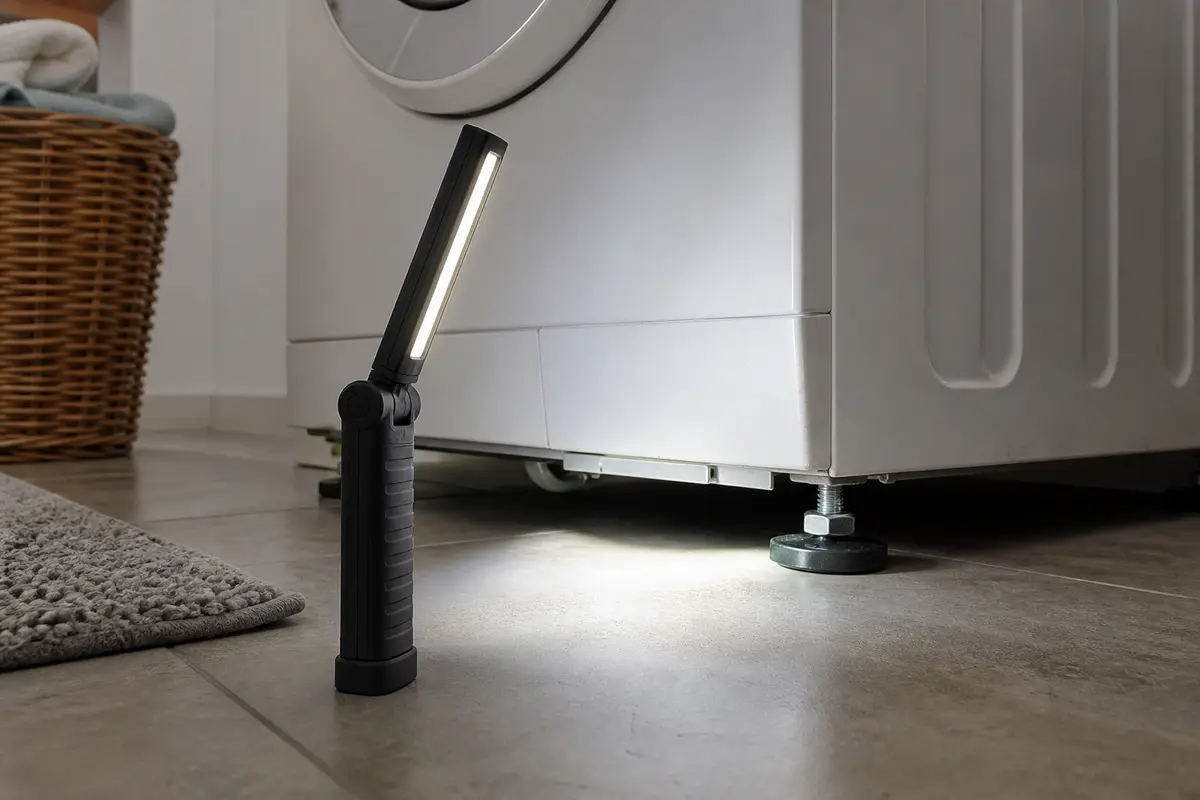
Helps when: You need a hands-free view of the model label, rear shipping hardware, feet, or an accessible support mount after power is off.
Skip it when: The inspection would require reaching near live wiring or running the washer with a panel removed.
Compare inspection lights on AmazonBuy only after the test points to a specific failure and the full model number confirms fit. The symptom alone is not a fit check.
Paid links. As an Amazon Associate I earn from qualifying purchases. Repair Riot may earn a commission at no extra cost to you.
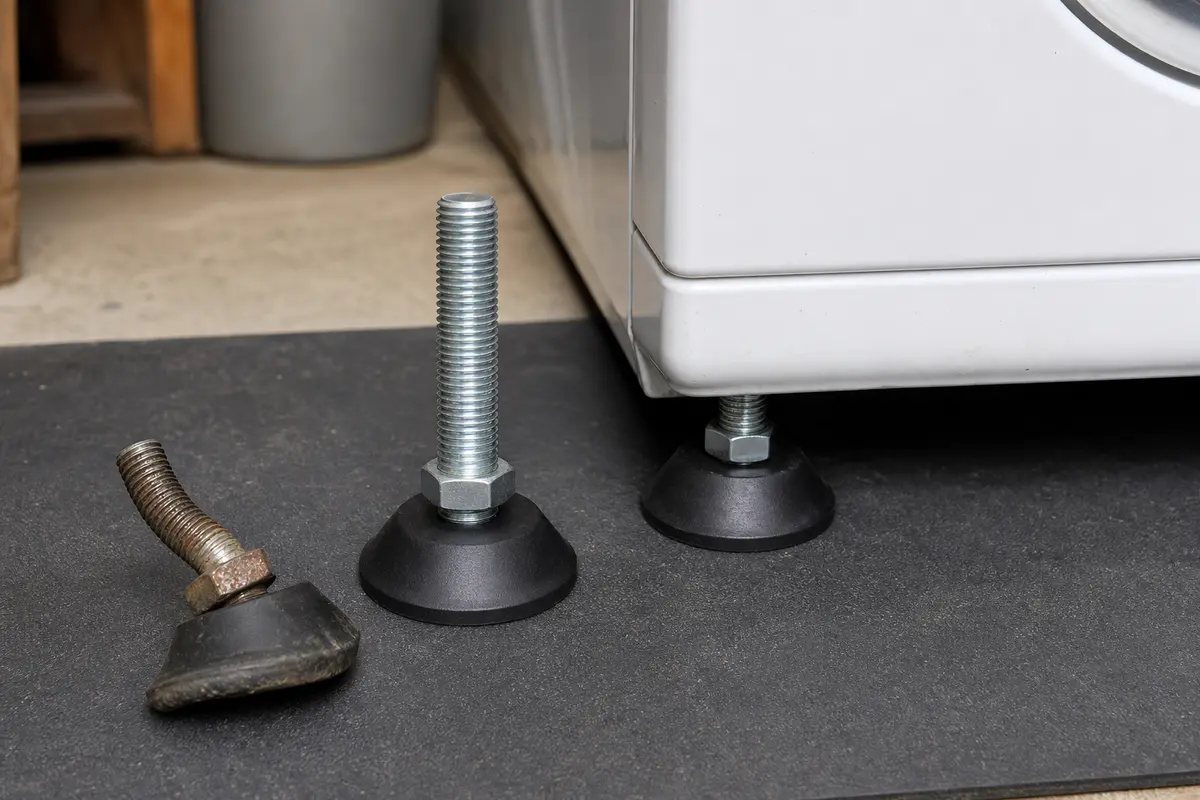
Helps when: One foot is bent, stripped, missing its pad, or will not hold adjustment after the threads and locknut are checked.
Skip it when: All four feet adjust, lock, and carry the cabinet firmly. A new foot will not repair internal suspension.
Compare washer leveling feet on Amazon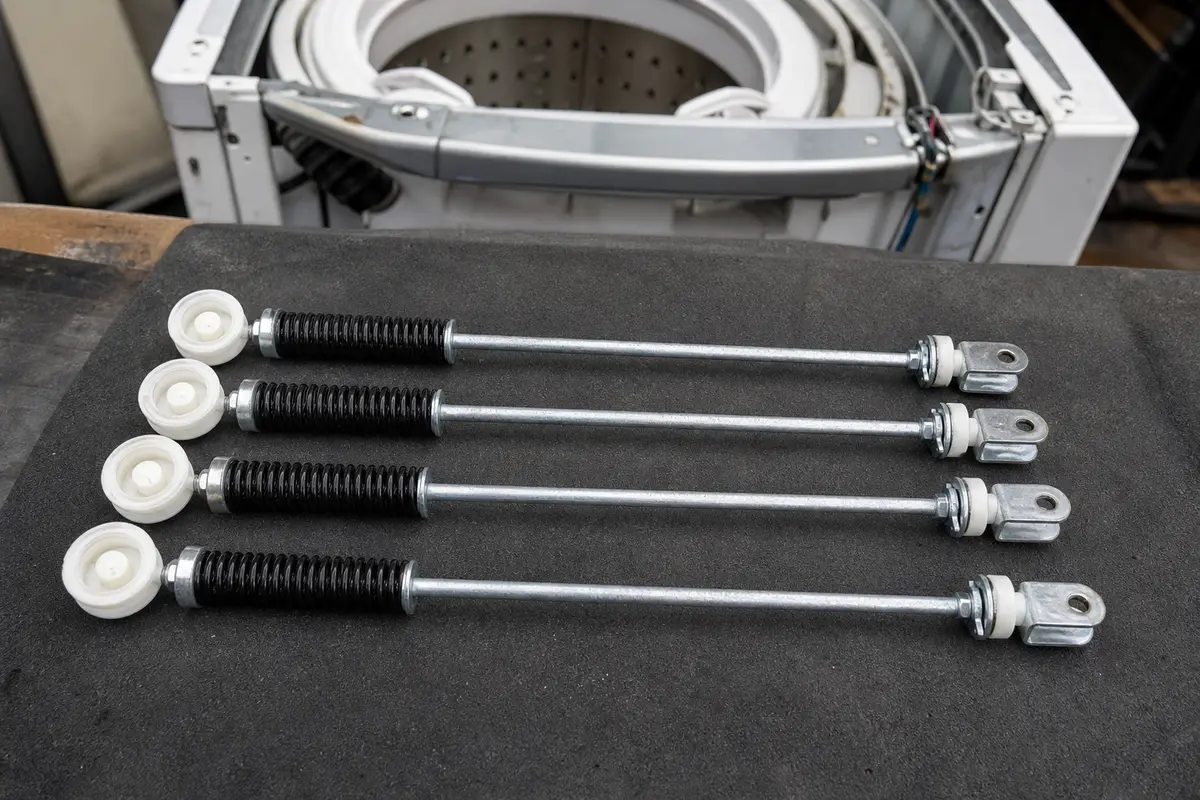
Helps when: A confirmed rod-style top-loader is planted solid, yet the basket leans, rebounds repeatedly, or has a weak or broken corner support.
Skip it when: The model uses a different support design, or the washer only moves with an unbalanced load. Verify rod length, ends, count, and kit contents.
Compare suspension rod kits on Amazon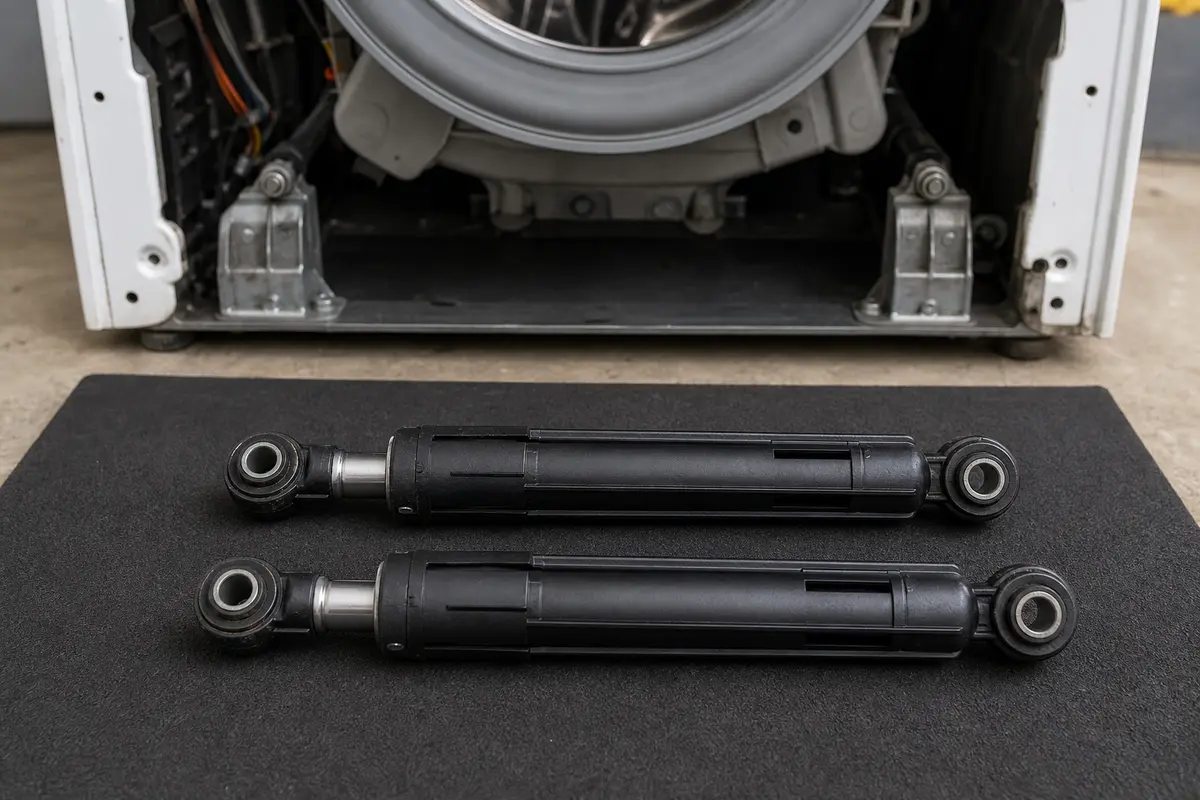
Helps when: A confirmed shock-style front-loader still slams after setup checks and a shock is leaking, detached, broken, or noticeably weaker than its mate.
Skip it when: The drum has major bearing play, scrapes, or the model uses different mounts. Verify shock length, ends, count, and set contents.
Compare washer shock sets on AmazonLeveling and load corrections are good homeowner work. Deep tub movement, structural damage, and live electrical diagnosis are different jobs.
Spin is when the basket reaches the highest speed, so any bad load balance, loose footing, or weak suspension shows up there first. If it only happens with towels or bedding, start with load balance and leveling before assuming a part failed.
Yes. If one corner is light or rocking, the cabinet can start hopping a little on each spin pulse and slowly travel across the floor. A washer does not need to be wildly crooked to do this.
Do not use random shims, cardboard, or scraps under one corner. Set the washer leveling feet correctly first and lock the jam nuts. Support pads can help with floor grip in some rooms, but they do not fix a bad suspension or a rocking cabinet.
A worn suspension usually shows up as a tub that leans, rebounds too much when pressed down, or bangs the cabinet even with a normal balanced load. If you find a broken rod, leaking shock, or detached mount, that is a strong confirmation.
Often, but not always. Many top-load washers use suspension rods and many front-load washers use shock absorbers, but designs vary. Use the full model number and a model-specific parts diagram to confirm the support system before ordering anything.
Not for long. A walking washer can damage hoses, flooring, nearby appliances, and its own tub support parts. If leveling and load fixes do not solve it quickly, stop using it until the cause is repaired.
Yes. If the floor is soft, springy, uneven, or damaged, even a good washer can shake more than it should. You can still level the washer, but a weak floor needs attention or the problem may keep coming back.
Stop and check the installation instructions before another cycle. Front-load shipping bolts or spacers may still be installed, or a foot may not be planted after the washer was positioned. Do not remove random rear-panel fasteners; identify the shipping hardware for the exact model.
Often they are sold and specified as matched kits or sets because the supports share the load. Follow the model-specific parts diagram and service instructions. If the manufacturer supplies a set, avoid mixing one new support with several worn ones.
Repair Riot starts with checks a homeowner can observe safely, then moves toward model-specific parts only when the result supports that choice. The diagnostic order follows manufacturer guidance: load balance and four-foot floor contact first, front-load shipping bolts after installation or moving, and service when setup checks do not explain violent movement.