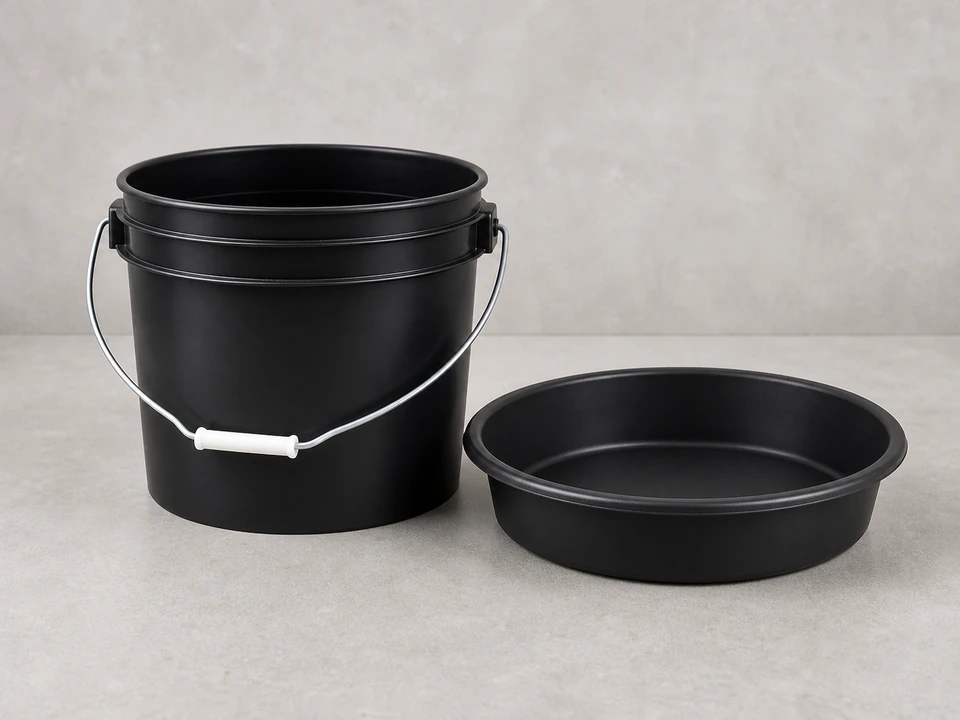
Bucket or deep pan
Use it for: Catches the dirty water and debris that will spill when the trap comes apart.
Shop buckets for drain workTo clear a sink P-trap, place a bucket under the trap, loosen the slip nuts, remove the curved section, clean out the blockage, reinstall the trap, and run water to confirm the drain flows normally.
A sink P-trap is the curved section of drain pipe under the sink. It often catches hair, grease, soap sludge, and small debris before the clog moves deeper into the drain. This is a manageable homeowner job if the fittings are accessible and the pipes are in decent shape.
Before you start: Match the pipe diameter, inlet and outlet layout, and trap style before ordering. Stop if the repair becomes unsafe or unclear.
Use it for: Catches the dirty water and debris that will spill when the trap comes apart.
Shop buckets for drain work
Use it for: Helps loosen stubborn slip nuts if they are too tight to turn by hand.
Shop tongue-and-groove pliers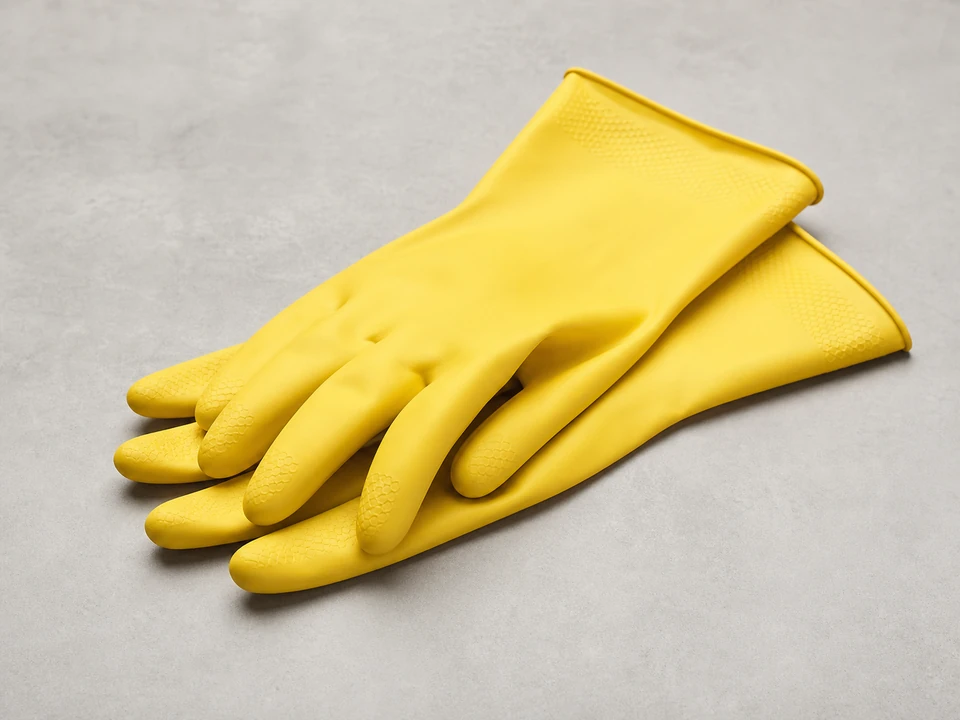
Use it for: Keeps your hands cleaner while handling sludge and standing water from the trap.
Shop rubber cleaning gloves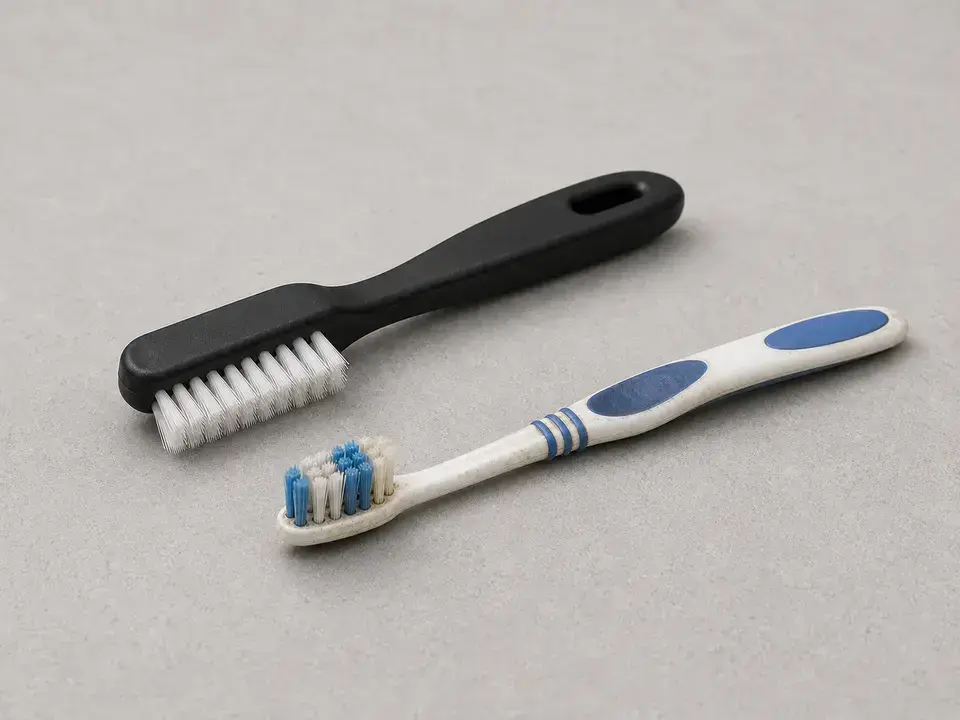
Use it for: Scrubs buildup from inside the trap and the short pipe sections.
Shop small cleaning brushes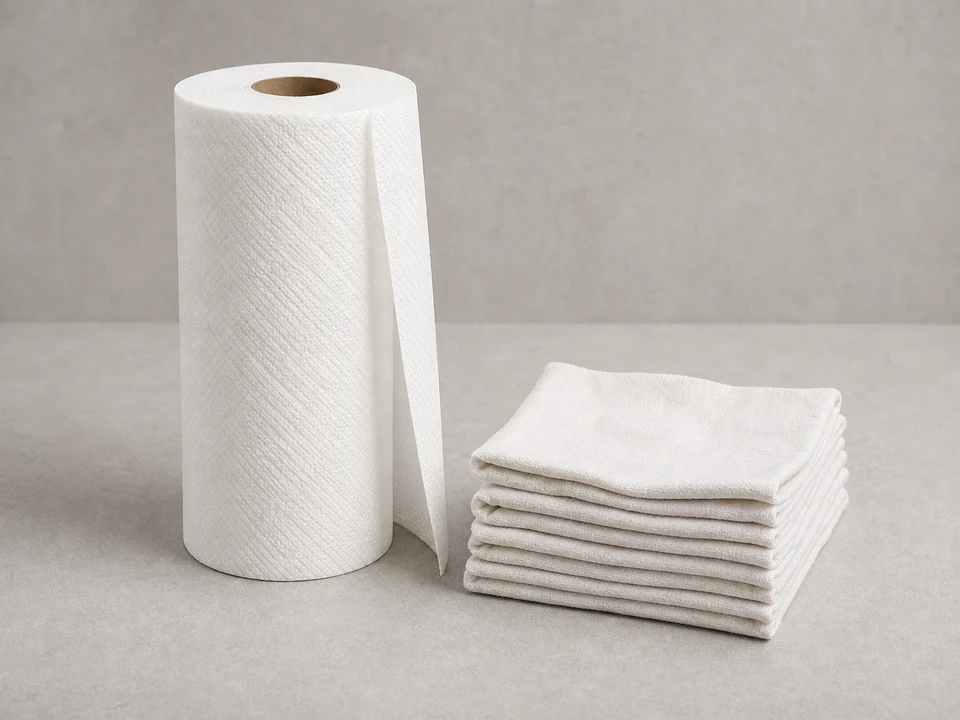
Use it for: Wipes fittings dry so you can check for leaks after reassembly.
Shop shop towels
Use it for: Useful if an old washer is cracked, flattened, or starts leaking after you put the trap back together.
Shop slip-joint washersAs an Amazon Associate I earn from qualifying purchases. Repair Riot may earn a commission at no extra cost to you.
If it works: You have a clear work area and a good reason to inspect the P-trap first.
If it doesn’t: If the sink drains normally after clearing the stopper area, you may not need to open the trap.
If it works: The area is protected and ready for the trap to come apart without making a mess.
If it doesn’t: If you cannot fit a bucket under the trap, use a shallow pan and keep extra rags ready.
If it works: The trap is off and you can see whether debris inside it is causing the blockage.
If it doesn’t: If the nuts will not loosen, apply steady pressure with pliers instead of jerking them. If needed, wipe the nuts dry for a better grip and try again.
If it works: The trap and nearby openings are clean, and the sealing parts are ready to go back together.
If it doesn’t: If the trap is clean but the wall-side pipe still seems blocked, the clog may be farther down the drain and may need a different clearing method.
If it works: The trap is reassembled, aligned, and dry on the outside for leak checking.
If it doesn’t: If the nuts do not thread smoothly by hand, back them off and realign the trap before tightening again.
If it works: The sink drains normally and the trap stays dry during real use.
If it doesn’t: If the sink still drains slowly but the trap is clear, the clog is likely farther down the branch drain. If a joint drips, tighten slightly or reseat the washer and test again.
If the sink backs up quickly and the trap has not been cleaned in a long time, the trap is a common first place to check. If the trap is clear and the sink still drains slowly, the blockage is likely farther down the drain line.
Often no. Many slip nuts loosen by hand. Pliers help when the nuts are stuck, but use light pressure, especially on plastic fittings.
Clean it first if the trap is intact. Replace it if it is cracked, badly corroded, warped, or will not seal after reassembly with good washers.
Bathroom sinks often collect hair, soap residue, and toothpaste sludge. Kitchen sinks often collect grease, food particles, and soap buildup.
It is better not to. Chemical cleaner can sit in the trap and splash out when you open it. Mechanical cleaning is safer for this job.