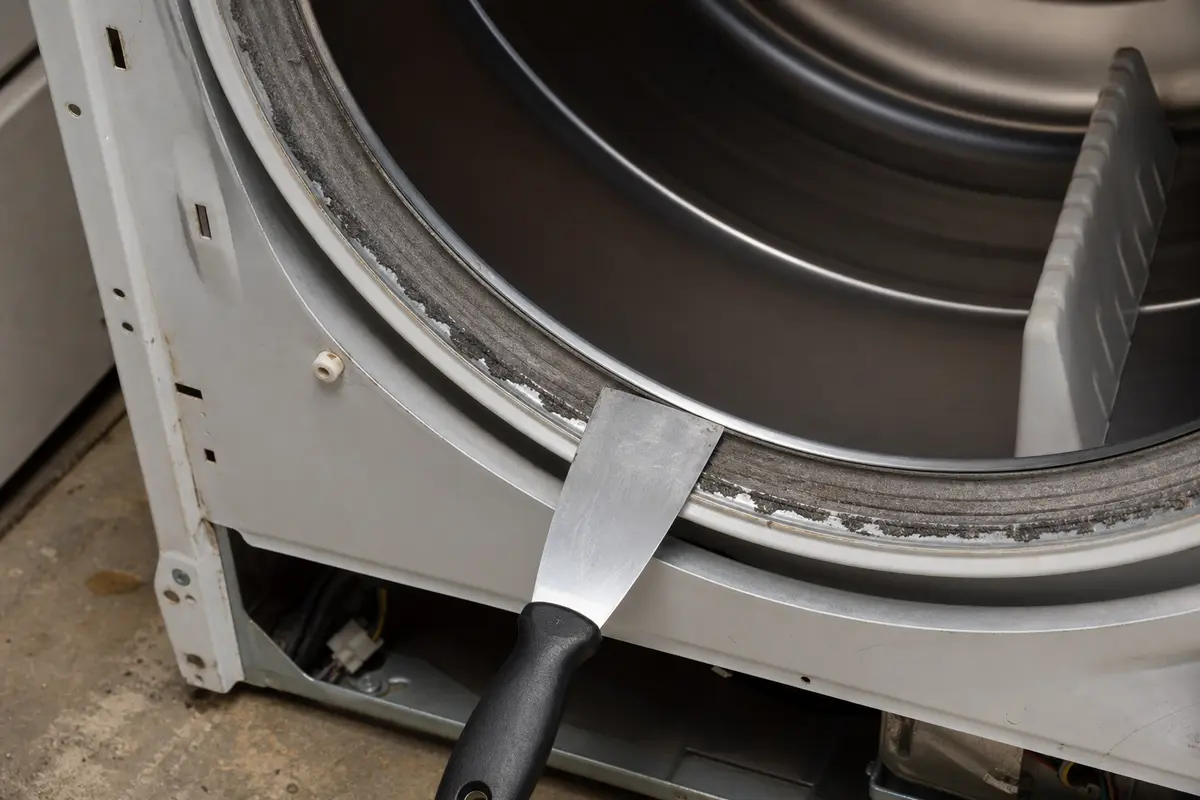
Putty knife
Use it for: To press patch material into the damaged spot and smooth it flush with the surrounding floor.
Shop putty knivesTo patch small floor damage, first make sure the damage is shallow and localized, then clean out loose material, fill the area with the right floor patch material, smooth it flush, let it cure fully, and test the spot under normal foot traffic.
This repair works best for small chips, gouges, shallow holes, and worn spots that are not moving underfoot. If the floor feels soft, bouncy, or loose, the real problem may be below the surface and a simple patch may not last.
Before you start: Choose a patch material made for your floor surface and the size of the damaged spot. Check whether it is meant for wood, laminate, vinyl, tile, or subfloor repairs before you buy. Stop if the repair becomes unsafe or unclear.
Use it for: To press patch material into the damaged spot and smooth it flush with the surrounding floor.
Shop putty knives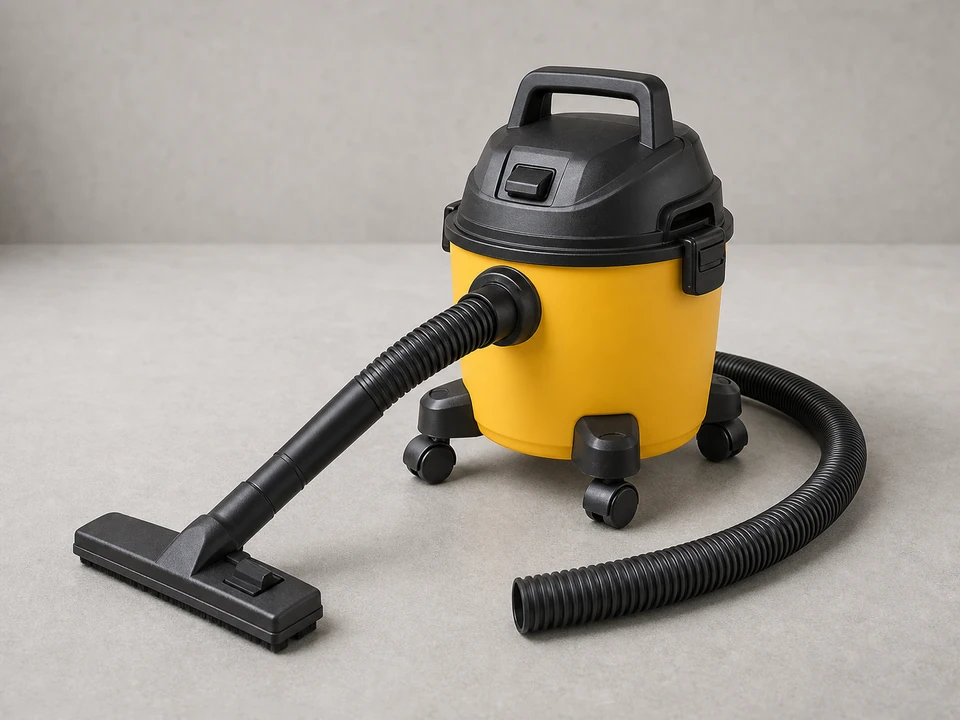
Use it for: To remove dust and loose debris so the patch can bond properly.
Shop shop vacs
Use it for: To trim loose edges and clean up frayed or lifted material around the damage.
Shop utility knives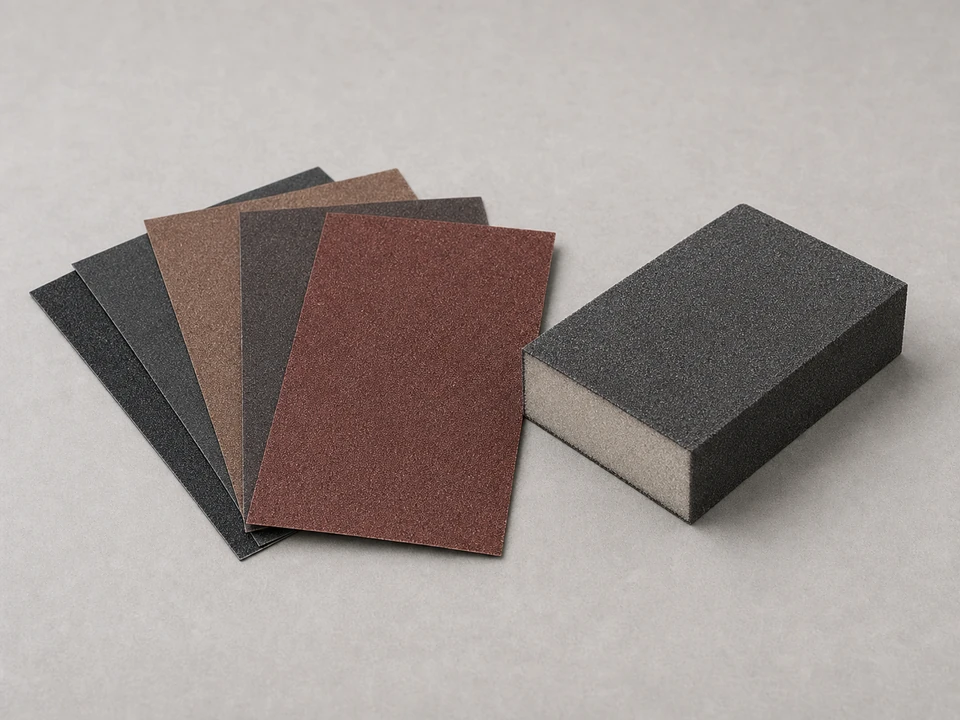
Use it for: To level the cured patch and feather the edges if the repair sits slightly proud.
Shop sanding sponges
Use it for: To wipe away dust and keep the repair area clean before and after patching.
Shop cleaning ragsAs an Amazon Associate I earn from qualifying purchases. Repair Riot may earn a commission at no extra cost to you.
If it works: The damage appears small, stable, and limited to the surface or top layer.
If it doesn’t: If the area feels loose or the damage extends beyond a small spot, shift from patching to finding the cause before you repair the surface.
If it works: The damaged area is clean, dry, and free of loose material.
If it doesn’t: If debris keeps breaking loose, remove all weak material until you reach a firm edge the patch can bond to.
If it works: The damaged spot is fully filled and the patch is smooth, supported, and close to level with the surrounding floor.
If it doesn’t: If the patch sinks into the damage, add a little more while it is still workable or plan for a thin second coat after the first one sets.
If it works: The patch is hard, smooth, and level enough that it does not catch your hand or create a trip point.
If it doesn’t: If the patch ends up low, apply a thin second layer, let it cure, and recheck the surface.
If it works: The repaired area looks reasonably blended and the surface is ready for normal use.
If it doesn’t: If the color match is off but the patch is solid, the repair can still be serviceable even if it remains visible.
If it works: The patch stays firm, level, and intact during normal use.
If it doesn’t: If the repair loosens, cracks, or sinks again, the floor likely has a deeper support or moisture problem that needs a different repair approach.
Yes, if the damage is small and the surrounding floor is solid. Patching works best for shallow, localized damage. It is not a good long-term fix for loose, soft, or water-damaged flooring.
Use a patch material made for your floor type and the kind of damage you have. A product meant for wood may not work well on vinyl, tile, or subfloor repairs, so check the label before you start.
The usual causes are loose material left in the repair, dust in the damaged spot, movement in the floor, moisture, or using the wrong patch material. A patch needs a clean, stable surface to hold.
Often, yes. Light sanding helps remove a slight high spot and feather the repair into the surrounding floor. Sand only after the patch has fully cured.
Stop if the floor feels soft, bouncy, or loose, if the damage keeps spreading as you clean it, or if you see signs of moisture, rot, swelling, or hidden subfloor damage. In those cases, the surface damage is usually not the root cause.