
Utility knife
Use it for: Cuts paint or caulk so the trim can separate cleanly from the baseboard.
Find a utility knifeTo remove quarter-round without damaging the floor, cut the paint or caulk line first, protect the wall and floor with a putty knife or shim, then pry the trim away a little at a time near each nail instead of forcing one end loose.
Quarter-round is usually nailed to the baseboard, not the floor. The cleanest removal comes from breaking the finish line, easing the trim out in small moves, and supporting the pry point so the floor edge does not get chipped or dented.
Before you start: Choose thin pry tools and wood shims so you can protect the baseboard and floor while you work the trim loose. Stop if the repair becomes unsafe or unclear.
Use it for: Cuts paint or caulk so the trim can separate cleanly from the baseboard.
Find a utility knife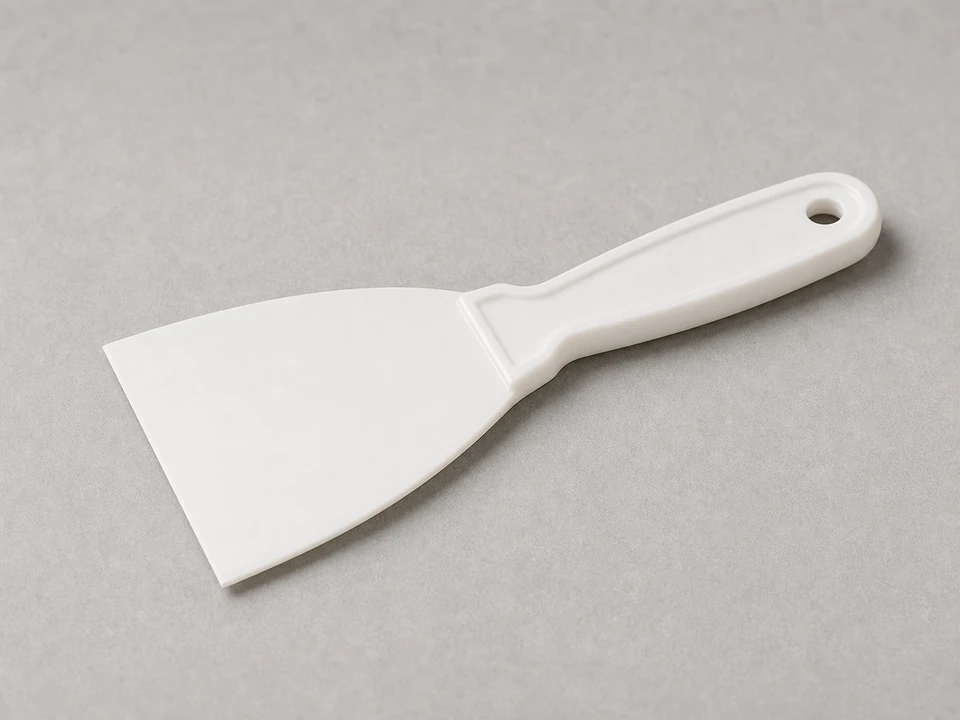
Use it for: Slides behind the trim to protect finished surfaces and start a gap.
Find a stiff putty knife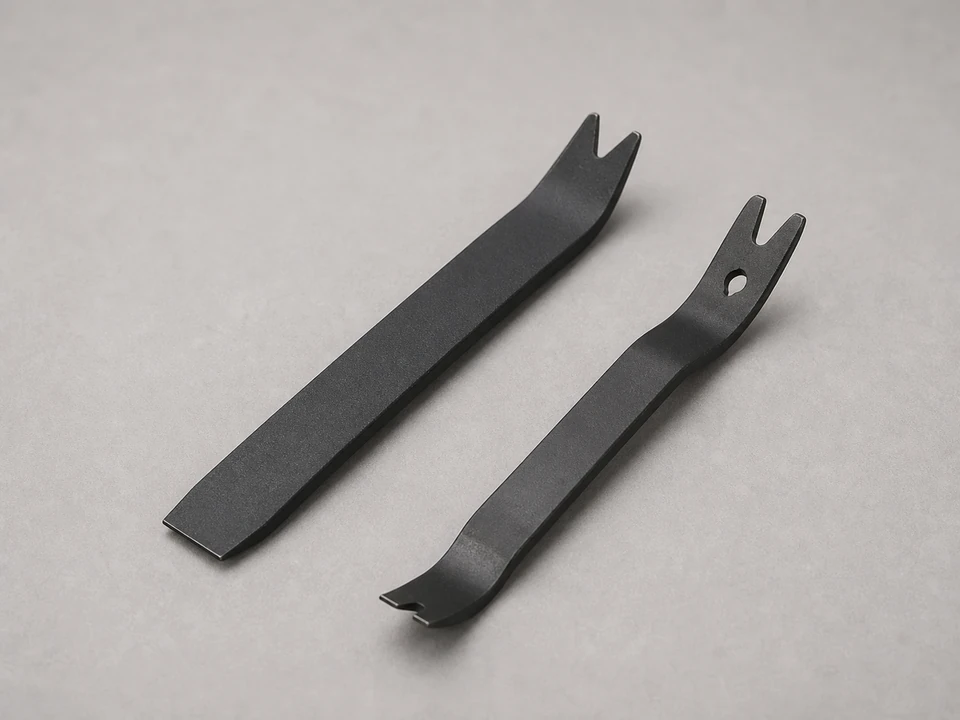
Use it for: Lets you lift the quarter-round gradually without snapping it or crushing the wall edge.
Find a trim puller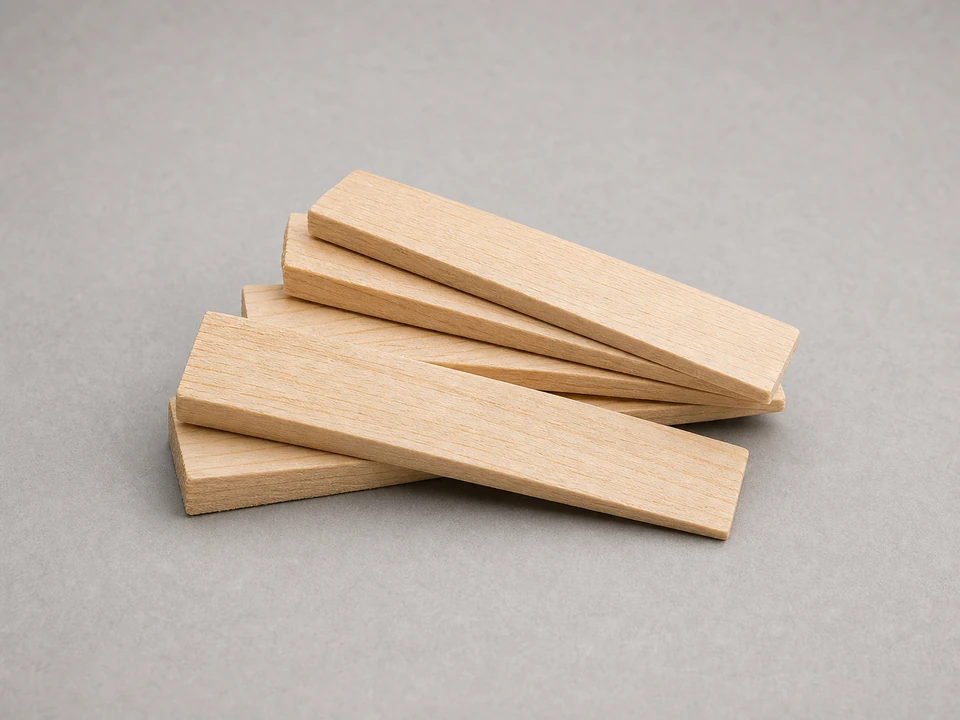
Use it for: Spreads pressure under the pry bar so you do not dent the floor or baseboard.
Find wood shims
Use it for: Pulls finish nails through the back side of the trim after removal.
Find needle-nose pliers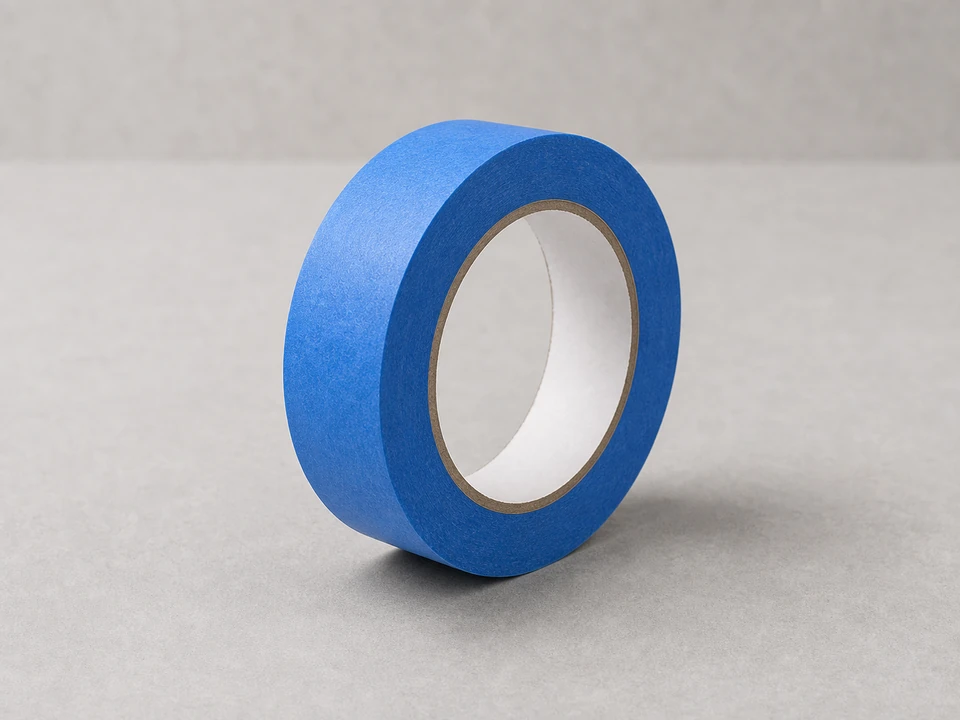
Use it for: Adds a little extra protection on delicate floor finishes or freshly painted baseboards.
Find painter's tapeAs an Amazon Associate I earn from qualifying purchases. Repair Riot may earn a commission at no extra cost to you.
If it works: You have identified the correct trim piece and know whether you are trying to save it for reuse or just protect the floor during removal.
If it doesn’t: If the trim appears to be one piece with the baseboard, treat this as baseboard removal instead of quarter-round removal.
If it works: The finish line is cut and the area is clean enough to pry without dragging debris across the floor.
If it doesn’t: If the knife keeps snagging, make another light pass instead of trying to cut deep in one stroke.
If it works: A small section of quarter-round has separated from the baseboard without chipping the floor or crushing the trim face.
If it doesn’t: If the trim will not budge, rescore the seam and move closer to a nail rather than prying harder in the same spot.
If it works: The full piece comes free in controlled steps instead of breaking loose suddenly.
If it doesn’t: If one section is stuck, skip past it, loosen the next nail location, then come back. A partly loosened piece usually releases more easily.
If it works: The trim is off, the nails are removed cleanly, and reusable pieces are ready for storage or reinstallation.
If it doesn’t: If a piece splits during nail removal, save it as a pattern for cutting a replacement.
If it works: The quarter-round is removed and the floor edge and baseboard are still in good shape for the next step of your project.
If it doesn’t: If you find minor scuffs or paint tears, touch them up before reinstalling trim. If the floor edge loosened, repair that issue before putting trim back.
It is usually nailed to the baseboard, not the floor. That is why you want to pry it away from the baseboard carefully instead of levering against the flooring.
Often yes, if you cut the paint line first and pry near each nail instead of forcing one end loose. Older or brittle trim is more likely to split.
A stiff putty knife plus a small pry bar or trim puller works well. The putty knife protects the surface, and the pry bar gives you controlled lifting force.
Clean the area first, score the seams, and always place a putty knife or wood shim between the pry tool and the finished surface. Do not drag the loose trim across the floor edge.
Score the seam with a utility knife before prying. If needed, make a few light passes until the finish line breaks cleanly. Trying to pry through uncut caulk usually tears paint and can crack the trim.