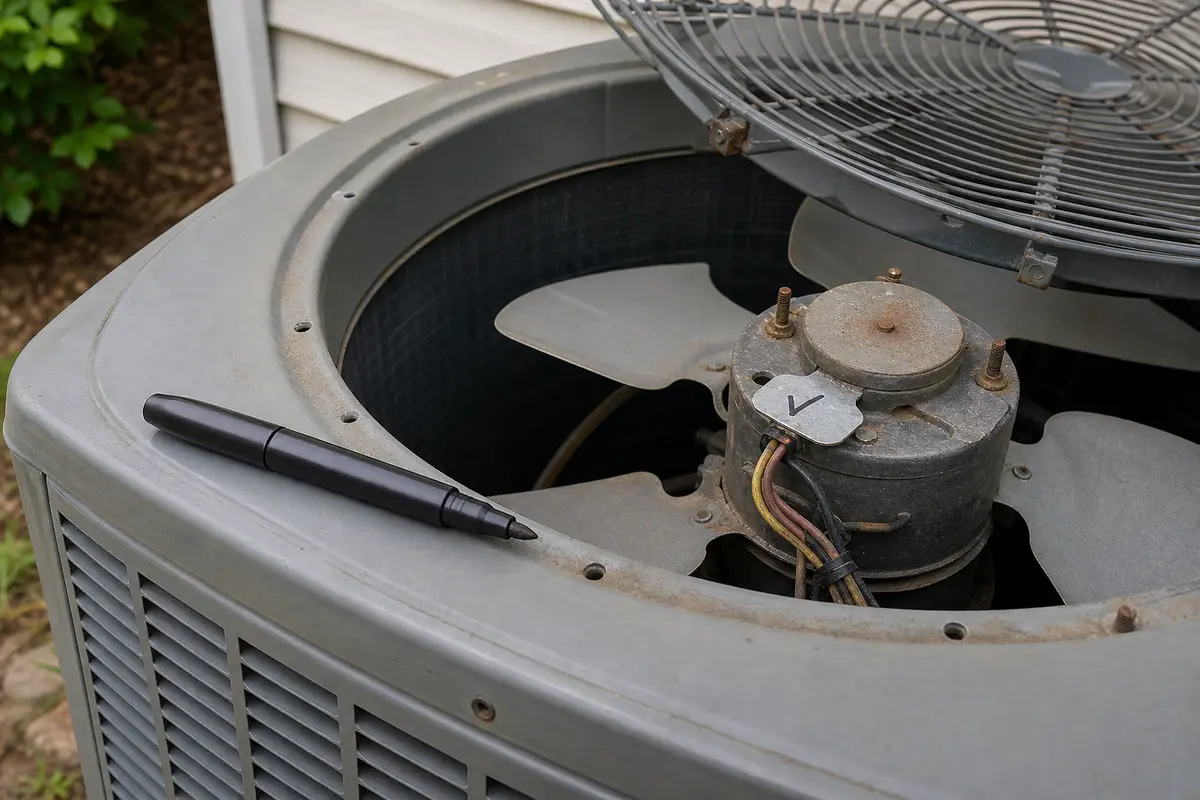
To replace an attic fan blade, shut off power, confirm the blade is bent, cracked, or loose, remove the old blade from the motor shaft, install a matching replacement, and test the fan for smooth, quiet operation.
The physical swap is usually short. The important work happens before it: prove the blade is damaged, preserve its orientation and shaft depth, and reject a replacement that differs in hub, pitch, rotation, or clearance.
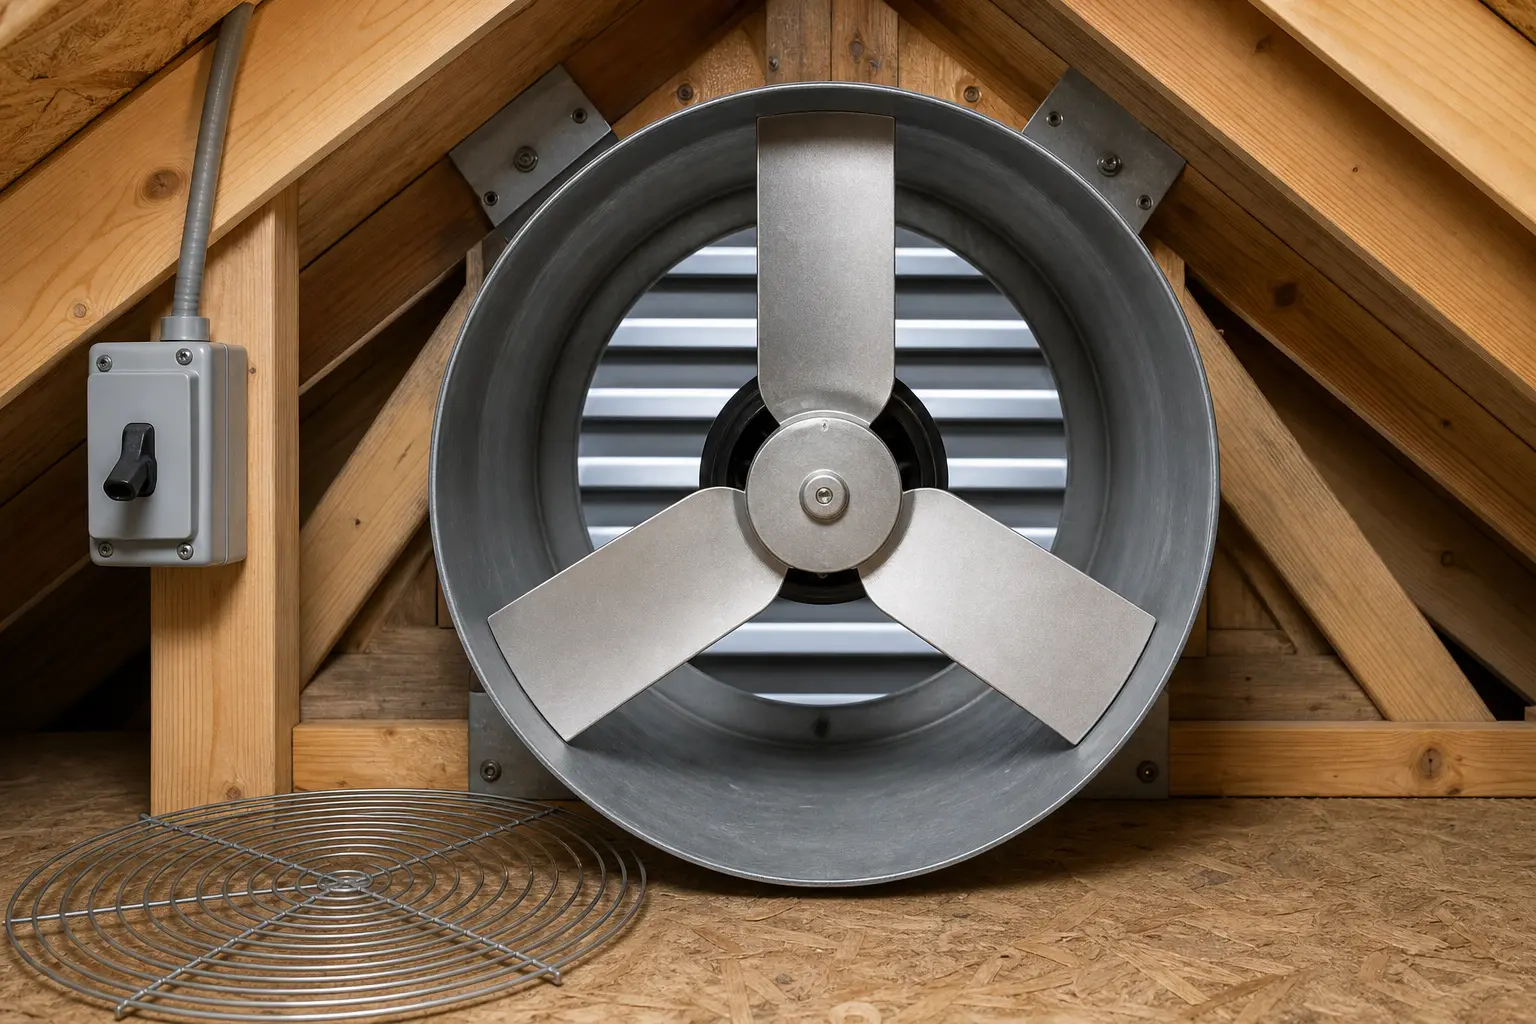
Before you start: Turn the attic fan breaker off, lock or tag the disconnect so it cannot be restored accidentally, and verify the fan cannot start. Work from a stable platform that spans framing—not ceiling drywall. Photograph the blade, hub, retaining hardware, rotation, and model label before removing anything. Stop if the fan shares space with combustion equipment and its required interlock or wiring is unclear.
Replace the blade only when the shaft and motor are still sound
A bent blade, a loose housing, a worn motor bearing, and a guard rub can all make similar noise. Use power-off observations to separate them before ordering a part.
Blade damage is visible
Look for: A blade is cracked, permanently bent, loose at its hub, or has uneven housing clearance while the shaft turns true.
Choose another repair if: A model-matched blade is a reasonable repair. Record the diameter, rotation, hub, shaft depth, and retainer first.
The shaft wobbles or feels rough
Look for: The hub moves side to side with the shaft, the shaft has bearing play, or the motor feels rough even after the blade is removed.
Choose another repair if: Do not put a new blade on a bad shaft. Diagnose the motor and mount instead.
The blade is straight but something rubs
Look for: The guard, housing, bracket, or entire fan assembly is loose or out of square.
Choose another repair if: Correct the loose or distorted assembly. A new blade will not repair a moving housing or wrong guard clearance.
Match the blade before it goes back on the shaft
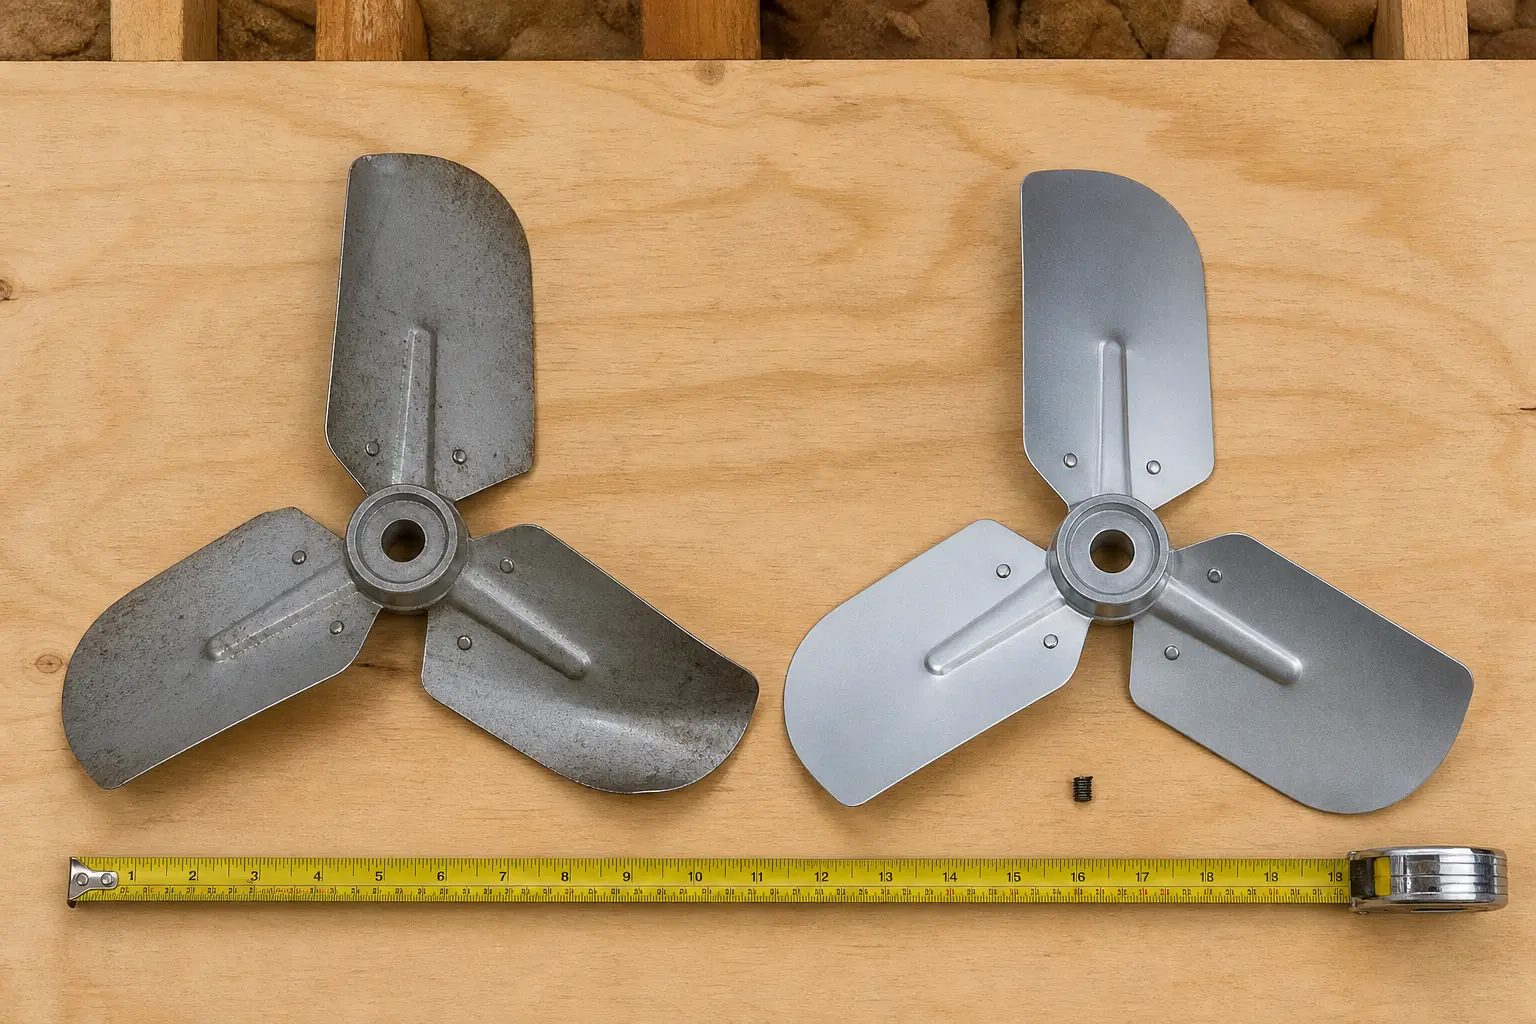
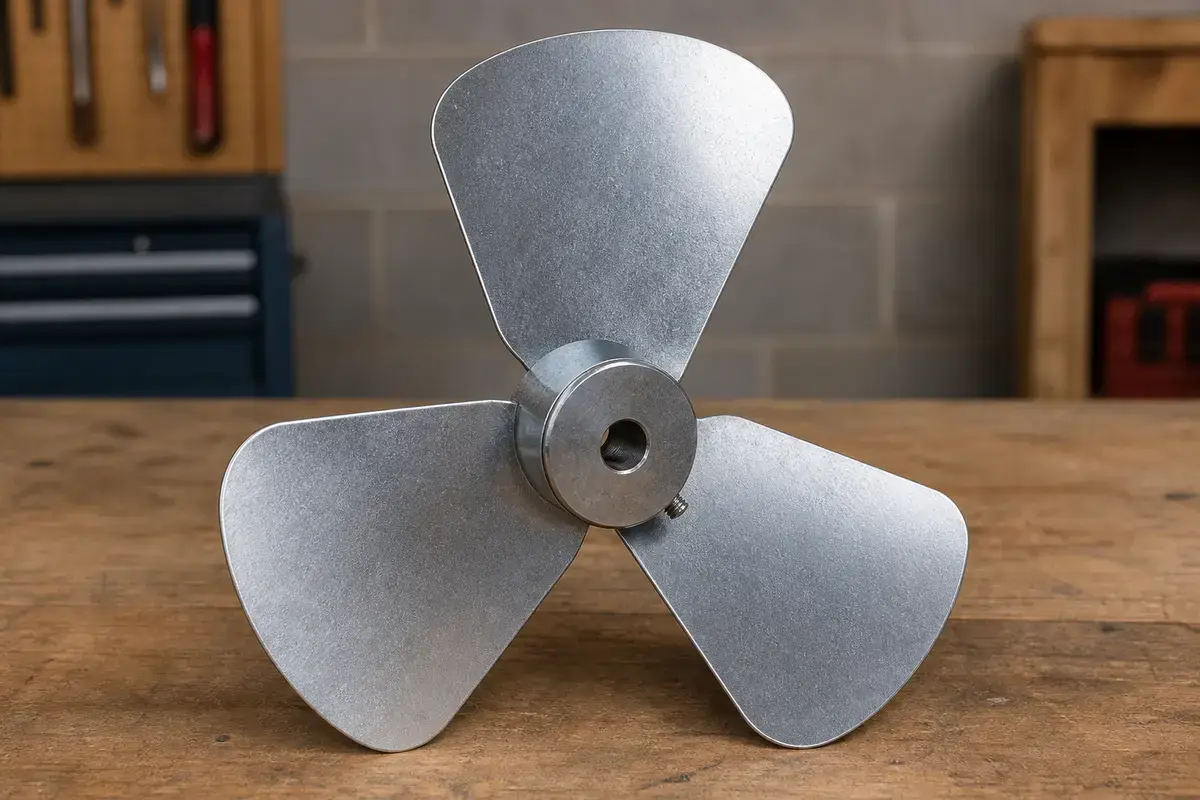
Lay the old and new blades flat and face them the same direction. Compare the complete shape and hub—not just the hole in the center. After installation, turn the blade by hand and confirm that every tip maintains even clearance.
Match diameter, blade count, pitch, rotation, shaft bore, hub depth, and retaining hardware. The replacement on the right is only an example; the fan model controls the correct part.With power locked off, turn the blade slowly through a full revolution. Each tip should clear the housing evenly. Reinstall the guard before restoring power.
Safety first
Switch the breaker off and lock or tag the service disconnect before removing the guard or touching the blade. Verify the fan cannot start.
Wear durable gloves and eye protection because powered-ventilator blades, guards, and housings can have sharp sheet-metal edges.
Work from a stable platform across framing. Never step on ceiling drywall or reach from an unsecured ladder in loose insulation.
Keep the fan de-energized whenever the guard is off. Reinstall the guard before any powered test.
Use only a manufacturer-recommended replacement that matches the fan. Do not install a homemade, modified, or forced-fit blade.
Do not force a seized hub off the shaft if the motor bracket, housing, or shaft begins to bend.
Stop and use a qualified electrician or ventilation technician if wiring, a required combustion-appliance interlock, or the service disconnect must be changed.
Tools you may need
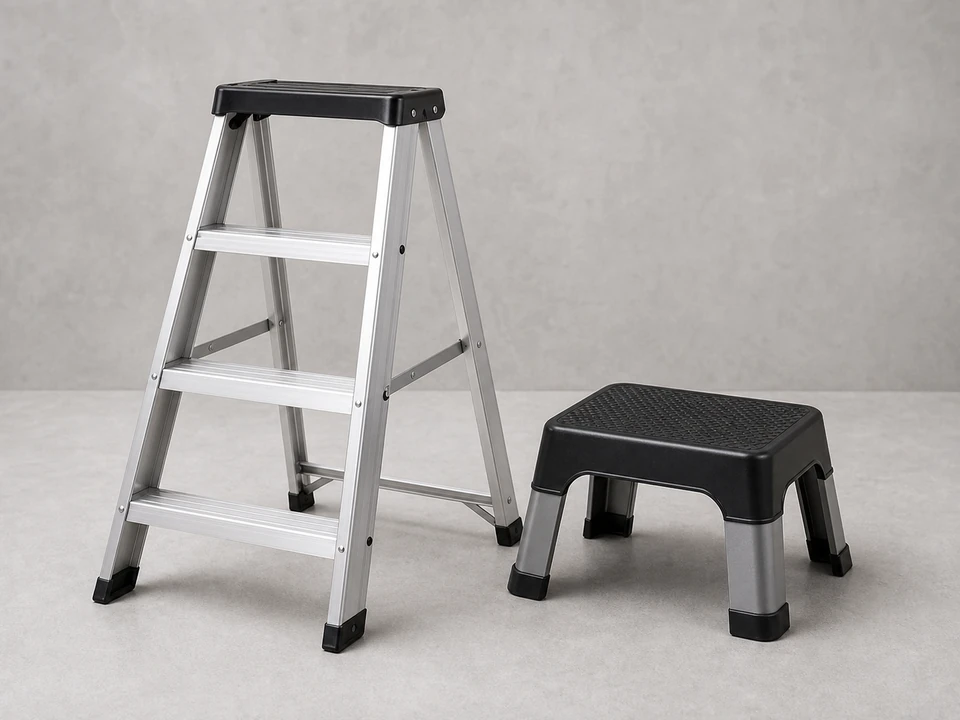
Stepladder
Use it for: To reach the attic access and work safely near the fan.
As an Amazon Associate I earn from qualifying purchases. Repair Riot may earn a commission at no extra cost to you.
Step-by-step fix
Step 1: Confirm the blade is the problem
Observe one normal covered startup from a safe position only if the guard is installed and the fan is not already striking metal.
Switch the fan off at the breaker, lock or tag the disconnect, and wait for every moving part to stop before opening the guard.
With power off, look for a crack, permanent bend, loose hub, witness mark from rubbing, or uneven tip clearance.
At the closest point, measure or closely compare each blade tip's clearance to the housing while turning the blade slowly. A repeatable tight spot on one blade points toward blade damage; the whole hub moving side to side points toward the shaft or bearing.
Turn the blade gently by hand. Watch whether the blade alone is distorted or whether the motor shaft and hub move side to side together.
Check the guard, housing, and motor bracket for looseness. Do not blame the blade for a housing or shaft that is moving.
If it works: You have good reason to believe the attic fan blade is damaged, loose, or out of balance.
If it doesn’t: If the blade looks straight and secure, inspect the motor, mounting hardware, and guard before ordering a replacement blade.
Stop if:
The fan housing is loose from the framing or roof structure.
The motor shaft is badly bent, heavily rusted, or has obvious bearing play.
You cannot safely reach the fan or shut off power to it.
Step 2: Set up the work area and gain access
Confirm the breaker and service disconnect are off, locked or tagged, and identified to anyone else in the home.
Set a stable work platform across framing and bring only the tools you need into the attic. Never stand on ceiling drywall.
Let the motor and blade come to a full stop before reaching near them.
Remove any guard, screen, or cover that blocks access to the blade, keeping track of screws and fasteners.
If it works: The fan blade and motor shaft are exposed and safe to work on.
If it doesn’t: If access is too tight, improve lighting and clear insulation or stored items away from the work area before continuing.
Stop if:
The wiring insulation is damaged or exposed near the fan.
The fan assembly feels unstable or shifts when touched.
Step 3: Remove the old attic fan blade
Take a photo of the blade and hub before removal so you can match the new part orientation.
Mark the blade position on the shaft if it helps you reinstall the new one at the same depth.
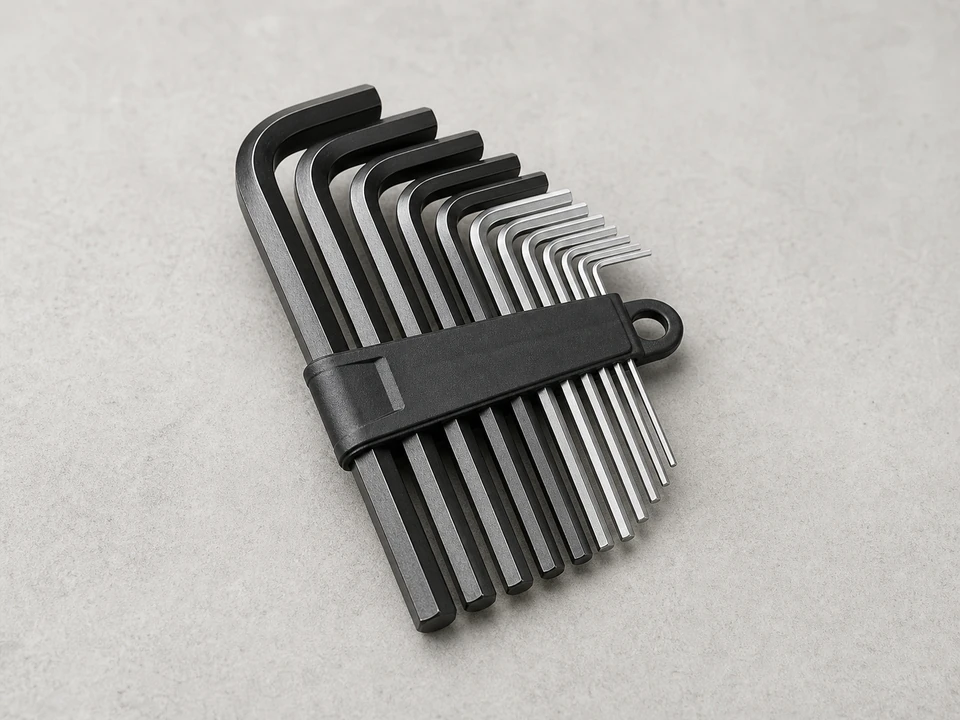
Identify the actual retaining method—such as a set screw, nut, clip, or manufacturer-specific retainer—before loosening it with the correct tool.
Support the blade with one hand and slide it straight off the motor shaft without twisting the shaft hard.
If the blade is stuck, recheck for hidden hardware and use only the removal method allowed for that model. Do not pry against the motor, bracket, or thin housing.
If it works: The old blade is off the shaft and the motor shaft is still straight and undamaged.
If it doesn’t: If the blade will not come off, recheck for a hidden set screw or retaining clip and try again with better access.
Stop if:
The shaft starts bending, the hub cracks apart, or the motor mount begins to move.
The blade is seized by corrosion so badly that removal risks damaging the motor.
Step 4: Match and install the new blade
Compare the old and new blades on a flat surface for outside diameter, blade count, blade pitch, rotation, shaft bore, hub depth, and retaining hardware.
Confirm the replacement is recommended for the fan model. Do not install a homemade, reshaped, or merely close-looking blade.
Clean dirt and rust from the motor shaft so the new blade can slide on smoothly.
Slide the new blade onto the shaft to the same depth as the original, keeping it centered and square.
Use the manufacturer-specified retaining method and tightening guidance. On a common set-screw hub, align the screw with the shaft flat and tighten it securely without stripping it.
Spin the blade by hand to make sure it clears the housing and guard evenly all the way around.
If it works: The new attic fan blade is mounted securely, centered on the shaft, and turns freely by hand.
If it doesn’t: If the new blade does not fit the shaft or sits crooked, stop and verify the replacement before forcing it into place.
Stop if:
The replacement blade does not match the shaft or hub correctly.
The blade contacts the housing even when installed straight, suggesting a bent shaft or misaligned motor.
Step 5: Reassemble the fan and restore power
Reinstall every guard, screen, or cover with its original fasteners, then press lightly around the perimeter to confirm nothing can shift into the blade path.
Turn the blade by hand through one complete revolution after the guard is installed. Stop if clearance changes, the blade touches, or a fastener projects into the swept area.
Count the removed fasteners and tools before closing the attic; none should remain loose inside the fan housing or on the framing.
Move out of the fan plane, restore power at the breaker or service switch, and watch one startup through the installed guard from a safe position. Shut power off immediately for wobble, scraping, delayed acceleration, or a burning smell.
If it works: The fan starts normally and the blade spins without obvious wobble or scraping.
If it doesn’t: If the fan hums, struggles to start, or still shakes, shut it off and recheck blade fit, shaft condition, and guard clearance.
Stop if:
There is immediate heavy vibration, metal-on-metal contact, or a burning smell.
Step 6: Verify the repair holds in real use
Let the fan run for several minutes and listen for rattling, scraping, or repeating thumps.
Check that airflow feels normal and the fan does not shake the housing.
Shut the fan off and back on once more to confirm the blade stays secure through a restart.
After the test, inspect the hub fastener again to make sure nothing loosened during operation.
If it works: The attic fan runs smoothly, moves air normally, and stays quiet and stable through a full test.
If it doesn’t: If noise or wobble returns after a short run, the root problem may be the motor, shaft, mounting, or wrong replacement blade rather than the blade alone.
Stop if:
The blade loosens again, the shaft wobbles, or the housing vibrates enough to damage surrounding materials.
Buy only after matching the fan model, diameter, blade count and pitch, rotation, shaft bore, hub depth, retaining method, and manufacturer approval.
As an Amazon Associate I earn from qualifying purchases. Repair Riot may earn a commission at no extra cost to you.
Verify the repair
The blade spins freely by hand with power off.
The fan starts without scraping or heavy wobble.
Airflow is normal and the housing stays steady while running.
The blade hub remains tight after a short test run.
FAQ
How do I know if the attic fan blade needs replacement instead of the motor?
Replace the blade if it is visibly bent, cracked, loose on the shaft, or out of balance. If the shaft wobbles, the motor hums without starting, or there is bearing noise even with a good blade, the motor may be the real problem.
Can I straighten a bent attic fan blade instead of replacing it?
Do not rely on straightening a damaged powered-ventilator blade. A reshaped blade can remain out of balance or change pitch. Replace it with a manufacturer-recommended, correctly matched part.
Do I need the exact same attic fan blade?
You need a blade that matches the fan's size, hub style, shaft fit, and rotation setup closely enough to run safely and move air properly. A close visual match alone is not enough.
What if the new blade still wobbles after installation?
Check that it is fully seated on the shaft, centered, and tightened correctly. If it still wobbles, the shaft may be bent, the motor bearings may be worn, or the replacement blade may not be the right fit.
Is it safe to run the attic fan with a damaged blade until I get a new one?
It is better not to. A damaged blade can shake the motor, loosen hardware, and cause more damage to the fan assembly.
Sources and reference notes
Powered-attic-ventilator designs vary. The fan model and manufacturer instructions control the blade, retainer, clearances, wiring, and required safety provisions. The guides below document common roof- and gable-mount requirements; they are not permission to substitute parts between models.
Broan Model 345 powered attic ventilator installation and service guide - Official model-specific instructions showing service-panel lockout, set-screw blade removal, careful blade handling, original-position reassembly, and genuine replacement-part guidance; use your own fan's manual for its exact sequence.
Broan-NuTone 356BK official model-parts catalog - Official model-specific catalog demonstrating that the fan blade, set screw, motor, and mounting bracket are distinct matched service parts; part numbers vary by model.
OSHA control of hazardous energy overview - Supports isolating hazardous energy before machinery service and preventing unexpected startup; homeowner work must also follow the fan manual and local electrical rules.
Attic fan not working - Use the diagnostic page first when the blade has not been separated from a power, control, motor, guard, or mounting problem.