First confirm the blade turns freely and the motor is actually receiving a run command. Then shut off power, remove the old motor, install the exact compatible replacement, reconnect the wiring, and watch a normal on-off cycle.
The mechanical swap is only half the job. The new motor must put the blade in the same plane, turn in the intended direction, mount without strain, and agree with the fan's listed electrical design. If any of those checks are uncertain, replace the complete listed assembly or use a qualified technician.
Before you start: Turn the fan breaker off, lock or tag the service disconnect, and verify the wiring compartment is de energized before removing a connector. Work from a platform across framing, photograph the model label, bracket, blade depth, grounding, and every connection, and keep the guard installed until power is isolated. Do not perform live voltage diagnosis unless you are qualified and equipped for it.
Prove the motor is bad before disturbing the wiring
A control that never calls, a seized blade, a loose mount, and a failed motor can all leave the fan stopped. Keep diagnosis closed-cover and power-off wherever possible.
Blade or housing is mechanically blocked
Look for: With power locked off, the blade scrapes, the hub is seized, the shaft is bent, or the housing and guard are distorted.
Choose another repair if: Correct the blade, guard, housing, or complete fan assembly. A motor alone may not repair the interference.
Control or circuit is not proven
Look for: The fan is silent and there is no safe evidence that the thermostat, humidistat, switch, disconnect, interlock, and circuit are calling correctly.
Choose another repair if: Have the control and circuit diagnosed before buying a motor. Do not open energized wiring to guess.
Motor symptoms remain after basic checks
Look for: The blade and housing move freely, but the motor hums, stalls, runs slowly, overheats, or has clear bearing play after the control path is properly verified.
Choose another repair if: A manufacturer-listed, model-matched motor may be appropriate if the housing and bracket are still sound.
Document the old motor, then compare every fit point
Photograph the wiring, grounding, bracket, blade depth, and model label before disassembly. Keep house conductors individually capped while the motor is out. The replacement must reproduce the original shaft position and listed electrical design without improvised adapters.
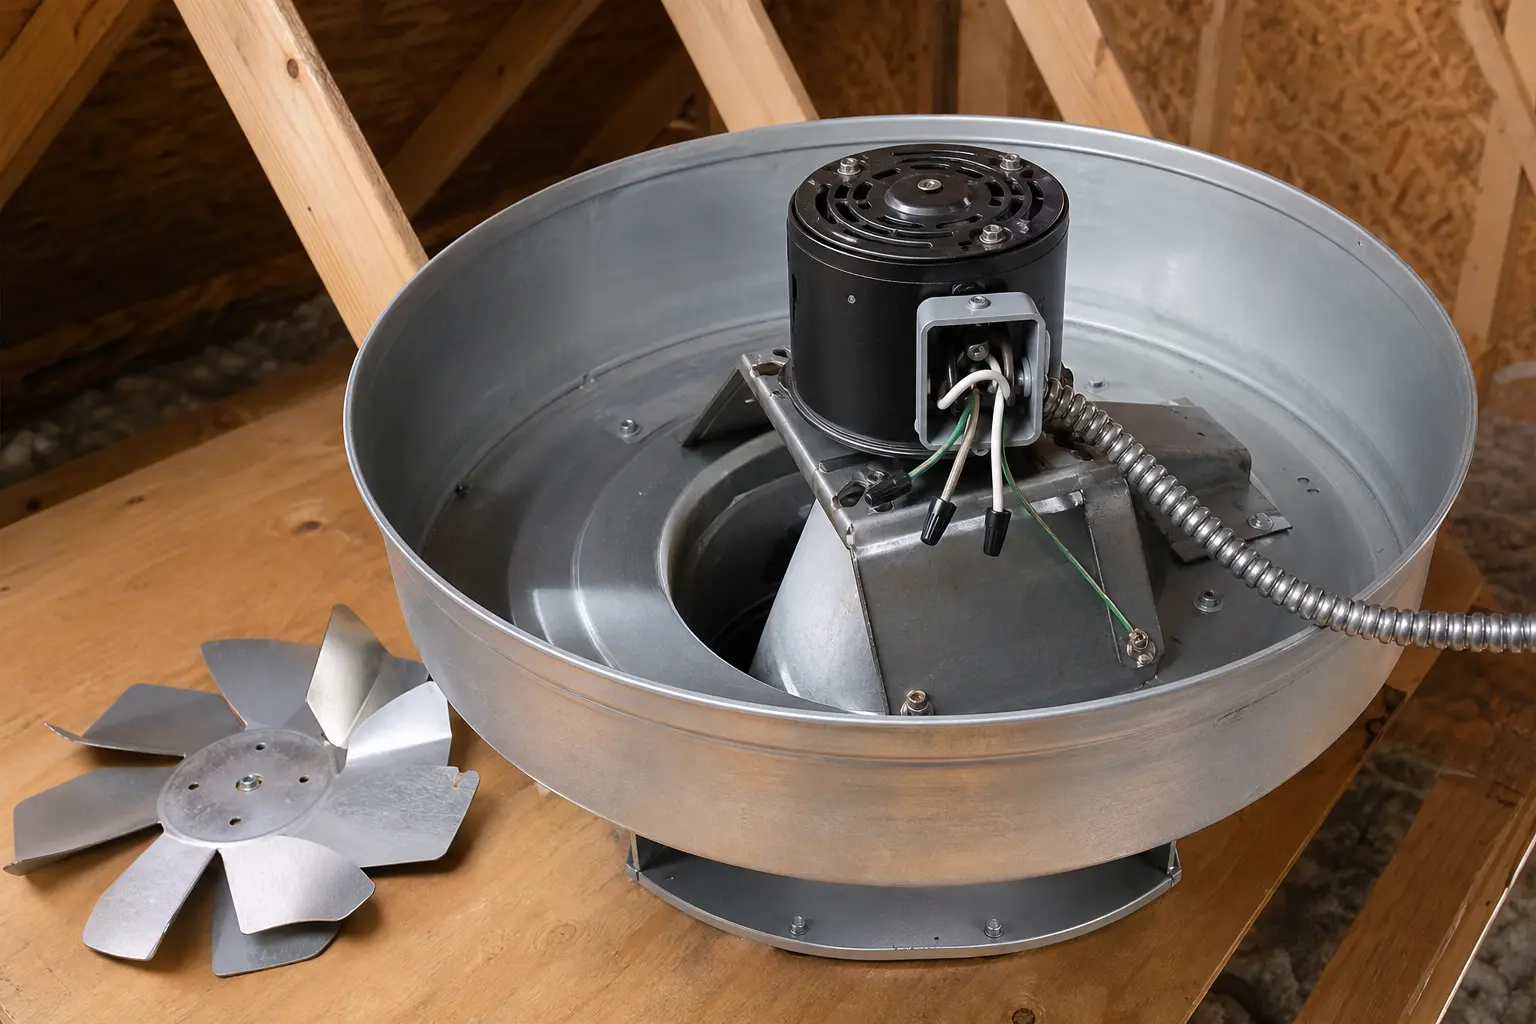
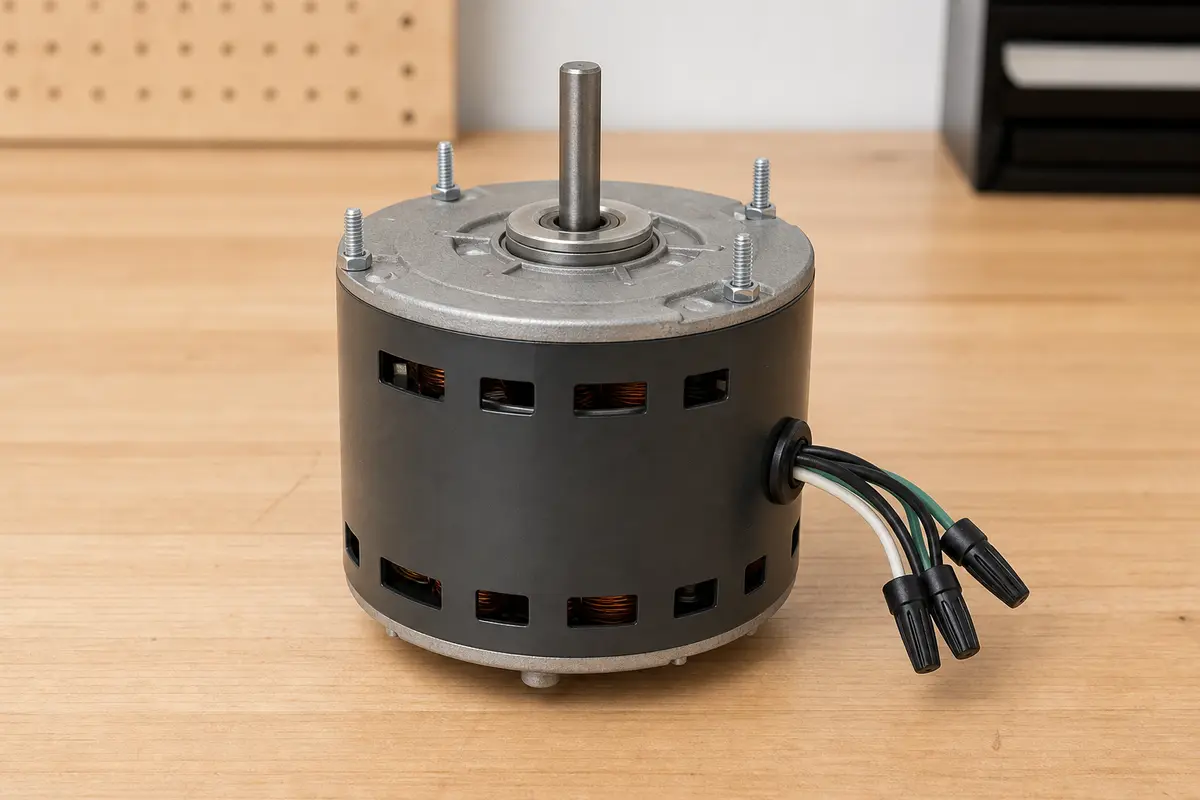
This roof-mount assembly is one common layout. Your gable- or roof-mount fan may differ. Photograph the bracket, blade position, grounding, and covered connections before removing the motor.Compare the model listing, electrical rating, rotation, shaft, bracket pattern, leads, grounding, and blade plane. Similar size alone does not prove compatibility.
Safety first
Switch the breaker off and lock or tag the service disconnect before opening the wiring compartment. Verify the circuit is de-energized with a proven tester.
Do not perform live-voltage diagnosis unless you are qualified and equipped for energized electrical work.
Work from a stable platform across framing and never step on unsupported ceiling drywall.
Wear durable gloves and eye protection around sharp sheet-metal edges, blades, guards, and brackets.
Use only a manufacturer-listed or explicitly recommended motor for the fan model. Do not adapt a close-looking motor by drilling the housing or changing the blade position.
Keep every conductor capped and the fan de-energized while the motor or guard is removed. Reinstall the wiring cover and guard before testing.
Do not force stuck parts hard enough to bend the blade, motor bracket, shaft, or housing.
Stop for qualified help if wiring is burned, grounding is unclear, the required combustion-appliance interlock is missing or altered, or the mount has major rust-through or structural movement.
Tools you may need
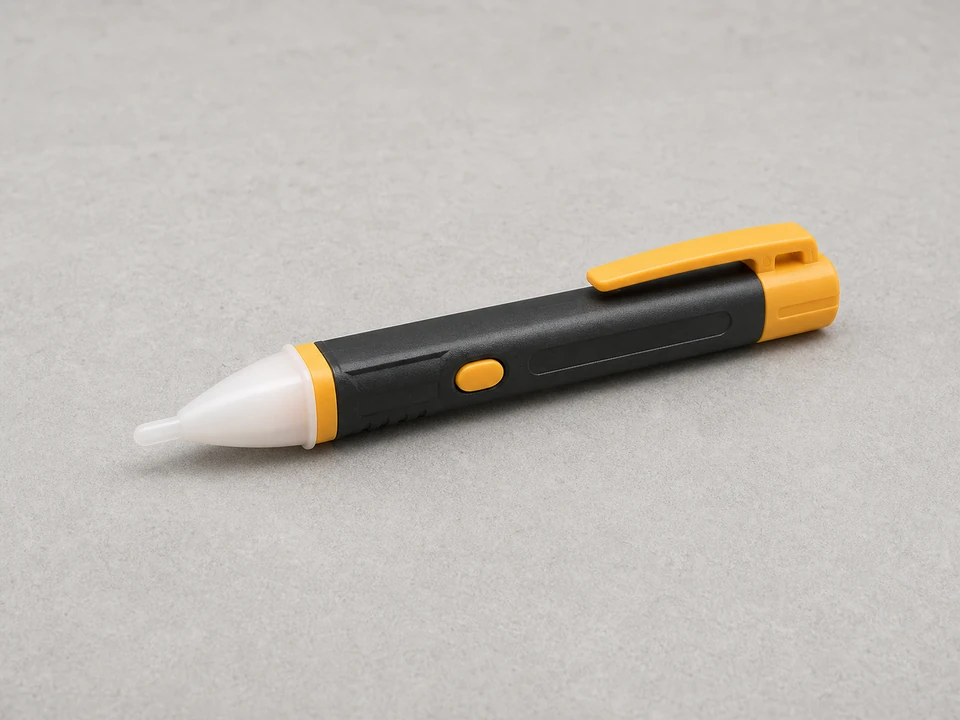
Non contact voltage tester
Use it for: To confirm power is off before touching wiring and to help check whether the fan circuit is live during diagnosis.
As an Amazon Associate I earn from qualifying purchases. Repair Riot may earn a commission at no extra cost to you.
Step-by-step fix
Step 1: Confirm the motor is the problem
Use only normal controls and closed covers to observe whether the fan calls, hums, stalls, runs slowly, or fails to start. Never push a powered blade by hand.
Switch the breaker off, lock or tag the disconnect, and wait for every moving part to stop.
With power isolated, turn the blade gently by hand. It should move without scraping, a seized hub, or obvious shaft play.
Check for a tripped breaker, switched-off disconnect, control setting that is not calling, loose housing, damaged blade, or visible covered-wire damage before blaming the motor.
If the blade and housing are mechanically sound but the circuit or control path has not been properly verified, use a qualified electrician or ventilation technician. Do not replace the motor on an unproven diagnosis.
If it works: You have a reasonable diagnosis that the attic fan motor is the failed part, not just a control setting or stuck blade.
If it doesn’t: If the fan never gets a call to run, troubleshoot the thermostat, humidistat, switch, breaker, or wiring before replacing the motor.
Stop if:
The fan housing is loose, badly rusted, or pulling away from the roof or gable framing.
You find melted insulation, burned wire ends, or signs of arcing in the wiring compartment.
The blade is bent enough to strike the housing or the shaft area is badly seized with corrosion.
Step 2: Shut off power and set up a safe work area
Turn off the breaker that feeds the attic fan and lock or tag the service disconnect so another person cannot restore it.
Verify the tester on a known live source, confirm the fan wiring area is de-energized, then recheck the tester on the known source.
Let the attic cool down if it is extremely hot, and bring in a stable light source if visibility is poor.
Put on gloves and eye protection, then set a stable work platform across framing. Never lean on ceiling drywall or step between joists.
If it works: The fan circuit is de-energized and you can reach the unit safely.
If it doesn’t: If you cannot clearly identify the correct breaker or cannot confirm the power is off at the fan, get qualified electrical help before continuing.
Stop if:
The wiring still tests live after you shut off the expected breaker.
You do not have safe footing or enough access to reach the fan without overreaching.
Step 3: Remove the fan cover, blade, and old motor
Take off the fan guard or access cover and set the screws aside in a container or pocket.
Photograph the motor, bracket, blade position, and wire connections before disassembly.
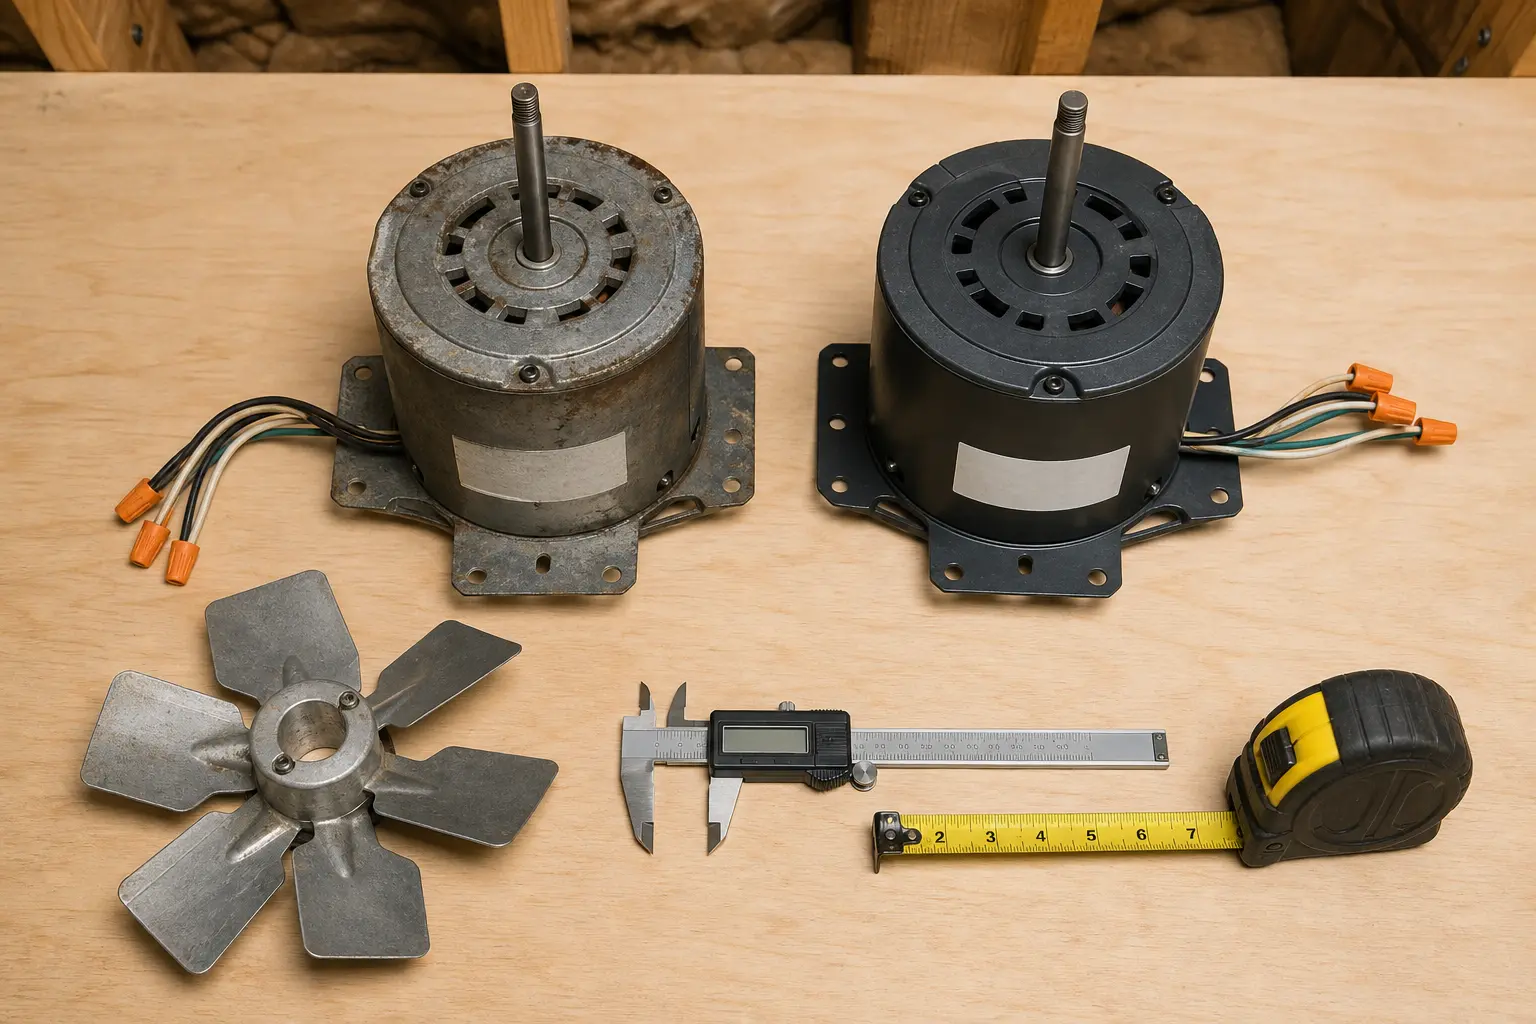
Measure the exposed shaft length, blade-hub depth, motor-body clearance, and motor-bracket hole spacing before anything moves; record those dimensions beside the fan model number.
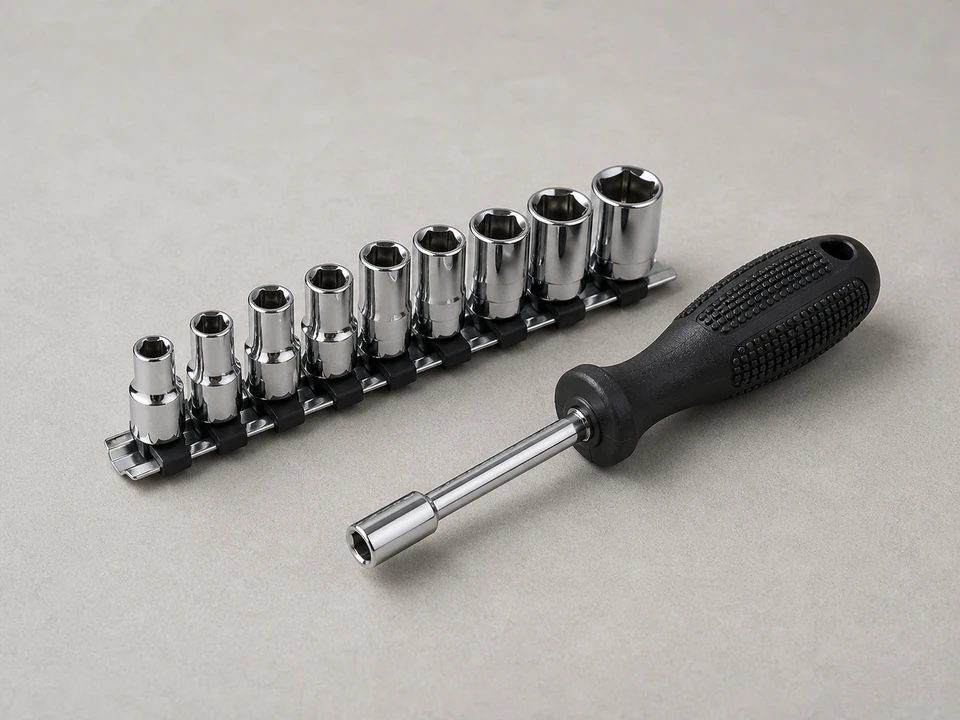
Identify the blade's actual retaining method, then loosen that fastener and slide the blade straight off the motor shaft. If it is stuck, check the model instructions for another retainer instead of prying against the blade or bracket.
Label the conductors so each one corresponds to your photos, disconnect the motor leads, and cap each house conductor individually while the motor is out.
Support the motor before removing its last screw or nut. Watch whether the bracket relaxes, twists, or reveals a spacer as the motor comes free, and photograph that position before lifting the old motor out.
If it works: The old motor is out and you have clear reference photos for reassembly.
If it doesn’t: If the blade or hardware is stuck from rust, stop and confirm the model's removal method. Do not trade a motor replacement for a bent blade, shaft, bracket, or torn housing.
Stop if:
The blade cracks, the mounting bracket breaks, or the housing metal tears during removal.
The shaft opening or surrounding metal is so corroded that the new motor will not have a solid mounting surface.
Step 4: Choose and install the correct motor
Compare the replacement with the fan model and old motor for manufacturer compatibility, voltage and frequency, rotation, shaft size, and mounting pattern.
Confirm body clearance, lead arrangement, grounding provision, and blade position separately; a correct electrical rating does not make a physically different motor safe to install.
Reject a universal or close-looking motor when the fan manufacturer does not list it or any fit point differs.
Transfer any reusable bracket or mounting hardware from the old motor to the new one if needed.
Mount the new motor securely so it sits square and does not twist in the bracket.
Slide the fan blade back onto the shaft and position it so it clears the housing evenly all the way around.
Tighten the blade fastener firmly, then spin the blade by hand to make sure it turns freely without wobble or rubbing.
If it works: The new motor is mounted securely and the blade spins by hand without hitting anything.
If it doesn’t: If the shaft length, mount, or blade fit differs, stop and verify you have the correct replacement motor before wiring it in.
Stop if:
The replacement motor does not fit the bracket or leaves the blade misaligned in the housing.
The blade cannot be installed without rubbing, wobbling badly, or sitting loose on the shaft.
Step 5: Reconnect the wiring and reassemble the fan
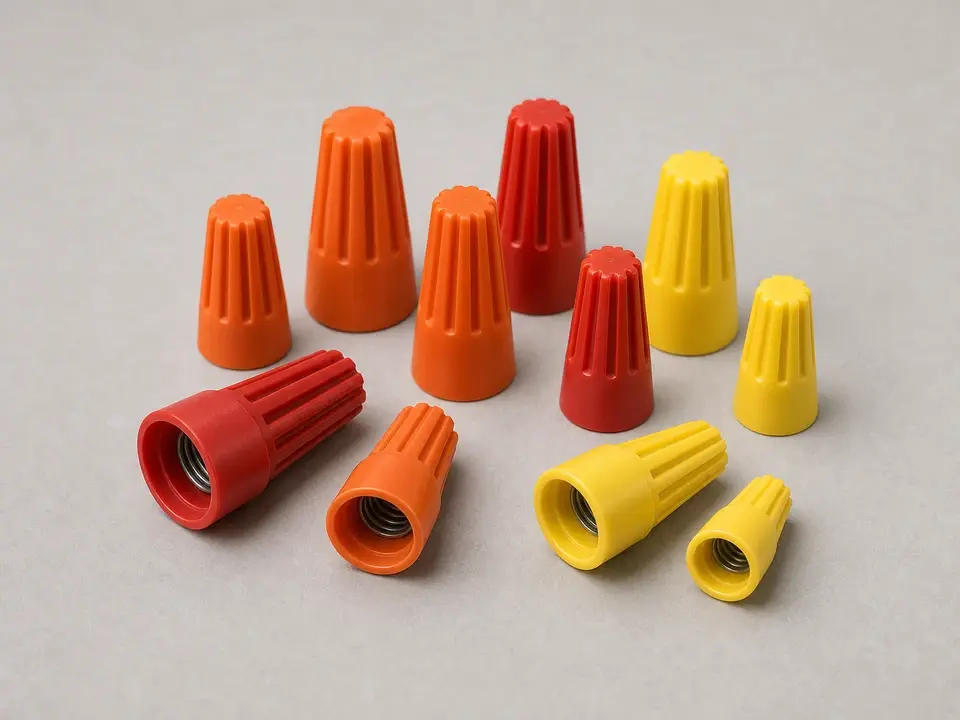
Follow the motor and fan wiring diagrams, reconnect grounding and motor leads to recreate the documented original circuit, and use listed connectors sized for the conductors.
Tuck the wires neatly away from the blade path and any moving parts.
Reinstall the wiring cover, fan guard, or access cover.
Give the blade one more hand spin to confirm nothing shifted during wiring and reassembly.
If it works: The motor is wired, covered, and ready for power without loose wires near the blade.
If it doesn’t: If the wire colors or connections do not clearly correspond to what was there before, pause and get the wiring identified before restoring power.
Stop if:
The wire insulation is brittle, cracked, or heat-damaged beyond the short section at the connector.
You cannot make a secure connection because the conductors are too short, damaged, or corroded.
Step 6: Restore power and verify the repair in real use
Confirm the wiring cover and protective guard are installed, move out of the blade plane, and then turn the breaker back on.
Set the fan control so the attic fan should run, then watch the startup. The blade should come up to speed smoothly without needing a push.
Listen for scraping, grinding, or strong vibration while the fan runs for several minutes.
Let the fan cycle off and back on through its normal control if possible, or test it again after a short shutdown to confirm the repair holds under normal use.
If it works: The fan starts on its own, runs smoothly, and completes a normal run cycle without overheating, rubbing, or stalling.
If it doesn’t: If the new motor does not run, recheck the breaker, control settings, and wire connections. If power is present but the fan still will not operate correctly, the problem may be in the control, capacitor if used, or house wiring.
Stop if:
The fan vibrates hard enough to shake the housing or makes repeated metal-on-metal contact.
You smell overheating insulation, see smoke, or the breaker trips after the motor replacement.
The fan runs but the housing or mount shifts, indicating a structural mounting problem rather than just a bad motor.
Use the fan model to verify roof or gable mount application, manufacturer compatibility, voltage and frequency, rotation, shaft dimensions, mounting pattern, leads, grounding, and control compatibility.
As an Amazon Associate I earn from qualifying purchases. Repair Riot may earn a commission at no extra cost to you.
Verify the repair
The fan blade spins freely by hand with power off and does not rub the housing.
The fan starts on its own when called to run.
There is no scraping, heavy wobble, or strong vibration during operation.
The fan completes a normal run cycle and restarts normally afterward.
No breaker trips, burning smells, or hot wire connections appear after the repair.
FAQ
How do I know the attic fan motor is bad and not the thermostat or switch?
A bad motor is more likely when the fan is getting a call to run, the blade is not jammed, and the motor hums, stalls, or runs only with a push. If the fan never gets power or never gets a run signal, check the control side first.
Can I replace just the motor instead of the whole attic fan?
Yes, if the housing, blade, and mount are still solid and the replacement motor is fully compatible. If the housing is badly rusted, loose, or damaged, replacing the full fan assembly may make more sense.
Do I need an exact motor match?
You need a motor specified for the fan's physical fit and operating requirements. Shaft size, mounting style, and blade position matter just as much as the electrical connection.
What if the new motor runs but the fan shakes?
That usually points to a bent blade, poor blade alignment, loose mounting hardware, or a housing problem. Shut it down and correct the vibration before regular use, because shaking can damage the new motor and the fan mount.
Is this a DIY job or should I call a pro?
Many homeowners can handle it if access is safe and the wiring is straightforward. Call a pro if the circuit stays live when it should be off, the wiring is burned or confusing, or the fan mount or surrounding structure is damaged.
Sources and reference notes
Replacement motors are model-specific safety parts, not generic cylinders with the same shaft diameter. The fan label and manufacturer documentation control the electrical rating, rotation, bracket, blade position, grounding, and any combustion-appliance interlock.
Broan-NuTone 356BK official model-parts catalog - Official model-specific catalog showing separate, specified motor, blade, and mounting-bracket parts; use the exact model number because compatibility and part numbers vary.
Broan Model 345 powered attic ventilator installation and service guide - Official model-specific instructions showing service-panel lockout, blade and motor removal, conductor disconnection, mounting-band positioning, reassembly, and genuine-part guidance; follow your own fan's manual for its exact sequence.
OSHA control of hazardous energy overview - Supports isolating hazardous energy before machinery service and preventing unexpected startup; homeowner work must also follow the fan manual and local electrical rules.
Attic fan not working - Use the diagnostic guide before buying a motor when the power, control, blade, guard, or mounting path is still uncertain.