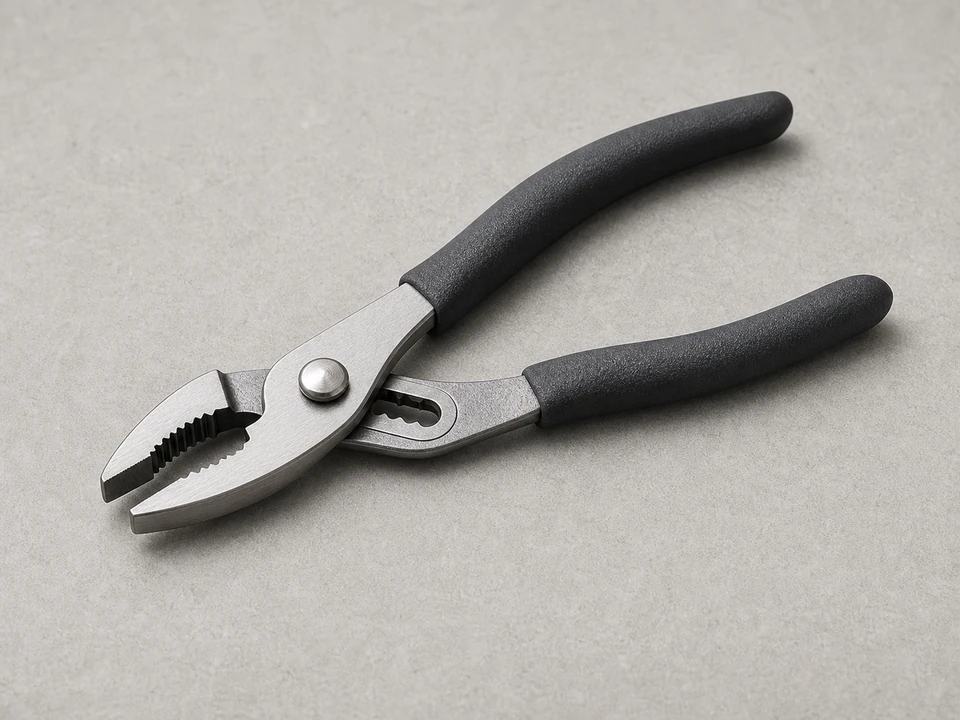
Slip joint pliers
Use it for: To loosen a stuck aerator without using excessive force.
Shop slip-joint pliersTo replace a bathroom sink faucet aerator, unscrew the old aerator from the faucet tip, match the replacement by thread type and size, install the new aerator by hand, and test the flow for a steady, even stream.
A worn or clogged aerator is a common reason a bathroom sink has weak flow, a messy spray pattern, or uneven pressure at that faucet only. This is usually a quick repair, but the replacement has to match the faucet threads and seat correctly to avoid leaks.
Before you start: Match the thread size, thread type, and faucet compatibility before ordering.
Use it for: To loosen a stuck aerator without using excessive force.
Shop slip-joint pliers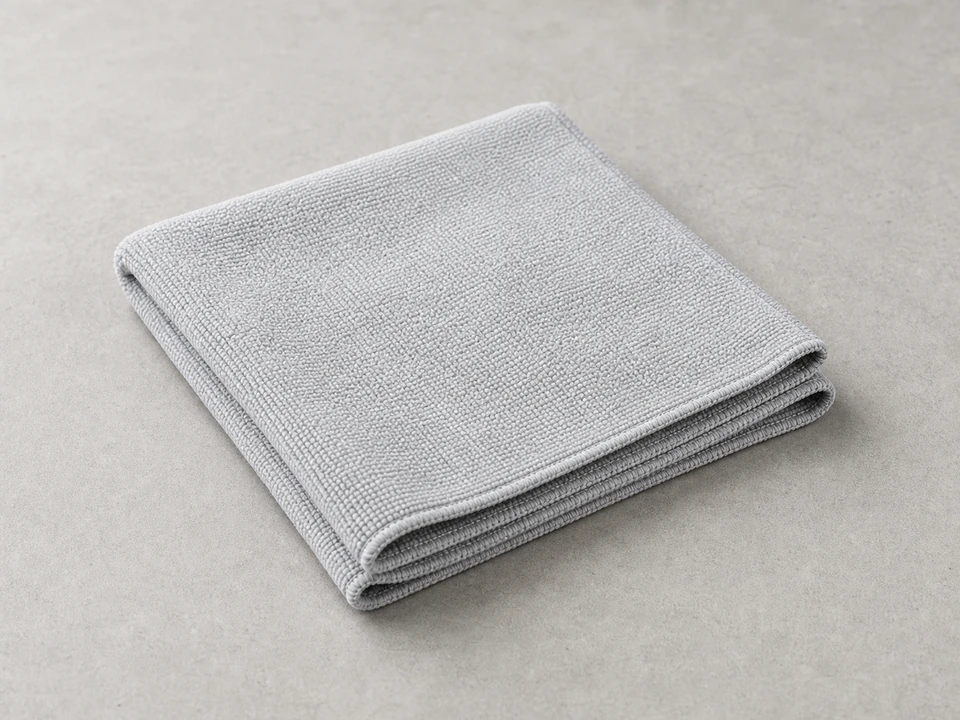
Use it for: To protect the faucet finish while gripping the aerator.
Shop faucet-protection grip cloth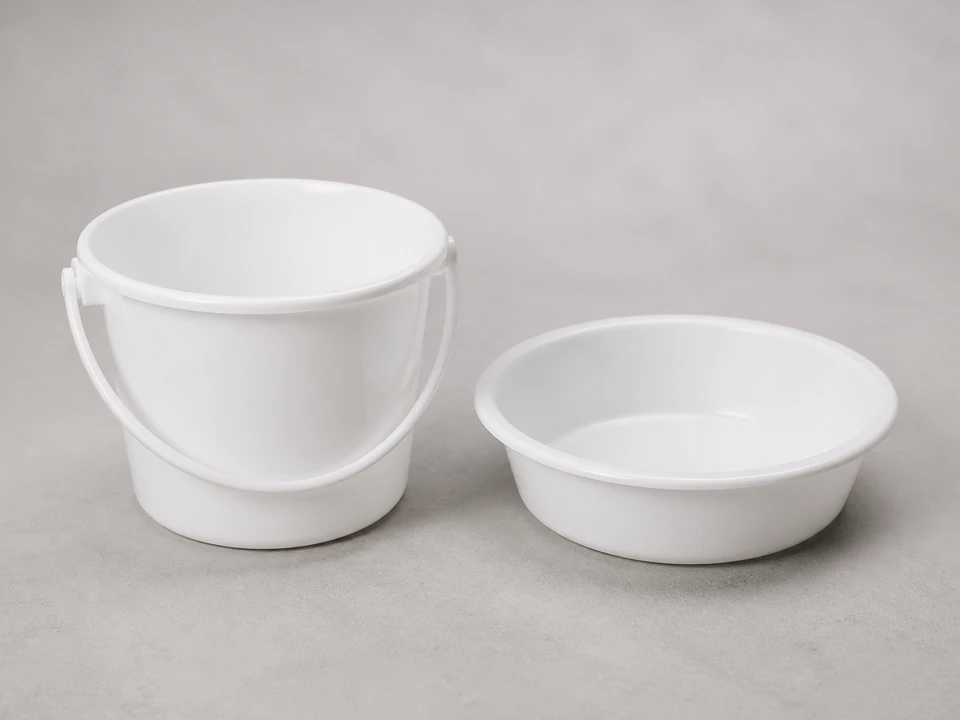
Use it for: To catch the old aerator parts and keep small washers from falling down the drain.
Shop sink drain stopper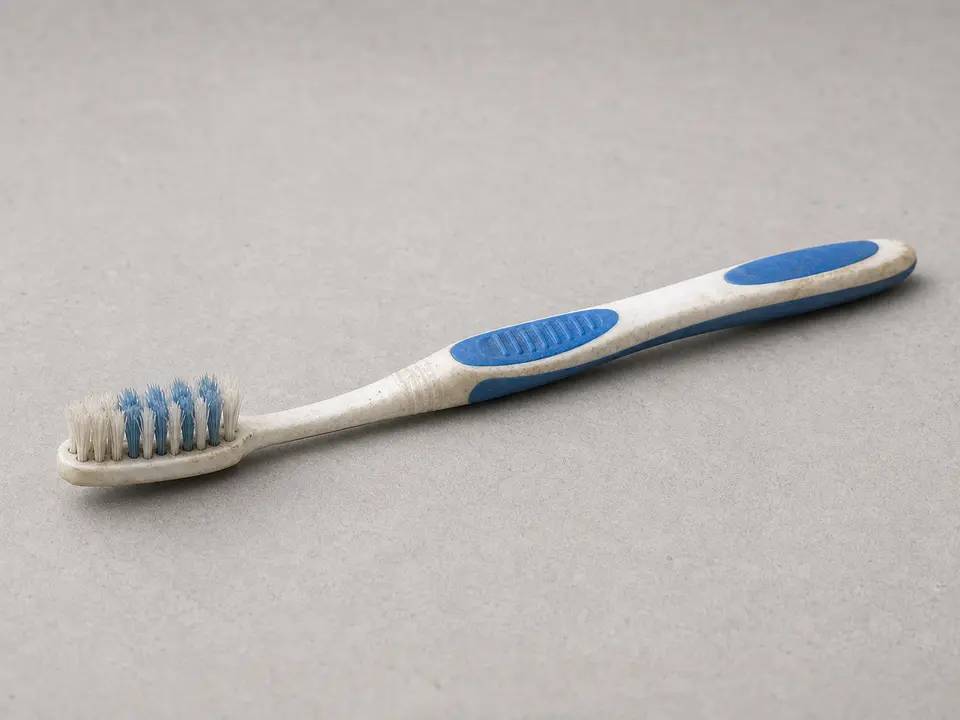
Use it for: To clean mineral buildup from the faucet threads before installing the new aerator.
Shop cleaning toothbrushesAs an Amazon Associate I earn from qualifying purchases. Repair Riot may earn a commission at no extra cost to you.
If it works: The problem appears limited to the faucet tip, and replacing the aerator is a reasonable next step.
If it doesn’t: If other bathroom fixtures also have low pressure, or only one handle side is affected, the restriction may be elsewhere and the aerator may not be the main issue.
If it works: The old aerator is removed without damaging the faucet finish or losing small parts.
If it doesn’t: If the aerator will not budge, apply a little more steady pressure with the faucet protected and try again after cleaning visible mineral crust around the edge.
If it works: The new aerator matches the faucet threads and has the parts needed to seal properly.
If it doesn’t: If the new aerator does not start by hand easily or looks noticeably different in thread style or diameter, exchange it for the correct fit before forcing it.
If it works: The faucet tip is clean, the threads are visible, and the sealing surface is ready for the new aerator.
If it doesn’t: If heavy scale remains, keep brushing and wiping until the new aerator can sit squarely against the faucet.
If it works: The new aerator is seated evenly, feels secure, and is not cross-threaded.
If it doesn’t: If it binds, backs off crooked, or leaves a visible gap on one side, remove it and start the threads again by hand.
If it works: The faucet has a cleaner, steadier flow and the new aerator stays dry at the connection.
If it doesn’t: If the flow is still weak, remove the aerator and recheck for debris in the faucet tip or a fit problem with the replacement. If the faucet still has poor flow without the aerator installed, the restriction is likely elsewhere.
Match the thread size, thread type, and faucet compatibility before ordering.
As an Amazon Associate I earn from qualifying purchases. Repair Riot may earn a commission at no extra cost to you.
If the bathroom sink alone has weak flow and the stream looks uneven or sprays sideways, the aerator is a common cause. If pressure is poor at multiple fixtures, the problem is probably not just the aerator.
Yes. Start by hand, then use pliers only over a soft cloth or rubber grip pad. That gives you traction without chewing up the finish.
Do not force it. Bathroom sink aerators come in different thread sizes and thread types. Match the old one carefully and make sure the faucet has the same male or female thread style.
Usually no. Most aerators seal with a washer, not thread tape. If the washer is correct and the aerator is seated properly, it should not need tape.
If flow is still weak with a new aerator, debris may be farther inside the faucet, one supply side may be restricted, or the original diagnosis was off. Testing the faucet briefly without the aerator can help confirm whether the restriction is at the tip or upstream.