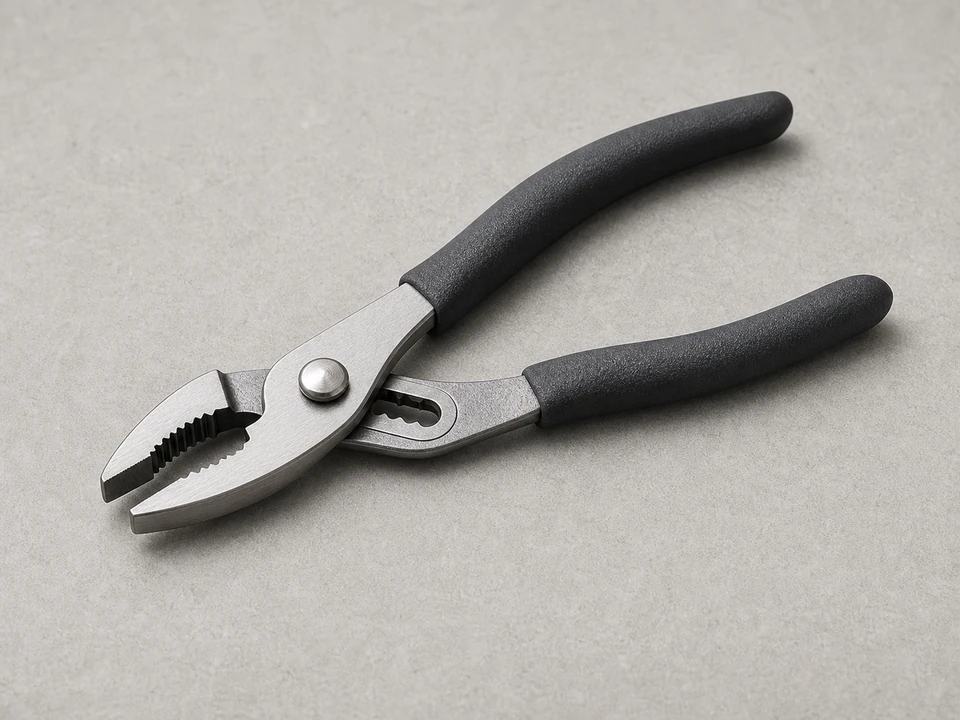
Slip joint pliers
Use it for: To loosen a stuck aerator without using excessive force.
Shop slip-joint pliersTo replace a kitchen faucet aerator, confirm the low flow is only at that faucet, unscrew the old aerator from the spout, match the replacement by thread style and size, then install the new aerator and test the flow.
A clogged or damaged aerator is a common reason a kitchen faucet suddenly loses pressure or sprays unevenly. This is usually a quick repair, but the replacement has to match the faucet threads and fit the spout correctly.
Before you start: Match the thread size, thread type, and faucet compatibility before ordering.
Use it for: To loosen a stuck aerator without using excessive force.
Shop slip-joint pliers
Use it for: To get better grip on the aerator body and reduce the chance of scratching the finish.
Shop a rubber jar opener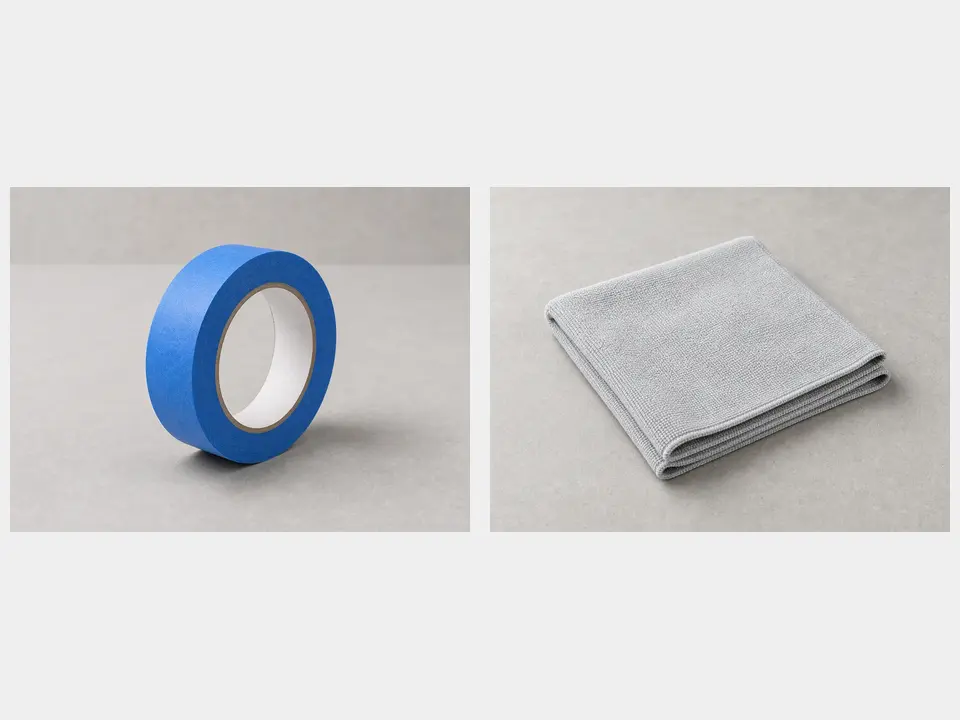
Use it for: To wrap the aerator or plier jaws and protect the faucet finish.
Shop painter's tape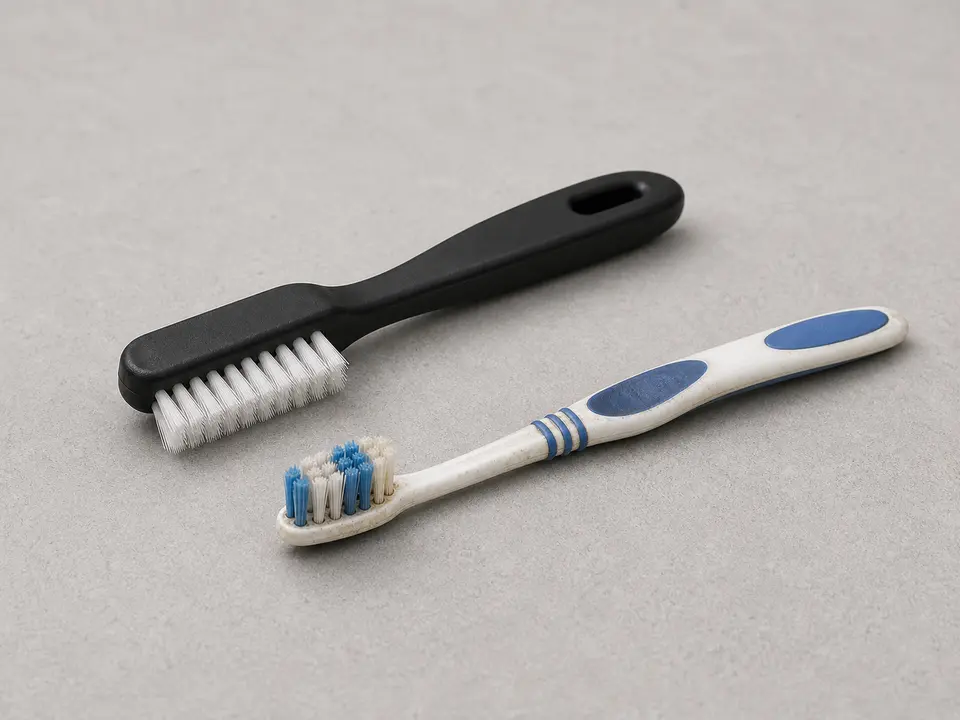
Use it for: To clean mineral buildup from the faucet threads before installing the new aerator.
Shop cleaning brushes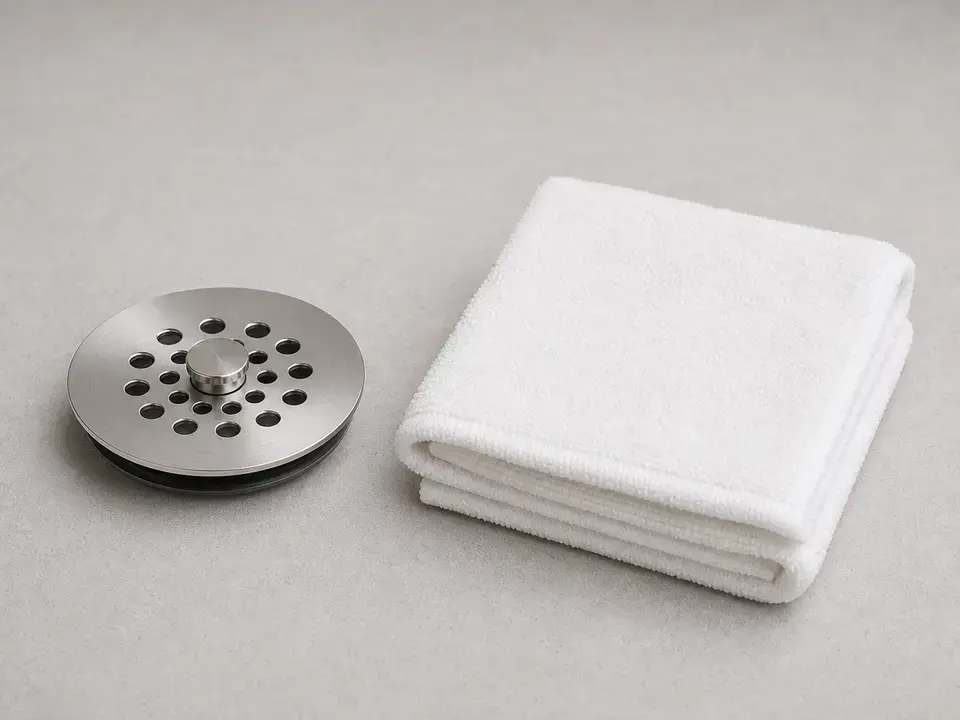
Use it for: To keep small parts from falling down the drain while you work.
Shop sink drain stoppersAs an Amazon Associate I earn from qualifying purchases. Repair Riot may earn a commission at no extra cost to you.
If it works: The problem appears limited to the faucet outlet, which makes the aerator a reasonable repair to try first.
If it doesn’t: If low pressure affects multiple fixtures, or the faucet has weak flow from every mode with no sign of outlet clogging, troubleshoot the water supply or faucet cartridge instead.
If it works: The old aerator is off the faucet without damaging the spout finish.
If it doesn’t: If it will not budge, apply steady pressure instead of jerking it. A little mineral buildup is common, but the aerator should eventually back off if the threads are intact.
If it works: The new kitchen faucet aerator matches the old one closely and starts threading by hand without resistance.
If it doesn’t: If the new part will not start smoothly by hand, stop and recheck the thread type and size. Forcing it can cross-thread the spout.
If it works: The new aerator is installed straight, snug, and flush against the faucet tip.
If it doesn’t: If the aerator binds, backs off crooked, or leaves a visible gap, remove it and start again by hand to avoid cross-threading.
If it works: The faucet runs with a steadier stream and no leaking around the aerator.
If it doesn’t: If the stream is still uneven, remove the aerator and confirm the washer is seated correctly and the part is the right fit.
If it works: The faucet has normal, steady flow in real use and the new aerator stays dry and secure.
If it doesn’t: If the pressure drops again quickly, debris may still be coming from the faucet body or supply lines, and more cleaning or a different repair may be needed.
Match the thread size, thread type, and faucet compatibility before ordering.
As an Amazon Associate I earn from qualifying purchases. Repair Riot may earn a commission at no extra cost to you.
If the kitchen faucet alone has weak flow, especially with uneven spray or visible buildup at the tip, the aerator is a common cause. If several fixtures have low pressure, the problem is probably elsewhere.
Sometimes yes. If the housing and threads are in good shape, cleaning out mineral buildup may restore flow. Replace it if the screen is damaged, the finish is badly corroded, or cleaning does not help for long.
Usually no. You are working at the faucet tip, not opening the water lines. Just make sure the faucet is off before removal and be ready for a little leftover water to drip out.
That usually means the thread type or size is wrong, or the faucet threads need cleaning. Start it by hand only. If it does not thread on smoothly, do not force it.
Fast repeat clogging often means debris is coming from inside the faucet, supply lines, or older plumbing. The aerator may be catching the material, but it is not the root cause.