How to Replace a Bathtub Overflow Plate and Linkage Assembly
Remove the overflow cover and linkage through the tub opening. Match the new plate, screw spacing, linkage style, and opening direction to the old parts before tightening anything. Then adjust the linkage until the drain opens fully and holds water when closed.
This job is mostly a fit check. Stop if the overflow body is loose, cracked, badly corroded, or leaking behind the wall. A new plate will not fix damaged waste-and-overflow plumbing.
Before you start: Before ordering, compare the old plate with the new kit: overflow opening size, screw spacing, plate style, linkage style, and slot or lever orientation all need to match. Stop if you find leak staining behind the plate, a loose overflow body, rotted backing, stripped mounting points, or movement in the waste and overflow assembly.
Last reviewed: 2026-05-31
Confirm the overflow plate and linkage style before you buy
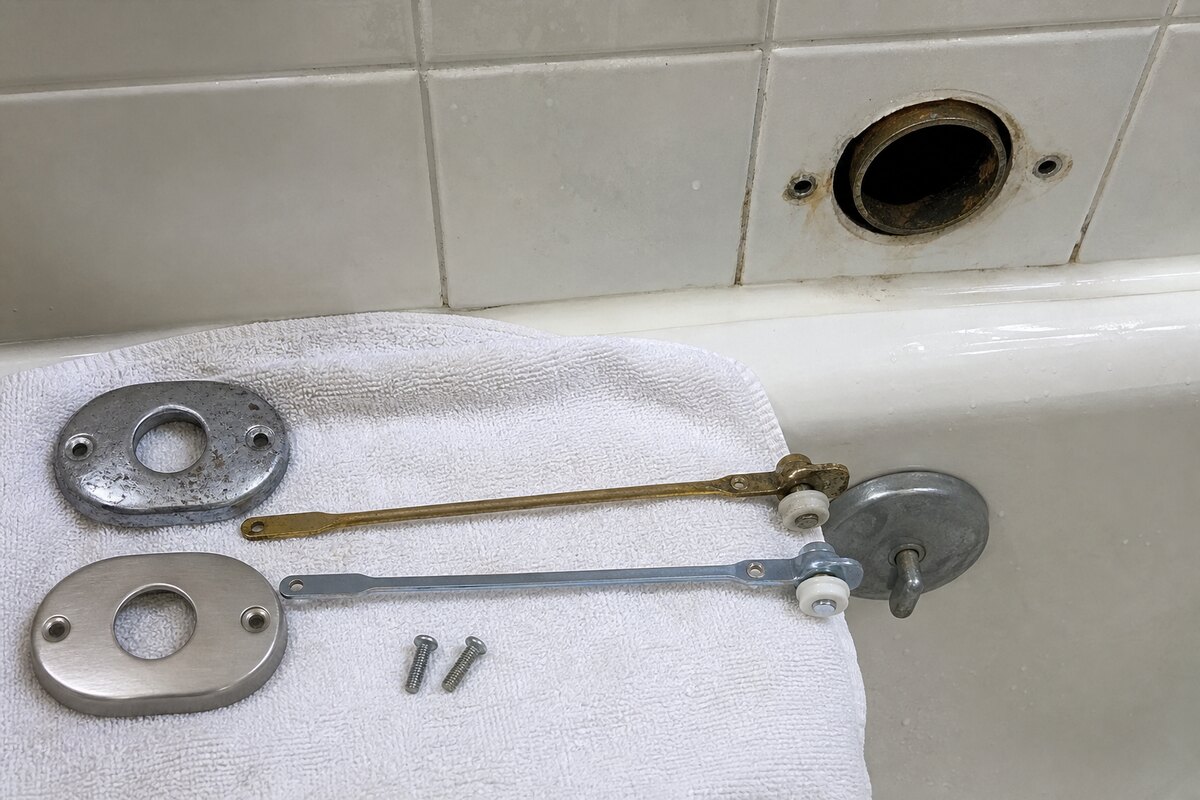
Bathtub overflow plates can look similar from the front while using different linkage, screw spacing, and opening layouts behind the plate. Match the old assembly before tightening the new one.
Linkage-controlled stopper
This page fits when: A lever, trip handle, or knob on the overflow plate opens and closes the tub drain.
Check something else when: Use a matching linkage assembly. A plain overflow cover will not operate the drain if the old plate controlled an internal stopper.
Separate drain stopper
This page fits when: The tub uses a toe-touch, lift-and-turn, push-pull, or other stopper at the drain opening.
Check something else when: A plain overflow cover may be correct, but do not remove linkage parts unless the drain stopper works independently.
Plate opening and screw layout
This page fits when: The new plate sits flat, the screw holes line up, and the visible overflow or lever opening matches the original orientation.
Check something else when: If the plate can be installed more than one way, match the original position first, then test that water can enter the overflow and the control moves freely.
What comes apart at the overflow plate
The overflow plate, linkage, and drain stopper assembly need to come out in sequence so the new parts can match.
Take a photo before removal and match the linkage length before tightening the new overflow plate.Keep a tray or bucket beside the tub so screws and linkage clips stay out of the drain.
Safety first
Work slowly when pulling the linkage out so you do not damage the drain body inside the overflow tube.
Cover the tub drain during removal so screws and small parts do not disappear into the plumbing.
Do not force stuck metal parts. Corroded drain components can break and turn a simple repair into a larger plumbing job.
Use stable footing in the tub or bathroom so you are not leaning awkwardly over a slippery surface.
Tools you may need
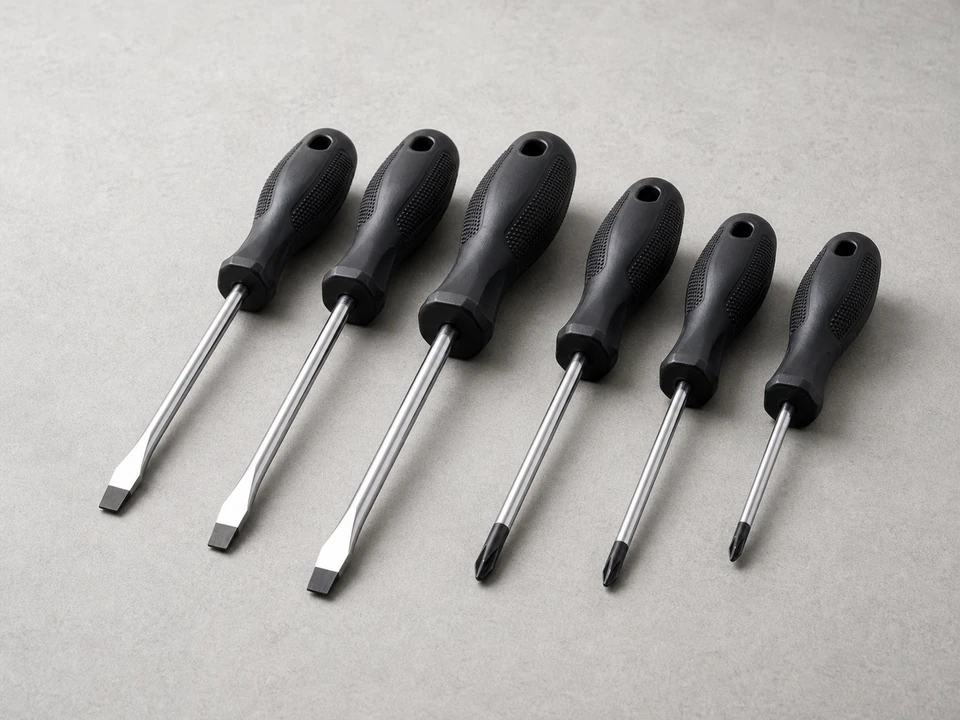
Screwdriver set
Use it for: Removes the overflow plate screws and installs the new plate.
As an Amazon Associate I earn from qualifying purchases. Repair Riot may earn a commission at no extra cost to you.
Step-by-step fix
Step 1: Confirm this is the right repair
Look at the overflow plate on the tub wall below the faucet end and confirm it is the style that operates the drain with a lever, knob, or internal linkage.
Note the old plate opening position before removal. On many slotted covers the opening faces down, but the safest guide is matching the original orientation and the replacement instructions.
Check the symptoms before you buy parts. This repair fits a loose or broken overflow plate, a lever that no longer moves the stopper, missing linkage parts, or a drain that will not stay open or closed.
Remove the visible screws from the plate just enough to see whether a linkage assembly is attached behind it.
Take a quick photo of the old plate and linkage before full removal so you can compare length, shape, and attachment points with the replacement.
If it works: Check that the plate sits flat, the screws start cleanly, and the lever moves the linkage with no loose plate movement. Copy the old linkage length and attachment point.
If it doesn’t: If your tub uses a different stopper style at the drain itself, match your repair to that stopper type before buying parts.
Stop if:
The overflow opening is cracked, badly corroded, or loose in the tub wall.
Water is leaking behind the tub or into the wall cavity.
The new assembly is clearly a different style that cannot attach or fit the opening.
Step 2: Set up the tub and remove the old assembly
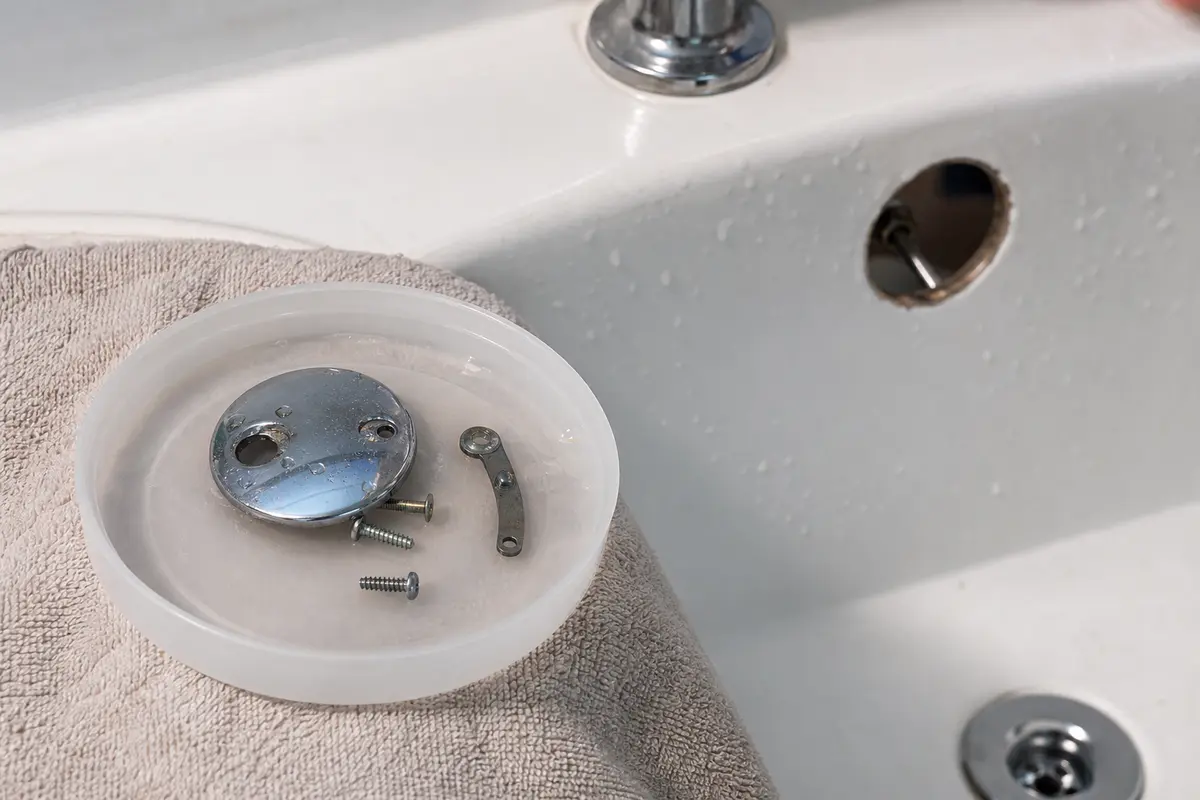
Lay a rag over the tub drain. Put a tray beside the work area for the two plate screws, cotter pins, clips, or small linkage parts.
Move the lever or control to one end of its travel. Take a photo of the lever position and plate orientation before the screws come out.
Check the old plate for the overflow slot direction, a rubber gasket, and any gap at the tub face. Measure or note the screw spacing from center to center if the new kit is not already beside you.
Back out the overflow plate screws while holding the plate. Check whether the screw heads are badly rusted or stripped before you lean on them.
Pull the plate straight toward you a few inches. Keep the linkage in line with the overflow tube instead of bending it against the edge.
Guide the plunger, spring, chain, or rod through the opening. If it catches on the overflow elbow, lower it slightly and rotate the assembly before pulling again.
Look inside the opening with a flashlight. Check for water stains, leak tracks, stripped screw threads, a cracked flange, a torn gasket, or a loose overflow body.
If it works: The old overflow plate and linkage assembly are out of the tub without dropping parts into the drain.
If it doesn’t: If the linkage will not come out, stop pulling hard. Work it in small angles so you do not kink the rod or pull on the drain body.
Stop if:
The linkage is stuck in heavy corrosion and forcing it moves the drain body behind the tub.
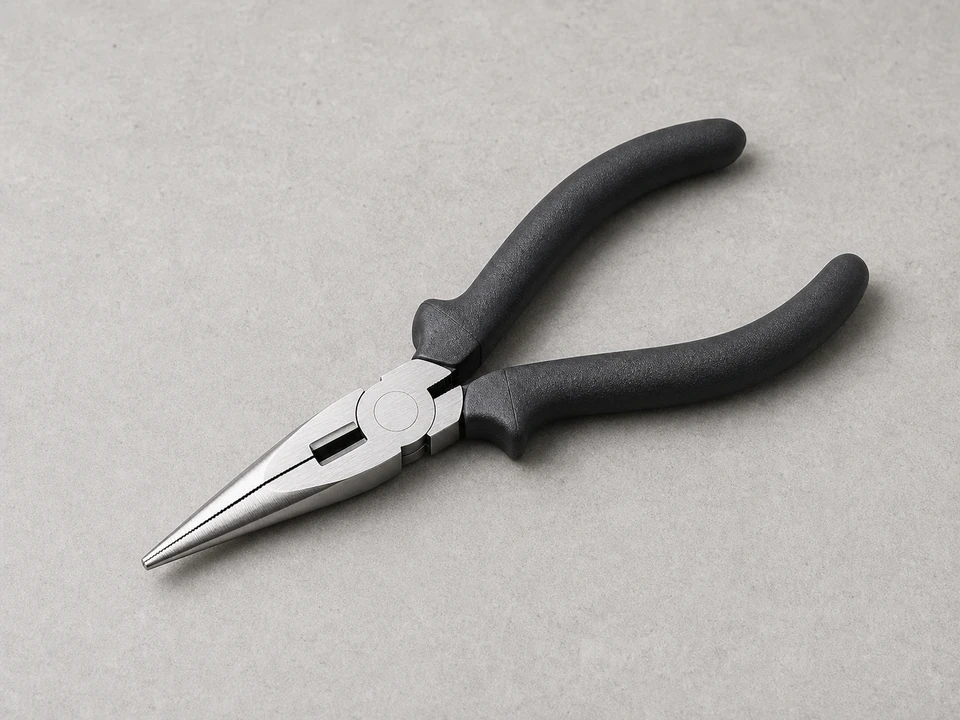
A hidden retaining piece or broken metal part falls into the drain and cannot be reached with pliers.
The overflow body shifts, cracks, or shows active water staining behind the plate.
Step 3: Compare the new assembly to the old one
Lay the old and new assemblies on a towel in the same lever position. Keep the faceplates pointed the same way for a true comparison.
Compare the screw spacing center to center, plate shape, gasket surface, overflow slot or lever opening, and finish height against the old plate.
Match the linkage type. A plunger-style trip waste, spring, chain, rod, and lever arm need the same operating path as the old assembly.
Set the adjustable linkage close to the old length before installation. Count exposed threads or mark the old rod position if that is easier.
Check that the new screws start cleanly in the old mounting points. Do not use longer screws if they bottom out or push the overflow body back.
Clean soap film, mineral scale, and old gasket residue from the tub face so the new plate sits flat against the rim.
If it works: The new assembly matches the old one closely enough to install and move freely inside the overflow tube.
If it doesn’t: If only length is off, match the old thread count and test the drain. If the plate sits proud, screw holes miss, or linkage style changes, get the correct kit.
Stop if:
The screw holes do not line up with the tub overflow opening.
The new plate blocks the overflow slot or aims the opening differently from the old plate.
The linkage length, plunger shape, or lever connection is so different that it cannot operate the drain.
Step 4: Install the new overflow plate and linkage assembly
Feed the linkage into the overflow tube in the same orientation as the old assembly. Keep the rod, chain, or plunger centered in the opening.
Set the plate slot, lever opening, or trip handle in the original direction unless the kit instructions call for a different position.
Slide the linkage down until the plate reaches the tub. If it springs back or sits proud, remove the plate and check for a twisted rod, chain, or plunger in the overflow elbow.
Start both screws by hand. Make sure each screw turns several threads without cross-threading before you tighten either side.
Tighten the screws evenly until the plate is snug and flat. Stop before the plate bows, the screw head sinks into soft metal, or the tub surface creaks.
Move the lever once before water testing. It should travel smoothly without scraping the plate slot or lifting the faceplate.
If it works: The new plate is mounted securely and the control moves without scraping or feeling jammed.
If it doesn’t: If the control feels stiff, remove the plate and correct the linkage path. A tight screw will not cure a rod or plunger that is binding inside the tube.
Stop if:
The screws will not catch because the mounting points are stripped, loose, or missing.
The plate rocks badly, leaves a visible gap, or cannot sit flat against the tub surface.
The linkage jams hard before the lever reaches the end of its travel.
Step 5: Adjust the linkage so the drain opens and closes properly
Move the lever or control through its full range several times to settle the linkage and identify which direction is open and which direction is closed.
Run a little water and check whether the drain opens fully in the open position and holds water in the closed position.
If the stopper action is off, remove the plate and change one setting: linkage length, exposed threads, or connection point. Reinstall it and test the drain before changing the next setting.
Reinstall the plate and test again after each small adjustment instead of making large changes at once.
If it works: The control now gives a clear open and closed position and the drain responds consistently.
If it doesn’t: If repeated small adjustments do not improve operation, compare the new assembly to the old one again to make sure you have the correct replacement style.
Stop if:
The drain still will not respond because the problem is deeper in the waste-and-overflow assembly.
The linkage binds hard enough that continued testing may bend or break the new parts.
Step 6: Verify the repair in real use
Fill the tub with a few inches of water and set the drain to the closed position.
Watch the water level for several minutes to confirm the drain stays closed as expected.
Open the drain and make sure the tub empties normally while the control moves smoothly.
Check around the overflow plate for looseness or movement after the test and snug the screws lightly if needed.
If it works: The tub holds water when closed, drains when opened, and the new overflow plate and linkage assembly stays secure during normal use.
If it doesn’t: If the tub still will not hold water, the stopper or drain seat may need additional repair beyond the overflow plate and linkage assembly.
Stop if:
You see water leaking from behind the tub wall or around the overflow area during the test.
The drain operation is still unreliable after adjustment and correct installation.
Match the screw spacing, plate opening, linkage style, and adjustable length before ordering.
As an Amazon Associate I earn from qualifying purchases. Repair Riot may earn a commission at no extra cost to you.
Verify the repair
The overflow plate sits flat and feels secure.
The control moves through its full range without binding.
The tub holds water when the drain is set to closed.
The tub drains normally when the control is moved to open.
No water appears behind the tub wall or around the overflow area during testing.
FAQ
Do I need to shut off the water to replace an overflow plate and linkage assembly?
Usually no. This repair does not open the supply lines, so shutoff is not normally needed. Turn the tub faucet fully off before you remove the plate, and stop if water is still running or the valve will not shut off.
Why won't my new linkage make the tub hold water?
The most common causes are the wrong replacement style, linkage length that needs adjustment, or a separate problem at the stopper or drain seat.
Can I reuse the old screws?
Yes, if they are the correct size and not rusted or damaged. If the new kit includes matching screws in good condition, use those instead.
Which way should the bathtub overflow plate opening face?
Match the original plate and instructions first. A slotted cover usually has the slot low or downward so overflow water can reach the drain. With a lever plate, check that the handle moves without scraping.
How do I set the open and closed position on the linkage?
Start with the new linkage set as close as possible to the old linkage length. Test with a few inches of water, then adjust in small increments until the drain opens fully and holds water when closed.
Is this the same as replacing the tub drain stopper?
Not always. Some tubs use a stopper controlled by the overflow linkage, while others use a separate stopper style at the drain opening. Match the repair to the hardware your tub actually has.
Sources and reference notes
Repair Riot used related bathtub overflow and drain pages to keep this repair focused on linkage fit, plate orientation, leak checks, and when to stop for a larger plumbing problem.