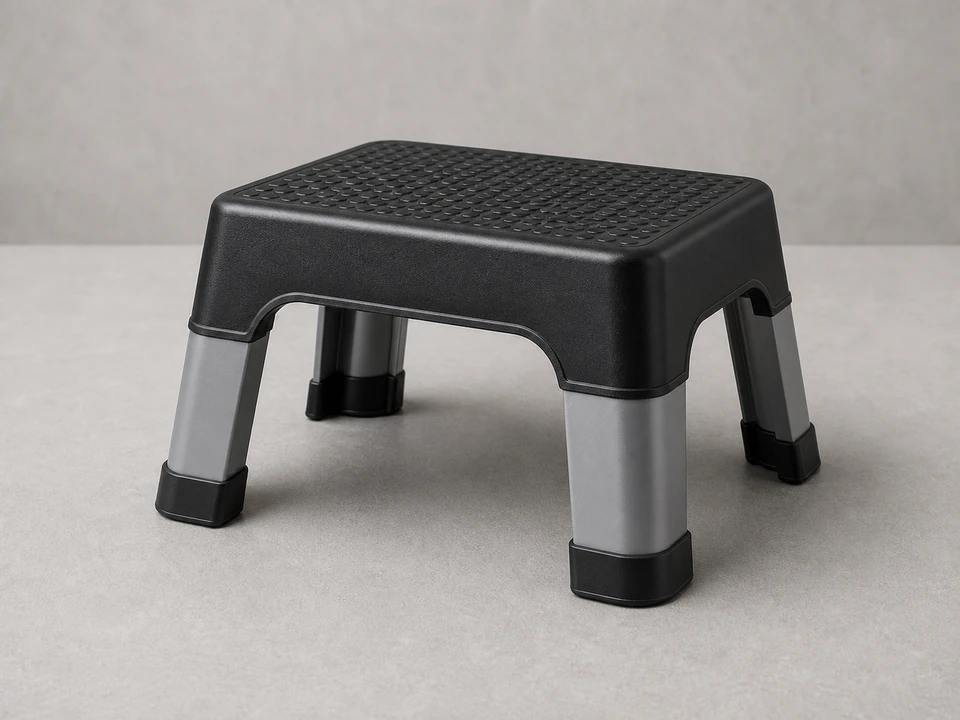
Step stool
Use it for: To safely reach a wall- or ceiling-mounted detector.
Shop step stoolsTo replace a battery powered CO detector, confirm the old unit is at end of life or failing, remove it from the mounting plate, install the new detector with the correct batteries, and test it before putting the room back into normal use.
This is a straightforward homeowner job, but it matters because a CO detector is a life-safety device. Work carefully, follow the new detector's setup instructions, and replace the whole unit if the old one is expired, damaged, or keeps signaling end of life.
Before you start: Match the power source, mounting style, and room use before ordering. If your old alarm used a separate mounting plate, check whether the new detector includes one.
Use it for: To safely reach a wall- or ceiling-mounted detector.
Shop step stools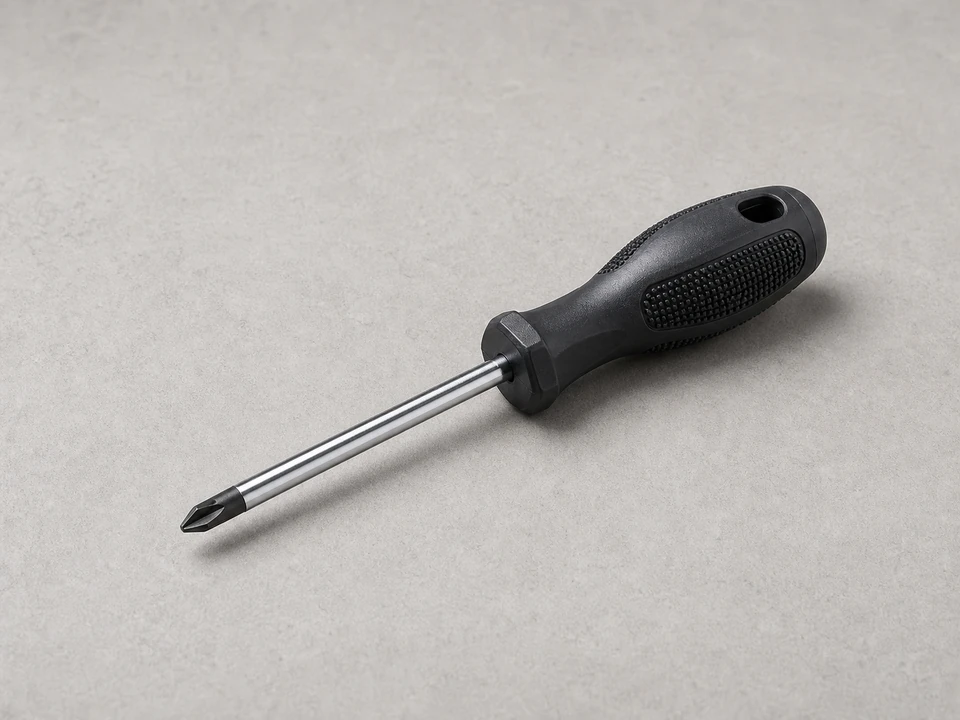
Use it for: To remove or install the mounting plate if the new detector uses a different bracket.
Shop screwdrivers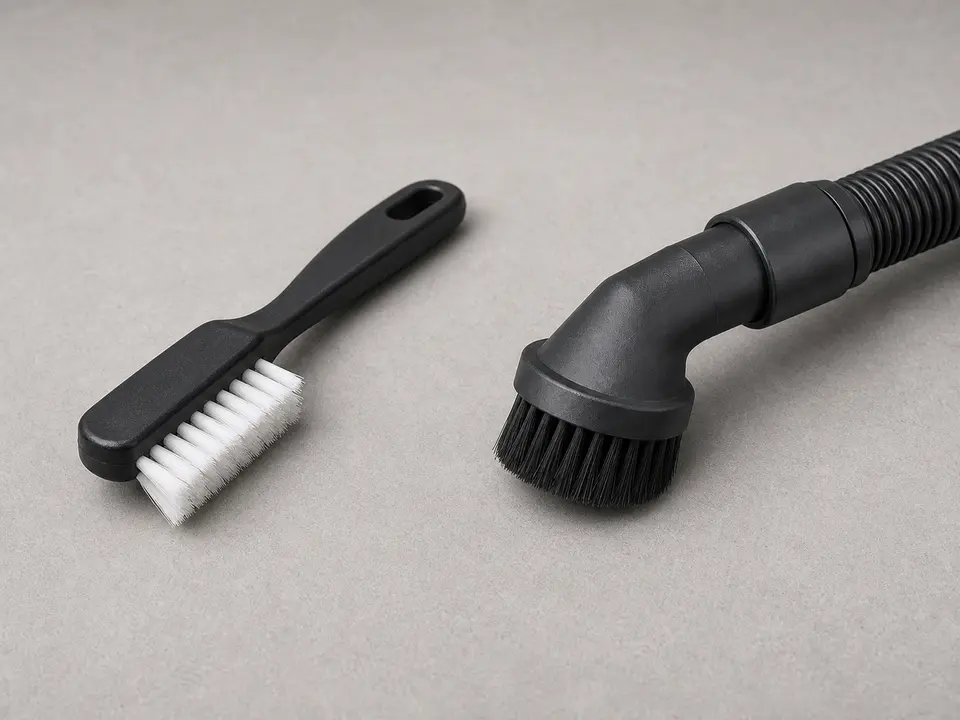
Use it for: To clean dust from the mounting area before installing the new detector.
Shop cleaning brushes or vacuums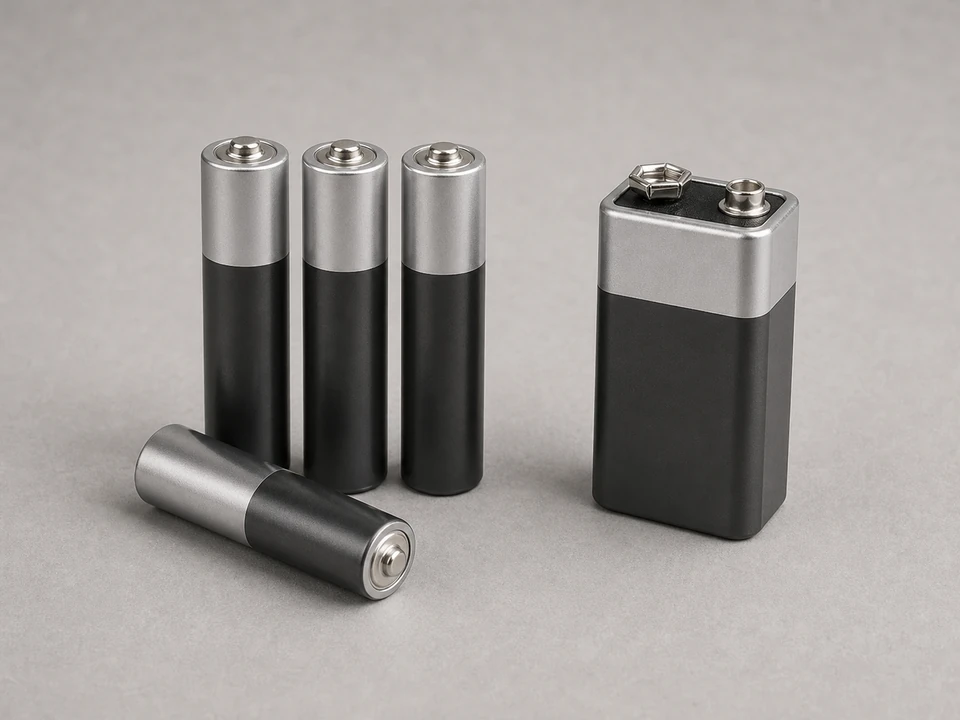
Use it for: Many new battery powered CO detectors need fresh batteries installed during setup.
Find detector batteriesAs an Amazon Associate I earn from qualifying purchases. Repair Riot may earn a commission at no extra cost to you.
If it works: You have confirmed the old battery powered CO detector should be replaced, not just cleaned or given a new battery.
If it doesn’t: If the detector is still within its service life and only has a low-battery alert, replace the battery first and retest it.
If it works: You have the right replacement on hand and a safe setup for the swap.
If it doesn’t: If the new detector does not match the intended location or power type, pause and get the correct unit before removing the old one.
If it works: The old detector and any old mounting hardware are off the wall or ceiling.
If it doesn’t: If the detector will not release, check for a locking tab or retaining screw and remove that first.
If it works: The mounting area is clean, stable, and ready for the new detector.
If it doesn’t: If the old screw holes are stripped or the surface is too damaged to hold the detector securely, move to a sound mounting spot that fits the new detector's placement instructions.
If it works: The new detector is mounted securely, powered up, and passes its initial test.
If it doesn’t: If the detector will not power up, recheck battery orientation, battery type, and that the unit is fully seated on its mount.
If it works: The new detector stays quiet in standby, remains secure on the mount, and is ready for normal use.
If it doesn’t: If it keeps chirping or showing a fault after a successful battery check and retest, replace it again or contact the manufacturer for support.
Match the power source, mounting style, and room use before ordering. If your old alarm used a separate mounting plate, check whether the new detector includes one.
As an Amazon Associate I earn from qualifying purchases. Repair Riot may earn a commission at no extra cost to you.
If the detector is still within its service life and only gives a low-battery chirp, a new battery may be enough. If it has reached its age limit, fails a test, has corrosion or damage, or gives an end-of-life signal, replace the whole detector.
Yes, in most homes this is a simple DIY job. The main exceptions are when the alarm is actually hardwired, interconnected, or tied into another system you are not familiar with.
Usually yes if the new detector came with its own plate and the old one does not match. Reusing an old plate only works when the new detector is designed for it and locks on securely.
Use the batteries that came with it if included and not expired, or install fresh batteries of the exact type listed by the manufacturer. Do not mix old and new batteries.
First check battery orientation, battery type, and that the detector is fully seated on its mount. Then run the test again. If it still shows a fault or chirps with fresh batteries, the unit may be defective or the setup may not be complete.