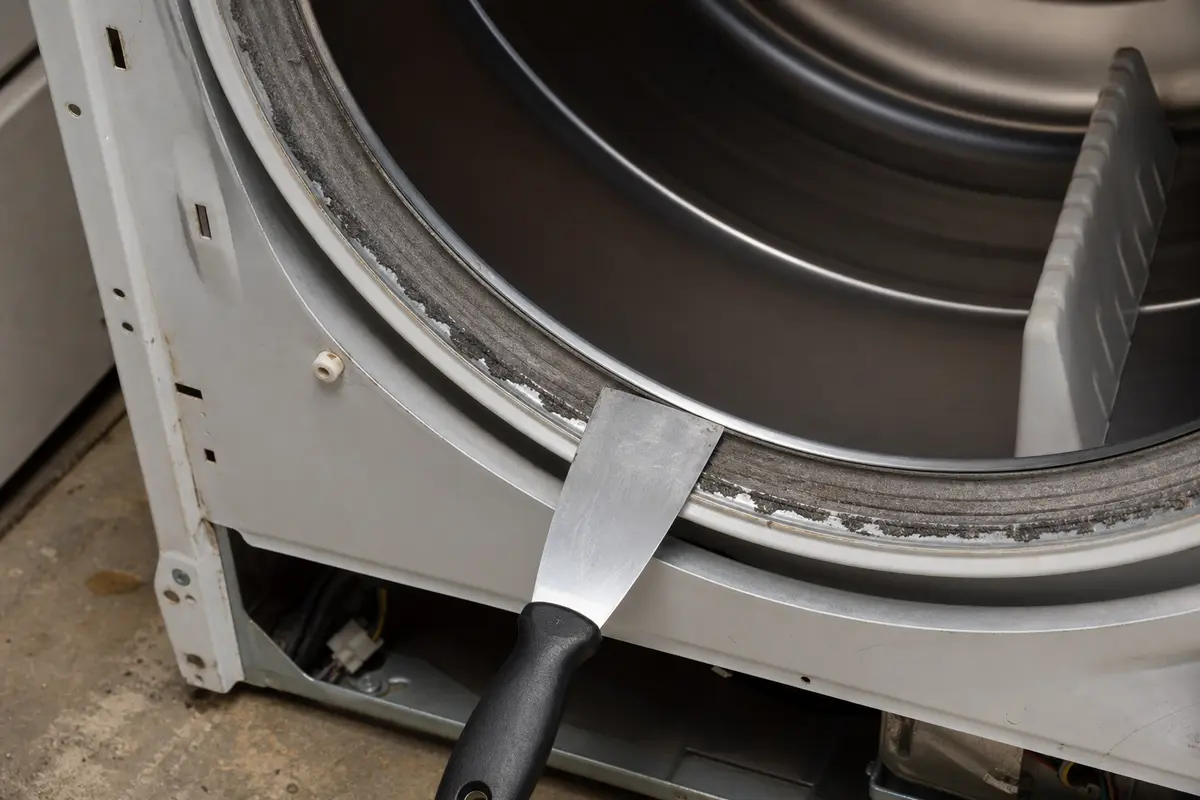
Putty knife
Use it for: To scrape off loose tape and old joint compound and to smooth new compound.
Shop putty knivesTo replace ceiling drywall repair tape, remove any loose or bubbled tape and weak joint compound, retape the seam over a sound surface, then let it dry fully before checking that the crack stays closed.
This repair works when the old tape has lifted, bubbled, or let a ceiling seam reopen, but the drywall itself is still solid. If the ceiling is sagging, stained from an active leak, or crumbling, fix that cause before you retape.
Before you start: Match the replacement part to your exact ceiling before ordering.
Use it for: To scrape off loose tape and old joint compound and to smooth new compound.
Shop putty knives
Use it for: To cut away damaged tape cleanly without tearing more of the ceiling surface.
Shop utility knives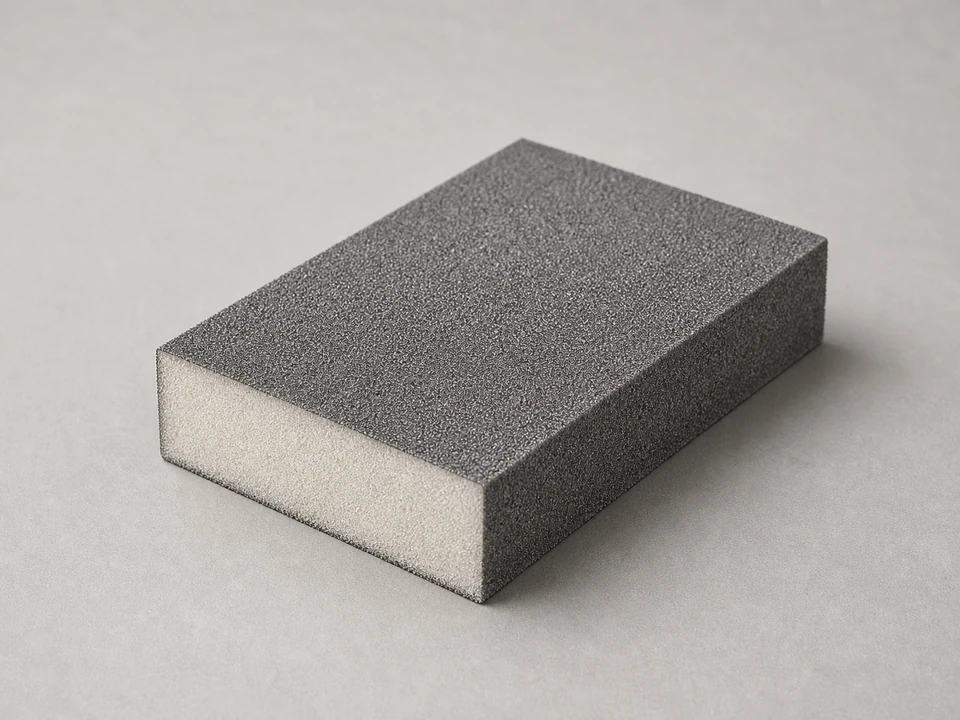
Use it for: To knock down ridges and feather the repair area before and after taping.
Shop sanding sponges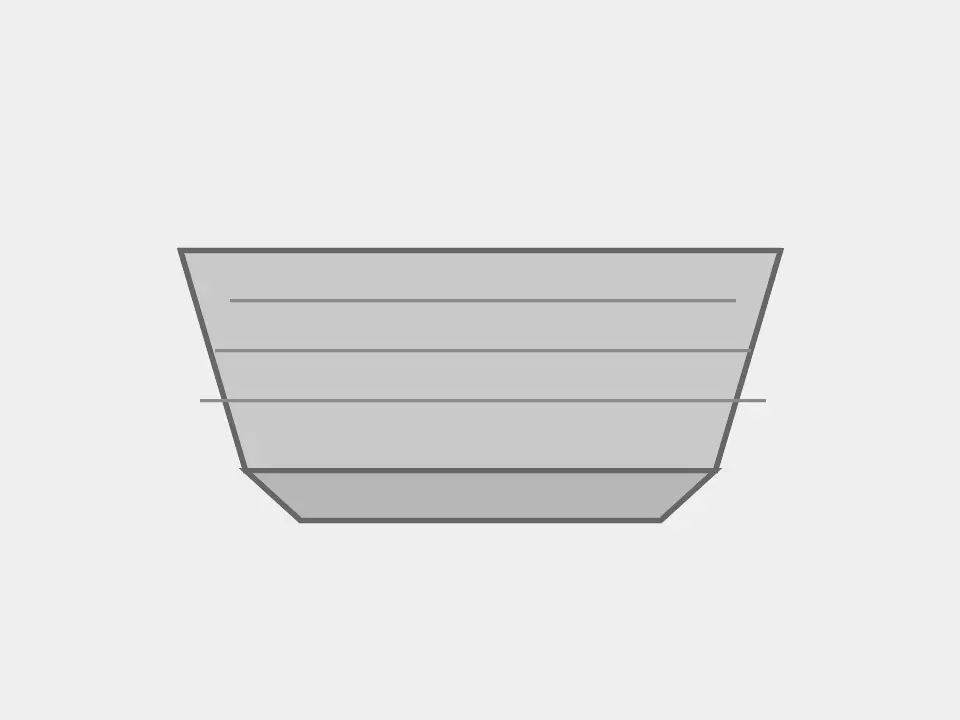
Use it for: To hold joint compound while you work overhead.
Shop mud pans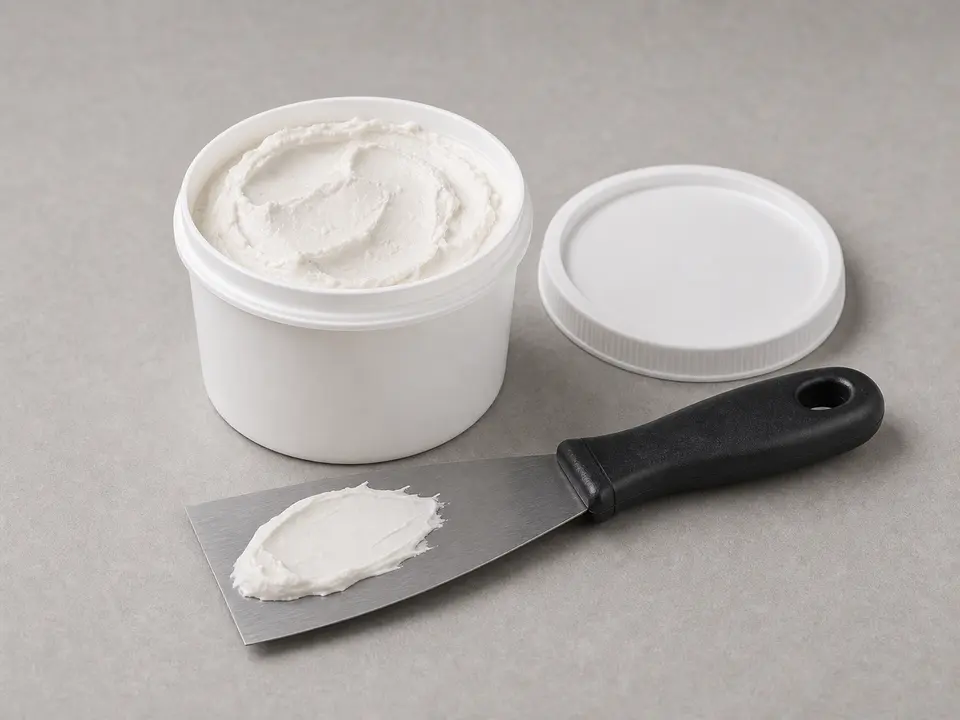
Use it for: To bed the new tape and cover it in smooth coats.
Shop joint compound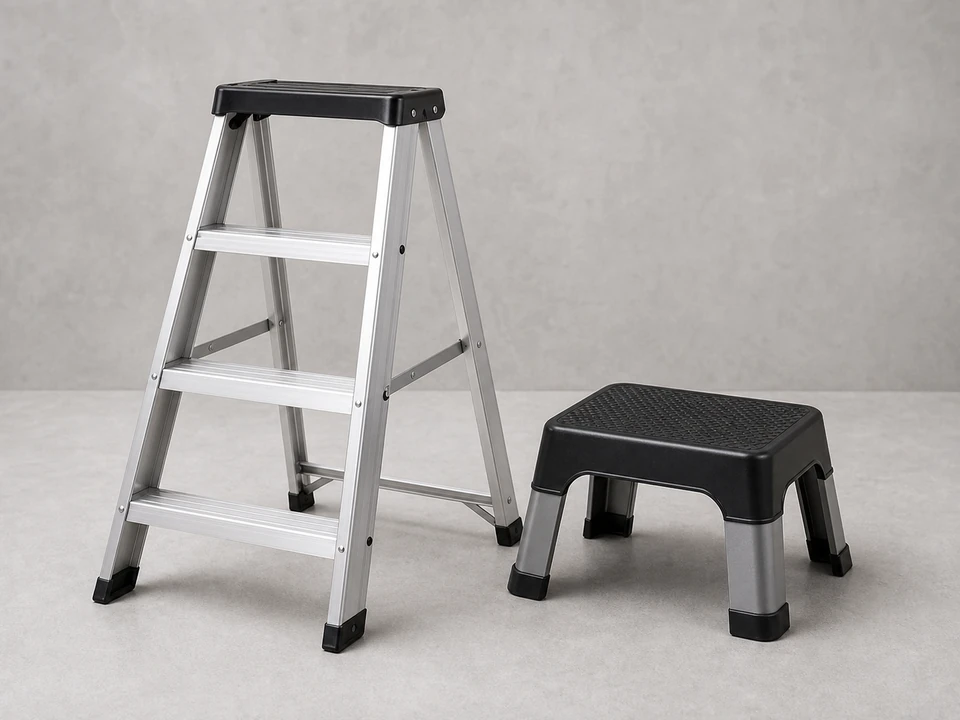
Use it for: To reach the ceiling safely and work with both hands free.
Shop step laddersAs an Amazon Associate I earn from qualifying purchases. Repair Riot may earn a commission at no extra cost to you.
If it works: You have a firm, dry ceiling with failed tape or failed joint compound at the seam.
If it doesn’t: If the surface is only hairline-cracked and the tape is still bonded, a simple skim repair may be enough instead of full tape replacement.
If it works: The damaged tape is gone and the repair area is clean, solid, and free of loose edges.
If it doesn’t: If old tape keeps peeling farther than expected, keep removing it until you reach firmly bonded tape or bare drywall on both sides of the seam.
If it works: The seam has a fresh, even layer of compound ready to receive the new tape.
If it doesn’t: If the compound drags or falls off, clean off dust and apply a fresh thin coat rather than trying to force thick mud overhead.
If it works: The new tape is flat, fully embedded, and free of obvious bubbles or lifted edges.
If it doesn’t: If you trap a bubble, lift that section while the compound is still wet, add a little more compound underneath, and smooth it again.
If it works: The repaired seam looks flat and blended, with no raised tape edges or deep knife marks.
If it doesn’t: If you can still see a low spot or tape edge, add one more thin coat instead of trying to sand the area flat.
If it works: The ceiling finish looks even and the repaired seam stays closed during normal use.
If it doesn’t: If the seam reopens, the ceiling may still be moving or the drywall underneath may need a more involved repair before retaping again.
Match the replacement part to your exact ceiling before ordering.
As an Amazon Associate I earn from qualifying purchases. Repair Riot may earn a commission at no extra cost to you.
No. Remove the loose, bubbled, cracked, or poorly bonded section and any weak compound around it. Leave material that is still firmly attached and sound.
Usually no. New tape needs a solid base. If the old tape is already lifting, the new repair is likely to fail with it.
Common causes are seasonal movement, poor bonding during the original repair, too little compound under the tape, or moisture that weakened the joint.
Wait until each coat is fully dry. Dry time depends on the compound thickness, room temperature, and humidity, so follow the product directions and do not rush overhead repairs.
Call for help if the ceiling is sagging, wet, badly cracked, crumbling, or moving at the framing level. Those problems usually need more than a tape replacement.