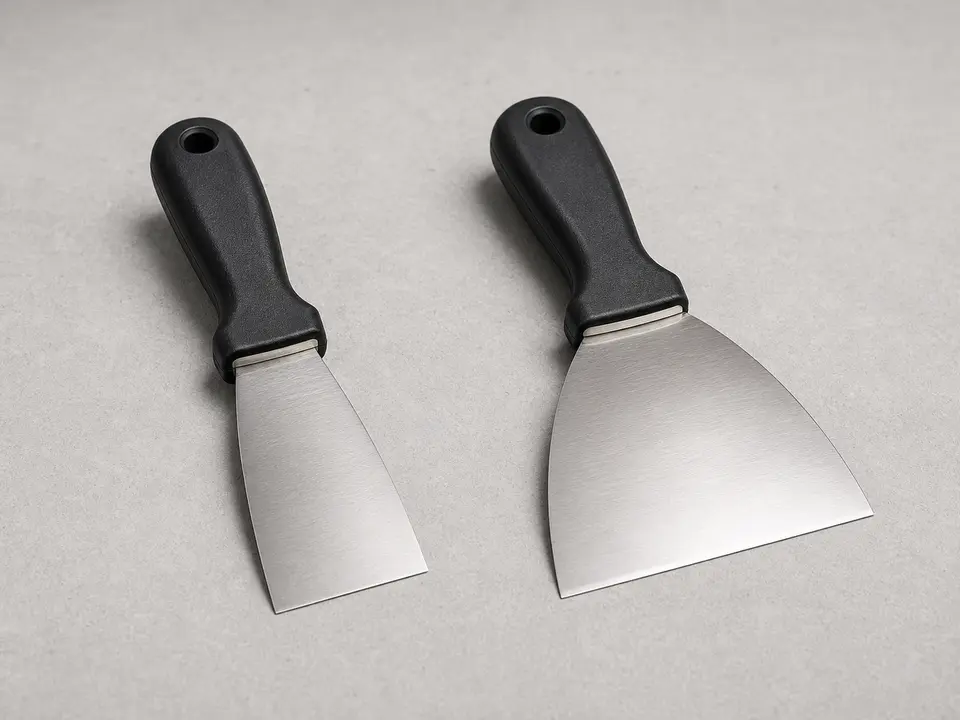
Putty knife or taping knife
Use it for: To scrape off loose tape and spread joint compound smoothly.
Shop taping knivesIf ceiling joint tape is peeling, bubbling, or cracking because it has let go from the seam, the fix is to remove the failed section, apply fresh drywall ceiling joint tape, and refinish the joint with compound.
This repair is manageable for a careful homeowner, but it works best when you remove all loose tape instead of trying to glue it back down. Take your time on prep and drying, because a rushed finish usually shows through the paint.
Before you start: Match the replacement part to your exact ceiling before ordering.
Use it for: To scrape off loose tape and spread joint compound smoothly.
Shop taping knives
Use it for: To cut away damaged tape cleanly and trim new tape to length.
Shop utility knives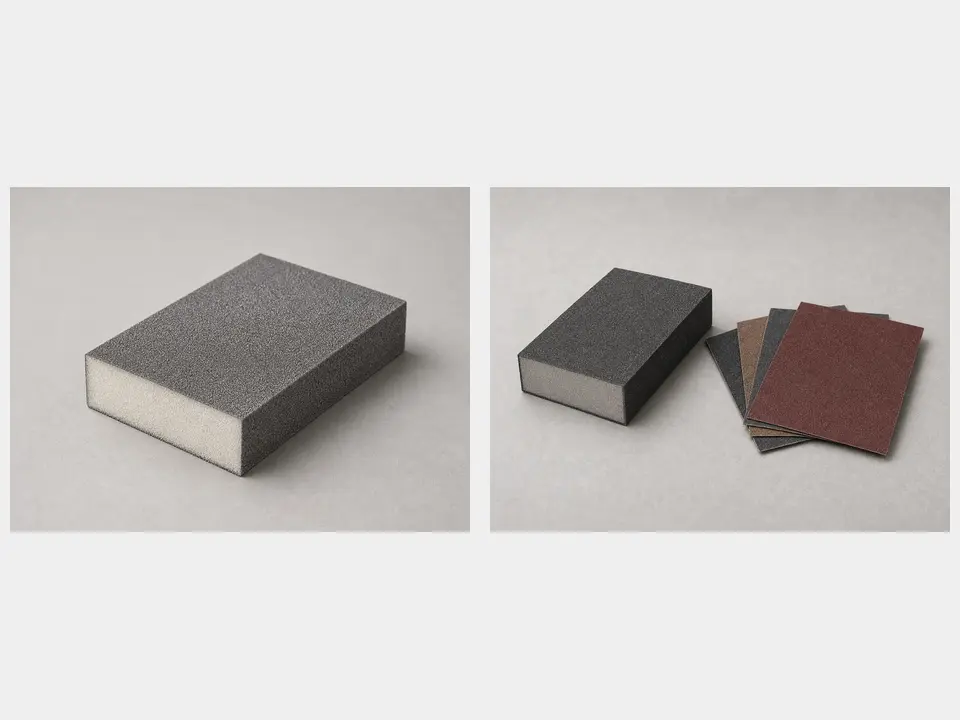
Use it for: To smooth dried compound without gouging the ceiling.
Shop drywall sanding sponges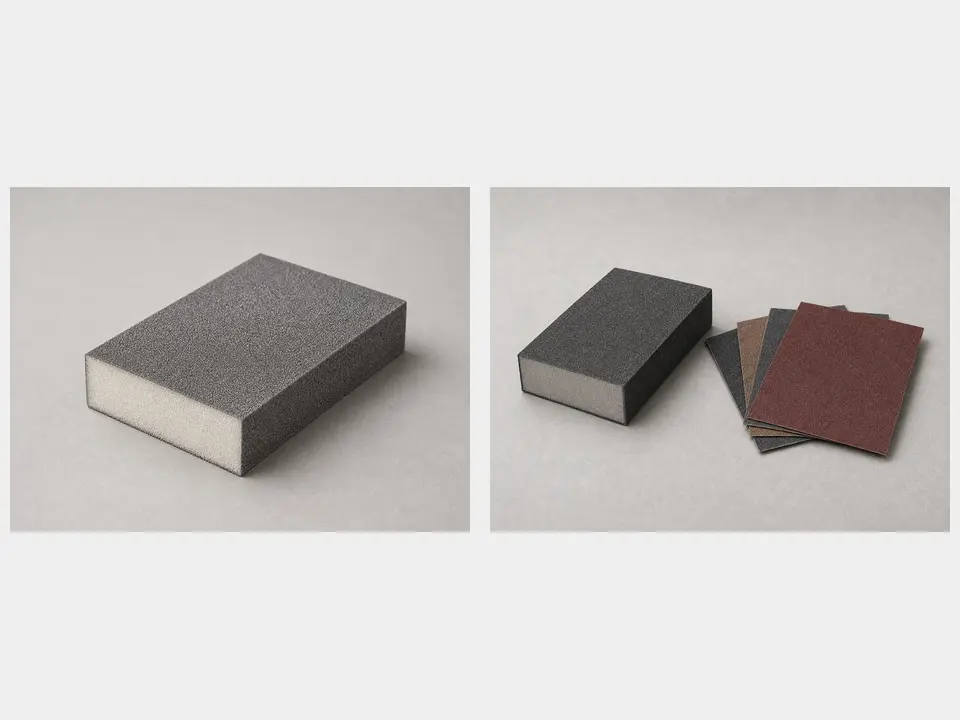
Use it for: To hold joint compound while you work overhead.
Shop mud pans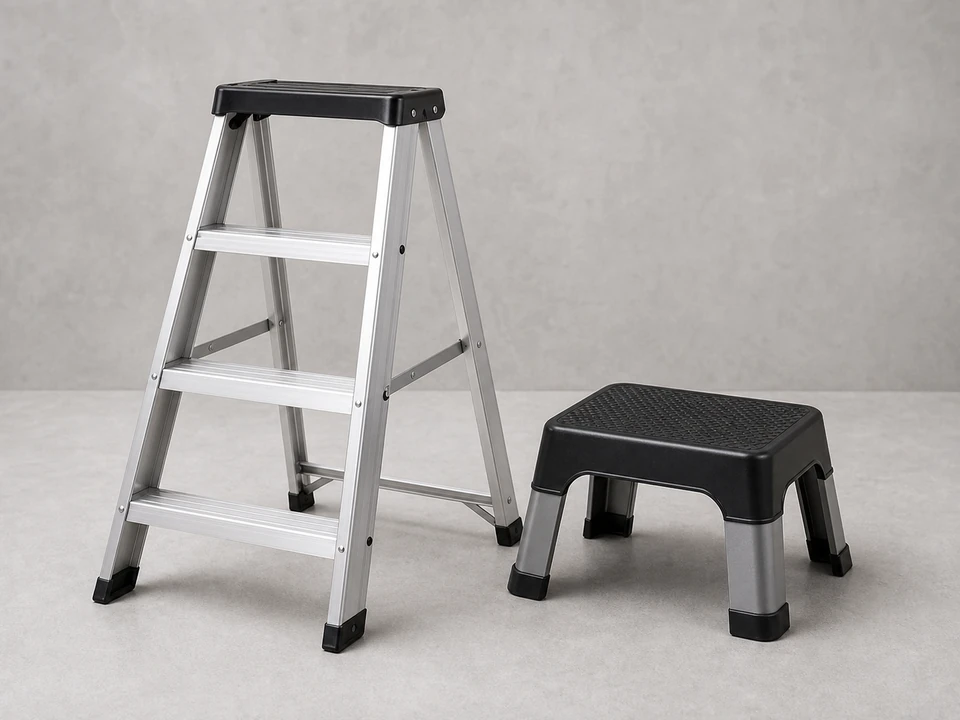
Use it for: To reach the ceiling safely and keep both hands free for the repair.
Shop step ladders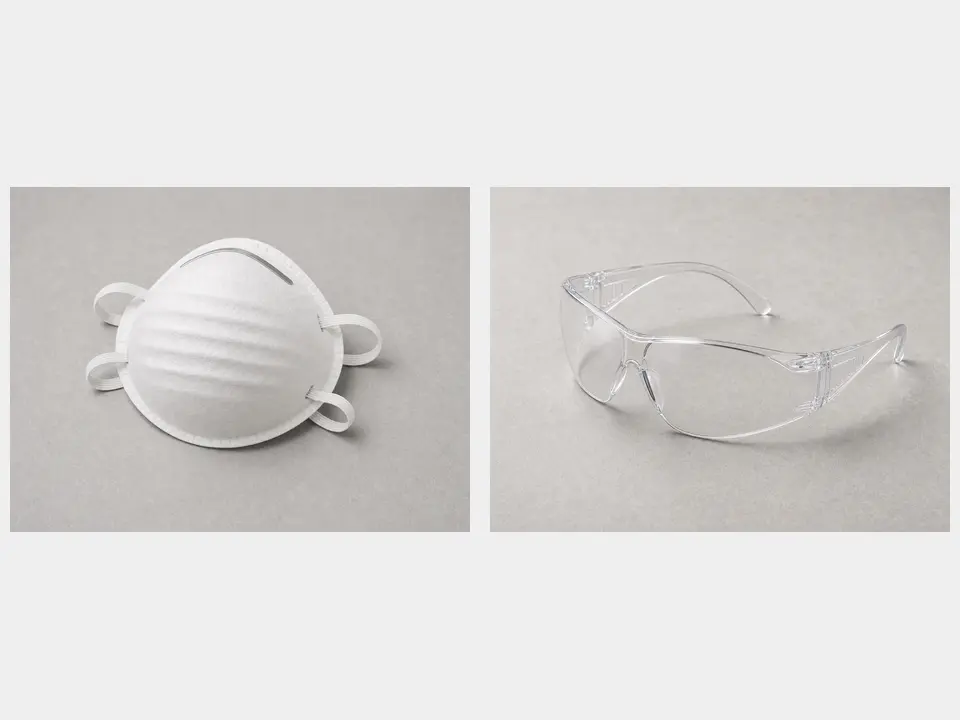
Use it for: To protect your eyes and lungs while scraping and sanding overhead.
Shop dust masks and safety glassesAs an Amazon Associate I earn from qualifying purchases. Repair Riot may earn a commission at no extra cost to you.
If it works: You have confirmed the seam tape has failed and the surrounding ceiling feels dry and solid enough for a tape replacement.
If it doesn’t: If the crack is not on a seam or the ceiling is stained or soft, solve the moisture or drywall damage first before replacing tape.
If it works: The damaged section is fully removed, and the seam is down to solid, well-bonded material with no loose edges left behind.
If it doesn’t: If small bits still lift when you scrape, keep cutting back until only solid material remains.
If it works: The seam is clean, lightly filled if needed, and covered with a fresh bed of compound ready for tape.
If it doesn’t: If the compound drags or falls off, remove dust and apply a fresh, even coat instead of trying to force the tape into a dry or lumpy bed.
If it works: The tape lies flat, stays bonded at the edges, and shows no bubbles or lifted spots after drying.
If it doesn’t: If a section wrinkles or bubbles while wet, lift that section right away, add fresh compound, and reset it flat.
If it works: The seam looks smooth, the tape is hidden, and the repair blends into the surrounding ceiling without obvious ridges.
If it doesn’t: If you can still see a low spot or tape edge, add one more thin coat instead of trying to sand the defect away.
If it works: The ceiling seam stays flat in real use, with no new bubbling, peeling, or cracking along the repaired joint.
If it doesn’t: If the seam reopens or bubbles return, remove the failed section again and check for hidden moisture, movement, or damaged drywall before retaping.
Match the replacement part to your exact ceiling before ordering.
As an Amazon Associate I earn from qualifying purchases. Repair Riot may earn a commission at no extra cost to you.
Usually no. Once tape has let go, the better repair is to remove the failed section and install new tape in fresh joint compound.
If only one section is loose and the rest is solid, you can usually replace just that section. If the tape is failing in multiple places, replacing more of the seam often gives a better long-term result.
Common causes include poor bonding during the original finish work, movement at the seam, moisture, or repeated humidity swings that stress a weak joint.
Wait until each coat is fully dry. Dry time depends on compound type, room temperature, humidity, and coat thickness, so follow the product directions and do not rush it.
Usually the repair needs another thin coat feathered wider. Trying to sand a low spot flat rarely works and can damage the tape.