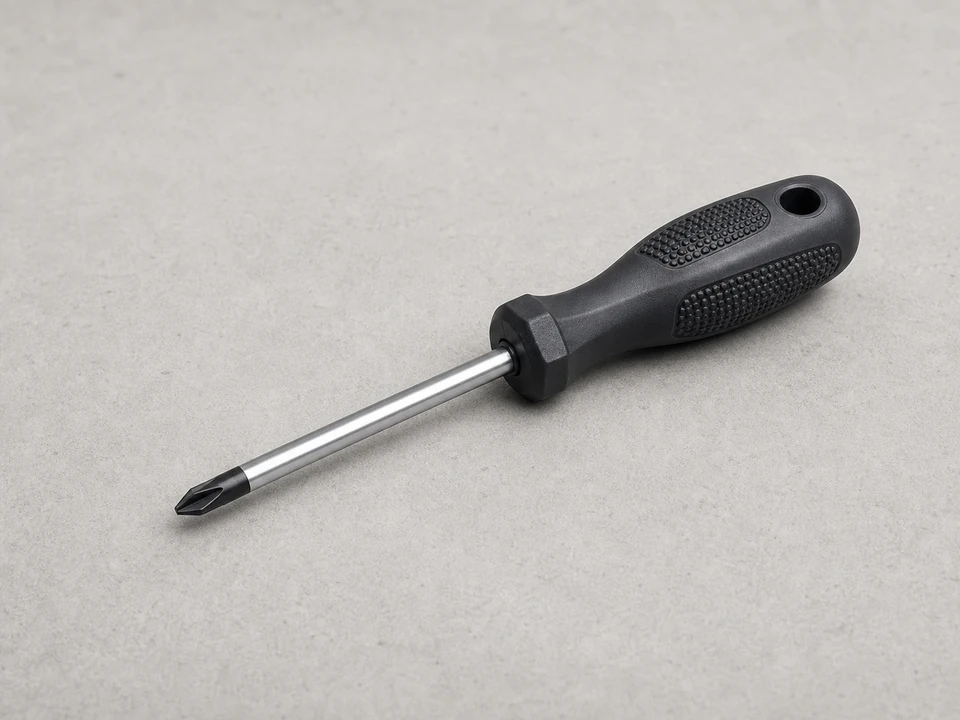
Phillips screwdriver
Use it for: To loosen or tighten the screws that hold the gasket retainer on many freezer lids.
Shop Phillips screwdriversIf your chest freezer lid is not sealing because the gasket is torn, flattened, loose, or permanently warped, replacing the chest freezer gasket is the right fix.
A good gasket lets the lid close evenly and keeps warm room air out. This job is usually straightforward if you confirm the seal is the problem first, handle the new gasket gently, and check the lid all the way around when you are done.
Before you start: Match the gasket profile, door size, and refrigerator or freezer compatibility before ordering.
Use it for: To loosen or tighten the screws that hold the gasket retainer on many freezer lids.
Shop Phillips screwdrivers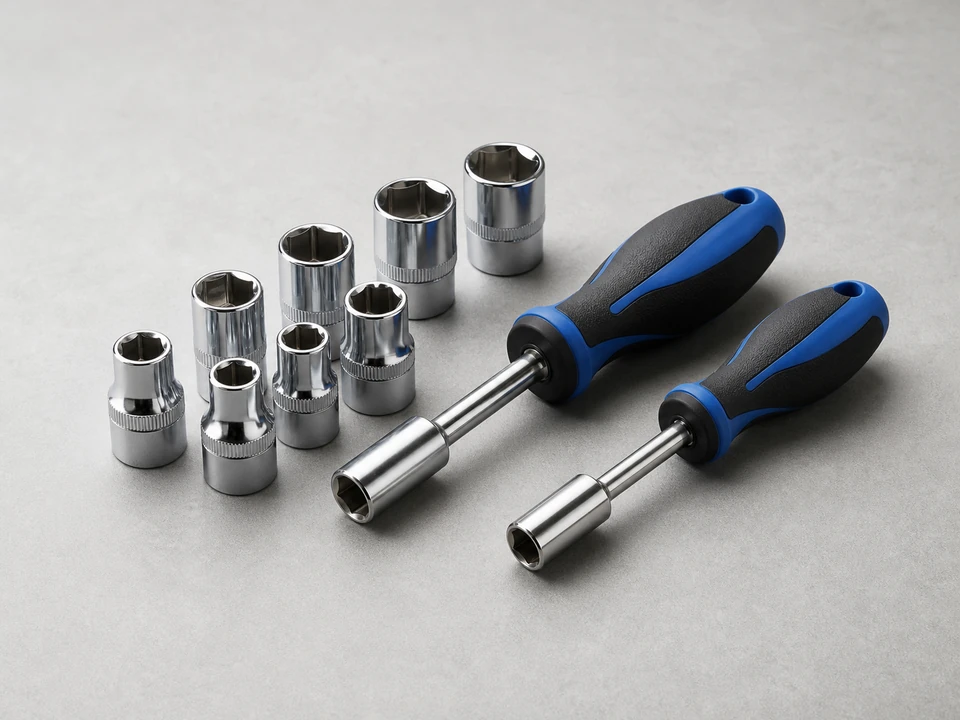
Use it for: Some freezer lids use hex-head fasteners instead of standard screws.
Shop nut driver sets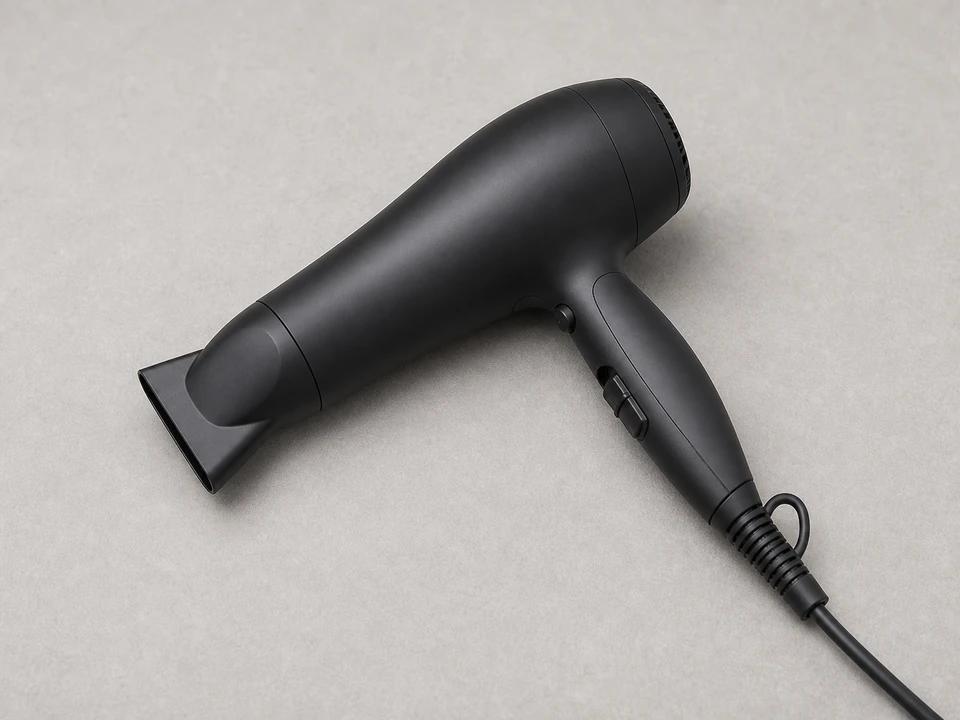
Use it for: To warm and relax a folded replacement gasket so it seats flat.
Shop hair dryers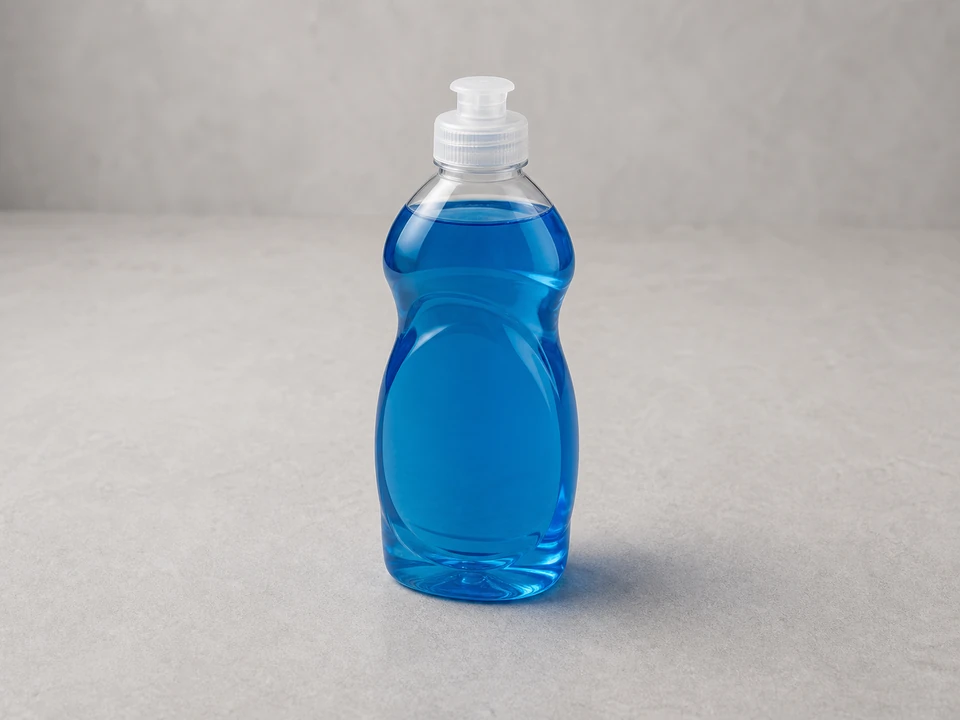
Use it for: To clean the lid channel and sealing surface before installing the new gasket.
Shop dish soap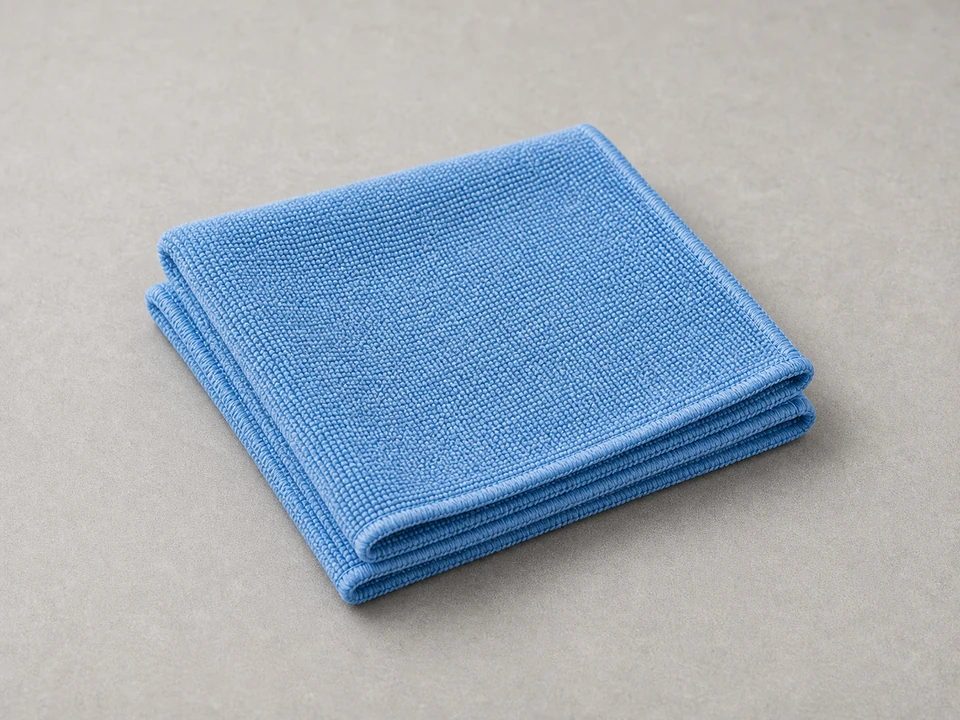
Use it for: To wipe away dirt, moisture, and residue without scratching the finish.
Shop microfiber cloths
Use it for: To protect your hands from sharp metal edges around the lid liner or retainer.
Shop work glovesAs an Amazon Associate I earn from qualifying purchases. Repair Riot may earn a commission at no extra cost to you.
If it works: You found clear gasket damage or a weak seal and the lid itself appears to close normally.
If it doesn’t: If the gasket looks intact, try cleaning it and the cabinet sealing surface first. If the lid is misaligned or the hinge is damaged, this is not a gasket-only repair.
If it works: You have a clear work area and the new gasket is flexible enough to sit flat.
If it doesn’t: If the new gasket still has deep kinks, give it more time at room temperature and warm it again lightly before installing.
If it works: The old gasket is off and the mounting surface is clean and dry.
If it doesn’t: If the gasket will not come free, look again for hidden fasteners or a retainer strip still clamping it in place.
If it works: The new gasket is fully seated, corners are even, and the sealing surface looks uniform all the way around.
If it doesn’t: If one section keeps popping out or twisting, loosen that area, reseat it, and work outward from the nearest corner.
If it works: The lid sits flat and the gasket appears to contact the cabinet evenly around the perimeter.
If it doesn’t: If a corner still stands away from the cabinet, warm that area lightly, reshape it, and let the lid stay closed longer.
If it works: The lid seals consistently, the paper test shows good grip around the perimeter, and the freezer holds temperature without obvious air leaks.
If it doesn’t: If the new gasket still does not seal, recheck for a twisted section, debris on the cabinet edge, or a lid alignment issue. If those are not the problem, the replacement gasket may not be the correct fit.
Match the gasket profile, door size, and refrigerator or freezer compatibility before ordering.
As an Amazon Associate I earn from qualifying purchases. Repair Riot may earn a commission at no extra cost to you.
If the gasket is only dirty or slightly misshapen, cleaning it and warming it gently may help. If it is torn, hardened, badly flattened, or will not hold its shape, replacement is the better fix.
It is a good idea if you will have the lid open for a while and the plug is easy to reach. That helps avoid unnecessary run time while you work.
New gaskets are often folded in the package. Letting it warm to room temperature and using light heat from a hair dryer usually helps it relax and seal properly.
Check the overall size, corner shape, mounting style, and gasket profile. A gasket that is close but not exact may install poorly or leave gaps.
Look for a twisted section, dirt on the cabinet sealing surface, or a lid that is out of alignment. If those are not the issue, the replacement part may not match the freezer correctly.