
Screwdriver set
Use it for: To remove mounting screws and open the cooktop.
Shop screwdriver setsIf one radiant burner will not heat, heats unevenly, or is visibly damaged, replacing the cooktop radiant surface element is often the right fix.
This repair usually involves disconnecting power, lifting the cooktop, moving a few wires to the new element, and reassembling everything carefully. Work slowly so you do not crack the glass or mix up wire positions.
Before you start: Match the replacement part to your exact cooktop before ordering.
Use it for: To remove mounting screws and open the cooktop.
Shop screwdriver sets
Use it for: To pull wire terminals off the old element without yanking the wires.
Shop needle-nose pliers
Use it for: To protect your hands from sharp metal edges under the cooktop.
Shop work gloves
Use it for: To take a wiring photo before moving anything.
Shop simple inspection cameras and phone stands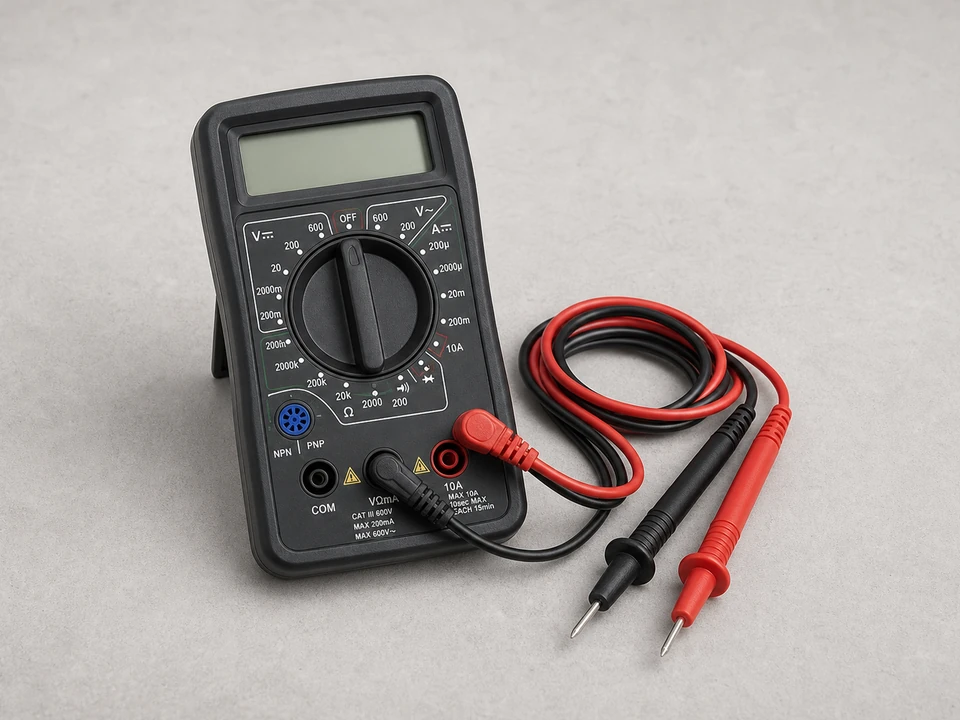
Use it for: To check for power off and compare the old element if needed.
Shop multimetersAs an Amazon Associate I earn from qualifying purchases. Repair Riot may earn a commission at no extra cost to you.
If it works: You have good reason to suspect the cooktop radiant surface element at one burner position.
If it doesn’t: If the burner works normally sometimes, multiple burners have the same issue, or the indicator lights and controls act strangely, the problem may be a switch, control, wiring, or power supply instead.
If it works: The cooktop is cool, de-energized, and safe to open.
If it doesn’t: If you cannot confirm power is off, do not continue until you can verify it with certainty.
If it works: You can clearly access the old cooktop radiant surface element and have a reference photo of the wiring.
If it doesn’t: If access is blocked, look for additional trim screws or mounting clips and open only as much as needed to reach the element safely.
If it works: The old element is out and the wiring is intact.
If it doesn’t: If a connector is stuck, use needle-nose pliers and gentle rocking pressure instead of pulling harder on the wire.
If it works: The new element is mounted securely and wired the same way as the original.
If it doesn’t: If the new part does not match the old one closely, stop and verify the replacement using your cooktop model information.
If it works: The repaired burner heats normally, cycles as expected, and the cooktop goes back together without loose parts or new issues.
If it doesn’t: If the new element does not heat, heats constantly, or only works on some settings, recheck the wire placement and consider a bad switch, control, or damaged wiring.
Match the replacement part to your exact cooktop before ordering.
As an Amazon Associate I earn from qualifying purchases. Repair Riot may earn a commission at no extra cost to you.
A bad element often shows weak heating, partial glowing, or visible damage at one burner position. If the burner will not regulate heat, stays on all the time, or several burners act up, the switch or another control part may be the real problem.
Usually you need to lift or open the cooktop to reach the element from below. The exact access method varies, but most replacements require at least partial disassembly.
It helps, especially to confirm power is off and to compare the old element if needed, but the repair is often done by matching the failed burner position, visible damage, and wire layout carefully.
First recheck the wire connections against your photo and make sure each terminal is fully seated. If the wiring is correct, the issue may be the burner switch, control, incoming power, or damaged wiring.
It is better not to use that burner until it is repaired. A damaged element or overheated connector can get worse and may damage nearby wiring or the cooktop surface.