
Dehumidifier repair

How to Replace a Dehumidifier Bucket Float Assembly

If the bucket float is cracked, missing, sticking, or no longer trips the bucket-full shutoff correctly, replacing the dehumidifier bucket float assembly is usually a straightforward fix.

This repair is mostly about safe access, matching the new float assembly to the old one, and making sure it moves freely before you put the bucket back into service.

Before you start: Match the replacement part to your exact dehumidifier before ordering.

Prepared by: Repair Riot Last updated: 2026-06-05 How we build and check guides

Safety first

  • Unplug the dehumidifier before removing the bucket float assembly or reaching into the bucket compartment.
  • Keep water away from the plug, cord, and control area while cleaning and testing.
  • Do not force clips or screws into bucket plastic, which can crack easily.

Tools you may need

Work gloves tool

Work gloves

Use it for: Protect your hands from sharp plastic edges and grime inside the bucket area.

Shop work gloves

Mild dish soap tool

Mild dish soap

Use it for: Clean slime, scale, or residue that can make the float stick.

Shop dish soap
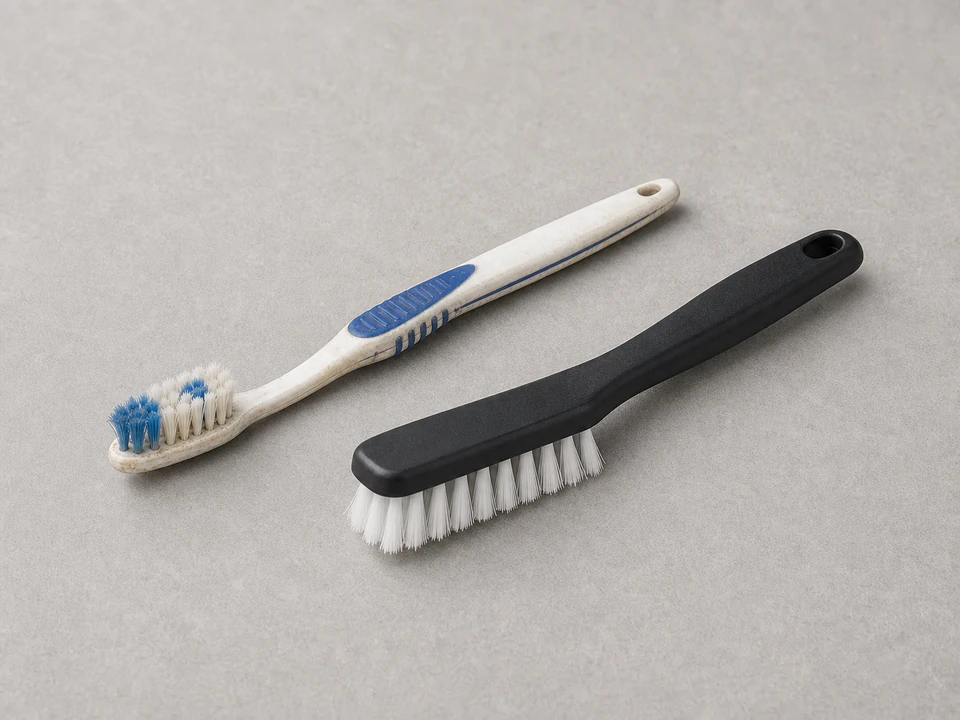
Soft brush or old toothbrush tool

Soft brush or old toothbrush

Use it for: Scrub the float channel and bucket corners without damaging plastic.

Shop cleaning brush
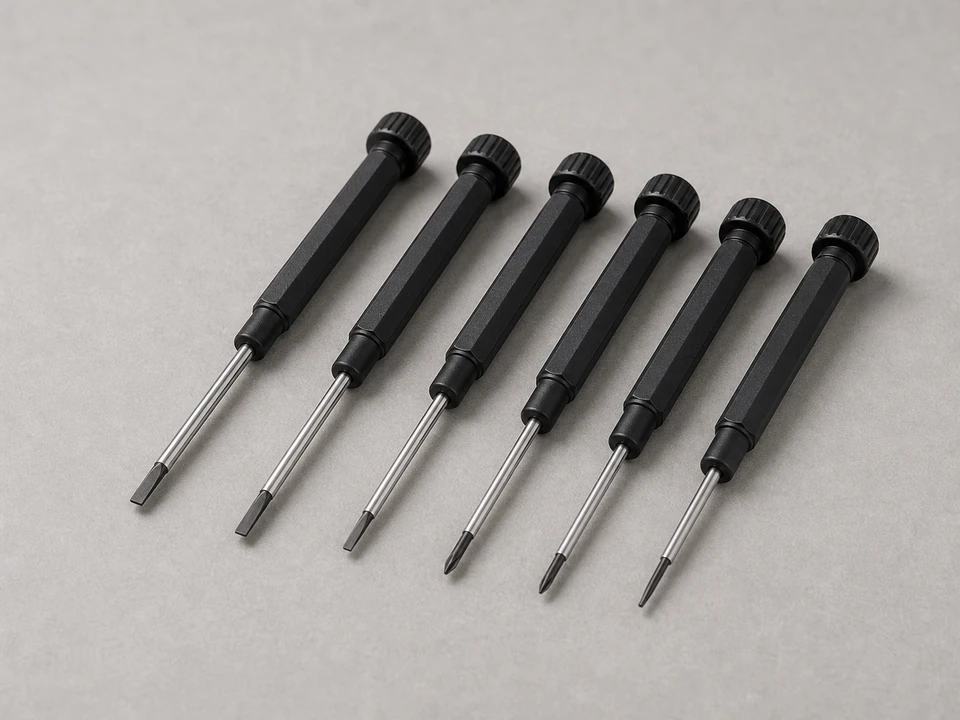
Small screwdriver set tool

Small screwdriver set

Use it for: Remove clips or small fasteners if the float assembly is retained that way.

Shop small screwdriver set

Clean towels tool

Clean towel

Use it for: Dry the bucket and float area so you can see how the new part sits.

Shop microfiber towels

As an Amazon Associate I earn from qualifying purchases. Repair Riot may earn a commission at no extra cost to you.

Step-by-step fix

Step 1: Confirm the bucket float assembly is the problem

  1. Unplug the dehumidifier and slide the water bucket out.
  2. Look at the float assembly inside or attached to the bucket and check for cracks, warping, broken pivots, missing pieces, or heavy mineral buildup.
  3. Move the float by hand. It should rise and fall smoothly without rubbing hard, hanging up, or falling out of place.
  4. If the bucket itself is badly cracked or misshapen, note that before ordering parts because a damaged bucket can mimic a float problem.

If it works: You found clear float damage, sticking, or misalignment that explains false bucket-full readings, failure to shut off, or poor bucket operation.

If it doesn’t: If the float moves freely and looks intact, clean the bucket and sensor area first and recheck before replacing parts.

Stop if:
  • The bucket rails, bucket housing, or switch area on the machine is broken or badly bent.
  • You see water damage near wiring or the control area inside the dehumidifier.

Step 2: Clean the bucket and prep the new part

  1. Empty any standing water from the bucket.
  2. Wash the bucket, float channel, and nearby surfaces with mild soap and warm water to remove slime and scale.
  3. Dry the bucket fully with a towel so clips, tabs, and pivot points are easy to see.
  4. Set the new float assembly next to the old one and compare shape, mounting points, and overall size.

If it works: The bucket is clean and dry, and the replacement float assembly matches the original layout.

If it doesn’t: If the new part does not match the old one closely, pause and verify fit using your dehumidifier model information.

Stop if:
  • The replacement part has different mounting points or cannot sit in the same position as the original.

Step 3: Remove the old float assembly

  1. Take a quick photo of the old float assembly before removing it so you can copy its orientation.
  2. Release any retaining tabs, clips, or small screws holding the float assembly in place.
  3. Lift or slide the old float assembly out carefully without forcing the bucket plastic.
  4. Check the mounting area for broken tabs, debris, or scale that could keep the new float from sitting flat.

If it works: The old float assembly is out, and the mounting area is intact and ready for the new part.

If it doesn’t: If the float assembly will not come out, look again for a hidden clip or fastener instead of prying harder.

Stop if:
  • A bucket tab or mounting point breaks during removal.
  • The bucket plastic is already cracked where the float assembly mounts.

Step 4: Install the new float assembly

  1. Position the new float assembly in the same direction as the old one.
  2. Snap, slide, or screw it into place using the original mounting points.
  3. Move the float through its full travel by hand to make sure it does not bind, tilt sideways, or pop loose.
  4. Reinstall any clip or fastener snugly, but do not overtighten into plastic.

If it works: The new float assembly is secure and moves freely through its full range.

If it doesn’t: If the float binds, remove it and check for debris, incorrect orientation, or a fit mismatch before trying again.

Stop if:
  • The new float cannot move freely after correct installation.
  • The bucket plastic flexes excessively or the mounting point will not hold the new part.

Step 5: Reinstall the bucket and test the shutoff response

  1. Slide the bucket back into the dehumidifier until it seats fully.
  2. Plug the unit back in and start normal operation.
  3. If you can safely observe the float position, gently lift the float or add a small amount of water to the bucket to confirm the machine recognizes the bucket-full condition.
  4. Lower the float or empty the bucket and make sure the unit returns to normal operation once the bucket is seated correctly.

If it works: The dehumidifier responds correctly to the float position and no longer acts like the bucket is full when it is not.

If it doesn’t: If the machine still shows a bucket-full problem, inspect the bucket seating and the machine-side bucket switch area for misalignment or damage.

Stop if:
  • The unit does not respond to the float at all after correct installation.
  • Testing reveals water leaking from the bucket or bucket compartment.

Step 6: Verify the repair in real use

  1. Run the dehumidifier long enough to collect water under normal conditions.
  2. Check that the bucket fills normally, the float rises smoothly, and the machine shuts off at the proper point.
  3. Remove and reinstall the bucket once more to confirm the float assembly stays in place and the bucket seats normally.
  4. Look for splashing, sticking, or false bucket-full alerts during the next full bucket cycle.

If it works: The float assembly stays secure, the bucket fills and shuts off normally, and the repair holds during real use.

If it doesn’t: If the problem returns during a full bucket cycle, the bucket, switch area, or bucket alignment may need closer inspection.

Stop if:
  • The bucket overfills, water splashes out, or the machine fails to shut off when the bucket is full.

Replacement Parts

As an Amazon Associate I earn from qualifying purchases. Repair Riot may earn a commission at no extra cost to you.

Verify the repair

  • The bucket slides in and out normally without catching the float.
  • The float rises and falls freely without sticking.
  • The dehumidifier no longer gives a false bucket-full reading during normal use.
  • The unit shuts off when the bucket reaches the full position and resumes properly after the bucket is emptied and reinstalled.

FAQ

What does the bucket float assembly do in a dehumidifier?

It helps the machine detect when the bucket is full so the unit can stop collecting water before the bucket overflows.

How do I know if the float assembly is bad?

Common signs are a cracked or missing float, a float that sticks in one position, false bucket-full alerts, or a machine that does not shut off when the bucket fills.

Can I clean the float assembly instead of replacing it?

Yes, if the float is only dirty or scaled up. Replace it if it is cracked, warped, loose on its pivot, or no longer moves correctly after cleaning.

Do I need to open the whole dehumidifier cabinet for this repair?

Usually no. On many units, the bucket float assembly is accessed through the removable water bucket area.

Why is my dehumidifier still saying the bucket is full after I replaced the float assembly?

The bucket may not be seated fully, the replacement part may not fit correctly, or the machine-side bucket switch area may also be misaligned or damaged.