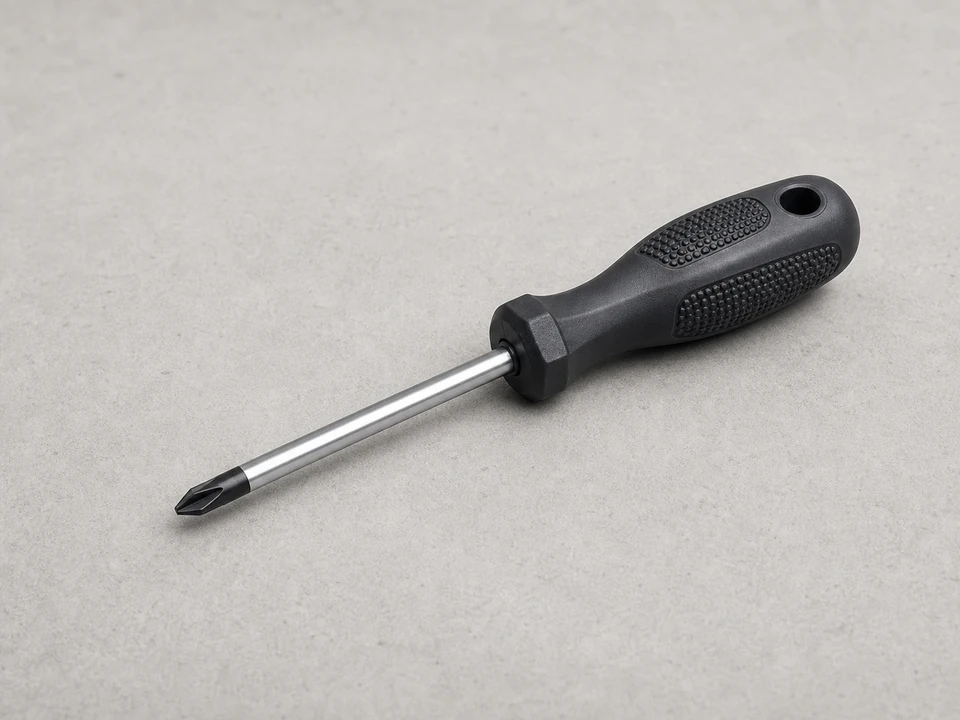
Phillips screwdriver
Use it for: Removes the screws holding the cover, panel, or switch bracket.
Shop Phillips screwdriversTo replace a dehumidifier bucket switch, unplug the unit, remove the bucket, open the access area or outer cover as needed, swap the old switch for a matching replacement, reconnect the wires, and test that the unit recognizes the bucket correctly.
A failed bucket switch can make a dehumidifier act like the bucket is missing or full even when it is seated properly. This job is usually manageable for a careful homeowner, but take your time around wiring and stop if the switch location is not easy to reach safely.
Before you start: Match the replacement part to your exact dehumidifier before ordering.
Use it for: Removes the screws holding the cover, panel, or switch bracket.
Shop Phillips screwdrivers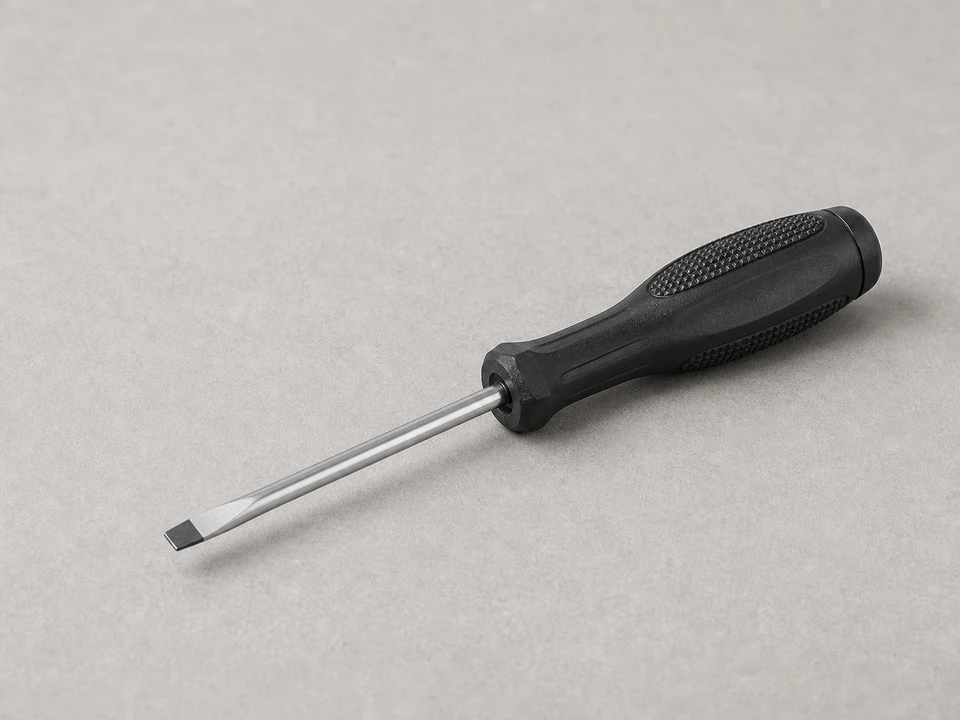
Use it for: Helps release clips or gently lift wire terminals if they are tight.
Shop small flat screwdrivers
Use it for: Pulls wire connectors off the switch terminals without tugging on the wires.
Shop needle-nose pliers
Use it for: Protects your hands from sharp sheet metal edges inside the cabinet.
Shop work glovesAs an Amazon Associate I earn from qualifying purchases. Repair Riot may earn a commission at no extra cost to you.
If it works: The unit is unplugged, the bucket is out, and you can see where the bucket switch is located or where it is being actuated.
If it doesn’t: If you cannot identify the switch area from the bucket opening, continue carefully to the outer cover removal step.
If it works: You can clearly see the bucket switch, its mounting method, and the wires connected to it.
If it doesn’t: If the switch is buried behind sealed components or the cabinet will not open without forcing it, stop and look up a parts diagram or contact a repair pro.
If it works: The old switch is out and you have a clear record of how it was mounted and wired.
If it doesn’t: If a connector is stuck, rock it gently instead of twisting the terminal. If the switch will not release, look again for a hidden tab or screw.
If it works: The new switch is mounted securely, wired correctly, and positioned so the bucket can trigger it normally.
If it doesn’t: If the switch does not sit correctly or the actuator does not line up, remove it and recheck the orientation before going further.
If it works: The dehumidifier is reassembled and the bucket fits normally without binding.
If it doesn’t: If the bucket does not seat fully, remove it and inspect the switch position again before powering the unit.
If it works: The dehumidifier recognizes the bucket correctly and runs normally with the new switch installed.
If it doesn’t: If the same symptom remains, recheck the bucket alignment, wire connections, and whether the replacement switch matches the original. If those look correct, another control or sensor issue may be present.
Match the replacement part to your exact dehumidifier before ordering.
As an Amazon Associate I earn from qualifying purchases. Repair Riot may earn a commission at no extra cost to you.
A bad bucket switch often makes the dehumidifier act like the bucket is missing, full, or out of place even when it is installed correctly. Check bucket alignment first, because a misseated bucket can cause the same symptom.
Sometimes yes, if the switch is accessible near the bucket opening. On many units, you will need to remove at least one panel or the outer cover to reach it safely.
Yes, that is a good idea whenever the terminals could be confused. A quick photo and simple tape labels help prevent wiring mistakes during reassembly.
Do not install it unless the mounting style, terminal layout, and actuator function match the original closely enough to work the same way. If it does not match, verify the part fit before continuing.
Recheck that the bucket is seating fully, the switch actuator is aligned, and the wires are on the correct terminals. If those are correct, the problem may be with the bucket float, linkage, wiring, or control board rather than the switch itself.