Replace a dishwasher float switch only after the float moves freely and the switch fails to click or change continuity. Shut off power, reach the switch below the tub, match the bracket and terminals, then run a controlled fill test before closing the job.
A bad float switch can make a dishwasher overfill, stop filling too soon, or ignore a raised float. Start with the float itself, because a seed, glass chip, detergent crust, or bent float stem can mimic a failed switch. Stop if you find scorched wiring, water on electrical parts, or a dishwasher that keeps filling even with power off.
Before you start: Match the full dishwasher model number, switch bracket, terminal size, actuator position, and wire connection type before ordering. Stop if access strains the water line or drain hose, if wiring is scorched, or if water is reaching electrical parts.
Last reviewed: 2026-06-12
Make sure this is the right repair
Before replacing the dishwasher float switch, separate a stuck float from a failed switch and confirm the new switch fits the exact dishwasher. Guessing here can leave the original overfill problem in place.
This page fits
This page fits when: The float moves freely, but the switch does not click or change continuity, or the switch body, actuator, bracket, or terminals are visibly damaged.
Check something else when: If the float is jammed by debris or detergent crust, clean and retest before ordering a switch.
Confirm the fit first
This page fits when: The replacement matches the dishwasher model number, mounting bracket, terminal width, terminal angle, and actuator position.
Check something else when: If two parts look similar, use the full model number from the dishwasher tag instead of matching by photo alone.
Stop for hidden damage
This page fits when: The switch area is dry, the harness reaches without strain, and the water line, drain hose, and hard-wired connection are not being pulled tight.
Check something else when: Stop if you find scorched wiring, a wet base pan, a cracked float stem, or a dishwasher that keeps filling after power is shut off.
Check the switch and dry-fit the replacement
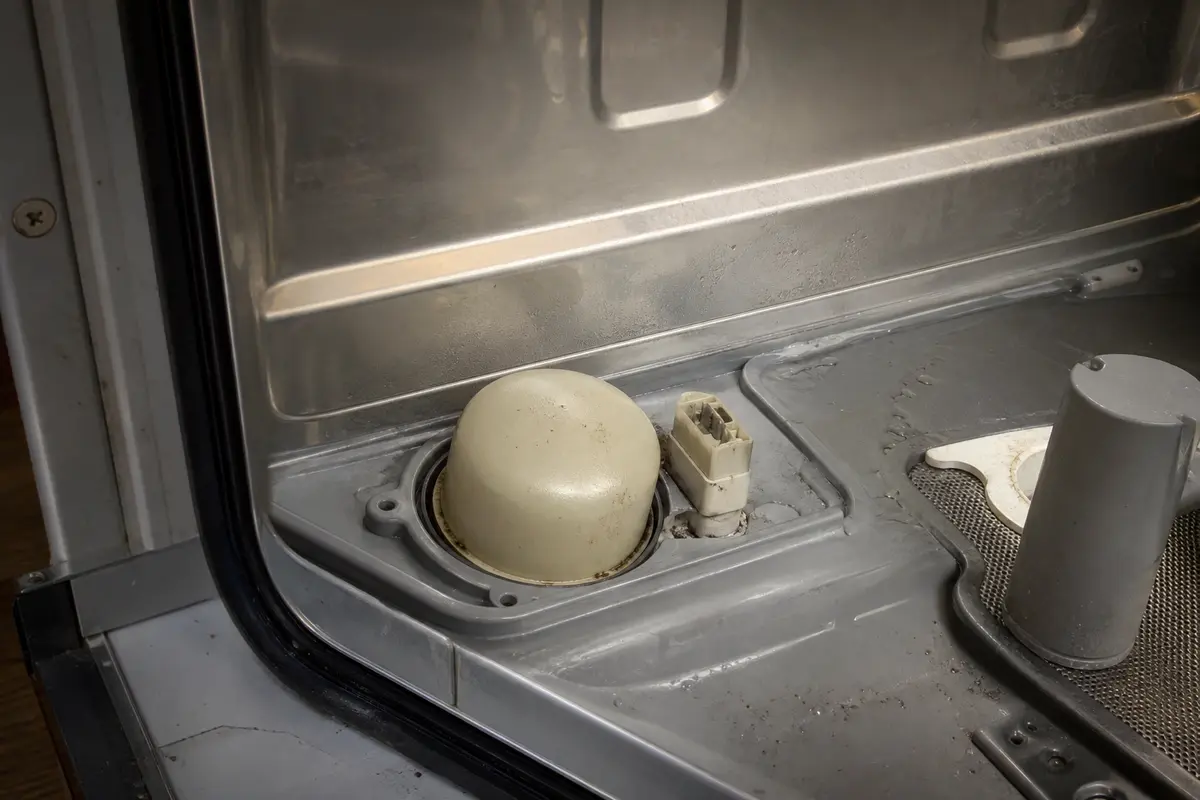
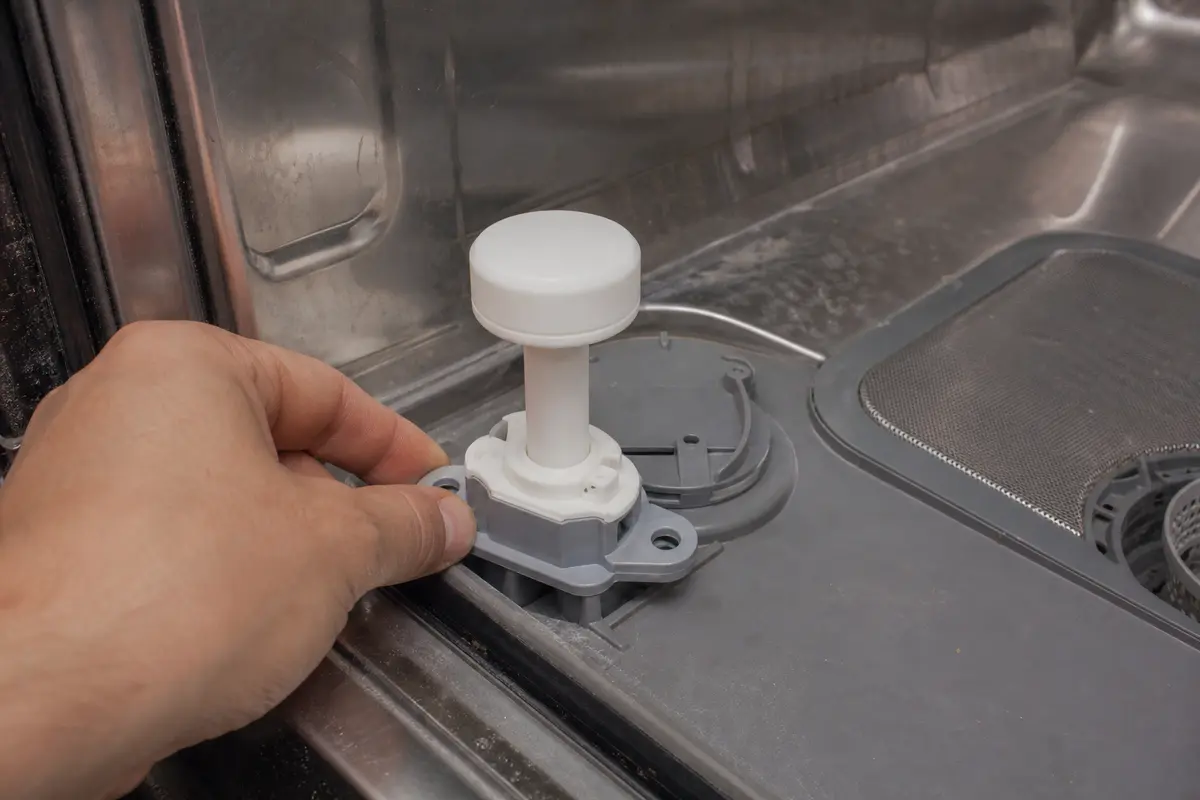
The photos should help you compare the failed switch area with the new switch before the lower panel goes back on. Use them to check terminal direction, bracket seating, and whether the float can hit the actuator cleanly.
Find the switch directly below the float. Do not continue if the bracket is cracked, the connector is scorched, or the area is wet.Dry-fit the new switch before closing the panel. The actuator should meet the float lever cleanly and the terminals should not rub the frame.
Safety first
Turn off power before removing the lower access panel or touching dishwasher wiring.
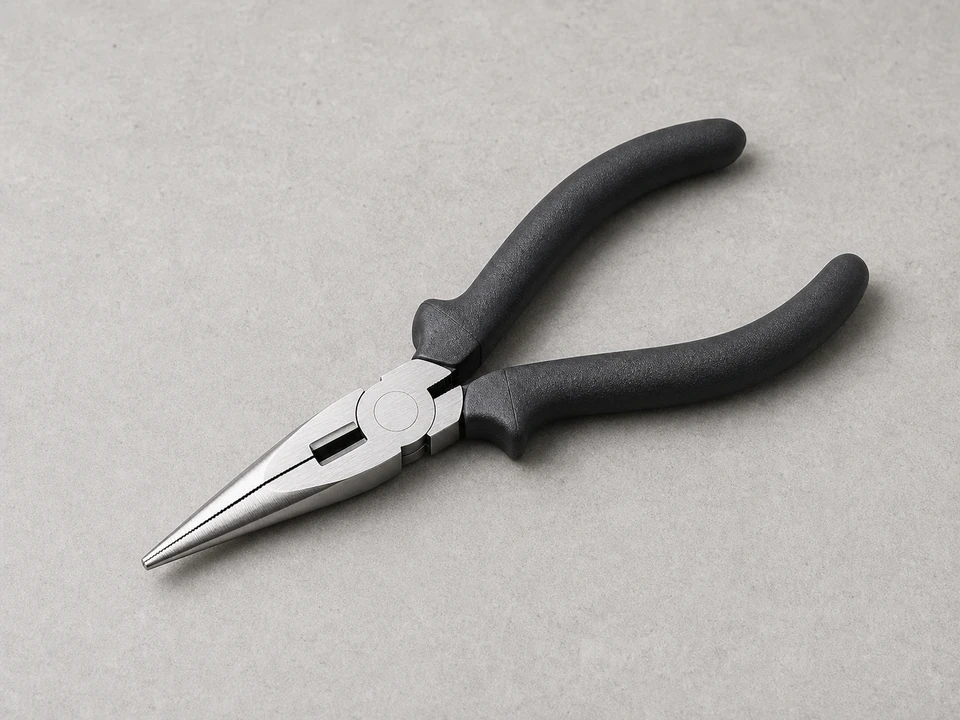
Use pliers on wire terminals, not on the wire insulation, to avoid pulling a wire loose from its connector.
If you see scorched wiring or melted connectors, stop and have an appliance technician or licensed electrician repair the damaged connection before installing a new switch.
Keep water away from exposed electrical connections during testing and reassembly.
Call an appliance technician or licensed electrician if the dishwasher trips the breaker, sparks, or has damaged hard-wired connections.
Tools you may need
Phillips screwdriver
Use it for: Use it after power is off to remove the lower access panel and any screws holding the switch bracket or cover.
As an Amazon Associate I earn from qualifying purchases. Repair Riot may earn a commission at no extra cost to you.
Step-by-step fix
Step 1: Confirm the float switch is the likely problem
Open the dishwasher door and locate the float inside the tub, usually near a front corner.
Lift the float straight up and let it drop under its own weight. It should move without scraping the tub, dragging on the cap, or hanging up partway. If it hangs up, clean around the stem before blaming the switch.
Look around the float stem for seeds, glass chips, labels, hardened detergent, or a utensil tip that could hold the float up.
Listen for a small click from below the tub as the float rises and drops. No click does not prove the switch is bad, but it moves the switch higher on the list.
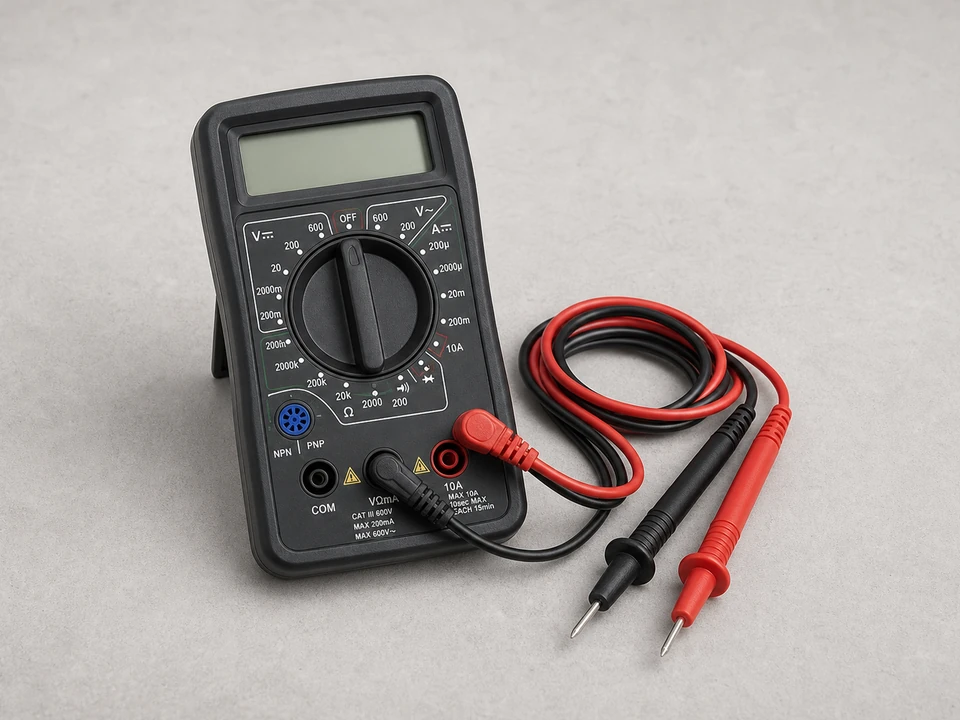
If you can reach the switch leads later, test for a continuity change with the float raised and lowered before buying parts.
If it works: The float moves freely, the tub area is clear, and the switch still does not click or test differently as the float moves.
If it doesn’t: If cleaning the float area restores free movement, run a short fill test before replacing the switch.
Stop if:
The dishwasher is leaking heavily from multiple areas, not just overfilling.
The tub is badly damaged around the float opening.
The dishwasher keeps filling even after power is shut off, which points toward a stuck water inlet valve rather than a float switch.
Step 2: Shut off power and get access to the switch
Turn off power to the dishwasher at the breaker or unplug it if the plug is accessible under the sink.
Try the control panel or start button after power is off. Nothing should light, beep, or start.
Shut off the dishwasher water supply if you need to pull the unit forward, loosen a water line, or work near damp wiring. Measure the slack first and stop if the water line, drain hose, or electrical whip gets tight.
Remove the lower access panel or toe-kick panel below the door and set the screws aside by location.
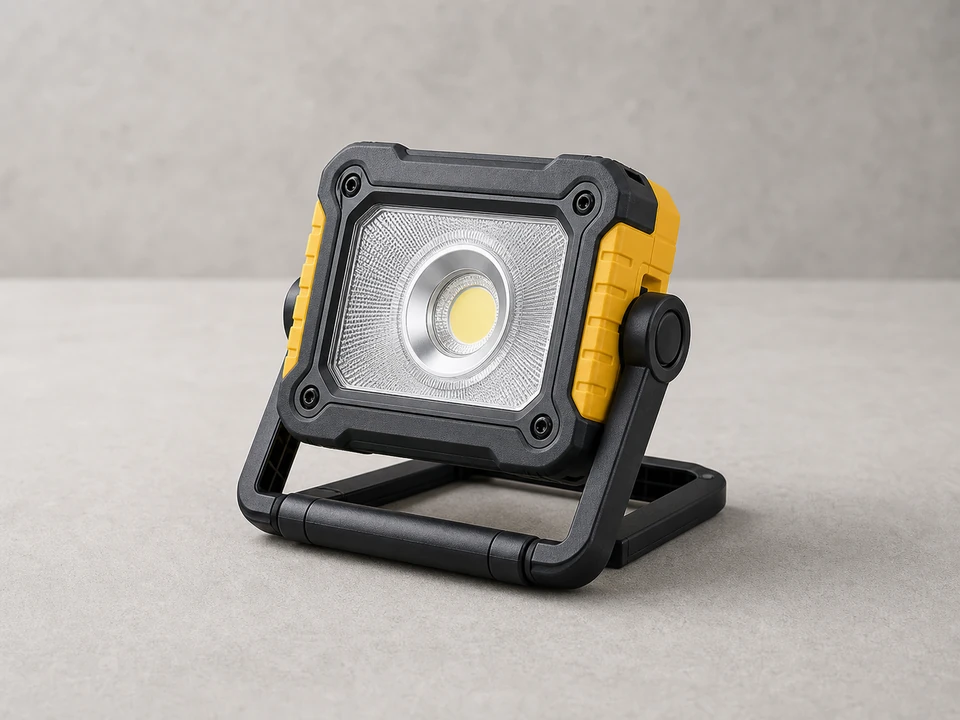
Use a work light to find the float switch under the tub, directly below the float inside the dishwasher. Follow the float stem or small lever instead of tugging on nearby harnesses.
Match the switch to the float above it by moving the float by hand and watching which lever or plunger moves below.
Check whether insulation, a sound blanket, or a mounting bracket is hiding the switch, and watch for water stains, mineral tracks, swollen insulation, or a wet base pan before touching the terminals.
If it works: Power is off, the work area is dry, and you can see the switch body, bracket, and wire terminals without straining the harness.
If it doesn’t: If the switch is buried behind insulation or a bracket, peel or remove only what blocks access and keep each screw with its bracket or panel.
Stop if:
You cannot positively confirm power is off.
You find scorched wires, melted insulation, or spark marks around the switch area. Leave power off and call an appliance technician or licensed electrician.
Access requires pulling the dishwasher in a way that strains the water line, drain hose, or electrical connection.
You find standing water in the base pan or moisture on the switch wiring.
Step 3: Remove the old float switch
Take a close photo that shows wire color, terminal position, and the direction the switch actuator faces.
Measure or compare the terminal width against the new switch if the terminals look different; if two terminals are identical, mark one wire with tape before disconnecting.
Pull the wire terminals off the switch using needle-nose pliers on the metal connectors, not on the wire insulation.
Rock a tight terminal straight off in small movements. Do not twist the switch body hard enough to crack the bracket.
Release the switch from its bracket or remove its mounting screw or clip. Before the old switch leaves your hand, match its screw hole, snap tab, and actuator side to the new switch.
Watch how the float stem, lever, or cam touches the switch actuator before the old switch comes out.
Inspect the old switch and connector ends for a cracked case, sticky plunger, loose rivet, green corrosion, loose crimp barrels, heat discoloration, or a terminal that no longer grips firmly.
If it works: The old float switch is out, the bracket is intact, and every wire terminal is identified for reassembly.
If it doesn’t: If a connector will not release, stop pulling on the wire and work the terminal loose at the connector with pliers.
Stop if:
A wire terminal breaks off and leaves too little good wire to reconnect safely.
The bracket is cracked or the float mechanism above is damaged.
The connector is scorched, loose, or corroded badly enough that a new switch would still have a poor electrical connection.
The replacement switch does not match the old switch's mounting and terminal layout closely enough to install confidently.
Step 4: Install the new dishwasher float switch
Compare the new switch to the old one for bracket shape, screw or clip position, terminal width, terminal angle, and actuator orientation.
Check the model number match before mounting if the new switch came from a parts listing with several similar-looking options.
Mount the new switch in the same position as the original so the float can press the actuator squarely.
Reconnect the wires to the matching terminals using your photo as a guide. A connector should slide on firmly without needing to be crushed with pliers.
Make sure no bare terminal can touch the frame, tub support, or another connector.
Move the float inside the tub by hand and watch or listen for the new switch to actuate at the same point each time.
If it works: The new switch is mounted securely, wired correctly, and responds at the same point every time the float moves.
If it doesn’t: If the float does not seem to contact the switch correctly, recheck the switch orientation and mounting before reassembling the panels.
Stop if:
The new switch cannot be secured firmly.
The float binds or misses the switch actuator after installation.
Any wire connection feels loose enough to slip off during operation.
The terminal size is close but not exact, because a loose connection can heat up under load.
Step 5: Reassemble and restore power
Reinstall any covers, brackets, insulation, and the lower access panel you removed, but leave the area visible for the first fill test if your model allows it.
Turn the water supply back on if you shut it off.
Restore power at the breaker or plug the dishwasher back in.
Keep towels away from wiring and do not run the dishwasher with the switch hanging loose.
If it works: The dishwasher is reassembled and ready for a controlled test.
If it doesn’t: If the panel does not fit back correctly, check for pinched wires or a misrouted switch harness before forcing anything.
Stop if:
You see water leaking onto electrical parts or the floor before the test cycle begins.
The dishwasher trips the breaker immediately after power is restored.
Step 6: Run a short fill test and confirm the repair held
Start a normal cycle or the shortest cycle that begins with a fill, then stay in the kitchen while it fills.
Listen for the inlet water to shut off on its own instead of continuing to run after the tub reaches its normal level.
Open the door after the initial fill if your dishwasher allows it. The water should sit below the heating element or filter cover area, not near the door lip.
Lift the float gently by hand during fill if needed. The dishwasher should stop taking in water when the float rises.
Let the cycle continue into the first wash action and check under the front edge for drips before reinstalling any remaining panel.
If it works: The dishwasher fills to a normal level, stops filling when it should, and runs without overfilling.
If it doesn’t: If it still overfills, stop the test and check the water inlet valve, float mechanism, wiring, and control path before buying another switch.
Stop if:
The dishwasher continues filling even when the float is raised.
Water approaches the door threshold or begins leaking out.
A burning smell, sparking, or repeated breaker trip occurs during the test.
Match the full dishwasher model number, switch bracket, terminal size and angle, actuator position, and wire connection type before ordering.
As an Amazon Associate I earn from qualifying purchases. Repair Riot may earn a commission at no extra cost to you.
Verify the repair
The float inside the tub moves freely and clicks the switch when raised and lowered.
The dishwasher stops filling at a normal level instead of continuing to add water.
The unit completes the early part of a cycle without overfilling or leaking.
No wires are loose, pinched, overheated, or rubbing against moving parts or sharp metal edges.
FAQ
What does a dishwasher float switch do?
It works with the float inside the tub to tell the dishwasher when the water level is high enough. When the float rises, the switch changes state and helps stop further filling.
How do I know if the float switch is bad instead of just stuck?
First make sure the float moves freely and is not blocked by debris or buildup. If the float moves normally but the dishwasher still overfills or the switch does not click or change continuity on a meter, the switch is a likely failure point.
Can I replace a dishwasher float switch without pulling the dishwasher out?
Yes if the lower front access panel exposes the switch directly below the tub float. Remove that panel first and look for the switch, bracket, and wire terminals. Stop if the harness, water line, or drain hose gets tight.
Can a bad float switch cause symptoms besides overfilling?
Not always. It can also cause fill problems or inconsistent water level sensing. Overfilling can also come from a sticking water inlet valve, damaged float parts, wiring problems, or a control issue.
Do I need a multimeter to replace the switch?
No, but it helps confirm the diagnosis before you buy parts. If you already know the switch is physically damaged or clearly not responding to the float, you may be able to replace it without meter testing.
Sources and reference notes
These internal repair references support the symptom path for float-switch and dishwasher fill problems. Use the dishwasher model tag and the old switch details for final part matching.