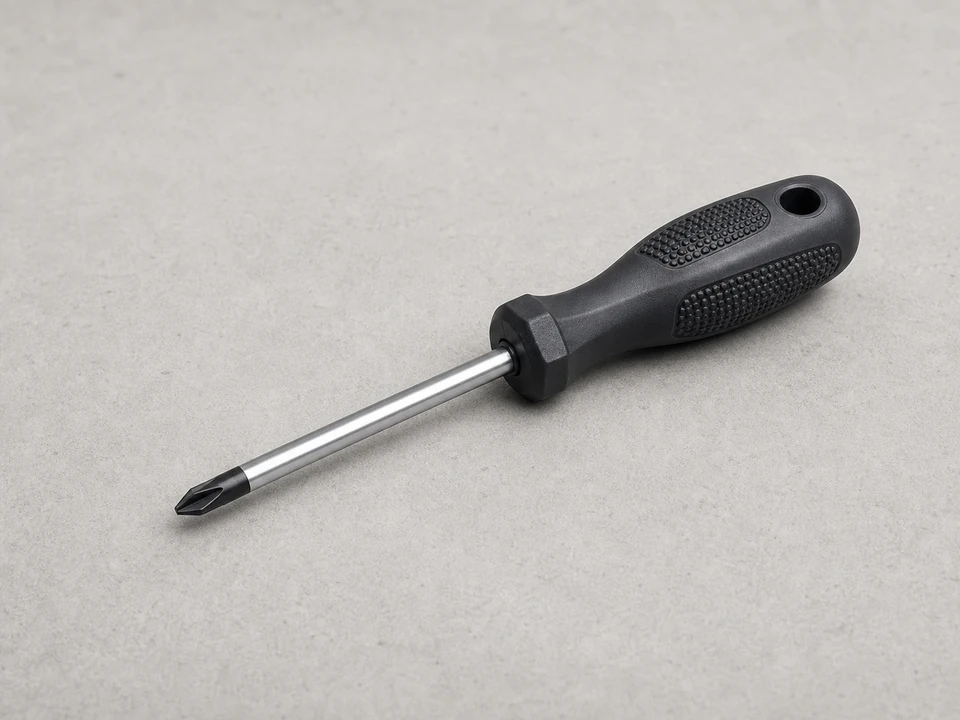
Phillips screwdriver
Use it for: Removes common cabinet, top, front, and bracket screws.
Shop Phillips screwdriversTo replace a dryer drive motor, unplug the dryer, open the cabinet, release the belt and drum, swap the motor, then reassemble and test the dryer through a full start and tumble check.
A failed drive motor can keep the dryer from starting, leave it humming without turning, or stop the drum even when the belt and door switch are fine. This repair takes some disassembly, but it is manageable if you work slowly, keep track of parts, and confirm the motor is the real problem before you tear too far in.
Before you start: Match the replacement part to your exact dryer before ordering.
Use it for: Removes common cabinet, top, front, and bracket screws.
Shop Phillips screwdrivers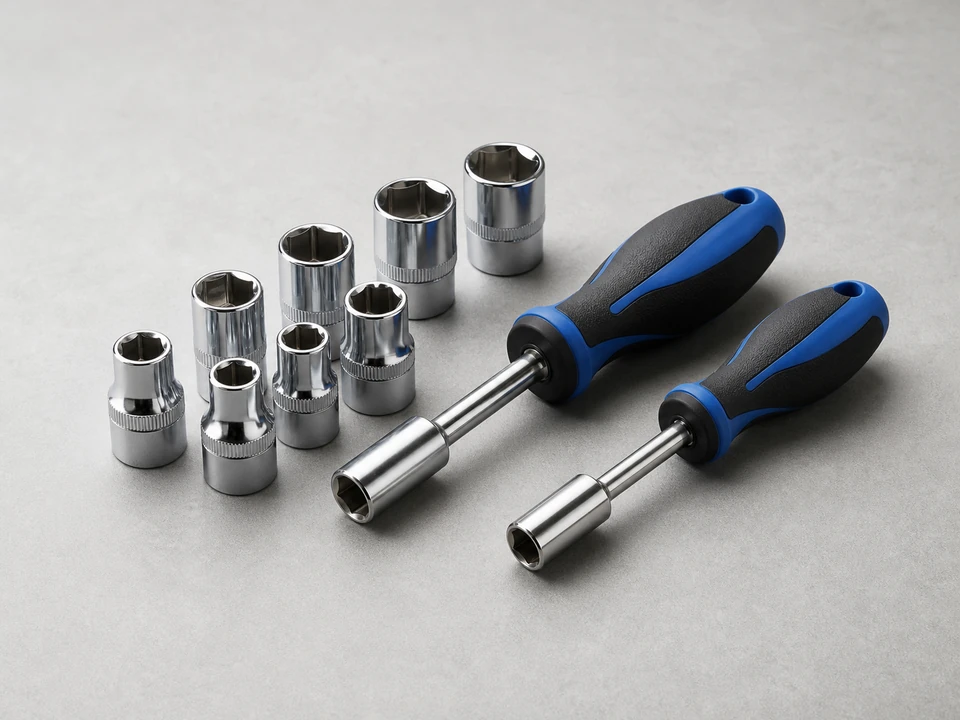
Use it for: Removes the hex-head screws many dryers use on panels and motor mounts.
Shop nut driver sets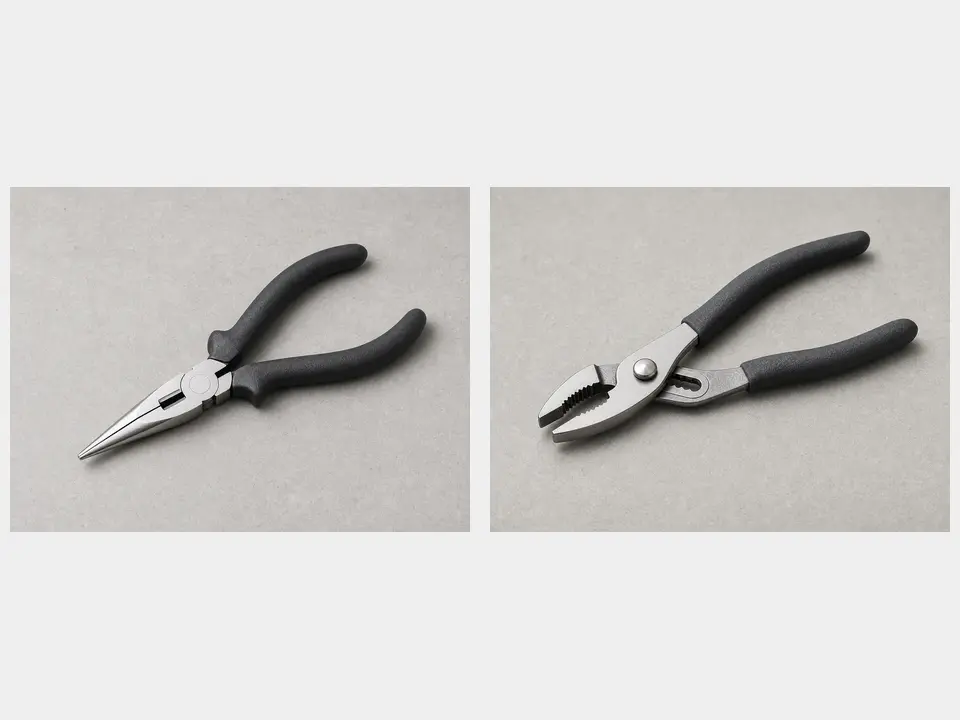
Use it for: Helps release spring clips, belt tension, and wire connectors without forcing them.
Shop repair pliers
Use it for: Protects your hands from sharp cabinet edges and sheet metal.
Shop work gloves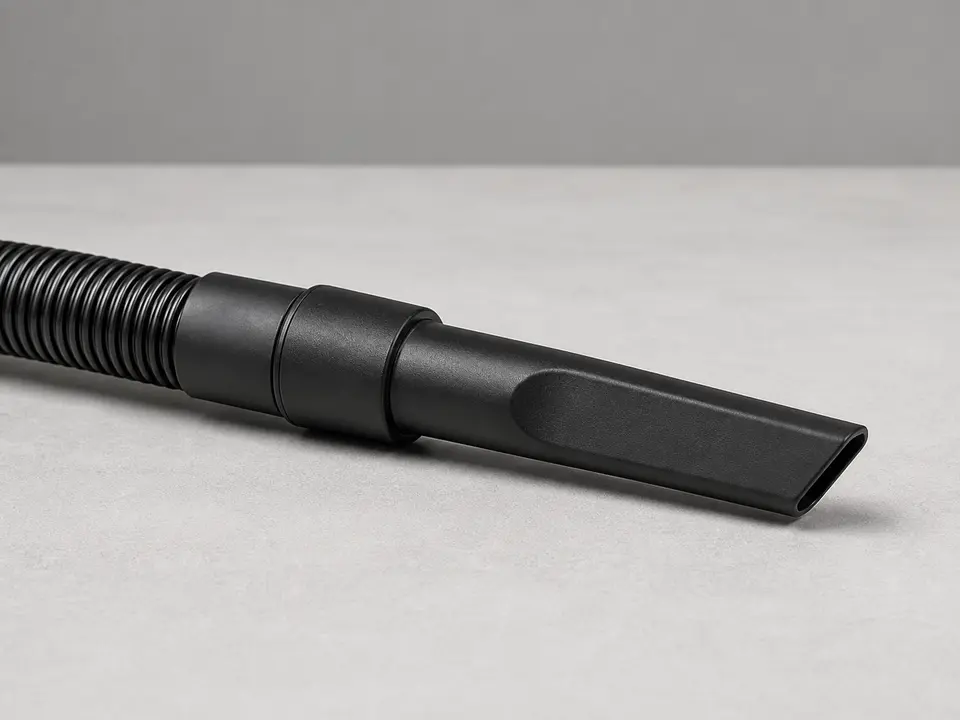
Use it for: Cleans lint out while the dryer is open so the new motor runs in a cleaner cabinet.
Shop shop vacs
Use it for: Lets you photograph belt routing and wire locations before disconnecting anything.
Shop basic inspection camerasAs an Amazon Associate I earn from qualifying purchases. Repair Riot may earn a commission at no extra cost to you.
If it works: You have good reason to believe the motor is failed or binding, and the belt and drum system do not show a simpler obvious failure.
If it doesn’t: If you find a broken belt, jammed blower wheel, seized idler pulley, or another clearly failed moving part, fix that issue first before replacing the motor.
If it works: The drum is out and you can clearly see the motor, blower housing area, idler pulley, and belt path.
If it doesn’t: If the drum will not come out, look again for hidden front bulkhead screws, clips, or a belt still under tension.
If it works: The old motor is out, the new motor matches it closely, and any needed reusable hardware has been moved over.
If it doesn’t: If the new motor does not match the shaft length, mounting points, connector style, or pulley setup, pause and verify the replacement using your dryer's exact model information.
If it works: The new motor is mounted solidly, wired correctly, and turns freely without obvious rubbing or binding.
If it doesn’t: If the motor does not sit flat or the blower rubs, remove it and correct the mounting or transferred hardware before going further.
If it works: The drum turns by hand with steady resistance, the belt tracks properly, and the cabinet is fully reassembled.
If it doesn’t: If the belt slips off or the drum binds, reopen the cabinet and correct the belt routing or drum seating before powering the dryer.
If it works: The dryer starts normally, tumbles smoothly, and handles a real load without stalling, humming, or shutting down unexpectedly.
If it doesn’t: If the dryer still will not start or only hums, recheck the belt path, blower wheel, wire connections, and whether another part such as the belt switch, idler, or door switch is also failed.
Match the replacement part to your exact dryer before ordering.
As an Amazon Associate I earn from qualifying purchases. Repair Riot may earn a commission at no extra cost to you.
Common signs include a humming sound with no drum movement, a dryer that starts and quickly stops, a drum that turns only by hand but not under power, or a hot electrical smell after failed start attempts.
Yes. A broken or slipped belt can stop drum movement even when the motor is still good. That is why it helps to inspect the belt, idler pulley, and drum supports before replacing the motor.
If the belt is cracked, glazed, stretched, or worn, replacing it while the dryer is apart is a smart move. If it still looks sound and fits tightly, it may be reused.
A continued hum can mean the blower wheel is jammed, the belt path is wrong, the drum is binding, or the wiring is not connected correctly. It can also mean the original diagnosis was incomplete and another starting or safety part has failed.
For a careful homeowner, it often takes one to three hours depending on how easily the dryer comes apart and whether the blower wheel or motor clips are stubborn.