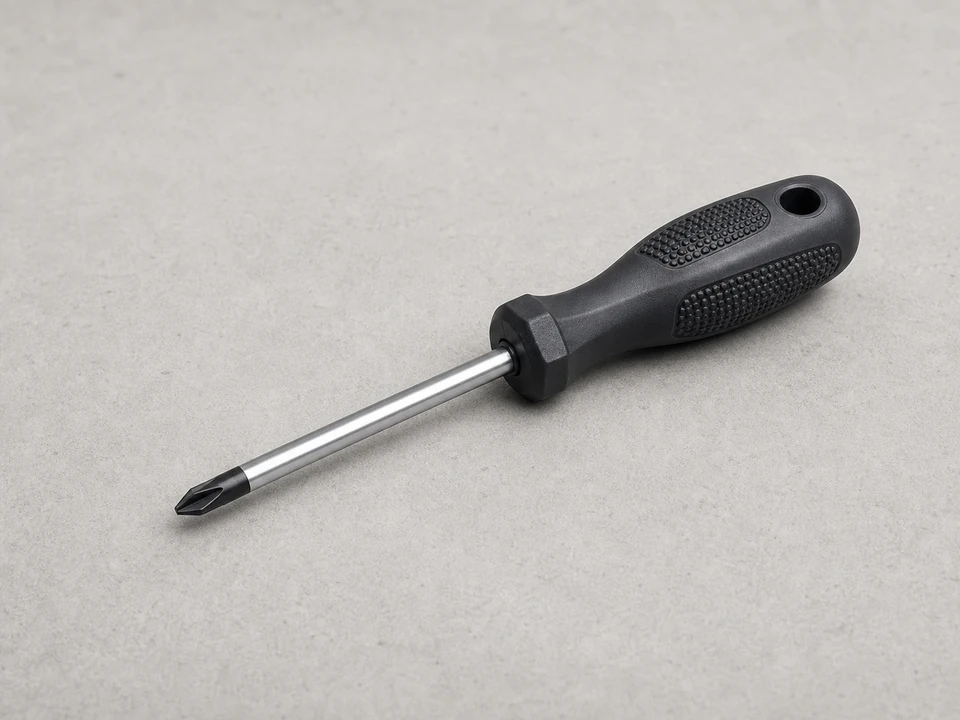
Phillips screwdriver
Use it for: To remove the top, front panel, or access screws on many dryers.
Shop Phillips screwdriversTo replace a dryer front drum felt seal, unplug the dryer, open the cabinet, remove the drum as needed, peel off the worn seal, clean the mounting surface, install the new seal in the correct position, and reassemble the dryer before testing it with a small load.
This repair is usually worth doing when the dryer starts scraping, thumping, or leaving marks on clothes near the front opening. A worn felt seal lets the drum ride poorly and can create a gap that catches fabric.
Before you start: Match the seal shape, diameter, mounting style, and your dryer's model fit before ordering. Some seals install with adhesive, while others are part of a kit.
Use it for: To remove the top, front panel, or access screws on many dryers.
Shop Phillips screwdrivers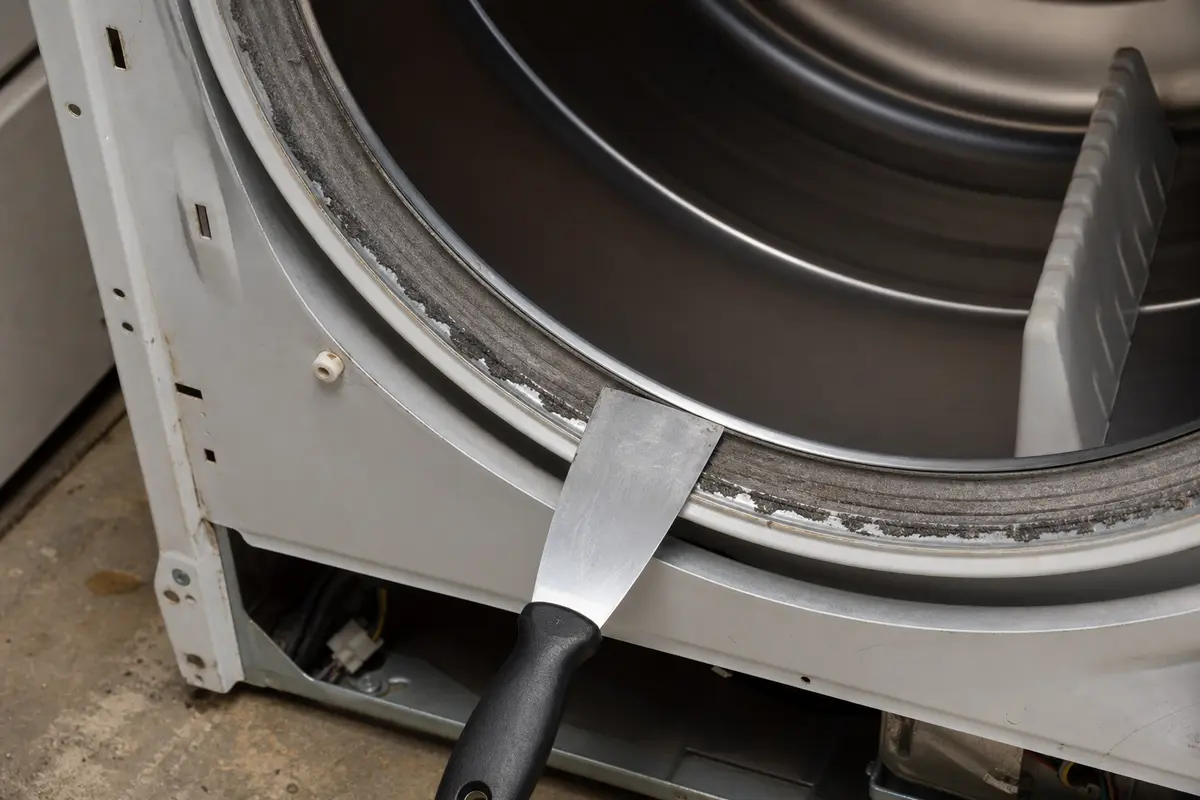
Use it for: To release spring clips on the top panel on some dryers.
Shop putty knives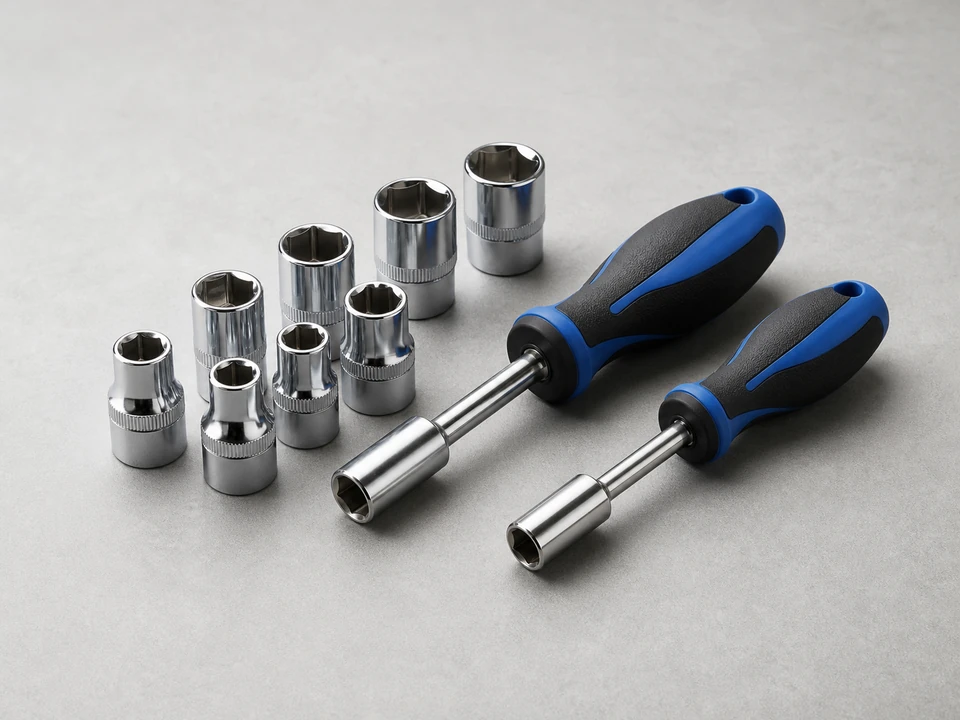
Use it for: To remove hex-head screws commonly used on dryer panels.
Shop nut driver sets
Use it for: To protect your hands from sharp cabinet edges and old adhesive.
Shop work gloves
Use it for: To clean old glue and lint from the seal mounting surface.
Shop adhesive remover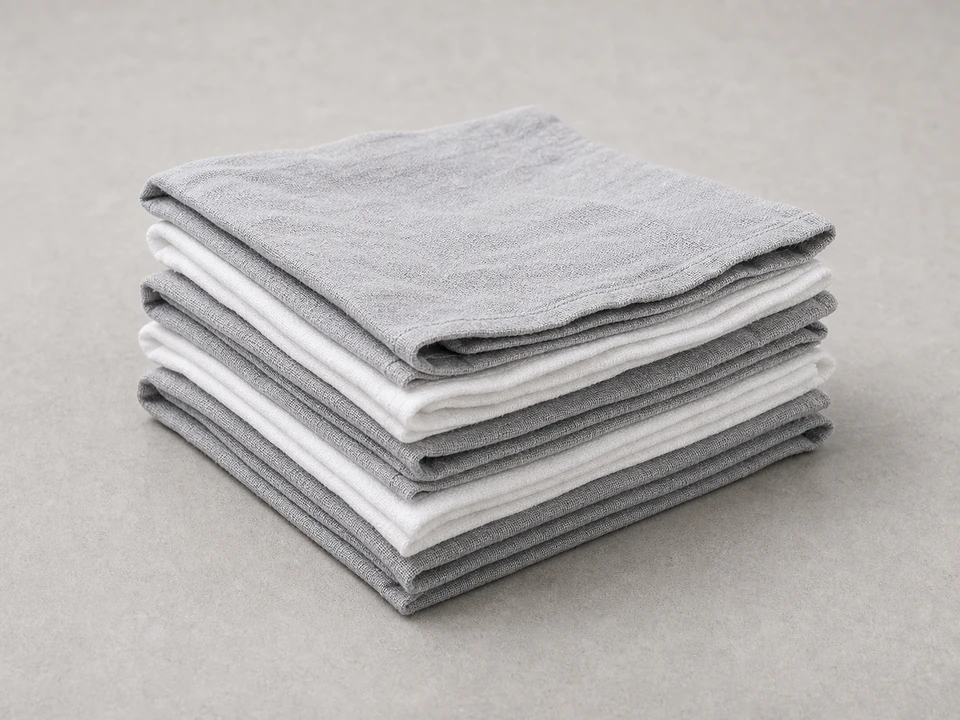
Use it for: To wipe away dust, old adhesive, and debris before installing the new seal.
Shop cleaning ragsAs an Amazon Associate I earn from qualifying purchases. Repair Riot may earn a commission at no extra cost to you.
If it works: You found visible wear or looseness at the front drum felt seal, and the symptoms match a failed front support seal.
If it doesn’t: If the felt looks intact, check other common causes like drum rollers, glides, or an idler pulley before ordering parts.
If it works: The front of the drum and the old felt seal are exposed and easy to reach.
If it doesn’t: If the front panel will not come free, look again for hidden screws near the lint screen housing, door opening, or lower access area.
If it works: The old seal is removed and the mounting surface is clean, smooth, and dry.
If it doesn’t: If adhesive residue keeps smearing, use a little more remover and keep wiping until the surface feels clean instead of tacky.
If it works: The new felt seal sits evenly around the front support with no gaps, twists, or loose sections.
If it doesn’t: If the seal keeps lifting, press it back into place and recheck that the surface is fully clean and that the seal is oriented correctly.
If it works: The dryer is back together and the drum turns smoothly by hand with even support at the front.
If it doesn’t: If the drum drags hard or the felt rolls inward, reopen the front and correct the seal position before running the dryer.
If it works: The dryer runs smoothly, the front gap is controlled, and clothes no longer snag or rub at the drum opening.
If it doesn’t: If noise, snagging, or front drag continues, inspect the drum glides, rollers, and front support for additional wear that may need repair.
Match the seal shape, diameter, mounting style, and your dryer's model fit before ordering. Some seals install with adhesive, while others are part of a kit.
As an Amazon Associate I earn from qualifying purchases. Repair Riot may earn a commission at no extra cost to you.
It often causes a scraping or rubbing sound at the front of the drum. If the seal is badly worn, you may also hear a light thump as the drum rides unevenly.
It is better not to keep using it for long. A worn seal can let clothes snag, increase drum drag, and wear other support parts faster.
No. Some use adhesive, some use clips, and some come as part of a support assembly. Check how your replacement is designed before starting the repair.
Match the seal shape, diameter, thickness, and mounting style to your dryer. Using your model information is the safest way to avoid getting the wrong part.
The dryer may also have worn drum glides, support rollers, or an idler pulley. A front felt seal helps support and guide the drum, but it is not the only part that can cause rubbing or thumping.