Make sure the heating element is really the repair
A dryer that runs but stays cold can fool you. Before you order a part, use these checks to decide whether this guide is the right next move.
Dryer tumbles but has no heat
Look for: The drum turns normally, the controls respond, the dryer is electric, and the element tests open or is visibly broken.
Choose another repair if: If the element has continuity, suspect the thermal fuse, high-limit thermostat, control, timer, or power supply before replacing the element.
Dryer heats weakly or takes too long
Look for: This page may help if the element is partly damaged, but only after the vent path is clean and the dryer moves air strongly.
Choose another repair if: A clogged lint screen, crushed vent, blocked exterior hood, or overloaded drum is more common than a bad element when heat is weak but present.
Breaker trips, plug is hot, or wiring looks burned
Look for: Use this page only after the electrical problem has been corrected and the heater housing is safe to work around.
Choose another repair if: Fix the cord, outlet, breaker, terminal block, or burned connector first. A new element will not make unsafe wiring safe.
Gas dryer has no heat
Look for: This page is not the right repair for a normal gas dryer because it does not use an electric heating element for drying heat.
Choose another repair if: Diagnose the burner system instead, including the igniter, flame sensor, gas valve coils, airflow, and gas supply.
Safety first
- Unplug the dryer before opening any panel or touching internal wiring. Electric dryers use 240 volts and should be treated seriously.
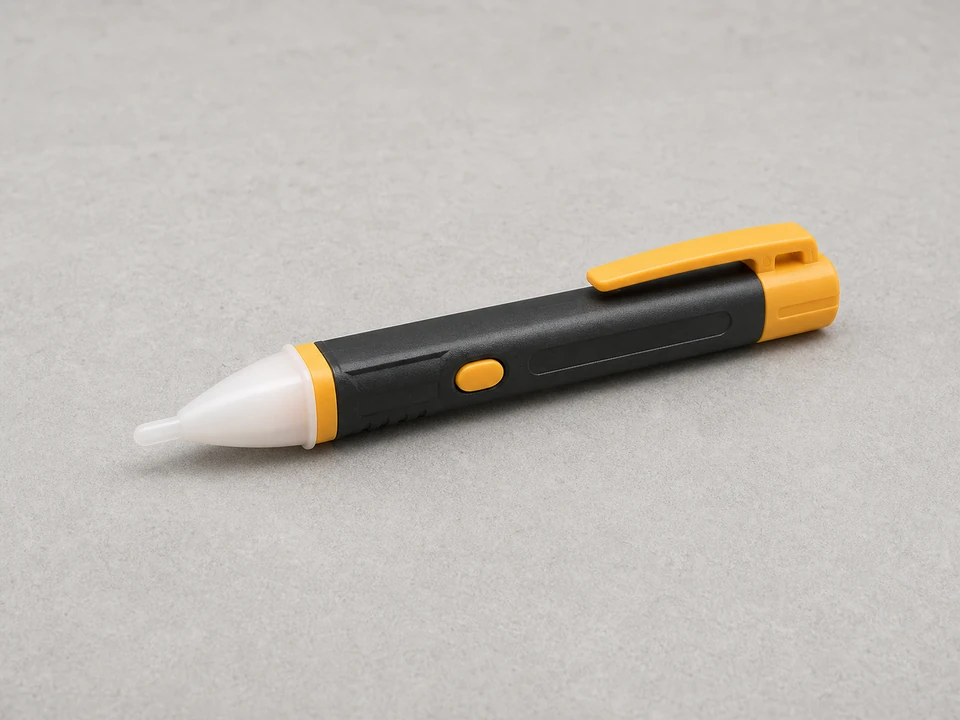
- If the dryer is hardwired, turn off the breaker and verify power is off with a tester before touching wiring.
- Use this guide for electric dryers. A gas dryer with no heat needs burner-system diagnosis, not a heating element swap.
- Wear gloves because dryer cabinet edges can be sharp.
- Pull wire connectors by the terminal, not by the wire itself.
- Do not run the dryer with panels removed unless your exact service information specifically allows it.
- Stop if you find burned wiring, melted connectors, a scorched heater housing, or damage beyond the heating element.
Step-by-step fix
Step 1: Shut off power and get the dryer ready
- Confirm this guide matches your dryer. Electric dryers use a heating element; gas dryers usually use a burner, igniter, and flame sensor instead.
- Turn the dryer off and unplug the power cord from the outlet.
- If the dryer is hardwired, shut off the breaker and verify power is off before opening the cabinet.
- Use a non-contact voltage tester at the accessible wiring area before touching any internal electrical connections.
- Pull the dryer forward enough to work comfortably behind or around it.
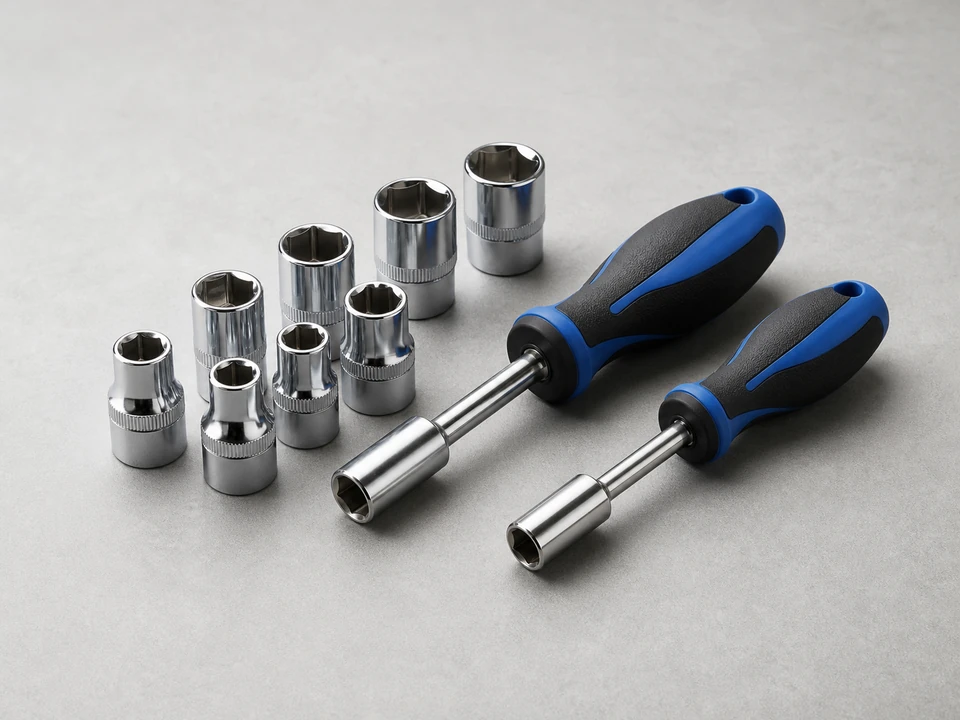
- Set out a small container for screws and put on gloves.
- Check the lint screen and outside vent for a heavy blockage. Poor airflow can overheat a good element and can also blow safety fuses.
If it works: The dryer is confirmed as electric, disconnected from power, positioned for access, and ready to open.
If it doesn’t: If you have a gas dryer, a hardwired dryer you cannot isolate, or a blocked vent that has not been corrected, do not start with the element.
Stop if:- The plug, outlet, or cord looks burned or melted.
- The dryer is hardwired and you are not comfortable isolating power.
- The dryer is gas-fired rather than electric.
- The vent is badly crushed, packed with lint, or unsafe to reconnect.
Step 2: Open the cabinet and confirm the heater location
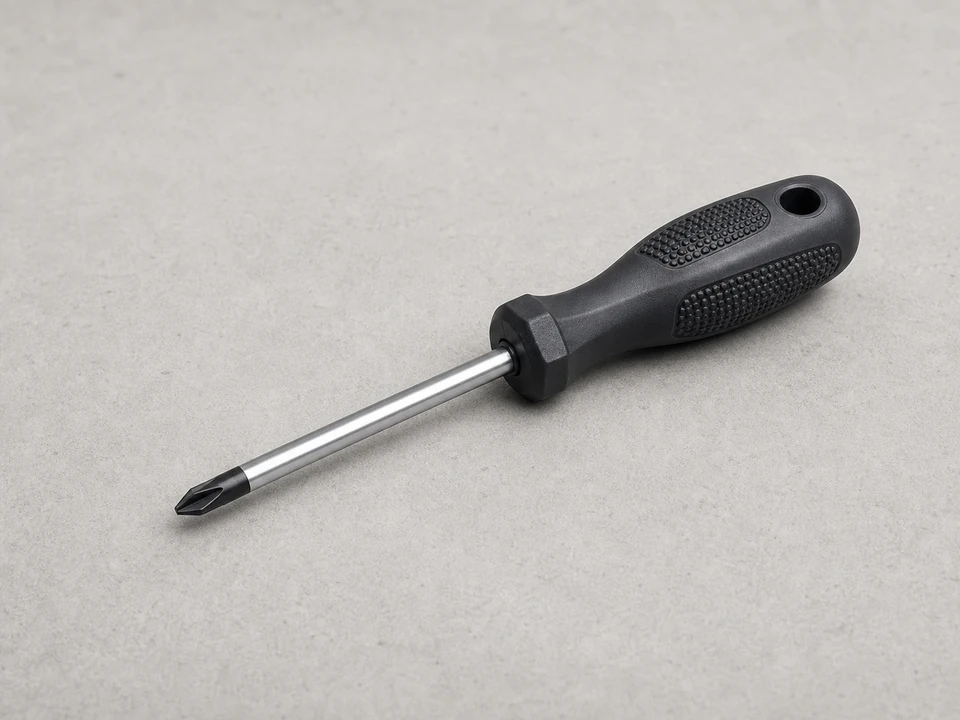
- Remove the access panel or main panel needed to reach the heater area. On many dryers this is the rear panel, but some models use a lower front or front panel.
- Use a flashlight to find the heater housing near the blower or exhaust path.
- Look for a metal canister or box with wires connected to terminals on the heating element assembly.
- Take clear photos of the wire locations before disconnecting anything.
- Look for nearby thermostats, thermal cutoffs, and fuses. Do not move those wires unless your photos clearly show where they belong.
If it works: You can see the heater housing and identify the heating element assembly.
If it doesn’t: If you cannot clearly identify the heater housing, pause and look for a parts diagram for your exact dryer model before removing more parts.
Stop if:- You find heavy charring, melted insulation, or damaged wiring around the heater housing.
- The cabinet design requires major disassembly you are not comfortable with.
Step 3: Disconnect the old element and remove it
- Pull the wire terminals off the heating element terminals using needle-nose pliers on the connectors, not the wires.
- Remove any screws or brackets holding the heater housing cover or the element in place.
- Slide the old heating element or element assembly out carefully.
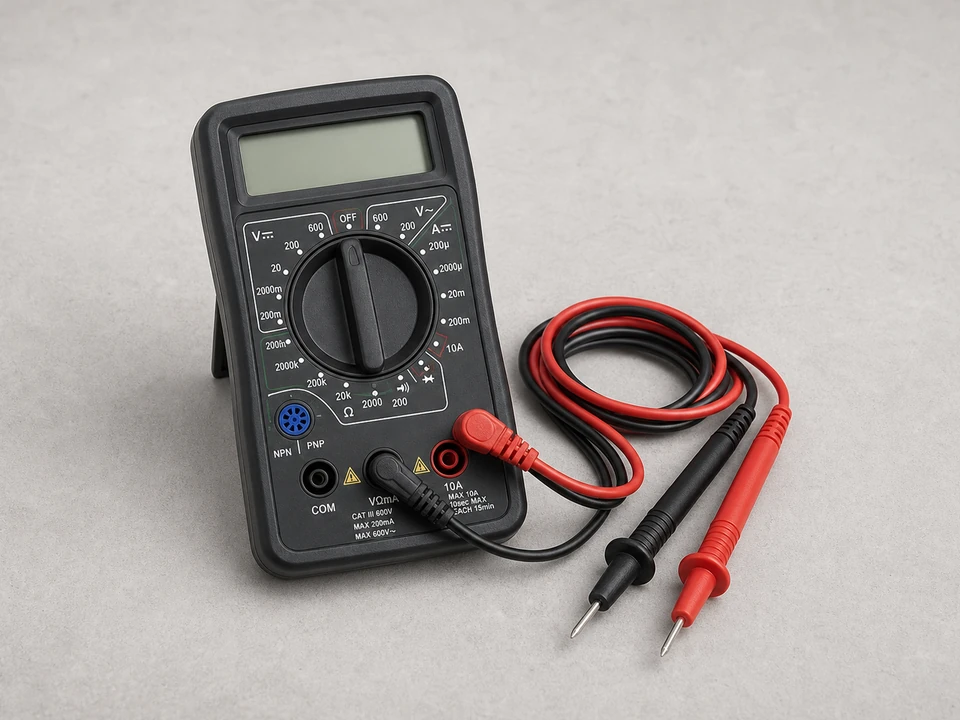
- If you have a multimeter, check the old element for continuity. A broken element should read open; if the element tests good, keep diagnosing before spending money on parts.
- Compare the old part to the new one for matching shape, terminals, and mounting points.
If it works: The old heating element is out and the replacement matches it closely.
If it doesn’t: If the new part does not match, do not force the installation. Recheck your dryer model and part fit before continuing.
Stop if:- Wire terminals are loose, burned, or broken.
- The heater housing is warped, cracked, or badly rusted.
- The replacement part has different terminals or mounting points.
Step 4: Install the new heating element
- Slide the new heating element into the housing in the same orientation as the old one.
- Reinstall all mounting screws or brackets snugly without overtightening.
- Reconnect each wire terminal to the same location shown in your photos and make sure each connector grips firmly.
- Make sure no wires are touching the heating coil or sitting where the drum or panels could pinch them.
If it works: The new element is secure, the wire connectors are tight, and nothing is sitting where heat or moving parts can damage it.
If it doesn’t: If a connector will not stay tight or a wire route seems uncertain, stop and correct that before reassembly.
Stop if:- Any wire insulation is damaged enough to expose bare conductor.
- A terminal feels loose on the new element and will not grip properly.
- The coil appears bent into the housing or touching metal where it should not.
Step 5: Reassemble the dryer
- Reinstall the heater housing cover if you removed it.
- Reattach the cabinet or access panels in the reverse order of removal.
- Check that no screws are left over and that all panels sit flat.
- Push the dryer back into place carefully without crushing the vent or power cord.
If it works: The dryer is fully reassembled and ready for testing.
If it doesn’t: If a panel will not sit correctly, remove it and check for trapped wires, misaligned tabs, or a misplaced screw.
Stop if:- You hear metal scraping from inside when turning the drum by hand.
- The vent duct is torn, crushed, or disconnected.
Step 6: Restore power and test for heat
- Plug the dryer back in. If it is a gas dryer, reopen the gas shutoff valve.
- Run a timed dry cycle with heat selected and an empty drum.
- After a few minutes, check for warm air at the exhaust and normal drum operation.
- Let the dryer run briefly, then turn it off and listen for any unusual buzzing, scraping, or burning smell.
- Confirm the vent is reconnected and moving air well before putting the dryer back into normal service.
If it works: The dryer runs normally and produces heat again.
If it doesn’t: If the dryer still does not heat, another part may also be faulty, such as a thermal fuse, thermostat, power supply issue, or wiring problem.
Stop if:- You smell burning insulation or see smoke.
- The dryer trips a breaker or shuts down unexpectedly.
- The drum does not turn or the dryer makes loud new noises.
Replacement Parts
Use the dryer model number from the door opening or rear tag so the element shape, terminals, and mounting points match.
As an Amazon Associate I earn from qualifying purchases. Repair Riot may earn a commission at no extra cost to you.
Verify the repair
- The dryer starts and the drum turns normally.
- Warm air is felt at the exhaust within a few minutes on a heated cycle.
- The vent is connected, not crushed, and moving air strongly.
- No wires are loose, pinched, or touching the heating coil.
- All access panels are reinstalled and secured.
- There is no burning smell, sparking, or unusual noise during the test run.
FAQ
How do I know the heating element is bad?
The classic symptom is an electric dryer that tumbles normally but produces no heat. A continuity test across the element is the best confirmation once the dryer is unplugged. If the element tests good, look at power supply, thermal fuse, thermostat, control, and airflow issues before buying parts.
Can I replace a dryer heating element myself?
Many homeowners can handle it if they are comfortable unplugging the dryer, removing panels, and reconnecting wires carefully. Stop and call a professional if you find burned wiring, unclear disassembly, or damage beyond the element.
Why did the old heating element fail?
Heating elements can fail from age, restricted airflow, overheating, or contact with damaged housing parts. After replacement, clean the lint screen and vent path so the new element is not asked to run hot.
Do I need to replace thermostats or fuses at the same time?
Not always. Replace only parts that are confirmed failed or visibly damaged. If the new element does not restore heat, the dryer may have another failed component that needs diagnosis.
What if the new element still does not heat?
Check that the replacement matches your exact dryer, all wires are connected firmly, and the dryer is getting full power. If those basics look right, the problem may be a thermal fuse, thermostat, high-limit cutoff, timer or control issue, or a power supply problem.