
Utility knife
Use it for: Scores paint and joint compound so the old bead can come off with less damage to the drywall face.
Shop utility knivesTo replace a drywall corner bead, remove loose compound and the damaged bead, cut a new bead to length, fasten it straight on the outside corner, then apply joint compound in thin coats and sand smooth after it dries.
This repair works best when the corner bead is bent, rusted, loose, or cracked through the finish. Take your time on removal and alignment. A straight bead makes the finishing steps much easier.
Before you start: Match the replacement part to your exact walls drywall before ordering.
Use it for: Scores paint and joint compound so the old bead can come off with less damage to the drywall face.
Shop utility knives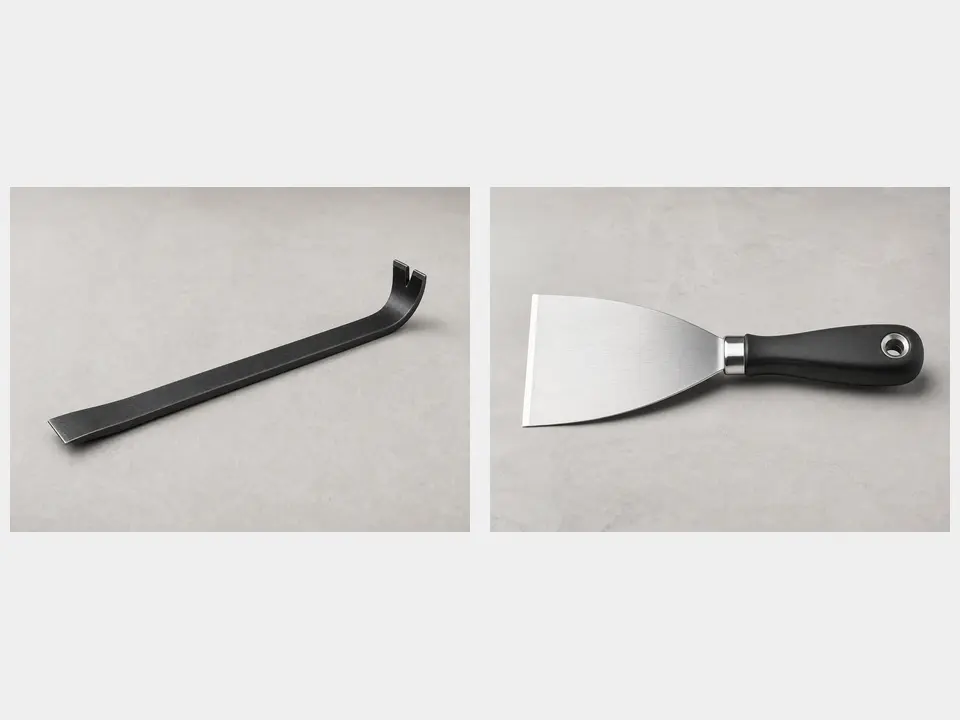
Use it for: Helps lift the old corner bead and scrape away loose compound.
Shop pry bars and stiff putty knives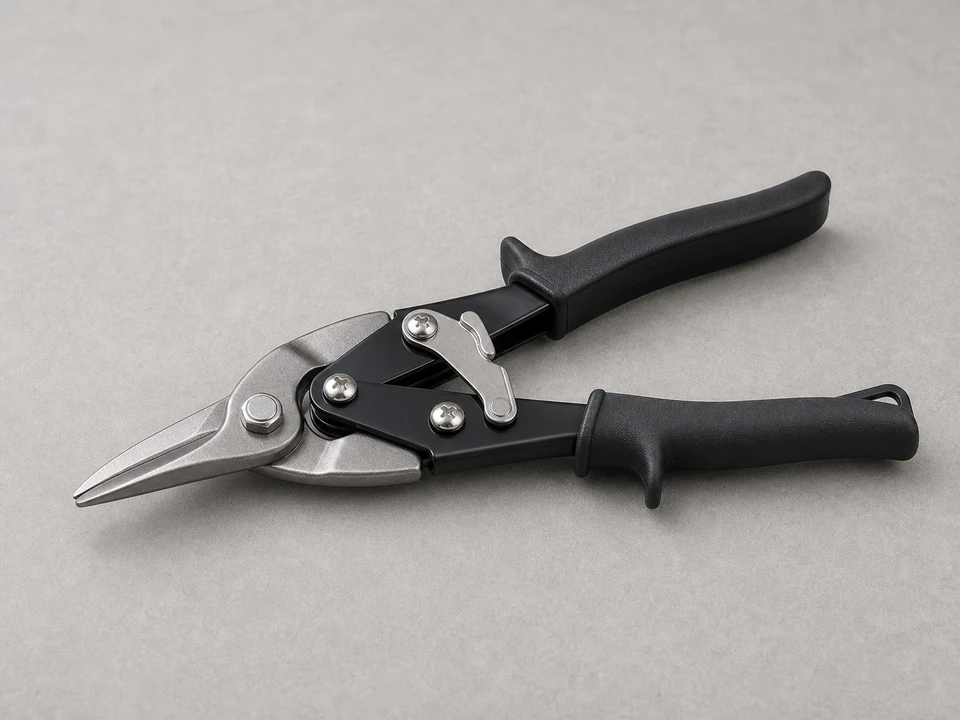
Use it for: Cuts a metal corner bead cleanly to length.
Shop tin snips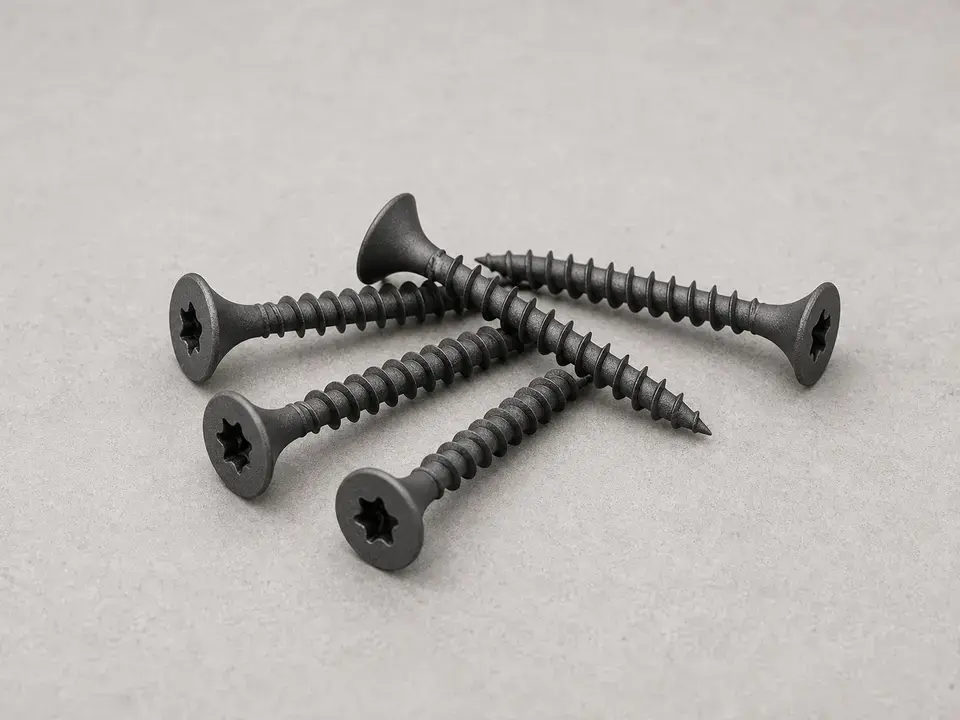
Use it for: Fastens the new bead securely to the corner framing or drywall edge.
Shop drywall fasteners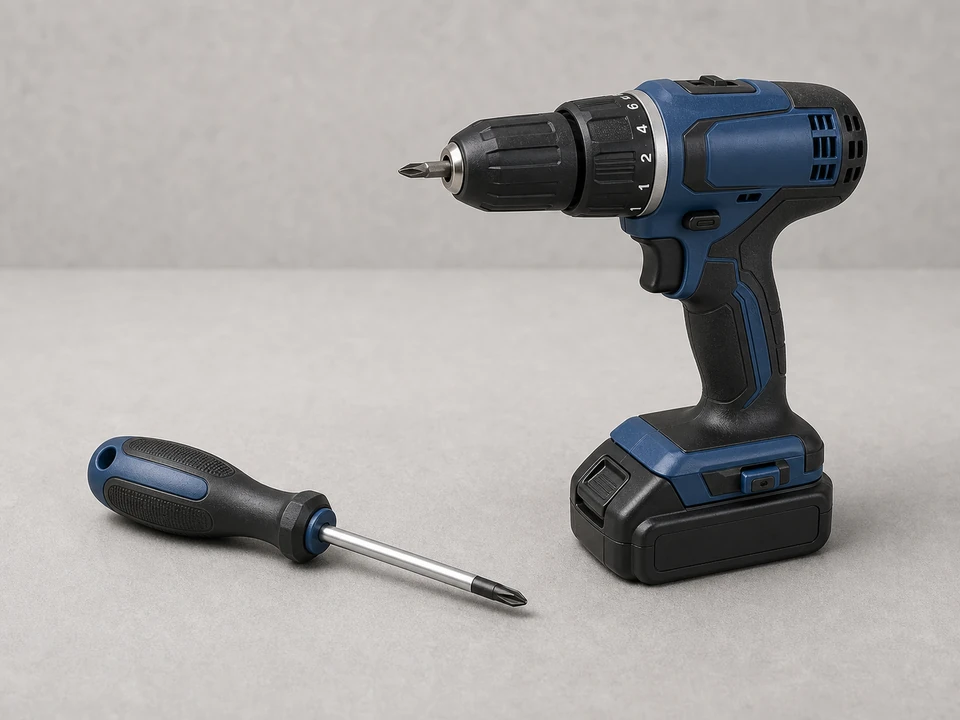
Use it for: Drives screws if you are fastening the new bead with screws.
Shop drills and screwdrivers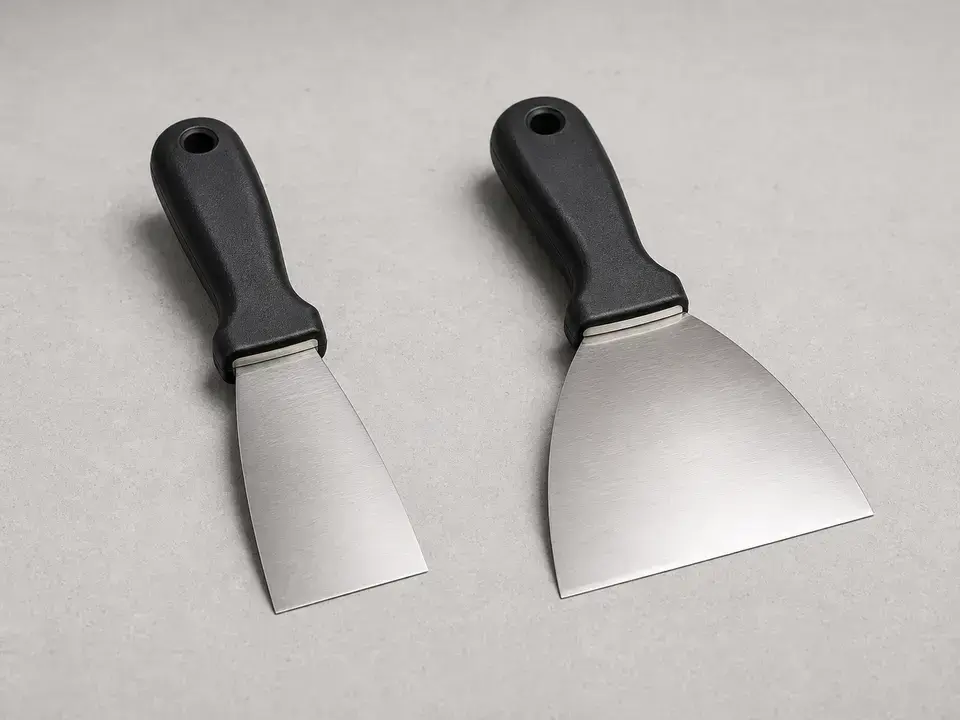
Use it for: Spreads joint compound over the bead in smooth, thin coats.
Shop joint knives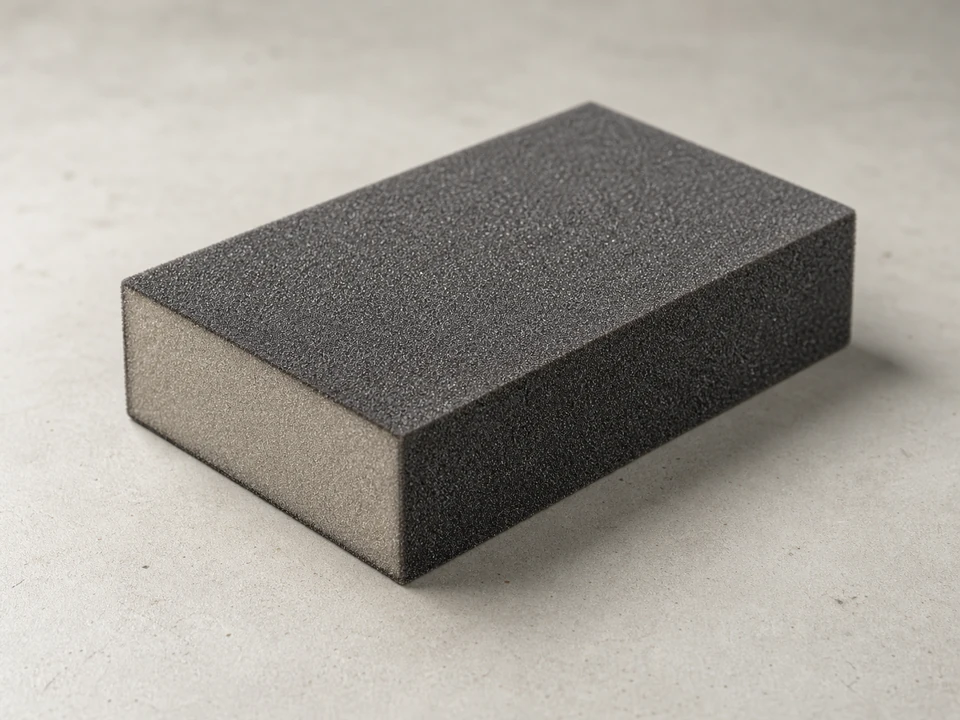
Use it for: Smooths dried compound without gouging the corner too aggressively.
Shop sanding spongesAs an Amazon Associate I earn from qualifying purchases. Repair Riot may earn a commission at no extra cost to you.
If it works: The area is protected, and the damaged section is clearly outlined for removal.
If it doesn’t: If the finish is hard to score or the damage spreads farther than expected, widen the work area so you can remove the bead without tearing the drywall face.
If it works: The old corner bead and loose compound are removed, leaving a clean outside corner ready for the new piece.
If it doesn’t: If paper facing tears or chunks of drywall come off, trim loose material and keep cleaning until the surface is stable and reasonably flat.
If it works: The new drywall corner bead fits the corner neatly and lines up straight.
If it doesn’t: If the bead bows out or leaves gaps, reclean the corner and test-fit again before fastening.
If it works: The new bead is secure, straight, and firmly attached along the full corner.
If it doesn’t: If the bead shifts or waves, remove the nearby fastener, realign the bead, and refasten before applying compound.
If it works: The bead is covered, the wall transitions are feathered, and the corner shape is defined.
If it doesn’t: If you see ridges or low spots, let the coat dry, scrape high spots lightly, and apply another thin coat rather than one heavy coat.
If it works: The corner looks straight, feels smooth, and is ready for primer and paint.
If it doesn’t: If the repair still shows after sanding, add one more thin finish coat and feather it wider before priming.
Match the replacement part to your exact walls drywall before ordering.
As an Amazon Associate I earn from qualifying purchases. Repair Riot may earn a commission at no extra cost to you.
Yes, if the damage is limited to one section and the remaining bead is solid. Cut back to sound material, fit the new section carefully, and feather the compound wider so the transition is less visible.
Either can work for many standard installations. Use the fastening method that holds the bead straight and securely without crushing it or loosening the drywall edge.
Not always. Small dents or chips can often be filled with joint compound. Replacement is usually the better choice when the bead is bent, rusted, loose, or cracked through the corner line.
Usually the bead was not fully straight before finishing, or the compound was applied too heavily in one pass. Scrape high spots, check alignment, and use additional thin coats feathered wider.
It is better to prime first. Primer helps seal the joint compound and makes the final paint sheen and color look more even.