Exterior door repair

How to Replace Exterior Door Hinges

To replace exterior door hinges, support the door, remove and match one old hinge at a time, install the new hinge in the same position, then test for smooth swing, even gaps, and a good weather seal.

This is a manageable homeowner repair if the door slab and frame are still solid. The key is to replace the hinges one at a time so the door stays aligned, and to stop if you find rotted wood, stripped screw holes that will not hold, or a door that is sagging from frame damage instead of bad hinges.

Before you start: Match the hinge size, corner style, finish, and handedness before ordering.

Prepared by: Repair Riot Last updated: 2026-06-05 How we build and check guides

Safety first

  • Support the door before removing any hinge so the weight does not shift suddenly.
  • Keep fingers clear of the hinge side and door edge while the door is supported on shims.
  • Use steady pressure on screws to avoid slipping off the screw head and damaging the door or injuring your hand.
  • Stop if the door is too heavy to control safely or if the wood around the hinges is rotted or split.

Tools you may need

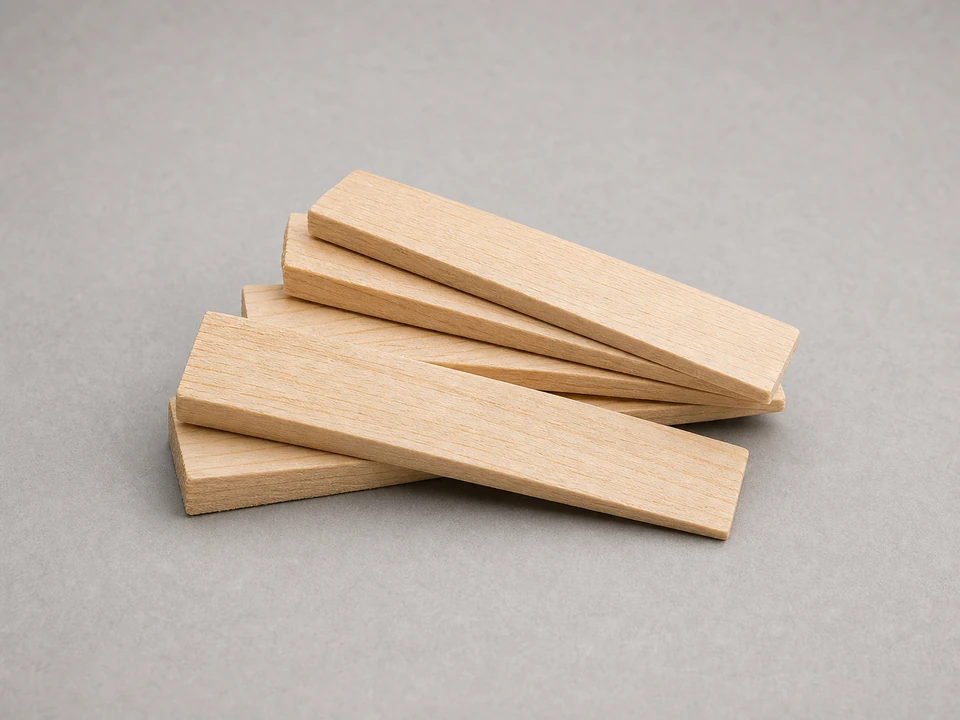
Wood shims tool

Wood shims

Use it for: To support the door from below so it does not drop or twist while a hinge is off.

Get wood shims

Tape measure tool

Tape measure

Use it for: To match hinge height, width, and screw hole spacing before you install replacements.

Find a tape measure

Utility knife tool

Utility knife

Use it for: To score paint lines around the hinge leaf so trim or paint does not tear when the hinge comes out.

Shop utility knives
Hammer tool

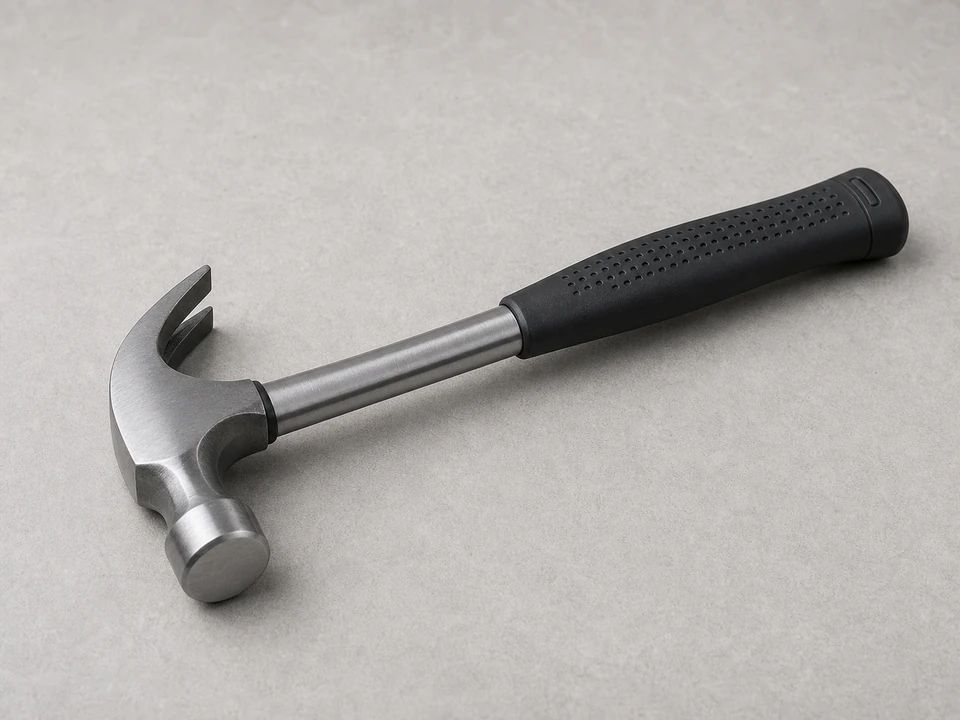
Hammer

Use it for: To tap shims into place and help with light adjustment if needed.

Find a hammer
As an Amazon Associate I earn from qualifying purchases. Repair Riot may earn a commission at no extra cost to you.

Step-by-step fix

Step 1: Make sure the hinges are really the problem

  1. Open and close the door several times and watch for sagging, binding at the top corner, loose hinge leaves, squeaking that comes back quickly, or visible rust and wear at the hinge knuckles.
  2. Check whether the screws are backing out, the hinge leaves are bent, or the hinge pins have obvious play.
  3. Look at the wood around each hinge on both the door edge and the frame jamb for cracks, softness, swelling, or rot.
  4. Confirm that the replacement hinges match the old ones in size, corner shape, finish, and general layout before you start.

If it works: You have confirmed the hinges are worn, loose, bent, or rusted, and the surrounding wood looks solid enough to hold new screws.

If it doesn’t: If the hinges seem solid but the door still rubs or will not latch, the problem may be door alignment, frame movement, or weatherstripping rather than the hinges themselves.

Stop if:
  • The door frame or door edge has rot, split wood, or soft areas around the hinge mortises.
  • The door is dragging because the frame has shifted or the jamb is loose, not because the hinges are worn.
  • The door is heavy enough that you cannot safely support and control it during the swap.

Step 2: Support the door and prep the work area

  1. Close the door until it is almost shut, leaving just enough room to reach the hinge screws comfortably.
  2. Slide wood shims under the outer edge of the door until the door is supported and no longer drops when you lift lightly on the handle side.
  3. Score any paint line around the hinge leaves with a utility knife so the old hinge can come free cleanly.
  4. Set the new hinges and screws nearby so you can compare each old hinge as it comes off.

If it works: The door is supported from below, the hinge edges are free from stuck paint, and you can remove one hinge without the door shifting suddenly.

If it doesn’t: Add or adjust shims until the door feels steady and the hinge screws turn without the door pulling against them.

Stop if:
  • The door shifts heavily even with shims in place.
  • The threshold, floor, or support point under the door is too uneven to hold the door safely.

Step 3: Replace the first hinge and match it carefully

  1. Start with the top hinge, since it usually carries the most load on a sagging exterior door.
  2. Remove the screws from one hinge leaf at a time and take the old hinge off while the other hinges stay installed.
  3. Compare the old hinge to the new one for height, width, corner style, screw hole pattern, and leaf thickness.
  4. Set the new hinge into the existing mortise and install the screws by hand first to avoid cross-threading or misalignment, then snug them down evenly.

If it works: The first new hinge sits flat in the mortise, the screws tighten firmly, and the door position has not changed noticeably.

If it doesn’t: If the new hinge does not sit flat or the holes do not line up, recheck the hinge size and style before forcing anything.

Stop if:
  • The new hinge is clearly the wrong size or shape for the existing mortise.
  • The screw holes are stripped badly enough that the screws will not tighten.
  • Removing the hinge exposes hidden damage in the jamb or door edge.

Step 4: Swap the remaining hinges one at a time

  1. Move to the middle hinge if there is one, then finish with the bottom hinge, replacing only one hinge at a time so the door stays aligned.
  2. Keep the shims in place until all hinges are installed.
  3. Use the screws that came with the new hinges if they match the old length and seat properly, or reuse sound screws that fit the hinge holes correctly.
  4. Tighten all hinge screws firmly, but do not overtighten to the point that the hinge leaf twists or the screw head strips.

If it works: All exterior door hinges are installed, seated flat, and holding the door without visible gaps behind the hinge leaves.

If it doesn’t: If one hinge leaf rocks or will not pull tight, back the screws out and check for paint buildup, debris in the mortise, or a mismatched hinge.

Stop if:
  • A hinge mortise is damaged enough that the new hinge cannot sit flat.
  • Multiple screw holes are stripped and will not hold the hinge securely.

Step 5: Remove the shims and check door alignment

  1. Pull the shims out slowly and let the door settle onto the new hinges.
  2. Open and close the door several times, watching the gap around the top and latch side for even spacing.
  3. Check that the latch lines up with the strike and that the door closes without lifting, slamming, or rubbing hard on the frame.
  4. If needed, snug any slightly loose hinge screws and retest before making bigger adjustments.

If it works: The door swings smoothly, the gaps look even, and the latch engages without forcing the door up or down.

If it doesn’t: If the door still sags or binds after the hinge swap, inspect the jamb, strike alignment, and door slab for movement or damage that new hinges alone will not fix.

Stop if:
  • The door still drops noticeably after the new hinges are installed and tightened.
  • The frame moves when the door operates, suggesting a larger structural or fastening problem.

Step 6: Test the repair in normal use

  1. Open the door fully, close it gently, then close it firmly a few times to make sure the hinges stay quiet and stable under real use.
  2. Check from outside and inside that the door seals evenly and is not leaving a visible gap at the weatherstripping side.
  3. Look at each hinge after testing to make sure no screws have backed out and no hinge leaf has shifted.
  4. Wipe away any metal dust or paint chips and keep an eye on the door over the next few days for renewed sagging or loosening.

If it works: The door opens and closes smoothly, latches normally, and stays aligned after repeated use.

If it doesn’t: If the door works at first but quickly loosens again, the screw holes or surrounding wood likely need repair before the new hinges can hold long term.

Stop if:
  • The door becomes hard to latch again after only a few cycles.
  • You see fresh movement, cracking, or loosening around the hinge mounting areas.

Replacement Parts

As an Amazon Associate I earn from qualifying purchases. Repair Riot may earn a commission at no extra cost to you.

Verify the repair

  • The new hinges match the old hinge size and sit flat in the existing mortises.
  • The door opens and closes without scraping, dropping, or springing back.
  • The latch lines up and engages without lifting or pushing the door hard.
  • The weather seal looks even and there is no new daylight around the door edge.
  • Hinge screws remain tight after several open-and-close cycles.

FAQ

Can I replace just one exterior door hinge?

Yes, if only one hinge is damaged and the others are still solid. In practice, if the hinges are the same age and finish, replacing the full set often gives better alignment and a more even look.

Do I need to take the whole door down to replace the hinges?

Usually no. For a standard hinge swap, support the door with shims and replace one hinge at a time. Taking the whole door down is more work and usually not necessary unless the door or frame also needs repair.

Why does the door still sag after I installed new hinges?

That usually points to stripped screw holes, damaged wood, a loose jamb, or frame movement. New hinges cannot fix wood that no longer holds screws or a frame that has shifted out of position.

How do I know which hinge size to buy?

Measure the old hinge height and width when it is open, and match the corner style and screw hole layout. Also check that the hinge thickness and handedness match what came off the door.

Should I use longer screws?

Sometimes longer screws help, but only if they fit the hinge properly and have solid wood to bite into. Do not assume longer is always better. If the surrounding wood is damaged, the wood needs repair, not just a different screw.