To replace door hinges, support the door from below and swap one hinge at a time. Match the new hinge to the old mortise and screw pattern, then test the reveal and latch before removing the shims.
Replace the hinges when the leaves are bent, the knuckles are cracked, the pins are sloppy, or rust has weakened the metal. Stop before removing screws if the door feels heavy enough to drop, the jamb wood is split, or the hinge mortise will not hold fasteners.
Before you start: Match the hinge height, open width, leaf thickness, corner style, finish, screw pattern, and handedness before ordering. Stop if the jamb is split, the door is too heavy to support safely, or the hinge screws cannot bite solid wood.
Last reviewed: 2026-06-17
Make sure this is the right repair
Before replacing the door hinges, confirm what failed, what still supports the slab, and how the new hinge needs to fit. Do not buy hardware until loose screws, stripped holes, swelling, and frame movement have been ruled out.
This page fits
This page fits when: The hinges are bent, cracked, rusty, sloppy at the pin, mismatched, or no longer holding the door square, and the door edge and jamb are still solid.
Check something else when: If the hinge screws are simply loose, tighten or repair the screw holes first. If the jamb is moving or split, fix the support problem before replacing hinges.
Confirm the fit first
This page fits when: You can match the hinge height, open width, leaf thickness, corner radius, screw-hole pattern, pin style, finish, and handedness if the hinge is handed.
Check something else when: If the old hinge is missing or a previous repair changed the mortise, dry-fit a candidate hinge in the recess before ordering a set. Measure the recess and door thickness, and reject anything that sits proud or leaves the screw holes off-center.
Stop for hidden damage
This page fits when: The door is light enough to support with shims and a helper, the hinge wood is dry and solid, and the screws can bite without enlarging the holes.
Check something else when: Stop if the slab drops when screws loosen, the jamb moves, rot appears around the mortise, or the door is too heavy to control safely.
Check the failure point and dry-fit before fastening
Use the visible damage and dry-fit check to confirm the door hinges are really the pieces to replace. Compare the mortise, screw holes, reveal, and surrounding wood before ordering parts or fastening anything.
Start by finding the failed hinge. Move ahead only when the jamb and door edge are still solid enough to hold screws.Dry-fit the replacement before final fastening. The hinge should sit flush, match the screw pattern, and keep the reveal from shifting.
Safety first
Support the door before removing hinge screws so it does not drop or twist.
Use a helper for heavy solid-core or exterior doors.
Drive screws carefully to avoid stripping heads or slipping into the door edge or jamb.
Keep fingers clear of hinge pinch points while aligning the door.
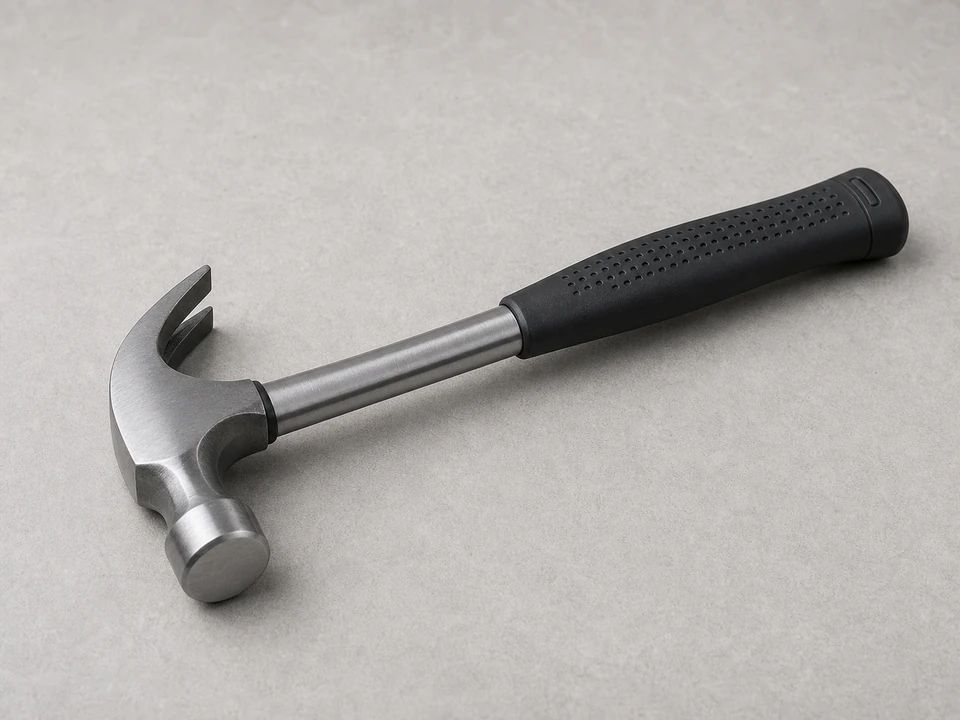
Tools you may need
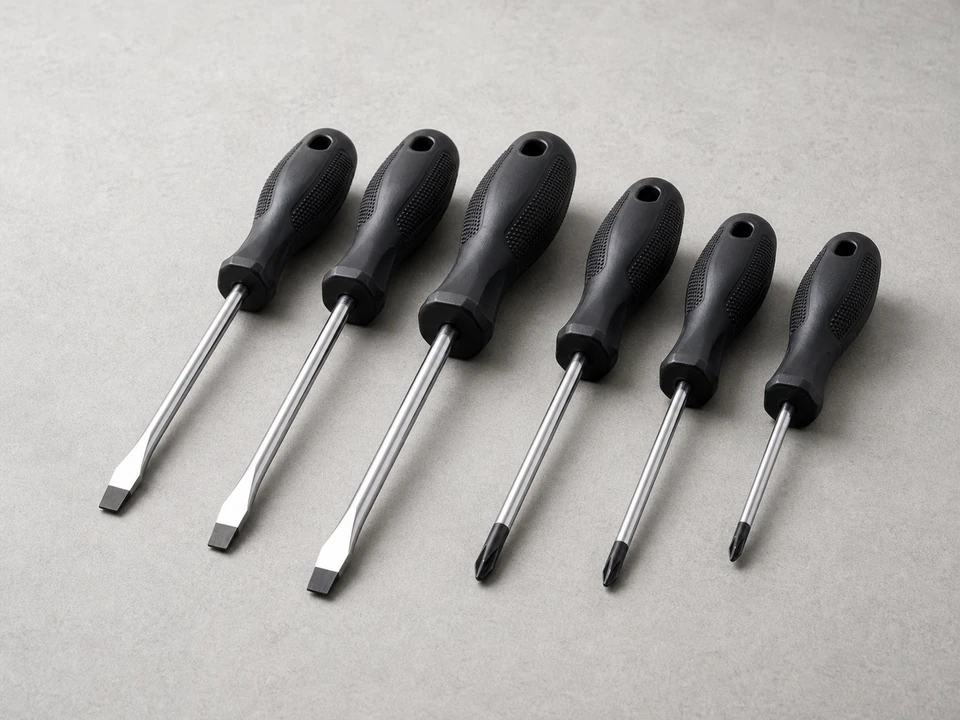
Screwdriver set
Use it for: To remove and reinstall hinge screws without stripping them.
As an Amazon Associate I earn from qualifying purchases. Repair Riot may earn a commission at no extra cost to you.
Step-by-step fix
Step 1: Make sure hinge replacement is the right fix
Open and close the door several times and watch the gap around the top and latch side.
Look for bent hinge leaves, loose hinge pins, cracked hinge knuckles, stripped screw holes, or rust that has eaten into the metal.
Tighten any obviously loose hinge screws first to see if the door straightens up.
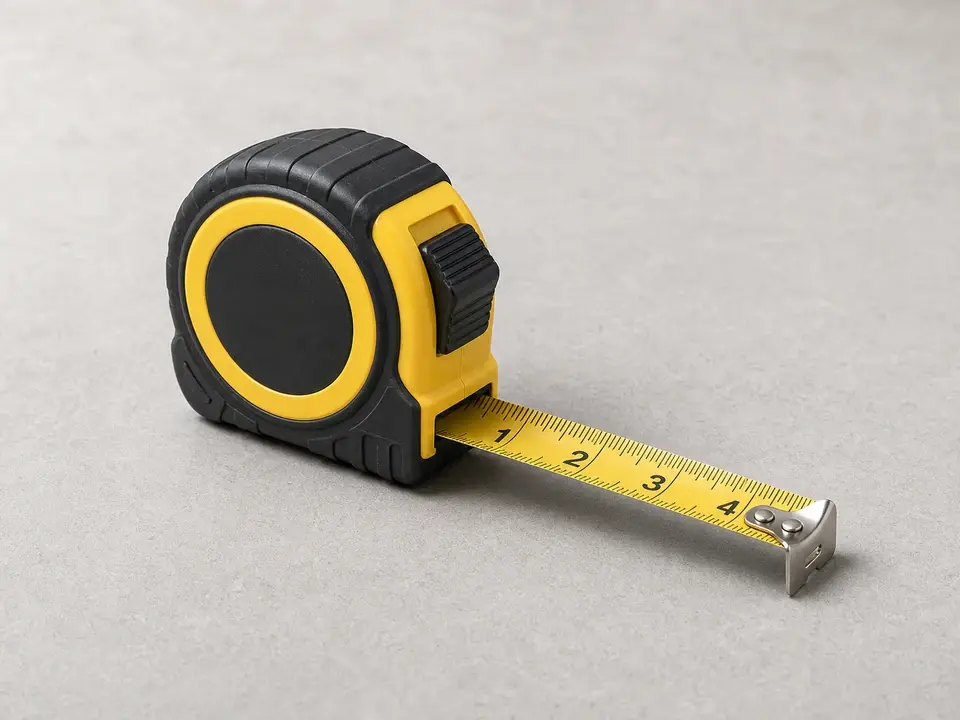
Measure one existing hinge and note the height, width when open, corner shape, and whether the hinge layout matches the new set.
If it works: You have confirmed the hinges are worn, damaged, or mismatched and you know what replacement style you need.
If it doesn’t: If the hinges are solid and the problem is rubbing from seasonal swelling or a warped door slab, hinge replacement may not solve it. Check door alignment, swollen edges, or stripped screw holes instead.
Stop if:
The door frame is split, badly out of square, or pulling away from the wall.
The hinge area in the door or jamb is rotted, crumbling, or too damaged to hold screws safely.
This is a heavy exterior or fire-rated door that feels unsafe to support and handle alone.
Step 2: Set up the door so it cannot drop or twist
Close the door until it is nearly shut.
Open it just enough to reach the hinge screws without letting the slab swing freely.
Slide wood shims under the latch-side bottom edge until the hinge-side weight eases up.
Compare the top reveal from hinge side to latch side. It should not suddenly narrow at one corner.
Press lightly on the handle side. The door should not rock, drop, or twist away from the jamb.
Mark the hinge outline with a pencil or painter's tape if paint lines hide the old position.
Keep screws from each hinge in separate piles. Compare screw length, thread bite, and any longer jamb screw.
If it works: The door is supported from below, the latch-side gap is not changing, and the slab stays still when you touch the hinge leaves.
If it doesn’t: Add a second shim or reset the first one until the door stops moving. If the handle side still drops or the slab twists when you press it, get a helper before loosening a hinge screw.
Stop if:
The door is unstable, too heavy to control safely, or starts dropping when screws are loosened.
The bottom edge is finished wood or soft flooring that could be damaged by a hard shim point; protect it before loading the door.
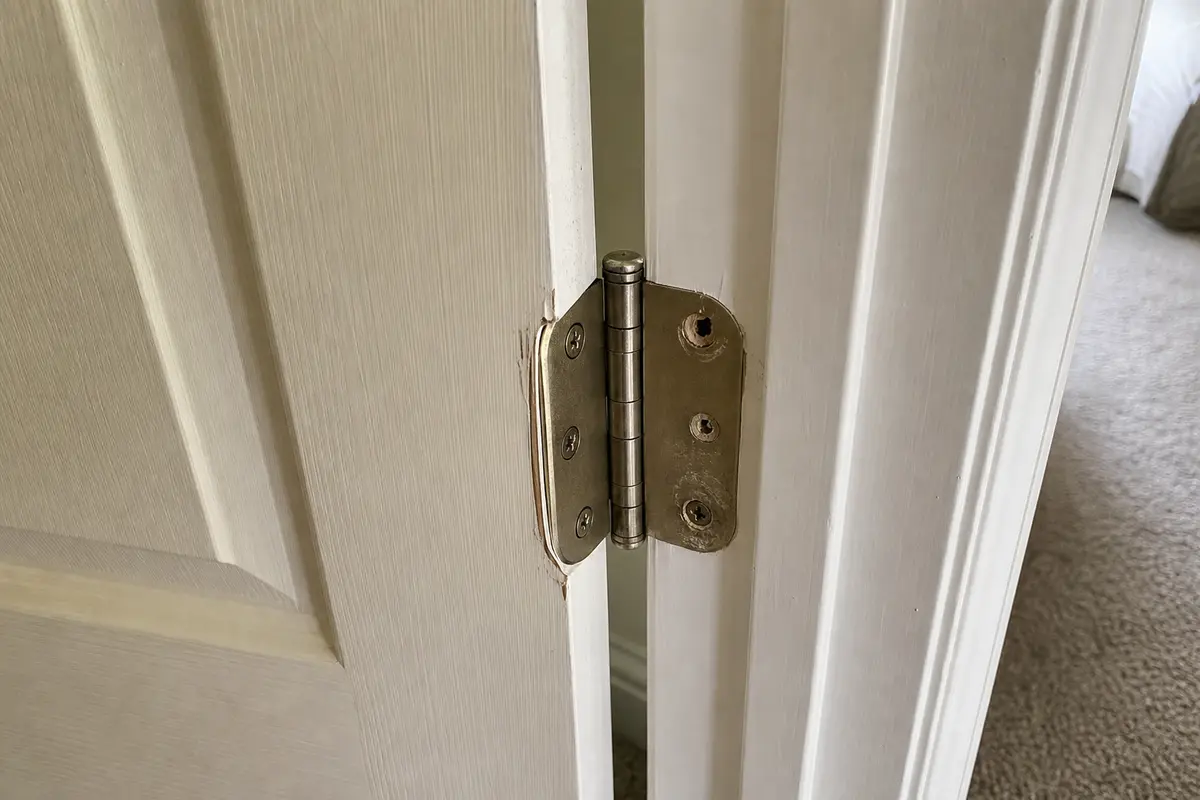
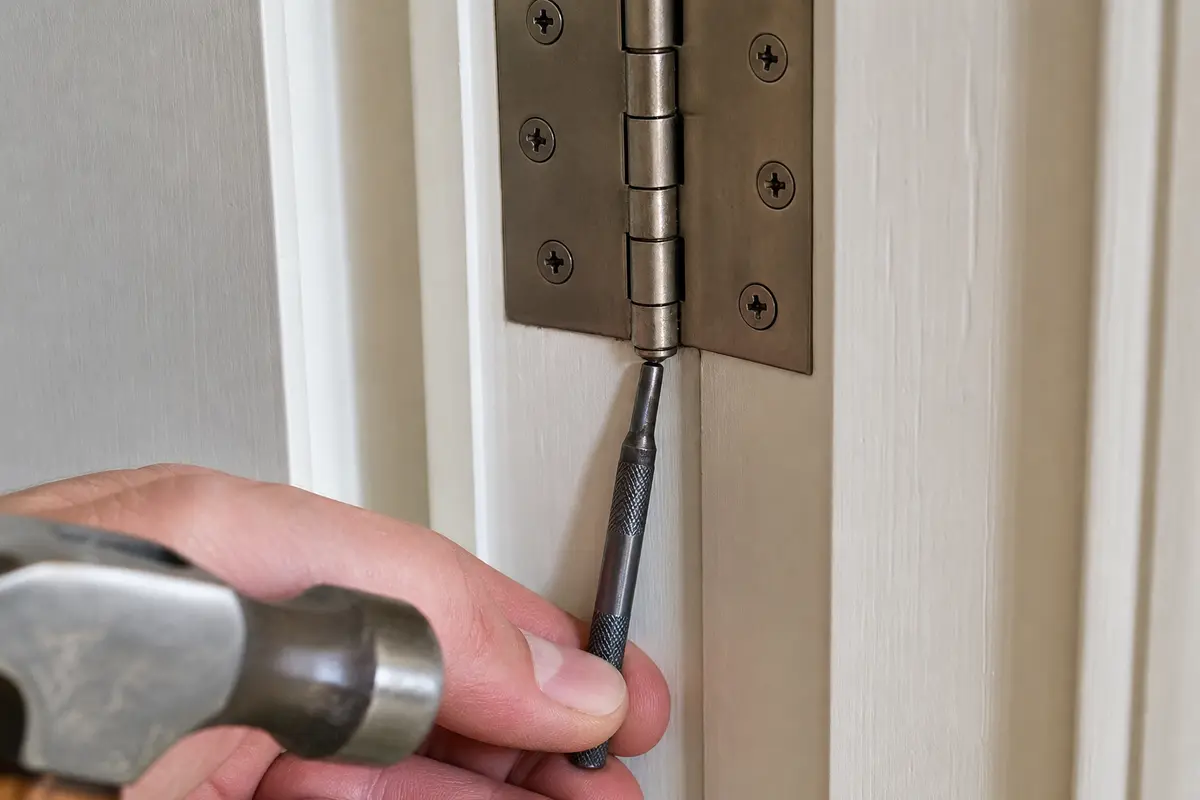
Step 3: Remove one old hinge and compare it to the new one
Start with the middle hinge on a three-hinge door, or the top hinge on a two-hinge door, so the remaining hinges still control the slab.
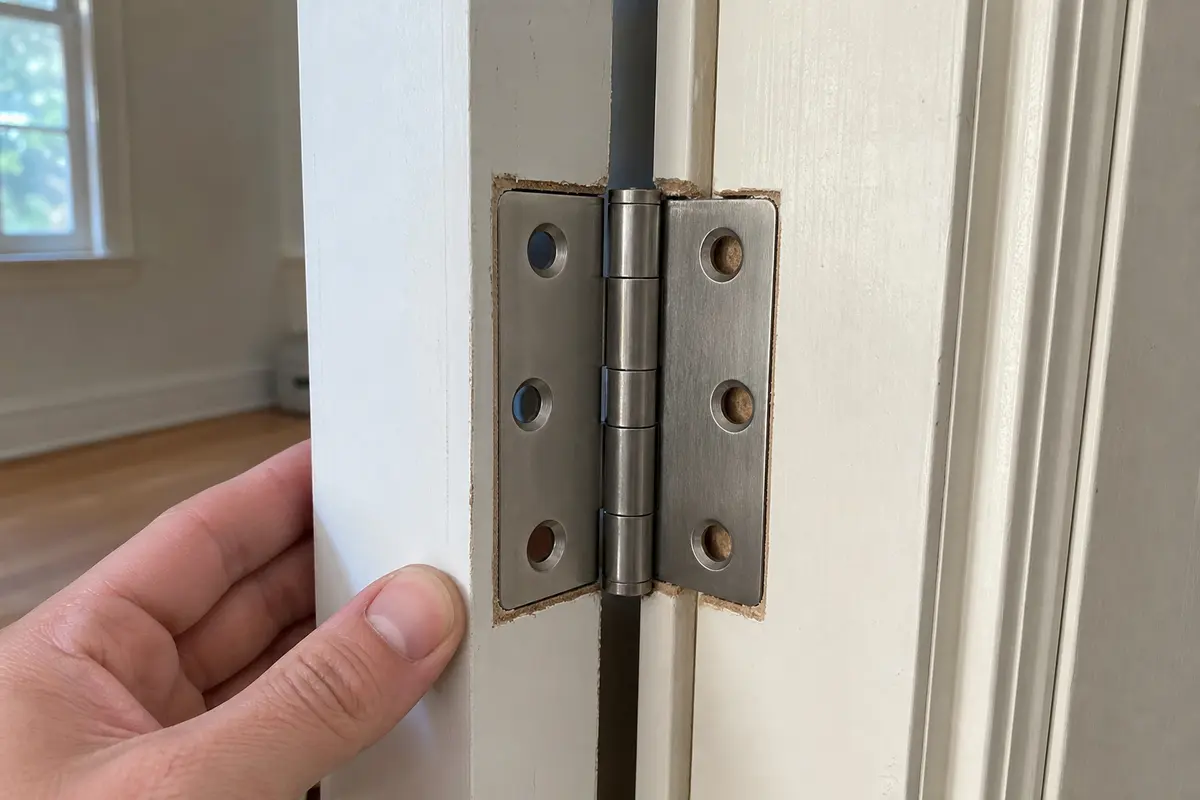
Remove the screws from the jamb leaf and door leaf, then lift the old hinge away.
Hold the old and new hinges together and compare height, open width, leaf thickness, screw-hole pattern, corner radius, pin diameter, and knuckle position.
Set the new hinge in the mortise dry. The leaf should sit flat, land flush with the door edge or jamb face, and leave no proud corner that would hold the door away from the frame.
Check that the screw tips will bite solid wood. A hole packed with loose fibers, soft wood, or old oversized screws needs repair before the hinge goes on.
If it works: The new hinge matches the old one closely, sits flush in the mortise, and has screw holes that can hold firmly.
If it doesn’t: If the dry-fit leaves a proud edge, overhang, or screw holes that do not line up, that hinge can throw off the reveal. Stop and get the correct size or plan a careful mortise repair before fastening it.
Stop if:
The new hinge is clearly the wrong size or shape for the existing mortise.
The wood behind the hinge is split or the screw holes are too damaged to hold replacement screws.
Step 4: Install the new hinge and repeat one hinge at a time
Seat the hinge leaf in the mortise and start every screw by hand for a few turns before using a drill or driver.
Snug the center screw first, then the outer screws, alternating between door leaf and jamb leaf so the hinge does not walk out of the outline.
Stop tightening when the hinge leaf is flat against the wood. Overdriving can dish the hinge, strip the hole, or pull the door out of line.
Replace the remaining hinges one at a time, rechecking the latch-side reveal after each hinge so a small shift does not stack up.
Use the same screw length unless the old jamb screws were too short or a longer screw is needed to reach framing. Do not run an extra-long screw into glass, wiring, or an unknown pocket.
If a screw spins in a stripped hole, back it out and repair the hole before continuing rather than forcing it.
If it works: All new hinges are installed and seated flat, with screws holding firmly in both the door and the jamb.
If it doesn’t: If one hinge will not sit flush, remove it before moving on. Check for paint buildup, debris in the mortise, a proud screw head, or a mismatch in hinge thickness.
Stop if:
Multiple screw holes are stripped and will not hold after a basic repair attempt.
The door shifts so far out of position that the hinge leaves no longer line up with the mortises.
A longer screw hits a hard stop, plumbing, wiring, glass, or metal reinforcement behind the jamb.
Step 5: Align the door and tighten everything evenly
Open and close the door slowly while watching the top reveal, hinge-side reveal, and latch-side reveal. Compare the gap at the top hinge, middle of the latch side, and top latch corner.
Look at the top latch corner. A tight gap there usually means the slab is still sagging or one hinge leaf is not sitting flush in the mortise.
Check the latch bolt against the strike plate opening before fully tightening every screw. The bolt should enter the opening without lifting the handle side or pushing the door hard.
Sight along the hinge barrels. They should line up in a straight stack, and each hinge leaf should sit flat with no proud screw head holding it off the wood.
If the door binds near one hinge, loosen that hinge just enough to let the leaf settle into the mortise, then tighten the center screw and outer screws evenly.
If the latch misses high or low, adjust the door support and hinge screws before moving the strike plate. A new strike location should not hide a hinge-fit problem.
Remove the shims only after the hinge leaves stay flat, the reveals stay even, and the latch meets the strike opening without scraping the plate.
If it works: The door swings without scraping, the top and latch-side reveals stay reasonably even, and the latch catches without lifting, slamming, or extra pressure.
If it doesn’t: If rubbing stays after the hinges are tight, check where it hits first. A loose hinge side points to stripped wood, proud screws, or a hinge leaf sitting high in the mortise; a tight latch edge points more toward a shifted jamb, swelling, or a warped slab.
Stop if:
The door cannot be aligned because the jamb is moving, cracked, or visibly out of plumb.
The latch side drops again as soon as the shims come out.
Step 6: Test the repair in normal use
Open the door fully and close it several times at normal speed.
Check that it does not squeak, drift open on its own, scrape the floor, or need lifting to latch.
Look at each hinge again to make sure the leaves stay tight to the wood and no screws are backing out.
Recheck the door after a day or two of normal use and snug any screw that loosened slightly as the hinge settled.
If it works: The door opens, closes, and latches normally, and the new hinges stay tight under real use.
If it doesn’t: If the door still will not stay aligned, watch what moves first. Screws backing out point to damaged wood; an even gap that changes as the door swings points more toward a shifted frame or warped door.
Stop if:
The door starts sagging again right away or the screws are loose again after tightening. Check the hinge-side wood before blaming the new hardware; that points to hidden wood damage or a framing issue.
Match the old hinge height, width, corner style, leaf thickness, finish, and screw hole pattern before buying replacements.
As an Amazon Associate I earn from qualifying purchases. Repair Riot may earn a commission at no extra cost to you.
Verify the repair
The door swings smoothly without scraping the floor or frame.
The latch lines up and closes without lifting or pushing hard.
The gaps around the door look reasonably even.
Hinge leaves sit flat and the screws stay tight after repeated use.
FAQ
Can I replace just one hinge instead of all of them?
Yes, if only one hinge is damaged and the others are still straight and tight. Check that the door gap stays even and the remaining hinge screws bite firmly. If the hinges are old, worn, or mismatched, replacing the full set usually gives better alignment.
How do I know what size hinge to buy?
Measure the old hinge height and width when open, then match the corner style and hole pattern as closely as possible. Also check finish and handedness if the hinge style requires it.
What if the screw holes are stripped?
Do not rely on a screw that just spins. Repair the hole so the screw can bite firmly, or the new hinge will loosen and the door will sag again.
Do I need to take the whole door off to replace hinges?
Usually no. Support the door from below, check that the hinge screws stay tight, and replace the hinges one at a time while watching the reveal. Take the door fully off only if it is already badly out of position or you need more working room.
Why does the door still rub after I replaced the hinges?
New hinges cannot fix every alignment problem. The real cause may be stripped wood, a shifted jamb, a warped door, or seasonal swelling at the door edge.
Sources and reference notes
Repair Riot used related door-hinge and sagging-door references to keep this repair focused on hinge fit, door support, screw holding strength, and alignment checks.
Repair Riot - Adjust a Sagging Door - Companion reference for deciding whether rubbing or latch trouble is hinge wear, screw-hole failure, or door alignment.