
Exterior door repair

How to Replace Exterior Door Weatherstripping

To replace exterior door weatherstripping, confirm the draft is coming from the door seal, match the old weatherstripping profile and mounting style, remove the worn seal, clean the channel or stop, then press or fasten the new weatherstripping in place so it lightly compresses when the door closes.

This is a straightforward repair if the door itself is still in decent shape. The key is buying the right style and installing it snug enough to seal air gaps without making the door hard to latch.

Before you start: Match the profile, length, mounting style, and door compatibility before ordering.

Prepared by: Repair Riot Last updated: 2026-06-05 How we build and check guides

Safety first

  • Use a stable step stool for the top of the frame instead of reaching overhead from the floor.
  • Cut weatherstripping on a stable surface and keep fingers clear of the blade.
  • Work slowly when prying near painted or finished jambs so you do not slip and damage the frame or your hand.
  • If you find rot, loose jamb material, or hidden water damage, stop and repair the frame before installing new weatherstripping.

Tools you may need

Tape measure tool

Tape measure

Use it for: To measure each side of the door and compare the old seal length before cutting the new piece.

Shop tape measures
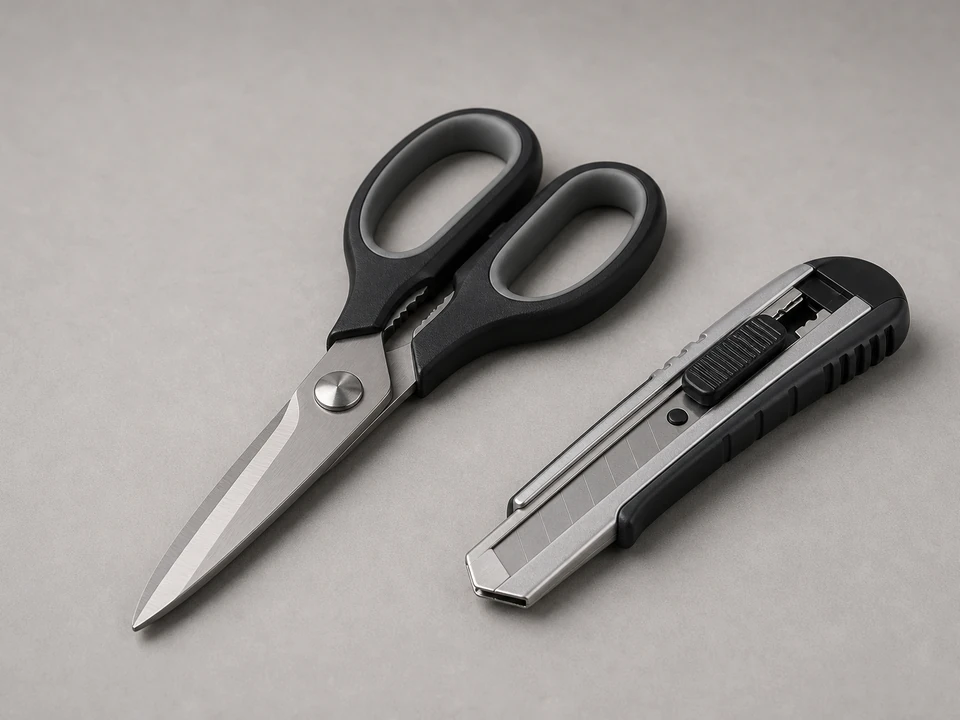
Utility knife or heavy scissors tool

Utility knife or heavy scissors

Use it for: To trim the new weatherstripping cleanly to length.

Shop utility knives
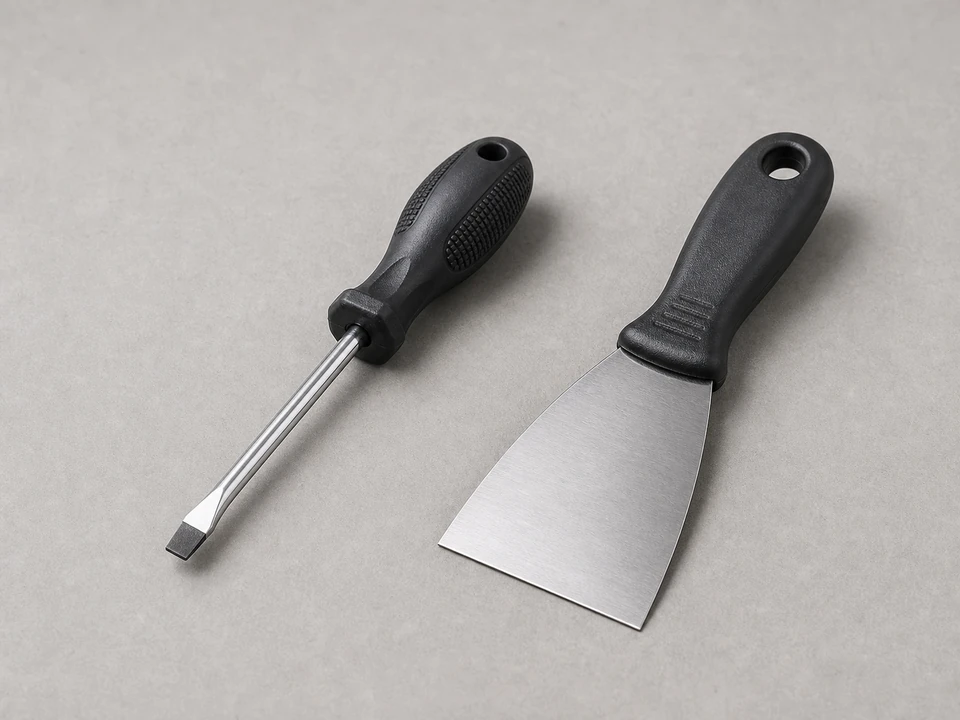
Putty knife or flat screwdriver tool

Flat screwdriver or putty knife

Use it for: To pry out old weatherstripping and scrape debris from the channel or stop.

Shop flat screwdrivers
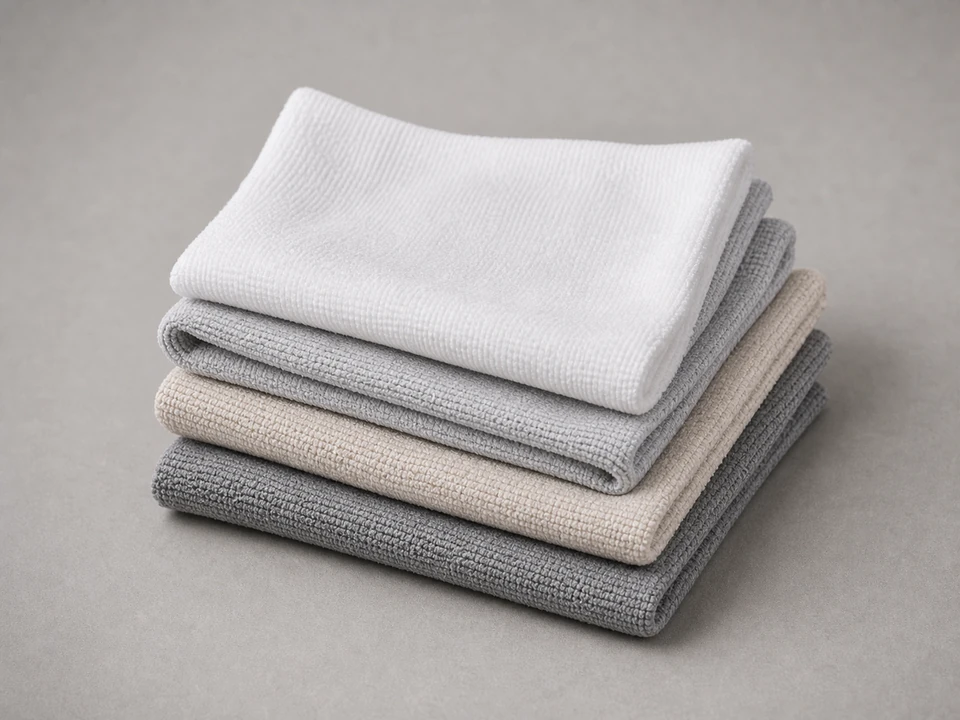
Cleaning rags tool

Cleaning rag

Use it for: To wipe dust, old adhesive, and grime so the new seal sits flat.

Shop cleaning rags
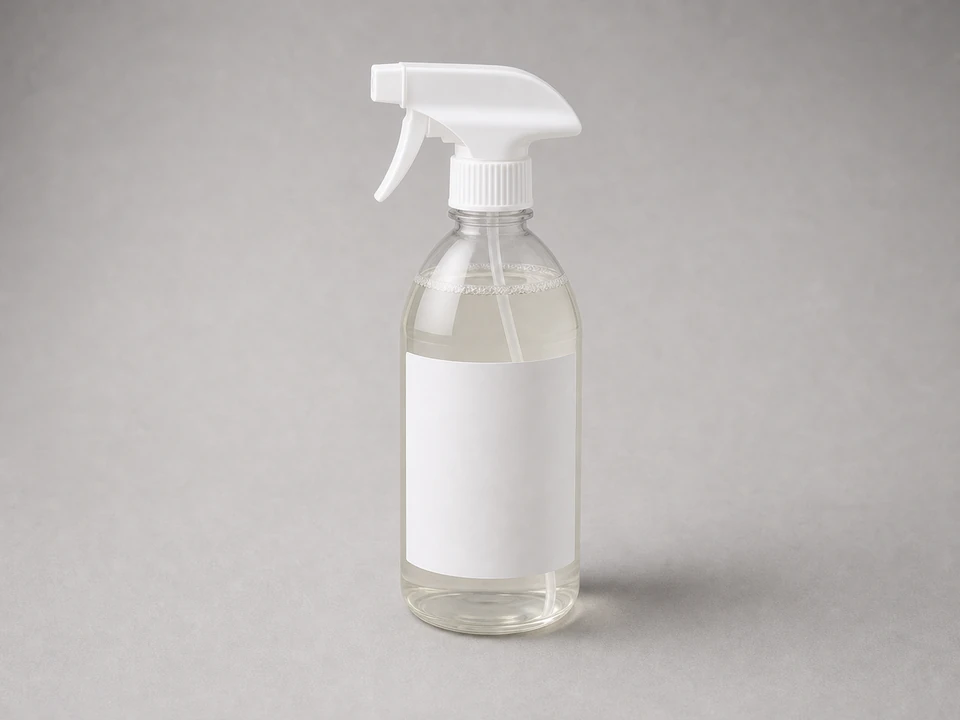
Household cleaner tool

Household cleaner

Use it for: To clean the mounting surface before installing the replacement seal.

Shop household cleaners
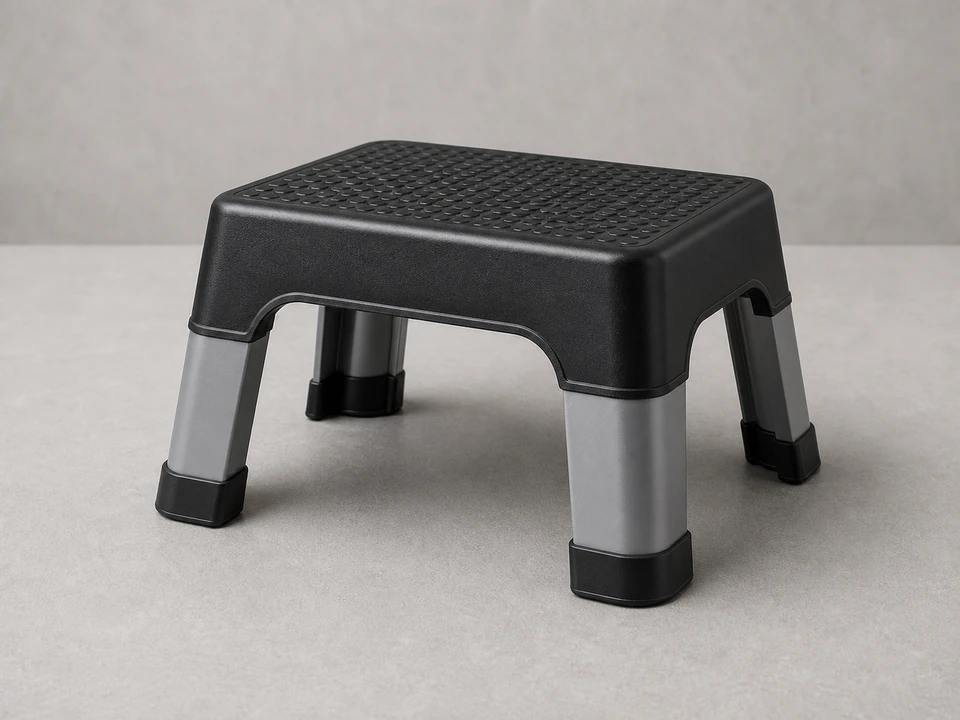
Step stool tool

Step stool

Use it for: To safely reach the top of the door frame while removing and installing the seal.

Shop step stools

As an Amazon Associate I earn from qualifying purchases. Repair Riot may earn a commission at no extra cost to you.

Step-by-step fix

Step 1: Confirm weatherstripping is the real problem

  1. Close the door and check for visible light around the top and sides from inside the house.
  2. Run your hand slowly around the closed door on a cool or windy day to feel for moving air.
  3. Inspect the existing weatherstripping for cracks, flat spots, tears, missing sections, or corners that no longer touch the door evenly.
  4. Make sure the draft is not mainly coming from the threshold, door sweep, loose hinges, or a badly out-of-square door.

If it works: You found worn or poorly sealing weatherstripping on the top or side jambs, and replacing it matches the problem.

If it doesn’t: If the gap is mostly at the bottom, work on the door sweep or threshold instead. If the door is sagging, rubbing, or has uneven frame gaps, correct the door alignment before replacing the seal.

Stop if:
  • The door frame is rotted, loose, or water-damaged.
  • The door will not latch because the slab or frame is badly out of alignment.
  • You find major hidden damage behind loose trim or around the jamb.

Step 2: Match the old weatherstripping before you remove it

  1. Open the door and look closely at how the old weatherstripping mounts: press-in kerf style, adhesive-backed, or nailed to the stop.
  2. Pull out a small loose section or inspect an end so you can see the profile shape and how far it stands proud of the frame.
  3. Measure the top and both side pieces, or measure the frame opening where the new seal will go.
  4. Buy replacement weatherstripping that matches the profile and mounting style as closely as possible.

If it works: You have replacement weatherstripping that matches the old seal well enough to fit the frame and compress against the door.

If it doesn’t: If you cannot match the profile, take a short sample piece to the store and compare it in person before cutting anything.

Stop if:
  • The replacement style clearly does not fit the existing channel, kerf slot, or stop.

Step 3: Remove the old weatherstripping and clean the mounting area

  1. Pull the old weatherstripping out gently by hand, starting at one end.
  2. Use a flat screwdriver or putty knife carefully if a section is stuck, but avoid gouging the wood, vinyl, or metal frame.
  3. Remove leftover adhesive, dirt, paint buildup, and loose debris from the channel or stop.
  4. Wipe the area clean and let it dry so the new seal can sit flat and stay in place.

If it works: The old seal is fully removed and the mounting surface is clean, smooth, and dry.

If it doesn’t: If bits of old adhesive or paint keep the new seal from sitting flat, keep scraping and cleaning until the surface is even.

Stop if:
  • The kerf slot is broken apart or the door stop is split badly enough that it cannot hold new weatherstripping.
  • You uncover rot or soft wood around the jamb.

Step 4: Cut the new weatherstripping to length

  1. Lay the new weatherstripping next to the old pieces or measure directly from the frame.
  2. Cut the top piece first, then cut the side pieces to match the jamb height.
  3. Make clean, square cuts unless your replacement style is designed for a different corner fit.
  4. Dry-fit each piece before final installation so you can confirm the length and orientation.

If it works: Each piece fits its section of the frame without stretching, buckling, or leaving a gap at the ends.

If it doesn’t: If a piece is too long, trim a little at a time. If it is too short, replace that piece rather than trying to patch a gap.

Stop if:
  • You only have enough material for a too-short installation that would leave open gaps.

Step 5: Install the new weatherstripping

  1. Start at the top corner and install the top piece first, then the side pieces.
  2. For press-in weatherstripping, push the barbed edge or kerf firmly into the slot a little at a time instead of stretching the seal.
  3. For adhesive-backed weatherstripping, peel the backing gradually and press it onto the cleaned surface while keeping the seal straight.
  4. For nail-on styles, position the seal so it just touches the closed door, then fasten it lightly and evenly without crushing it.
  5. Keep the seal continuous at the corners so there are no open spots where air can leak through.

If it works: The new weatherstripping sits securely in place and makes even contact with the closed door.

If it doesn’t: If the door is suddenly hard to close, reposition the seal slightly outward or check whether the replacement profile is too thick for the frame.

Stop if:
  • The door will not latch even after minor repositioning, suggesting the wrong weatherstripping profile or an alignment problem.

Step 6: Test the seal in real use

  1. Close and latch the door several times to make sure it shuts normally without slamming.
  2. Check from inside for daylight and feel again for drafts around the top and sides.
  3. Look at the seal after a few open-and-close cycles to make sure it stays seated and does not pull loose at the corners.
  4. Use the door normally for a day or two and recheck any spots that still feel loose or leaky.

If it works: The door latches normally, the draft is reduced or gone, and the new weatherstripping stays in place during regular use.

If it doesn’t: If small leaks remain, adjust the affected section for slightly better contact. If the leak is still significant, inspect the threshold, sweep, hinges, and frame alignment for a second issue.

Stop if:
  • Water is entering around the frame or under the door, which points to a larger sealing or flashing problem.
  • The door still has large uneven gaps after the new seal is installed.

Replacement Parts

As an Amazon Associate I earn from qualifying purchases. Repair Riot may earn a commission at no extra cost to you.

Verify the repair

  • The door closes and latches without excessive force.
  • There is no visible daylight around the top and side edges when the door is shut.
  • You do not feel noticeable air movement around the new seal on a windy or cool day.
  • The weatherstripping stays seated and does not peel, sag, or pull loose after repeated use.

FAQ

How do I know if I need new weatherstripping or just an adjustment?

If the seal is cracked, flattened, torn, missing, or no longer touches the door evenly, replacement is usually the right fix. If the weatherstripping looks decent but the gaps are uneven, the door may need hinge or latch-side adjustment first.

Should weatherstripping make the door hard to close?

No. It should compress lightly when the door latches. If you have to force the door shut, the seal may be too thick, installed too far inward, or the door may already be out of alignment.

Can I replace just one side of the weatherstripping?

Yes, if only one section is damaged and you can match the profile closely. In practice, many homeowners replace all three frame pieces at once so the seal is even all the way around.

What if my old weatherstripping is nailed on instead of pressed in?

Replace it with the same mounting style unless you are sure another style is compatible with your frame. Matching the original setup usually gives the cleanest fit and the least guesswork.

Do I need adhesive for press-in weatherstripping?

Usually no. Press-in styles are meant to stay in place by their barbed edge or kerf fit. If the slot is damaged and will not hold the seal, the frame may need repair rather than glue.