
Work gloves
Use it for: Trim coil edges are sharp and can cut your hands while you remove and position the metal.
Shop work glovesTo replace exterior trim coil, first confirm the metal wrap is bent, loose, split, or pulling away rather than the trim underneath failing. Then remove the damaged section carefully, match the new coil to the existing size and bend, fasten it without crushing it, and make sure the finished piece overlaps and sheds water cleanly.
This is a moderate exterior repair because you may be working on a ladder and around sharp sheet metal edges. Take your time, wear gloves, and stop if the wood behind the coil is soft, rotten, or no longer holding fasteners.
Before you start: Match the replacement part to your exact siding flashing before ordering.
Use it for: Trim coil edges are sharp and can cut your hands while you remove and position the metal.
Shop work gloves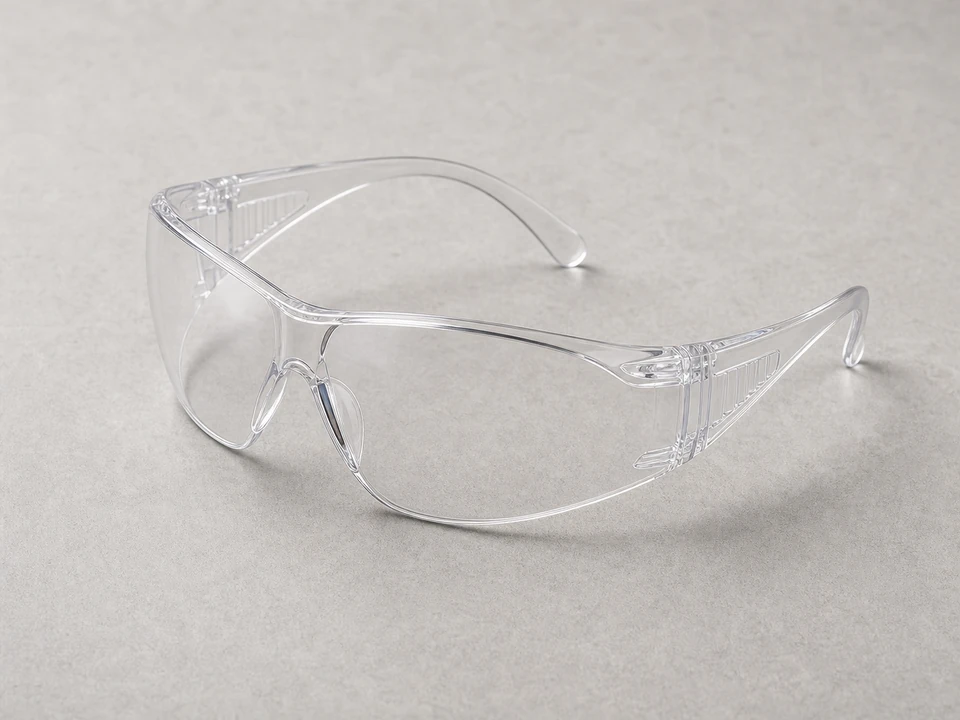
Use it for: Protects your eyes from metal shards, old fasteners, and debris.
Shop safety glasses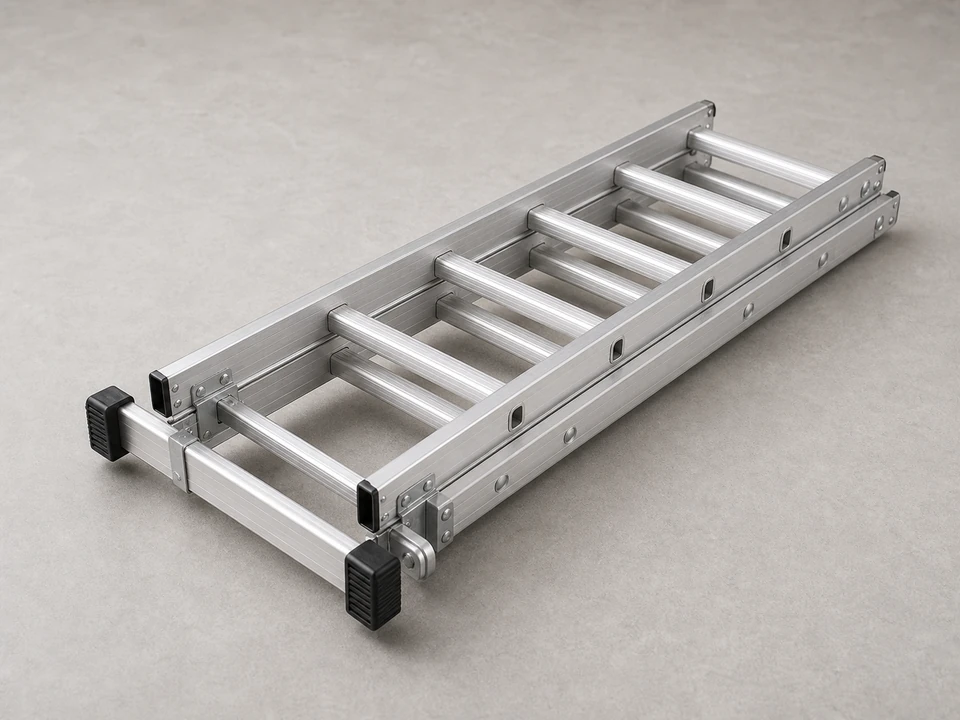
Use it for: Lets you reach trim safely if the repair is above ground level.
Shop extension ladders
Use it for: Helps you match the width and length of the existing trim coil before cutting or ordering.
Shop tape measures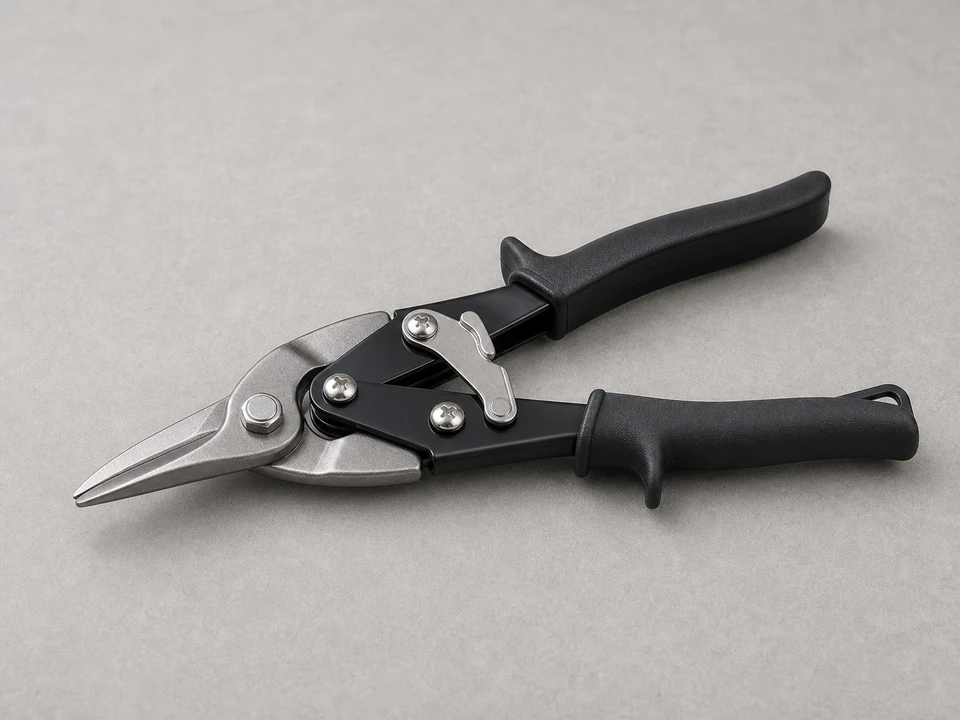
Use it for: Used to cut the replacement coil cleanly to length.
Shop tin snips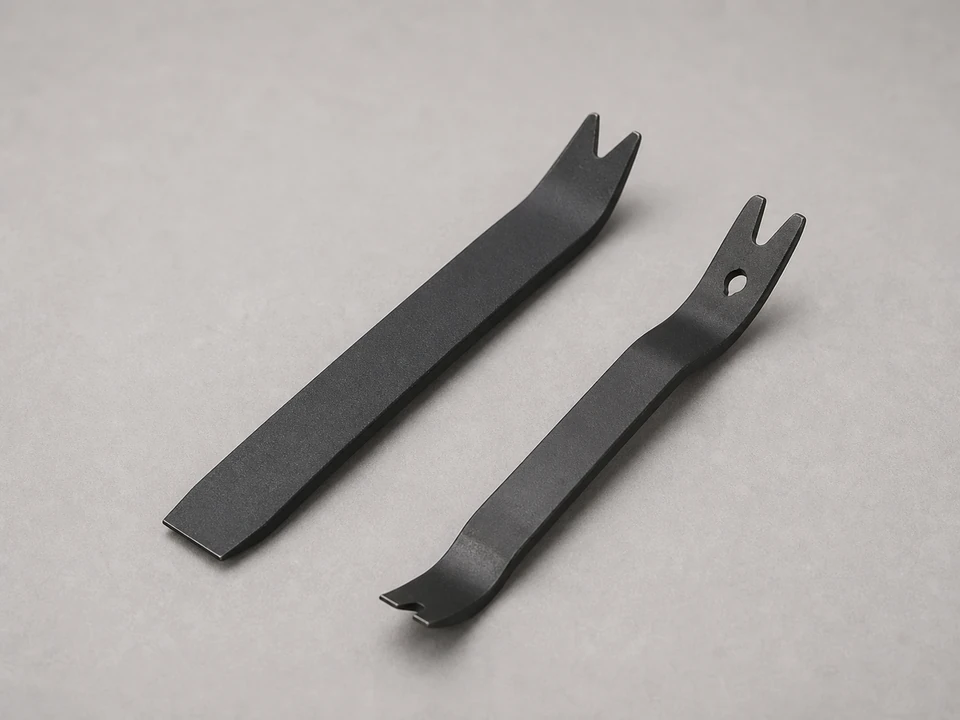
Use it for: Helps lift loose edges and remove old fasteners without tearing up surrounding trim.
Shop trim pullers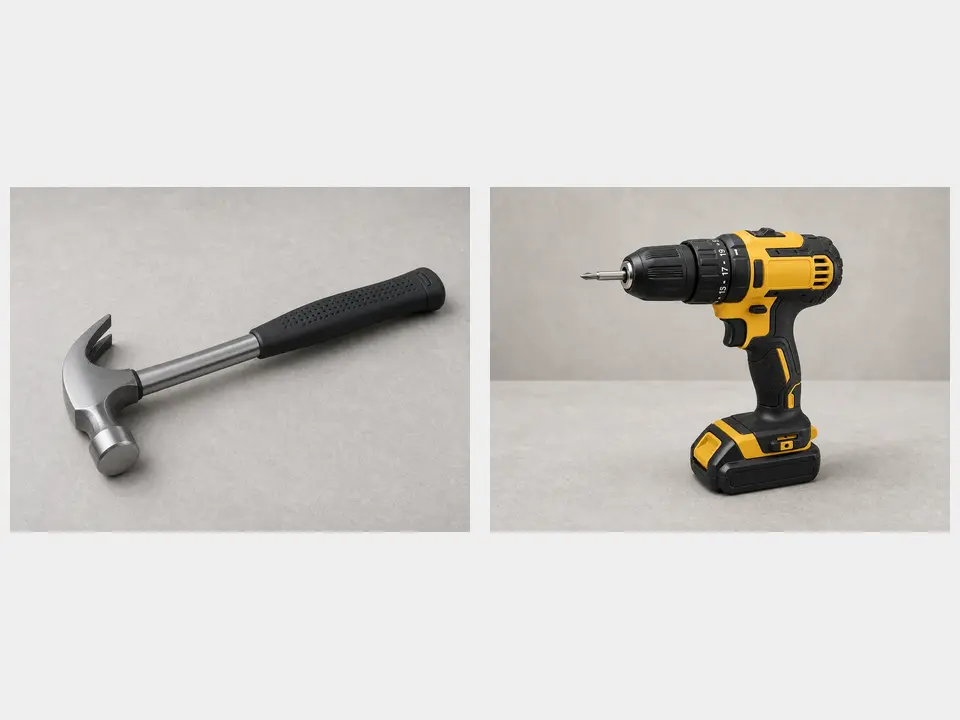
Use it for: Used to install the new fasteners, depending on how the existing trim is attached.
Shop hammer and screw gunsAs an Amazon Associate I earn from qualifying purchases. Repair Riot may earn a commission at no extra cost to you.
If it works: You have confirmed the metal trim wrap is damaged and the underlying trim still looks solid enough to re-cover.
If it doesn’t: If the metal looks fine but the trim underneath is soft or separating, shift to repairing the underlying trim or leak source before replacing the coil.
If it works: The damaged trim coil section is off and the surrounding siding and trim are still intact.
If it doesn’t: If the old piece will not come free, remove remaining hidden fasteners one at a time instead of forcing it.
If it works: The exposed trim is clean, dry, and ready for the new exterior trim coil.
If it doesn’t: If the surface is uneven from old fasteners or debris, flatten and clean it again so the new piece can sit tight.
If it works: The replacement piece fits the opening, sits flat, and matches the surrounding trim closely.
If it doesn’t: If the fit is too tight or leaves gaps, trim or rebend the piece before fastening it permanently.
If it works: The new exterior trim coil is secure, straight, and tight to the trim without buckling.
If it doesn’t: If the metal ripples or shifts, back out the last fastener, realign the piece, and refasten with lighter pressure.
If it works: The trim coil stays in place, looks clean, and sheds water without rattling, lifting, or leaking behind the trim.
If it doesn’t: If water gets behind the repair or the metal loosens, remove and reset the piece so the overlap, fit, and fastening are corrected before damage spreads.
Match the replacement part to your exact siding flashing before ordering.
As an Amazon Associate I earn from qualifying purchases. Repair Riot may earn a commission at no extra cost to you.
If the metal is bent, split, punctured, or loose but the wood underneath still feels solid, replacing the trim coil is usually the right repair. If the wood is soft, swollen, or crumbling, the underlying trim needs repair first.
Yes, if the surrounding trim coil is still secure and the new section can be fitted cleanly. The new piece should line up well and shed water the same way as the original installation.
Not always. Many damaged sections can be removed and replaced from the face or edge of the trim area. If the coil is trapped behind siding or flashing in a way that prevents a clean repair, the job may grow beyond a simple replacement.
Common causes include wind damage, impact, poor fastening, repeated expansion and contraction, and water getting behind the metal. If moisture caused the failure, fix that leak path before closing the area back up.
Often yes, if the underlying trim is still solid and the holes still hold securely. If the fasteners feel loose or the trim is weak, the repair will not last until the substrate is repaired.