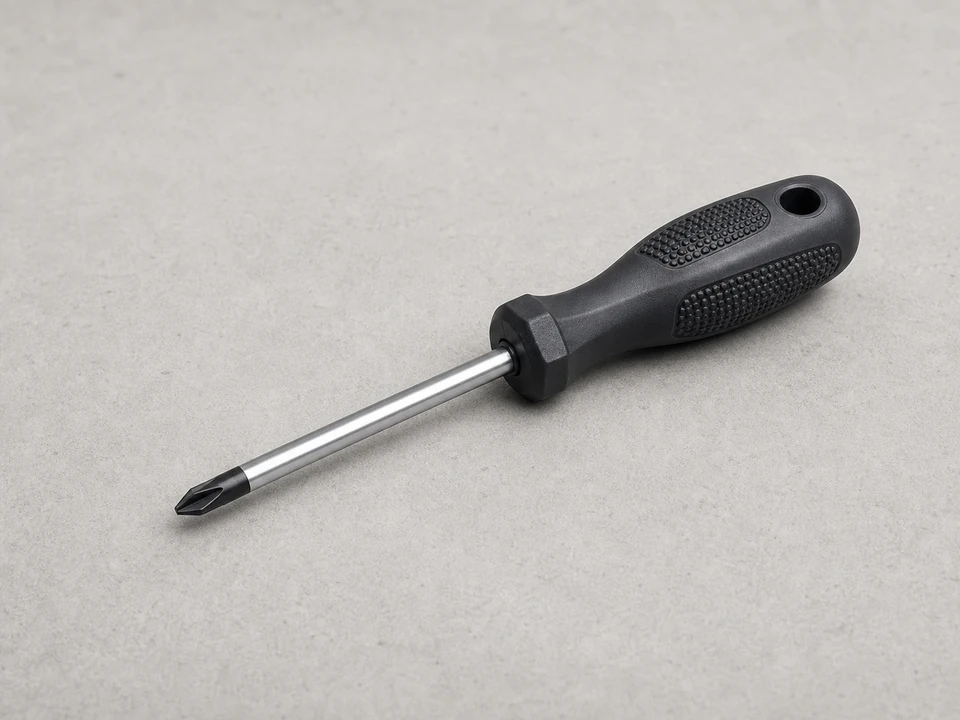
Phillips screwdriver
Use it for: Helps remove screws for the top panel, front panel, or clamp access on many washers.
Shop Phillips screwdriversTo replace a front load washer door boot, unplug the washer, remove the outer retaining band, pull the old boot free, install the new boot in the same orientation, then reinstall the clamps and test for leaks.
A torn, warped, or mold-damaged door boot can let water escape from the front of the washer. This job is manageable for many homeowners if you work slowly, keep track of how the old boot sits, and make sure the new seal is fully seated before testing.
Before you start: Match the replacement part to your exact washer before ordering.
Use it for: Helps remove screws for the top panel, front panel, or clamp access on many washers.
Shop Phillips screwdrivers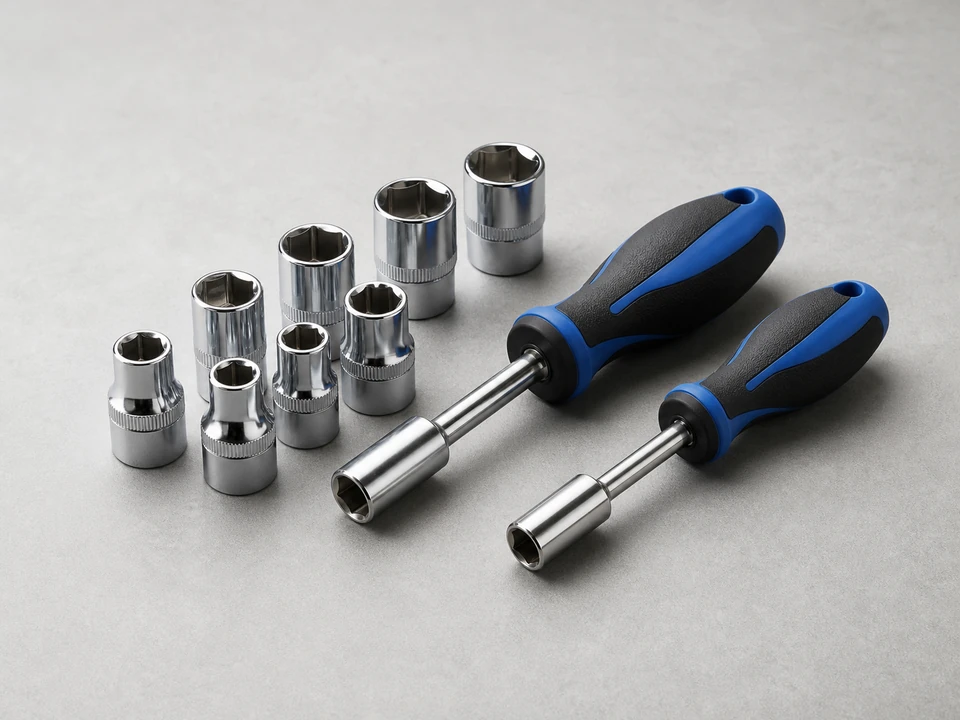
Use it for: Useful if your washer uses hex-head screws instead of standard Phillips screws.
Shop nut driver sets
Use it for: Makes it easier to stretch spring clamps and guide retaining bands into place.
Shop needle-nose pliers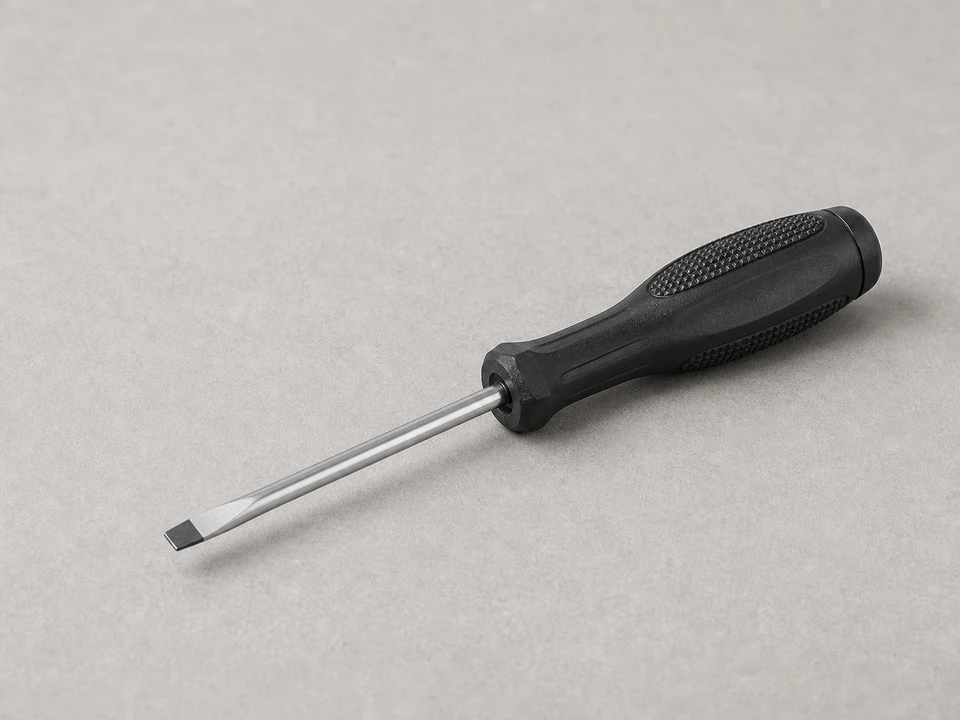
Use it for: Helps lift the edge of the retaining band carefully without damaging the new boot.
Shop small flat screwdrivers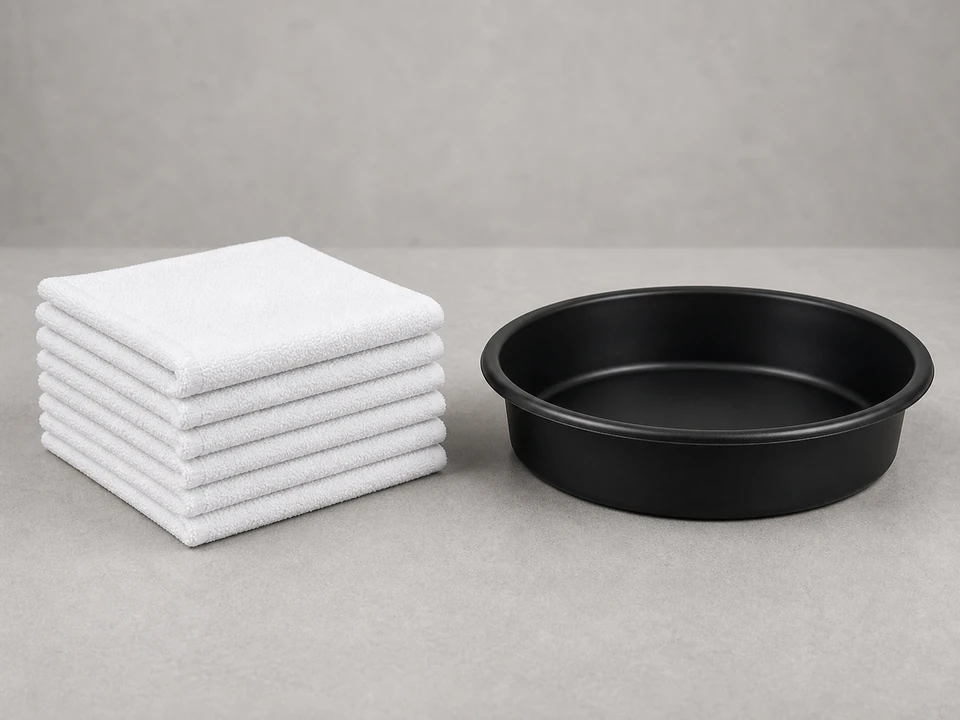
Use it for: Catches any water left in the boot or tub opening while you work.
Shop absorbent towels
Use it for: Protects your hands from sharp cabinet edges and clamp springs.
Shop work glovesAs an Amazon Associate I earn from qualifying purchases. Repair Riot may earn a commission at no extra cost to you.
If it works: You found visible damage or a clear leak path at the door boot.
If it doesn’t: If the boot looks intact, check for overloading, a clogged drain, a loose dispenser hose, or water coming from underneath before replacing this part.
If it works: The washer is safely disconnected and you can clearly reach the boot and retaining band.
If it doesn’t: If access is too tight, pull the washer forward a little more and recheck for hidden screws around the top or front edge.
If it works: The old boot and both retaining clamps are off, and the mounting surfaces are clean.
If it doesn’t: If the inner clamp is hard to reach, remove only the additional panels needed for access and keep track of screw locations.
If it works: The new boot is fully seated on both lips and sits evenly around the opening.
If it doesn’t: If part of the boot keeps slipping off, remove that section and reseat it before tightening the clamp further.
If it works: The washer is reassembled and the door closes cleanly against the new boot.
If it doesn’t: If the door rubs hard or the boot looks uneven, reopen the washer and correct the boot position before testing.
If it works: The washer completes the test cycle and a normal load without leaking from the door area.
If it doesn’t: If you still see water at the front, stop and recheck the boot orientation, both clamps, and whether the leak is actually coming from another part.
Match the replacement part to your exact washer before ordering.
As an Amazon Associate I earn from qualifying purchases. Repair Riot may earn a commission at no extra cost to you.
If the rubber is torn, split, warped, or no longer stays seated, replacement is the right fix. Surface residue or light mildew can often be cleaned, but damaged rubber will keep leaking.
It is better not to. Even a small tear can leak more as the drum moves, and water at the front of the washer can damage flooring or create a slipping hazard.
Not always. Some washers give enough access from the front opening, while others need the top or front panel loosened to reach the inner clamp. Remove only what you need for safe access.
New rubber is usually stiffer than the old worn seal. Make sure it is aligned correctly, seated on the tub lip first, and not twisted. Working slowly around the opening usually helps more than forcing one section at a time.
If the original clamps are bent, rusty, broken, or no longer hold tension well, replacing them is a good idea. A new boot will not seal properly if the clamps cannot hold it in place.