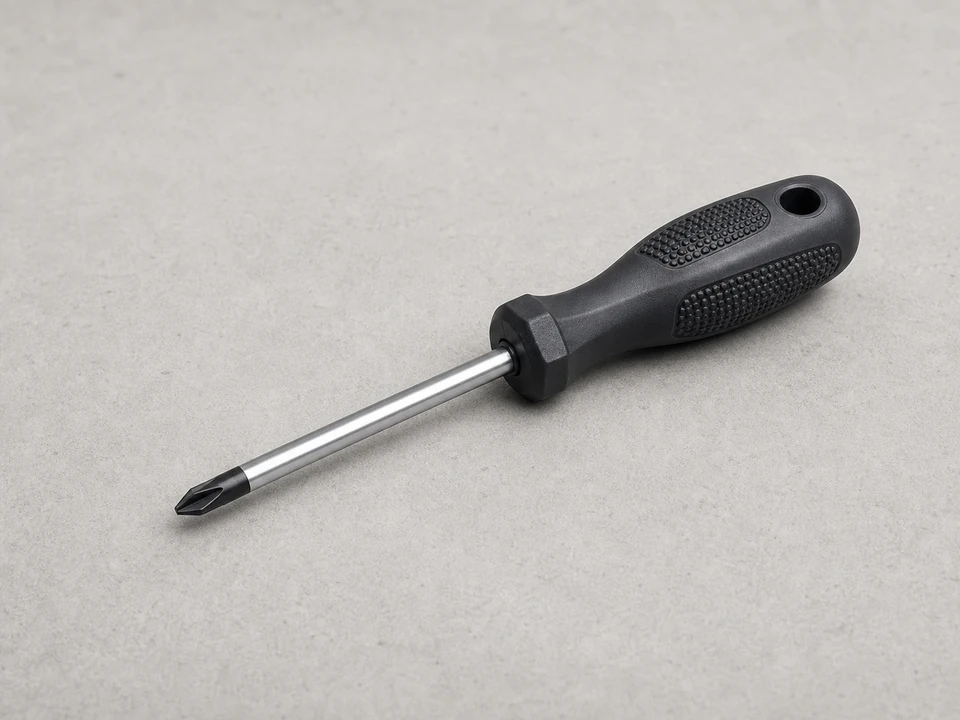
Phillips screwdriver
Use it for: To remove screws from the front panel, top, or control area if needed for access.
Shop Phillips screwdriversIf the washer is leaking from the door opening, the gasket is torn, warped, mold-damaged beyond cleaning, or no longer seals evenly, replacing the washer door gasket is the right repair.
This job is mostly careful disassembly and reassembly. Take clear photos as you go, keep track of the retaining clamps, and make sure the new gasket sits fully in its groove before you test the washer.
Before you start: Match the gasket profile, size, and equipment or opening compatibility before ordering.
Use it for: To remove screws from the front panel, top, or control area if needed for access.
Shop Phillips screwdrivers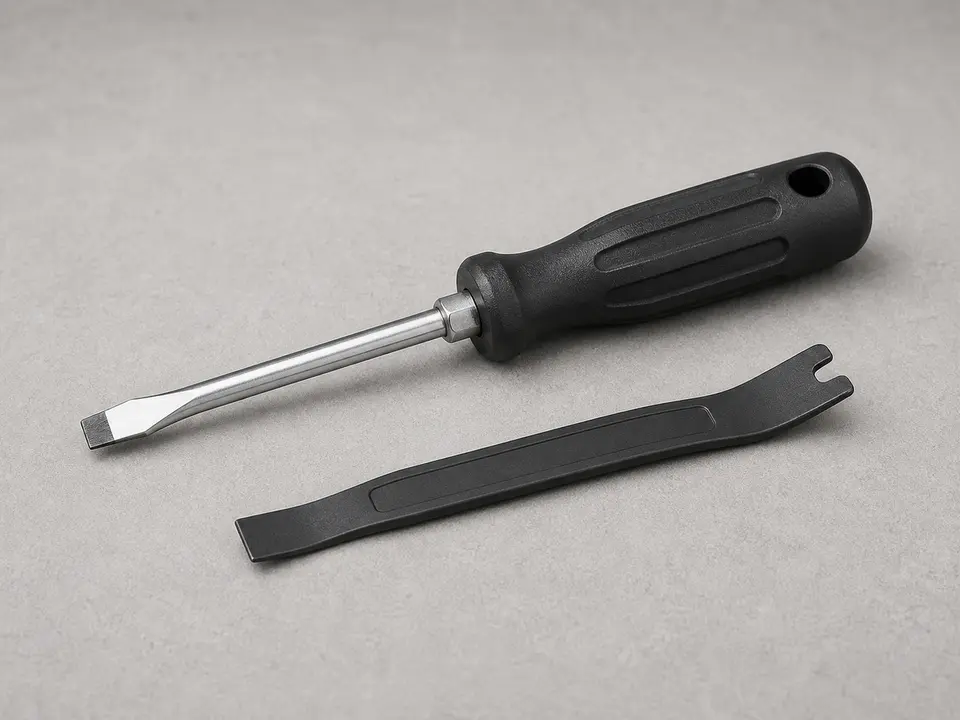
Use it for: To help lift the outer retaining spring or clamp without damaging the gasket lip.
Shop flat screwdrivers
Use it for: To grab spring clamps and guide retaining bands back into place.
Shop needle-nose pliers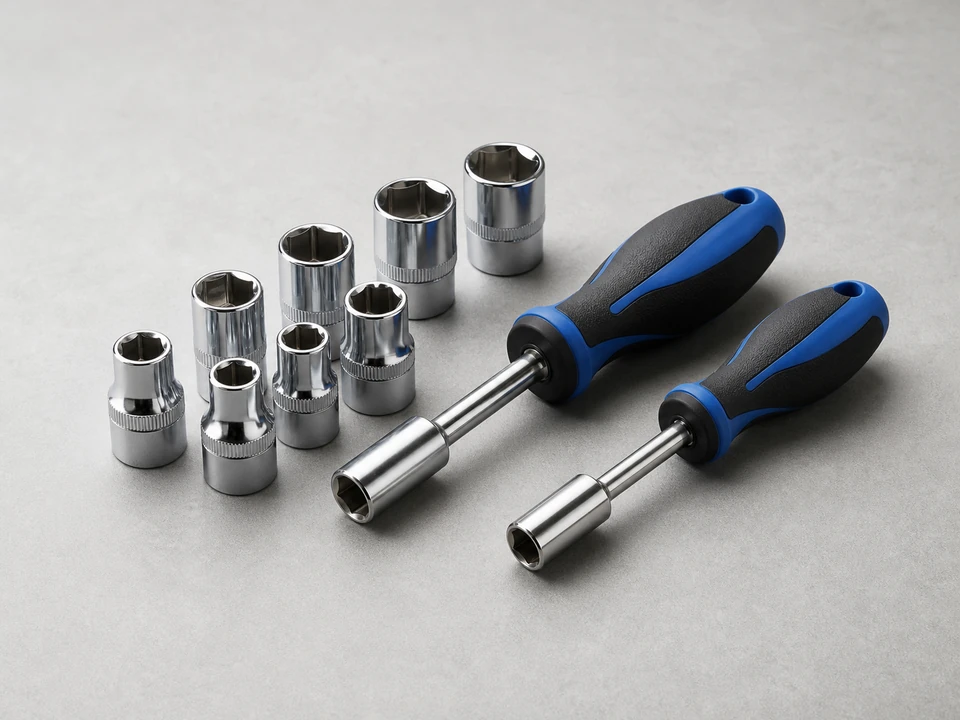
Use it for: Some washers use hex-head screws instead of standard screws for panel access.
Shop nut driver sets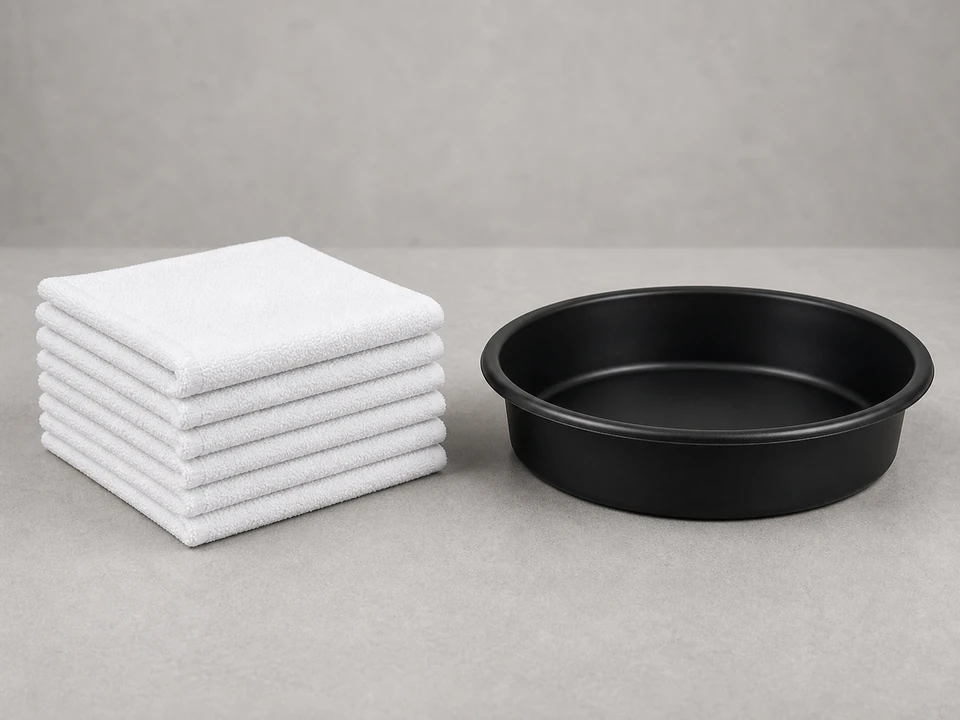
Use it for: To catch any water left in the gasket area and keep the floor dry.
Shop absorbent towels
Use it for: To clean the tub lip and door opening so the new gasket seals properly.
Shop appliance cleaning clothsAs an Amazon Associate I earn from qualifying purchases. Repair Riot may earn a commission at no extra cost to you.
If it works: You have clear gasket damage or a sealing problem at the door opening, and the replacement matches the old part closely.
If it doesn’t: If the gasket looks intact and the leak seems to come from underneath or behind the washer, diagnose the leak source before replacing this part.
If it works: The washer is safely disconnected and you can clearly reach the outer edge of the gasket and its retaining clamp.
If it doesn’t: If access is too tight, remove only the panels needed to reach the gasket without forcing parts.
If it works: The old gasket and both retaining clamps are removed, and you know how the original gasket was oriented.
If it doesn’t: If the inner clamp is hard to reach, take another photo and adjust access panels rather than forcing the clamp blindly.
If it works: The new gasket is oriented correctly and the inner edge is seated evenly around the tub opening.
If it doesn’t: If one section keeps popping off, go back around the full circle and reseat the gasket before installing the clamp.
If it works: Both clamps are back in place and the gasket sits flat and even around the entire opening.
If it doesn’t: If the outer clamp keeps slipping off, remove it and reseat the gasket lip before trying again.
If it works: The washer runs normally, the door closes evenly, and no water leaks from the gasket area during the test cycle.
If it doesn’t: If you still see leaking at the door, stop the cycle and check for a twisted gasket, misaligned drain holes, or a clamp that is not fully seated.
Match the gasket profile, size, and equipment or opening compatibility before ordering.
As an Amazon Associate I earn from qualifying purchases. Repair Riot may earn a commission at no extra cost to you.
Replace it if it is torn, split, warped, hardened, or leaking even after you clean and reseat it. Surface grime or light mildew alone does not always mean the gasket is bad.
No. The gasket is meant to seal by fitting into its groove and being held by retaining clamps. Adhesive usually creates a messy temporary fix and can make the next repair harder.
The most common causes are wrong orientation, a section not fully seated on the tub lip, twisted rubber, or a clamp that is not fully installed. Recheck the full perimeter carefully.
Not always. If the original clamps are straight, secure, and not rusted through or stretched, they are often reused. Replace them if they are damaged or will not hold tension.
For a careful first-time homeowner, plan on about 1 to 2 hours. Most of that time goes into access, cleaning, and making sure the gasket is seated evenly.