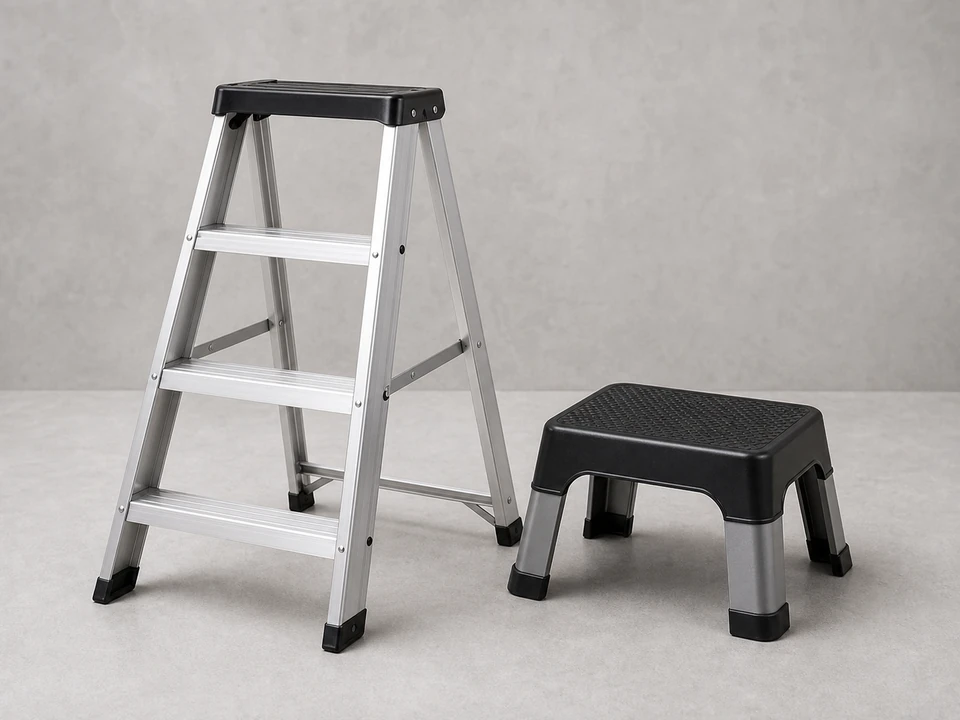
Stepladder
Use it for: To reach the top section of the garage door safely.
Shop stepladdersReplace the garage door opener reinforcement bracket when the opener arm is pulling on a bent, cracked, or torn mounting point at the top section of the door.
This bracket spreads the opener force across the door so the top panel does not get damaged. The job is usually straightforward if the door itself is still sound and you work with the opener disconnected.
Before you start: Match the replacement part to your exact garage door before ordering.
Use it for: To reach the top section of the garage door safely.
Shop stepladders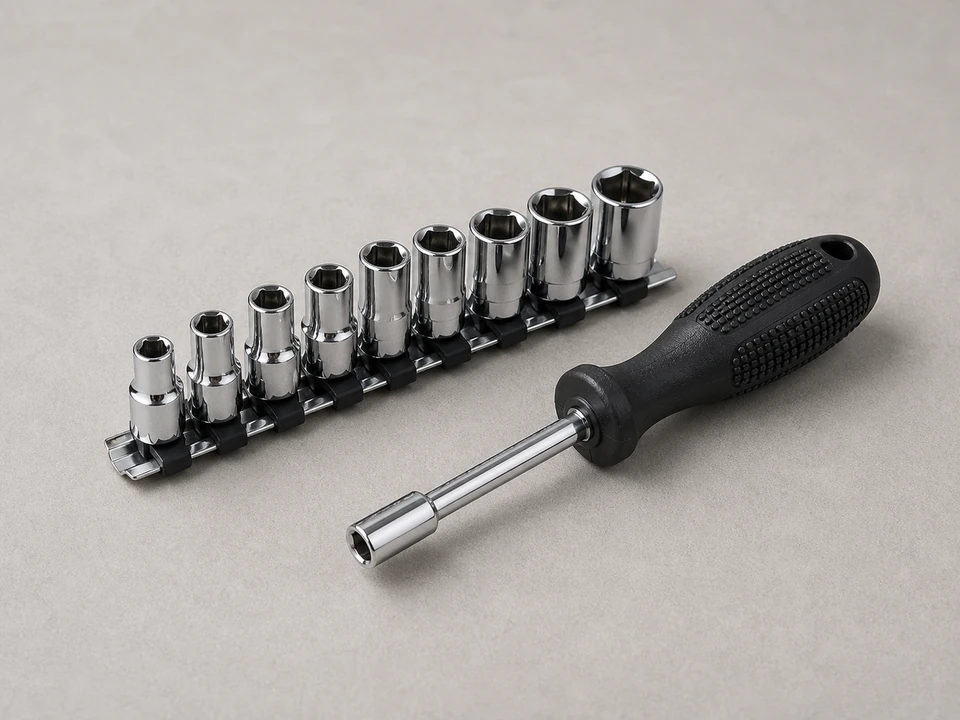
Use it for: To remove and tighten bracket fasteners.
Shop socket and nut driver sets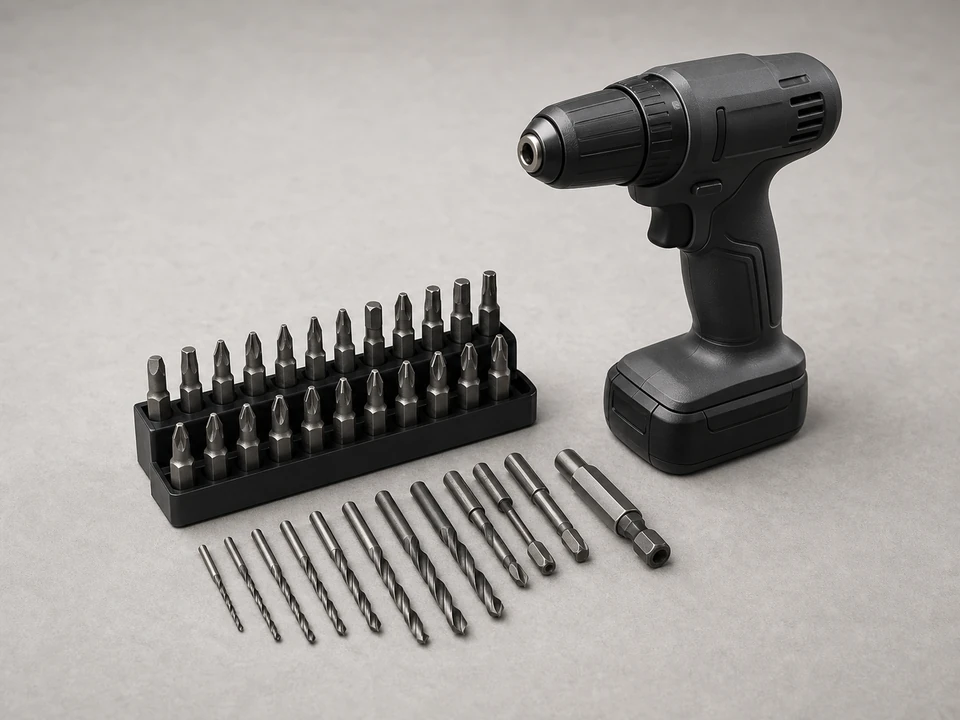
Use it for: To drive screws and make pilot holes if the replacement bracket uses a different hole pattern.
Shop drills and drill bit sets
Use it for: To center the new bracket and line it up with the opener arm.
Shop tape measures
Use it for: To mark the bracket position and hole locations.
Shop permanent markers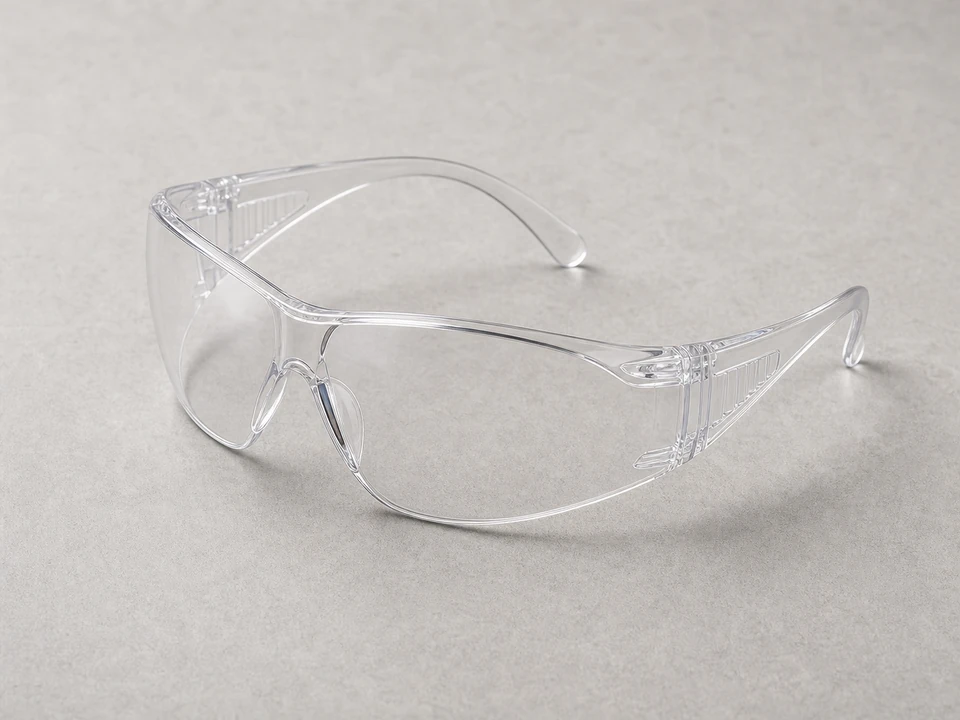
Use it for: To protect your eyes while removing hardware and drilling.
Shop safety glassesAs an Amazon Associate I earn from qualifying purchases. Repair Riot may earn a commission at no extra cost to you.
If it works: You have confirmed the bracket or its mounting has failed and the opener is disconnected for safer work.
If it doesn’t: If the bracket is solid and the problem is elsewhere, inspect the opener arm, top roller bracket, hinges, and door balance before replacing parts.
If it works: The opener arm is free from the bracket and out of the way.
If it doesn’t: If the arm is under tension or hard to line up, make sure the trolley is fully released and the door is resting closed before trying again.
If it works: The old bracket is off and you know whether the original mounting area can be reused.
If it doesn’t: If the old holes are stripped, plan to use the replacement bracket's alternate holes or shift slightly to solid material while keeping the bracket centered.
If it works: The new bracket is mounted firmly, centered, and sitting flat against the door.
If it doesn’t: If the bracket rocks or will not tighten evenly, remove it and correct the hole placement before reconnecting the opener arm.
If it works: The opener arm is attached securely and the opener is ready for testing.
If it doesn’t: If the holes do not line up, adjust the door to fully closed and recheck that the bracket is centered and the arm is not bent.
If it works: The door opens and closes smoothly, the bracket stays tight, and the top section no longer flexes at the opener connection.
If it doesn’t: If the bracket loosens or the top section still flexes heavily, stop using the opener and inspect for hidden panel damage or a door balance problem.
Match the replacement part to your exact garage door before ordering.
As an Amazon Associate I earn from qualifying purchases. Repair Riot may earn a commission at no extra cost to you.
It spreads the pulling force from the opener arm across a stronger area of the top door section. That helps prevent the opener from tearing the mounting point out of the panel.
It is not a good idea if the door was designed to use one or the original bracket has failed. The opener can damage the top section quickly when the force is concentrated in one weak spot.
Not always. If the panel around the bracket is still flat, solid, and able to hold fasteners, a bracket replacement may be enough. If the panel is cracked, torn, badly bent, or rotted, the door section may need further repair.
Compare the bracket shape, mounting pattern, and door style to your existing setup. The replacement needs to fit your door's top section and allow the opener arm to connect in the correct centered position.
Usually the bracket is mounted into damaged material, the fasteners are not anchored into a solid stile or reinforced area, or the door has another problem such as poor balance that is overloading the top section.